Pita pockets are a fantastic choice when you're craving a quick, flavorful meal. You can stuff them with all sorts of delicious ingredients, like creamy hummus, crisp veggies, and savory grilled meats. The pocket design makes them super portable and mess-free – perfect for on-the-go eating. Plus, they're endlessly customizable, so you can get creative and try new flavor combinations. Baking the pitas is easy, too, with just a few simple steps. Once you've mastered the art of pita pocket preparation, you'll discover all the ways they can elevate your meals. And there's much more to explore when it comes to these versatile, crowd-pleasing pockets.
Key Takeaways
- Pita pockets are versatile, portable pockets made from simple ingredients like wheat flour, water, and salt, which can be filled with various ingredients for quick, satisfying meals.
- The preparation of pita pockets involves kneading the dough, allowing it to rest, rolling it into thin discs, and baking it in a preheated oven until golden.
- Pita pockets can be customized to suit different dietary preferences and can be filled with a variety of ingredients, such as hummus, falafel, grilled chicken, and vegetables.
- Crafting pita pockets combines technique and creativity, offering a sense of achievement and an opportunity to explore the flavors of Middle Eastern cuisine.
- Pita pockets serve as a canvas for diverse flavor combinations, encouraging experimentation with unconventional fillings and inspiring innovation in presentation and plating.
History
Pita bread has a rich history, tracing its origins back to the ancient civilizations of the Mediterranean. This pocket-like flatbread has been a staple food in the Middle East and Mediterranean regions for thousands of years. Archaeologists have found evidence of pita-like breads dating back to the ancient Egyptians, Greeks, and Romans.
During these early times, pita was a simple, nutritious food made from wheat flour, water, and salt. It was often baked in wood-fired ovens, creating the signature pocket that we recognize today.
As trade and cultural exchange spread throughout the region, the recipe and preparation methods for pita evolved, with different cultures adding their own unique twists.
Over the centuries, pita bread has remained a beloved part of many traditional cuisines. From being enjoyed as a quick snack to serving as the base for delicious sandwiches, pita's versatility has helped it endure as a timeless and beloved food worldwide.
Recipe
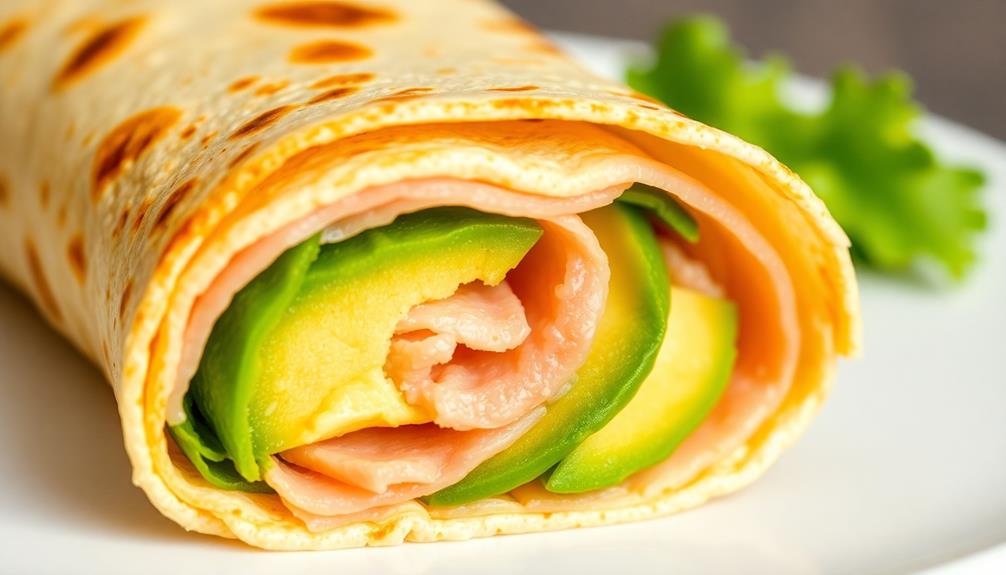
Pita pockets are a versatile and delicious option for a quick and satisfying meal. Whether you're packing a lunch or looking for a simple dinner, these pocket-sized wonders can be filled with a variety of tasty ingredients to suit your cravings.
The beauty of pita pockets lies in their ability to hold a variety of fillings, from classic hummus and falafel to grilled chicken and fresh veggies. The pocket itself acts as a portable and edible container, making it a convenient and mess-free way to enjoy a hearty meal on the go.
Ingredients:
- 4 whole wheat pita breads
- 1 cup hummus
- 1 cup diced cucumber
- 1 cup diced tomatoes
- 1/2 cup diced red onion
- 1 cup shredded lettuce
- 1/4 cup crumbled feta cheese
- 2 tablespoons olive oil
- 1 tablespoon lemon juice
- Salt and pepper to taste
Instructions:
Gently slice the pita breads in half to create the pockets. Spread a generous amount of hummus inside each pita half. Top with the diced cucumber, tomatoes, and red onion. Sprinkle the shredded lettuce and crumbled feta cheese over the fillings. Drizzle the olive oil and lemon juice over the top, and season with salt and pepper to taste.
When preparing pita pockets, it's important to use fresh, high-quality ingredients to ensure maximum flavor and texture. For a crunchy contrast, consider topping the pockets with toasted pumpkin seeds or slivered almonds. For a lighter, more refreshing option, fill the pita pockets with a mixture of fresh, crisp vegetables such as cucumber, bell peppers, and cherry tomatoes. Another colorful and tasty addition to the meal could be serving alongside some colorful fruit skewers, adding a pop of sweetness to complement the savory flavors of the pita pockets. With the right combination of ingredients, pita pockets can be a satisfying and versatile meal option.
Additionally, you can experiment with different protein sources, such as grilled chicken, roasted chickpeas, or marinated tofu, to create a more substantial meal.
Cooking Steps
Knead the dough until it's nice and smooth – this helps create that perfect pita texture.
Once it's ready, let the dough rest for 10 minutes so the gluten can relax.
Then, roll out the dough into round shapes and bake them in a preheated oven.
Step 1. Knead the Dough Thoroughly

Once the dough has been mixed, it's time to knead it thoroughly. Kneading helps develop the gluten in the flour, which gives the pita its soft, chewy texture.
Start by placing the dough on a clean, lightly floured surface. Use the heels of your hands to push the dough away from you, then fold it back towards you. Repeat this motion, turning the dough a quarter turn after each push and fold.
Knead for about 5 to 10 minutes, until the dough becomes smooth and elastic. You'll know it's ready when you can gently stretch a small piece of dough without it tearing.
Kneading may seem like a lot of work, but it's an important step that shouldn't be skipped. Take your time and enjoy the process – the more you knead, the better your pita pockets will turn out.
After kneading, your dough is ready for the next step, which is letting it rest and rise.
Step 2. Let Dough Rest for 10 Minutes
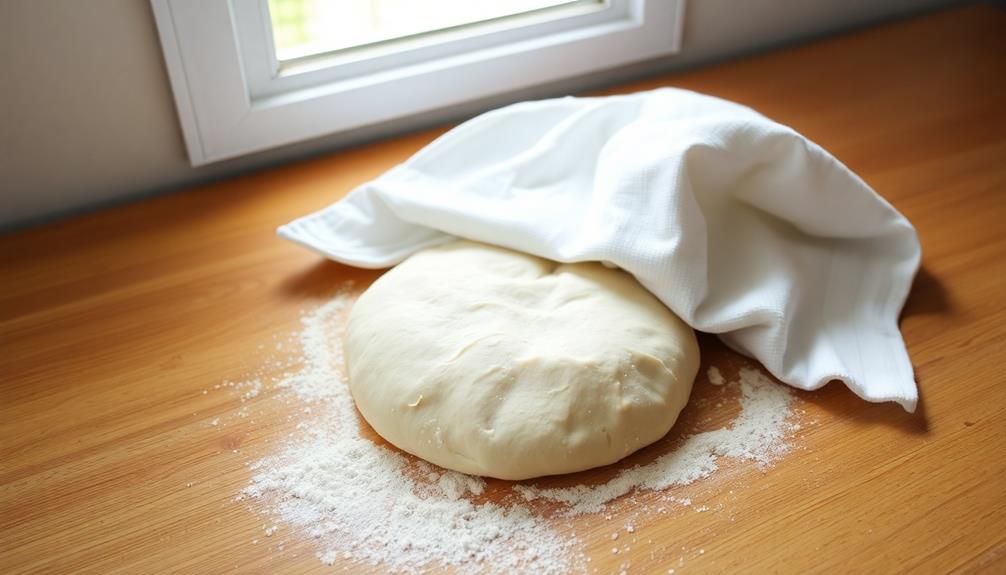
After thoroughly kneading the dough, let it rest for about 10 minutes. This short break allows the gluten in the dough to relax, making it easier to roll and shape into fluffy pita pockets.
During this time, the yeast will also continue to work, producing tiny air bubbles that will help the pitas puff up in the oven.
While you wait, take a moment to prepare your work surface. Lightly dust it with flour to prevent the dough from sticking. You can also gather your rolling pin and any other tools you'll need for shaping the pitas.
Once the 10 minutes are up, your dough will be ready to divide and roll out. Gently punch down the dough to release any large air pockets.
Then, use your hands to shape it into a smooth ball. Now you're one step closer to enjoying freshly baked pita pockets!
Step 3. Roll Out the Dough
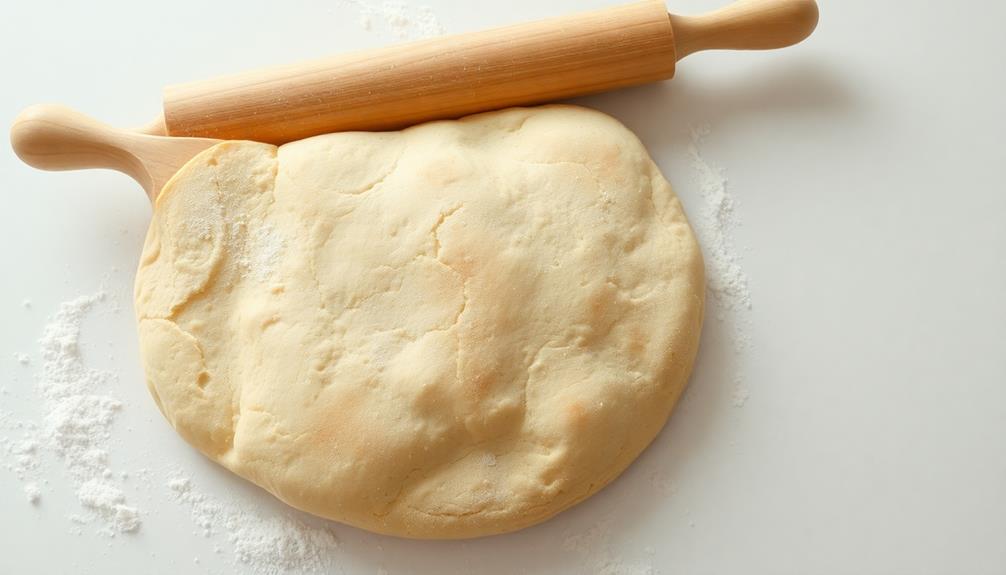
With your work surface ready, take the dough and divide it into 8 equal pieces. Roll each piece into a smooth ball, then use a rolling pin to flatten them into thin, round discs about 6 inches in diameter.
Be gentle and take your time – you don't want to overwork the dough. As you roll, make sure to frequently dust the surface and your rolling pin with a little flour to prevent sticking.
Once the dough is rolled out, arrange the pita rounds on a baking sheet or clean surface. Cover them with a damp towel to prevent the dough from drying out while you work on the remaining pieces.
After all the dough has been rolled, it's time to bake the pitas. Preheat your oven to 450°F and get ready to enjoy the fresh, warm pockets straight from the oven.
Step 4. Bake Pockets in Preheated Oven

Preheat your oven to 450°F. Once it's nice and hot, you're ready to bake those pita pockets!
Grab your rolled-out dough and carefully transfer it to a lightly greased baking sheet. Make sure to leave a little space between each pocket so they don't stick together.
Now, pop that tray into the oven and let the magic happen. Bake for 8 to 10 minutes, until the pockets are lightly golden brown. Keep an eye on them to make sure they don't overbake. You want them to be soft and fluffy on the inside, with a delightful crunch on the outside.
Once they're done, take the tray out of the oven using oven mitts. Let the pockets cool for a minute or two before serving.
They're perfect for stuffing with all your favorite fillings, like hummus, veggies, or even a savory meat. Enjoy your freshly baked pita pockets!
Step 5. Allow to Cool Before Serving

Once the pita pockets have finished baking, take the tray out of the oven using oven mitts. Be careful, as the pockets will be hot!
Place the tray on a wire rack or heat-safe surface to allow the pockets to cool. This is an important step, as you don't want to burn your mouth when you finally get to enjoy your delicious homemade pita pockets.
As the pockets cool, you'll notice the steam escaping. This is normal and means the pockets are releasing their heat. Give them about 10-15 minutes to cool down to a comfortable temperature.
You can use this time to prepare any fillings or toppings you'd like to add, such as hummus, vegetables, or meat.
Once the pockets have reached a safe temperature, you can slice them open and start assembling your tasty creations.
Stuff the pockets with your favorite ingredients and get ready to savor the warm, fluffy bread and flavorful fillings. Enjoy your homemade pita pockets!
Final Thoughts
Crafting the perfect pita pocket requires an artful balance of technique and creativity. Now that you've mastered the art of baking and stuffing these delightful pockets, it's time to reflect on your journey.
Pita pockets are a wonderful canvas for your culinary imagination, allowing you to experiment with countless flavor combinations.
Don't be afraid to think outside the box! Try swapping out the traditional fillings for something unexpected, like roasted vegetables or grilled chicken.
The beauty of pita pockets lies in their versatility – they can be enjoyed as a quick lunch, a satisfying dinner, or even a fun snack.
As you continue to refine your pita pocket skills, remember to have fun and embrace the process. Each pocket you create is a unique expression of your creativity.
Savor the sense of accomplishment that comes with mastering this delightful Middle Eastern staple. The possibilities are endless, so let your imagination soar!
Frequently Asked Questions
What Is the Nutritional Value of Pita Pockets?
Pita pockets can be a healthy and convenient option. They're typically low in calories and fat but high in complex carbohydrates, providing a steady source of energy. However, the nutritional value varies depending on the specific brand and ingredients used.
How Long Do Pita Pockets Last After Baking?
Freshly baked pita pockets can typically last 3-5 days when stored properly in an airtight container at room temperature. However, their shelf life may vary depending on the ingredients and storage conditions. You'll want to keep an eye on their freshness.
Are Pita Pockets Suitable for Gluten-Free Diets?
Gluten-free pita pockets can be a suitable option for those following a gluten-free diet. However, it's essential to check the ingredient label to ensure the pita pockets are made with gluten-free flours and don't contain any wheat, barley, or rye.
Can Pita Pockets Be Frozen for Later Use?
Yes, you can freeze pita pockets for later use. Simply wrap them tightly in plastic or aluminum foil and store them in the freezer for up to 3 months. When ready to use, thaw them at room temperature or in the microwave.
What Are the Common Fillings for Pita Pockets?
When it comes to pita pockets, you can fill them with a variety of tasty ingredients. Some common fillings include hummus, falafel, grilled vegetables, chicken, beef, or even breakfast items like eggs and cheese.
Conclusion
You've gotta try making your own pita pockets! It's so easy and fun. Just follow the recipe and you'll have delicious, fresh pitas in no time. The homemade taste can't be beaten. Plus, you can stuff 'em with all your favorite fillings. Get creative and enjoy a tasty, healthy snack or meal. Trust us, once you try homemade pita, you'll never go back to store-bought.