Diploma roll-ups are an irresistible way to celebrate your academic achievements! These savory snacks wrap your diploma inside flaky, buttery pastry for a unique, edible treat. You can customize the fillings – from sweet to savory – to suit your tastes. It's a fun twist on tradition that makes for a memorable graduation keepsake. Unroll the pastry to reveal your hard-earned diploma, then enjoy the satisfying crunch. Diploma roll-ups offer a delightful culinary experience that captures the joy of your academic milestone. Discover even more creative ways to commemorate your success!
Key Takeaways
- Diploma Roll-Ups are savory snacks that celebrate academic achievements by rolling diplomas inside flaky, buttery pastry crust.
- They serve as delightful, edible party favors or graduation treats, combining formality of diplomas with the enjoyment of dessert.
- The roll-ups can be customized with various fillings, from sweet to savory, and decorated with ribbons, chocolate, or other toppings.
- Diploma Roll-Ups are a unique culinary creation that offers a memorable keepsake for graduates and enhances graduation festivities.
- They can be marketed during graduation season, with opportunities for collaboration with event planners and promotion on social media.
Top picks for "diploma roll"
Open Amazon search results for this keyword.
As an affiliate, we earn on qualifying purchases.
History
Diploma roll-ups trace their origins back to the early 20th century when universities began seeking more compact ways to present graduates' hard-earned degrees.
Back then, diplomas were often large, bulky documents that were difficult to store and display. University administrators wanted something more convenient, so they started rolling up the diplomas and securing them with a ribbon or band.
Over the years, this practical solution evolved into a beloved tradition. Graduates would proudly display their rolled-up diplomas, showcasing their academic achievements.
The compact size made it easy to transport the diplomas and even frame them for display. As the trend caught on, diploma roll-ups became a symbol of academic success, a tangible representation of the hard work and dedication students had invested in their studies.
Today, diploma roll-ups remain a cherished part of graduation ceremonies around the world, connecting generations of scholars through this timeless practice.
Recipe
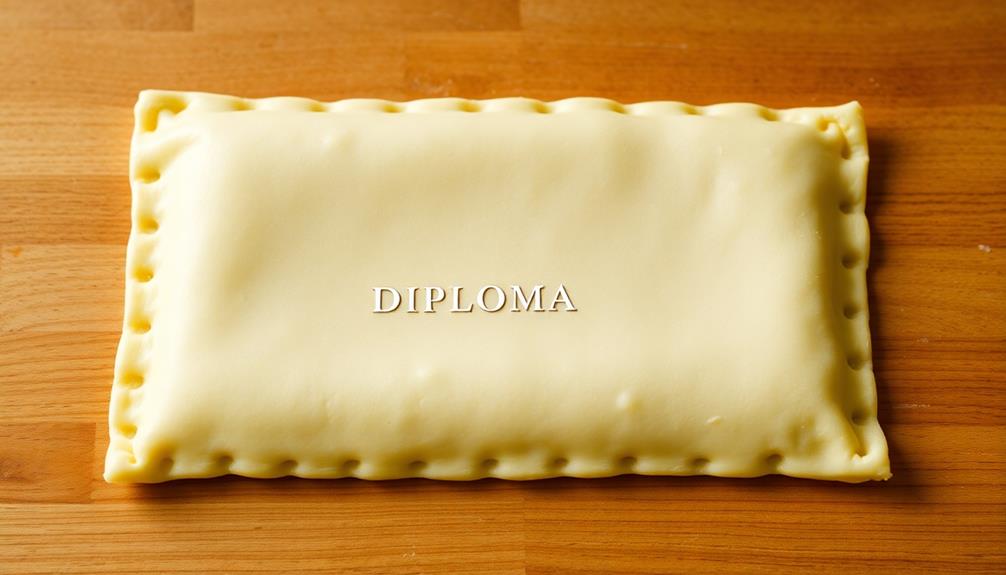
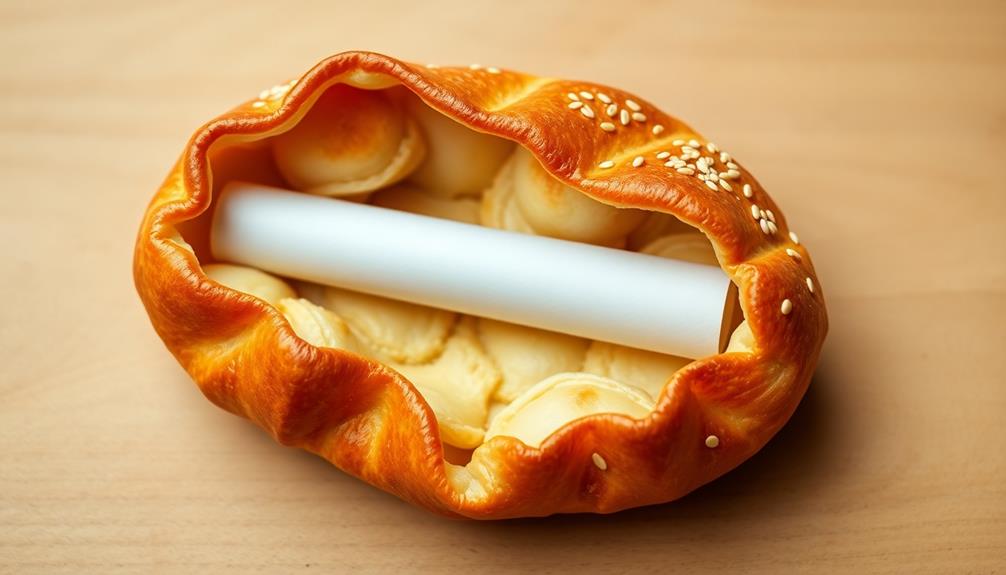
Diploma Roll-Ups are a fun and creative way to celebrate academic achievements. These savory snacks are made by rolling up diplomas or certificates inside a flaky, buttery pastry crust. They make for a delightful, edible party favor or graduation treat.
The combination of the crisp pastry shell and the formal, symbolic diploma inside creates a unique and memorable culinary experience. Guests will be delighted to unwrap their own personalized roll-up and enjoy a tasty nibble while honoring the graduate's hard work and success. Not only is the diploma roll-up a delicious treat, but it also serves as a thoughtful and creative way to celebrate the accomplishment of the graduate. Additionally, a portion of the proceeds from the sales of these diploma roll-ups will go towards providing service dogs for college students with disabilities, making the experience even more rewarding for everyone involved. By indulging in these tasty snacks, guests will not only satisfy their taste buds but also contribute towards a noble cause.
Ingredients:
- 1 sheet of puff pastry, thawed
- Diplomas or certificates, cut to size
- 1 egg, beaten
- Sesame seeds (optional)
Instructions:
Preheat the oven to 400°F (200°C). Unfold the puff pastry sheet and cut it into strips, approximately 1 inch wide and 8 inches long. Place a diploma or certificate onto the center of each pastry strip. Brush the exposed pastry with the beaten egg. Tightly roll the pastry around the diploma, sealing the edge with more egg wash.
Place the rolled-up pastries seam-side down on a parchment-lined baking sheet. Brush the tops with the remaining egg wash and sprinkle with sesame seeds, if desired.
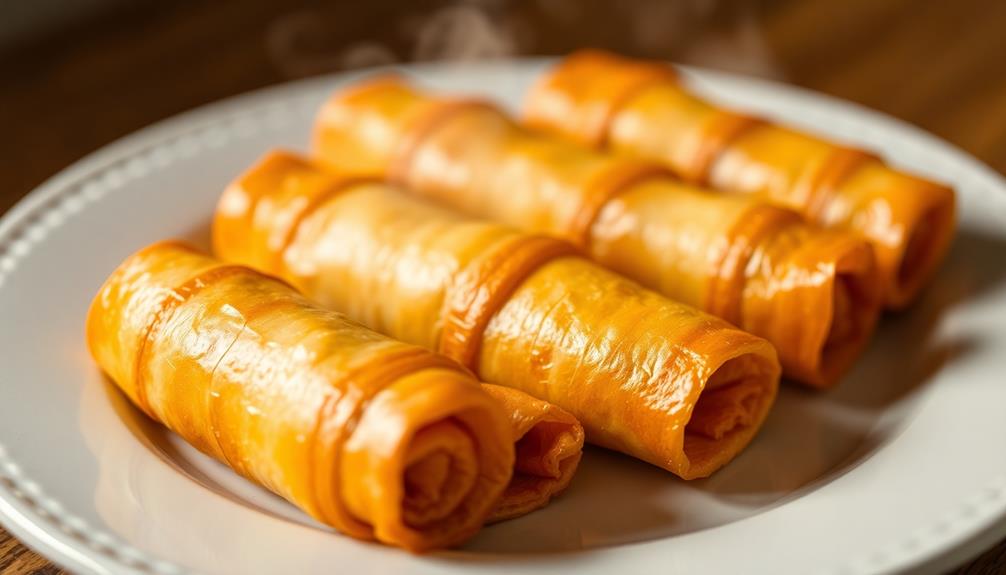
Bake the Diploma Roll-Ups for 18-22 minutes, or until the pastry is golden brown and flaky. Allow to cool for 5 minutes before serving. These edible diplomas are best enjoyed warm and fresh from the oven.
Cooking Steps
Preheat your oven to 375°F.
Spread the delicious filling evenly across the dough.
Now, it's time to roll up the dough and bake it until it's golden brown.
Once it's done, let it cool before digging in!
Step 1. Preheat Oven to 375°F
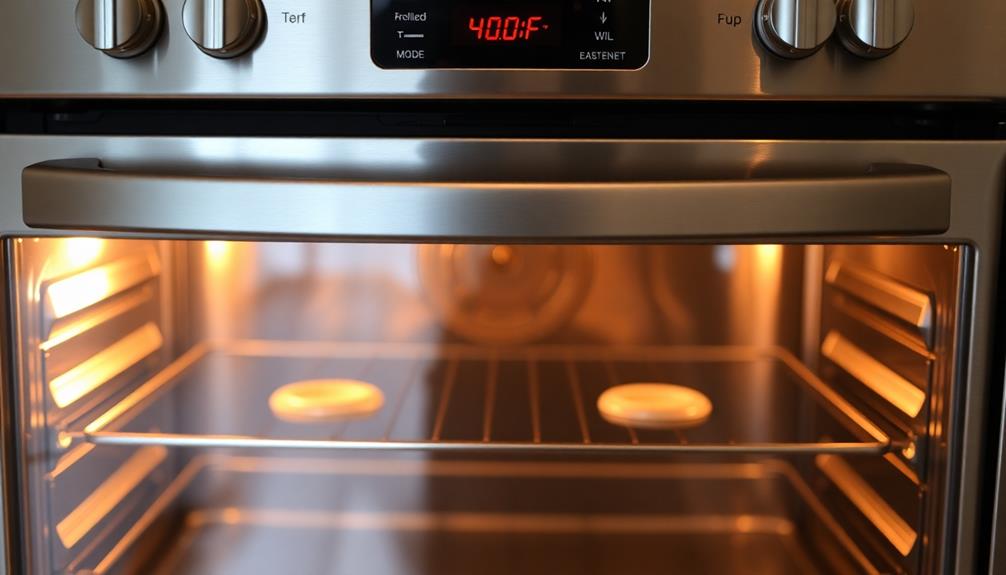
Preheating the oven to 375°F is a crucial first step in creating these delightful diploma roll-ups. This temperature ensures the pastry will bake evenly and develop a golden-brown crust, locking in all the delicious flavors.
You'll want to give your oven a few minutes to fully preheat, so it's ready to go when you are. Once the oven is up to temperature, you can confidently slide in the tray of freshly assembled diploma roll-ups, knowing they'll bake to perfection.
The warm oven will work its magic, transforming the simple ingredients into a mouthwatering treat. As the roll-ups bake, you'll be treated to an aroma that fills the kitchen, making your family eager to dive in.
Before you know it, you'll have a batch of crispy, flaky diploma roll-ups ready to serve. Now that the oven is preheated, you can move on to the next step in the recipe with ease.
Step 2. Spread Filling Evenly on Dough
Now that your oven is preheated, it's time to move on to the next step – spreading the filling evenly on the dough.
You'll want to be gentle and careful as you do this, making sure the filling is distributed from one end of the dough to the other. Use a spoon or spatula to gently scoop and spread the filling, being mindful not to tear the dough.
Work slowly and take your time, ensuring the filling covers the entire surface in a nice, even layer. This will help your roll-ups bake up perfectly, with the filling peeking out from the swirls.
Once you've got the filling spread just right, you're ready to roll up the dough.
Carefully start at one of the short ends and tightly roll the dough into a spiral, sealing the edge as you go. With the filling evenly distributed and the dough rolled up, you're well on your way to creating delicious diploma roll-ups!
Step 3. Roll up the Dough

With the filling evenly spread, you can now begin rolling up the dough. Gently lift one of the long sides of the dough and start to roll it towards the center. As you roll, make sure to keep the filling tucked inside.
Roll the dough tightly, but not too tight, to prevent the filling from squeezing out. Once you've reached the other side, use your fingers to seal the seam.
Next, take a sharp knife and slice the rolled dough into equal pieces, about an inch thick. Be careful not to squish the rolls as you cut.
Arrange the sliced rolls on a baking sheet, cut-side up. This will allow the rolls to bake evenly and maintain their shape.
Step 4. Bake Until Golden Brown
Preheat your oven to 375°F (190°C). Once the oven is nice and toasty, take out your rolled-up dough and place it onto a baking sheet. Be sure to leave a little space between each roll-up so they've room to expand as they bake.
Now, pop those babies into the oven for 15-20 minutes. Keep a close eye on them, as you want the dough to turn a lovely golden brown. The smell wafting through your kitchen will be mouthwatering, so try not to get too impatient!
Once they're perfectly baked, carefully remove the roll-ups from the oven. Let them cool for a few minutes before serving.
These diploma roll-ups are sure to be a hit! The crispy, golden crust and soft, fluffy center make for a delightful treat. Serve them warm, and don't be surprised if your friends and family go back for seconds – or even thirds!
Step 5. Allow to Cool
Once the roll-ups have been removed from the oven, allow them to cool for a few minutes before serving. This cooling step is important to prevent burning your fingers and to let the flavors meld together.
Gently transfer the warm roll-ups to a wire rack or plate. Avoid stacking them, as this can cause them to lose their shape.
As the roll-ups cool, you'll notice the golden-brown exterior hardening slightly. This is normal and means the roll-ups are setting up nicely. Give them 5-7 minutes to cool – just enough time for you to gather your plates and napkins.
The centers will firm up, but the rolls should still be warm and soft when you take your first bite.
Once cooled, the roll-ups are ready to enjoy! Their flaky pastry and savory filling make for a delightful snack or light meal.
Dig in and savor every tasty morsel.
Final Thoughts
Reflecting on the intricacies of diploma roll-ups, you may recognize their multifaceted benefits. These delightful treats offer a fun and creative way to celebrate academic achievements. Imagine the joy on someone's face as they unroll their diploma, revealing a delicious surprise within. The act of gently unrolling the paper to discover the hidden confection can make the accomplishment feel even more special.
Furthermore, diploma roll-ups can be customized to suit individual preferences. Perhaps you'll choose a classic flavor like chocolate or vanilla, or venture into more unique territory with fruit fillings or even savory options. The possibilities are endless, allowing you to tailor the experience to the recipient's tastes.
Ultimately, diploma roll-ups serve as a delightful and memorable way to mark significant educational milestones. They combine the formality of a diploma with the joy of a sweet treat, creating a memorable and celebratory experience that will be cherished for years to come.
Frequently Asked Questions
How Long Can Diploma Roll-Ups Be Stored?
You can typically store rolled-up documents for several years, depending on the materials used. Consider the type of paper, adhesives, and storage conditions to maximize their longevity. With proper care, they can retain their integrity for a substantial period.
Can Diploma Roll-Ups Be Frozen for Later Use?
You can freeze diploma roll-ups for later use. This preserves their freshness and allows you to enjoy them at a later time. Just be sure to properly seal and store them in the freezer.
What Is the Best Way to Reheat Leftover Diploma Roll-Ups?
To reheat leftover roll-ups, you can pop them in the microwave for 30-60 seconds or place them in a preheated oven at 350°F for 5-10 minutes until heated through. Be careful not to overheat, or they may become dry.
Can the Recipe Be Easily Scaled up or Down?
You can easily scale the recipe up or down to make more or fewer servings. Adjust the ingredient quantities proportionally, and the cooking time may need to be adjusted slightly as well, depending on the size of the batch.
Are There Any Dietary Restrictions for Diploma Roll-Ups?
When it comes to dietary restrictions, you'll need to consider any food allergies or intolerances your guests may have. With some creativity, you can likely modify the recipe to accommodate various dietary needs.
Conclusion
These diploma roll-ups are a fantastic way to celebrate your achievements! You'll love the tasty, crisp exterior and the gooey, melted cheese inside. They're so easy to make, and you can customize them with your favorite toppings. Whether you're sharing them with friends or enjoying them on your own, these roll-ups are sure to bring a smile to your face. Go ahead, give them a try – you won't be disappointed!