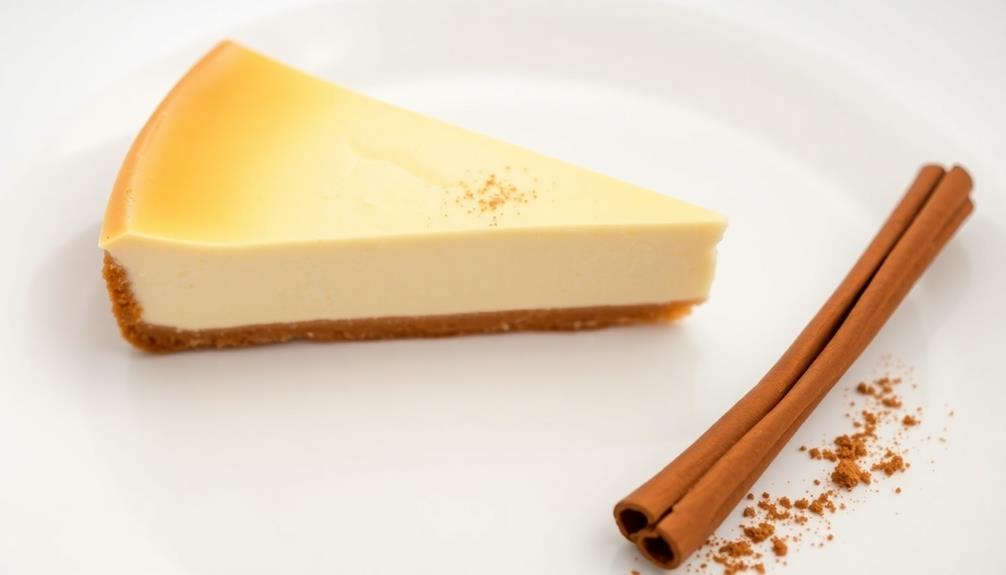

You're in for a real treat with eggnog cheesecake! This decadent dessert combines the rich, creamy texture of classic cheesecake with the beloved flavors of festive eggnog. Imagine the aroma of warm cinnamon and nutmeg wafting through the air as you take that first creamy bite. It's the perfect way to capture the cozy spirit of the holidays. Whether you're hosting a gathering or simply indulging in some personal holiday cheer, this eggnog cheesecake is sure to delight. Keep reading to discover the delightful history and step-by-step recipe for this cherished seasonal treat.
Key Takeaways
- Eggnog cheesecake combines the rich, creamy texture of cheesecake with the festive flavors of eggnog, making it a popular holiday dessert.
- The recipe's origins trace back to medieval European beverages, with the first known eggnog cheesecake recipe published in the early 1900s.
- Proper technique, such as using room temperature ingredients and a slow cooling process, is crucial for achieving a smooth texture and preventing surface cracking.
- The dessert's flavor profile evokes a cozy winter wonderland experience, with balanced sweetness and spiced notes from ingredients like cinnamon and nutmeg.
- Serving eggnog cheesecake during holiday gatherings creates opportunities for shared experiences and lasting memories among guests.
Top picks for "eggnog cheesecake"
Open Amazon search results for this keyword.
As an affiliate, we earn on qualifying purchases.
History
Although the origins of eggnog can be traced back to a medieval European beverage, the eggnog cheesecake as we know it today is a more recent culinary creation.
You see, the first known eggnog cheesecake recipe was published in the early 1900s, when creative cooks started combining the classic holiday drink with the beloved dessert.
Can you imagine the delight when someone first took a bite of that rich, creamy cheesecake bursting with the warm spices of eggnog? It must have been a truly magical moment!
Since then, eggnog cheesecake has become a cherished holiday treat, delighting taste buds around the world.
Whether you enjoy it with a dollop of whipped cream or a sprinkle of nutmeg, this festive dessert is sure to bring a smile to your face and fill your heart with holiday cheer.
Recipe
The rich, creamy texture of cheesecake combined with the warm, festive flavors of eggnog makes for a decadent holiday treat. This eggnog cheesecake is perfect for Christmas gatherings or any time you want to indulge in a decadent dessert.
To ensure a smooth, creamy texture, it's important to follow the recipe closely and take the time to properly prepare the ingredients. With a bit of patience and attention to detail, you'll have a show-stopping eggnog cheesecake that's sure to impress your guests.
Ingredients:
- 24 ounces (680g) cream cheese, softened
- 1 cup (200g) granulated sugar
- 1/4 cup (60ml) eggnog
- 2 tablespoons all-purpose flour
- 1 teaspoon vanilla extract
- 1/4 teaspoon ground nutmeg
- 3 large eggs
Cooking Instructions:
Preheat the oven to 325°F (165°C). In a large bowl, beat the cream cheese with a hand mixer until smooth and creamy. Gradually add the sugar, beating until well combined.
Mix in the eggnog, flour, vanilla, and nutmeg until smooth. Add the eggs one at a time, beating well after each addition. Pour the batter into a greased 9-inch springform pan. Bake for 55-65 minutes, or until the center is almost set.
Turn off the oven and leave the cheesecake in the oven for an additional hour. Remove from the oven and allow to cool completely on a wire rack, then refrigerate for at least 4 hours or overnight before serving.
To ensure the perfect eggnog cheesecake, be sure to use room temperature ingredients and take the time to thoroughly mix the batter. Additionally, allowing the cheesecake to cool slowly in the oven helps prevent cracking on the surface.
Serve chilled and garnish with a sprinkle of nutmeg or a dollop of whipped cream for an extra special touch.
Cooking Steps
Preheat your oven to 325°F and get ready to create a delicious eggnog cheesecake!
In a large bowl, beat the cream cheese until it's nice and smooth, then gradually add the egg yolks, stirring until they're combined.
Next, stir in the eggnog and vanilla – the flavors are going to be out of this world!
Step 1. Preheat Oven to 325°F
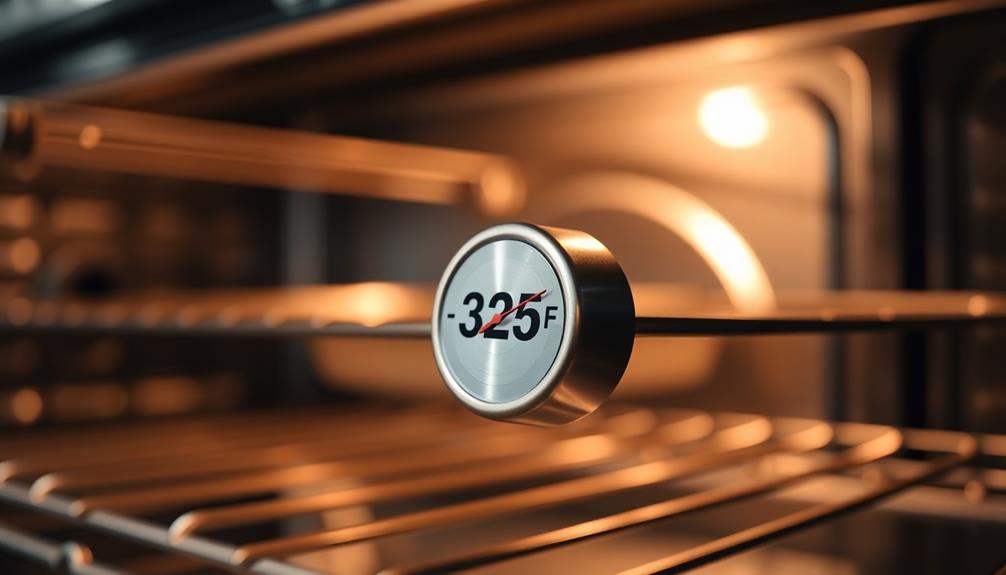
To begin the cooking process, preheat your oven to 325°F. This crucial step ensures your oven is at the perfect temperature before you slide your cheesecake in to bake. You'll want to give the oven a few minutes to reach and stabilize at this toasty temperature.
While you're waiting, take a moment to gather all your ingredients and utensils. This way, you'll be ready to go as soon as the oven is preheated.
Once it reaches the target temperature, you can confidently place your cheesecake pan on the middle oven rack. The even heat will help your dessert bake evenly, resulting in a smooth, creamy texture.
Remember to keep a close eye on the time – you don't want to over-bake! With the oven set and your ingredients ready, you're one step closer to enjoying a delicious, homemade eggnog cheesecake.
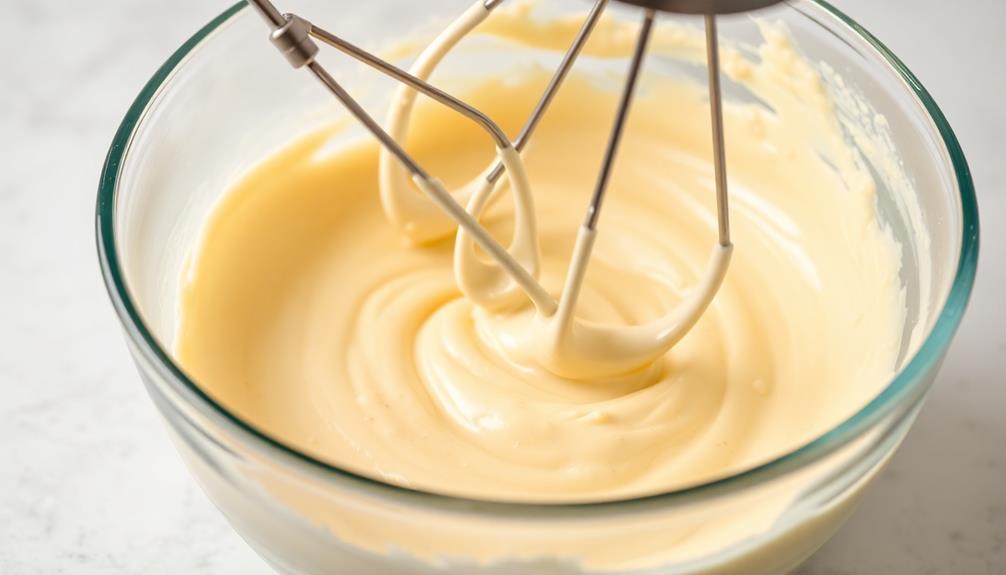
Step 2. In a Large Bowl, Beat Cream Cheese

Grab a large bowl and beat the cream cheese until it's smooth and creamy. This is the perfect time to get those arms moving! Cream cheese can be a bit stubborn, so you'll need to really put some elbow grease into it. As the cream cheese starts to loosen up, it'll become light and fluffy – just the way you want it for this delicious eggnog cheesecake.
Next, add in the sugar and beat again until it's well incorporated. The sugar will give the cheesecake that signature sweetness. Don't forget to scrape down the sides of the bowl to make sure everything mixes together evenly.
Now it's time for the eggnog! Pour that in and beat until it's fully combined. The eggnog will lend its rich, creamy flavor to the cheesecake batter. Keep beating until the mixture is silky smooth. You're doing great – the hard part is over! Time to move on to the next step.
Step 3. Add Egg Yolks Gradually

Next, you'll want to gradually add the egg yolks one at a time, beating well after each addition. This step is crucial to get that rich, creamy texture you're after in your eggnog cheesecake.
As you slowly incorporate the egg yolks, you'll notice the batter start to thicken up and become silkier. It's like you're giving the cheesecake a big, warm hug with each addition.
Don't be shy – keep on whisking away until all the egg yolks have been mixed in perfectly. Your patience will really pay off when you take that first bite and savor the velvety smooth filling.
Just imagine how the sweet eggnog flavor will mingle with the tangy cream cheese. Yum!
Once you've mastered this step, you'll be well on your way to baking up a cheesecake that'll have everyone ooh-ing and ahh-ing. Get ready for the compliments to come pouring in!
Step 4. Stir in Eggnog and Vanilla
Now that you've perfectly incorporated the egg yolks, it's time to stir in the eggnog and vanilla. This is where the festive flavors really come to life! Once the eggnog and vanilla are stirred in, the mixture will become rich and aromatic, perfect for creating that delicious, holiday-infused flavor. The creamy texture of the eggnog will complement the richness of the egg yolks, bringing a unique twist to your classic deviled eggs recipe. It’s a delightful way to add a seasonal touch to a timeless dish.
Grab your trusty wooden spoon and get ready to mix things up. Slowly pour in the rich, creamy eggnog, letting it swirl and blend with the luscious cream cheese. As the eggnog combines, you'll start to smell the warm, spicy aroma of vanilla wafting through the air.
Keep stirring gently until the mixture is smooth and well-incorporated. You'll notice the batter taking on a wonderfully thick and velvety texture. Yum!
The eggnog and vanilla work together to create an irresistible flavor that's sure to have everyone coming back for seconds. With just a few more steps, your delectable eggnog cheesecake will be ready to chill and enjoy.
Get excited – this is when the magic really happens!
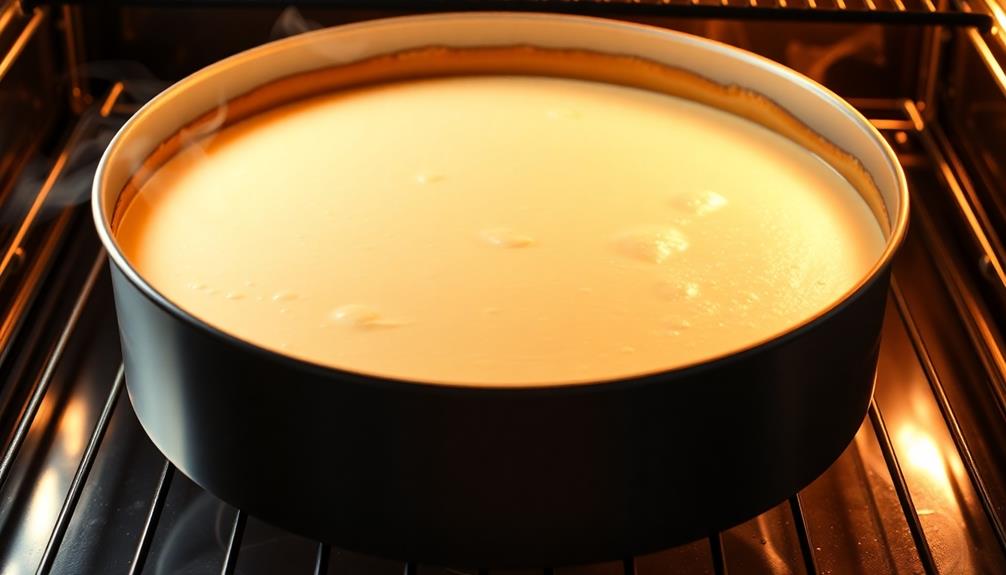
Step 5. Bake Until Center Is Set
With the eggnog and vanilla now beautifully incorporated, it's time to get your cheesecake in the oven.
Preheat your oven to 325°F (165°C) and lightly grease a 9-inch springform pan. Gently pour the creamy filling into the prepared pan, smoothing the top with a spatula.
Now, place the pan in the preheated oven and bake for 55 to 65 minutes. Keep an eye on it, and don't worry if the edges start to turn golden brown – that's exactly what you want! The center of the cheesecake should still be slightly jiggly when you gently shake the pan. This means it's perfectly baked and ready to cool.
Once the time is up, turn off the oven and leave the cheesecake inside for an additional hour. This gradual cooling process helps prevent cracking on the surface.
After an hour, you can safely remove the cheesecake and let it finish cooling completely on a wire rack before refrigerating.
With patience and care, you're well on your way to a delightfully smooth and creamy eggnog cheesecake!
Final Thoughts
Ultimately, you'll find this eggnog cheesecake to be an indulgent and festive dessert perfect for holiday celebrations. The rich, creamy texture and the warm spices of the eggnog blend together seamlessly, creating a truly decadent treat.
As you take that first bite, the flavors dance on your tongue, transporting you to a cozy winter wonderland. The aroma of cinnamon and nutmeg wafts through the air, filling your senses with the essence of the holidays.
Not only is this cheesecake delightful to the palate, but it also makes for a stunning centerpiece on your dessert table. The golden-brown top, dusted with a light coating of powdered sugar, gives it an elegant and festive appearance.
Serving this cheesecake to your family and friends is sure to impress and delight, creating lasting memories of the holiday season. Indulge in the rich, creamy goodness of this eggnog cheesecake and savor every bite of this delectable seasonal delight.
Frequently Asked Questions
Can I Use Store-Bought Eggnog Instead of Homemade?
You can definitely use store-bought eggnog instead of homemade. It'll save you time and effort, and the store-bought version will still give your dish that rich, creamy eggnog flavor you're looking for.
How Long Does the Cheesecake Need to Chill Before Serving?
The cheesecake should chill for at least 4 hours, but you'll get the best results if you let it sit overnight. This allows the flavors to meld and the texture to firm up nicely before serving.
Can I Freeze the Cheesecake for Later?
Yes, you can freeze the cheesecake for later enjoyment. Just be sure to wrap it tightly in plastic wrap or foil to prevent freezer burn. When you're ready to serve it, simply thaw it in the refrigerator overnight.
What Type of Cream Cheese Works Best for This Recipe?
When making cheesecake, you'll want to use a full-fat cream cheese, as it provides the richest texture and flavor. Philadelphia cream cheese is a classic choice that works well in most cheesecake recipes.
Can I Substitute the Eggnog With Another Dairy Product?
You can certainly substitute the eggnog with another dairy product, though the flavor will differ. Consider using heavy cream, sour cream, or even a combination of milk and cream to achieve a similar texture and creaminess.