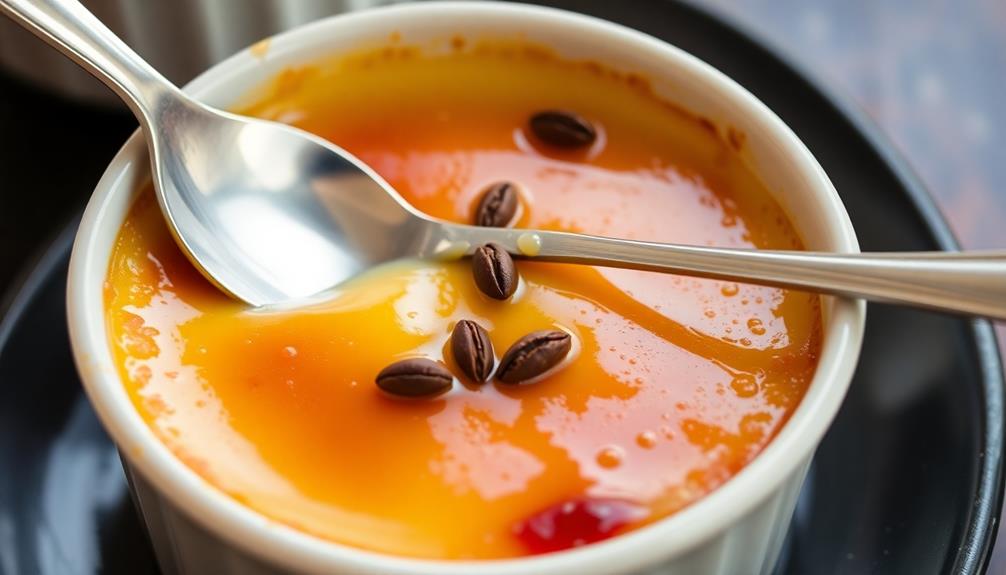

Imagine cracking through a crisp, golden layer of caramelized sugar to unveil a silky smooth custard – that's the magic of crème brûlée! This beloved French dessert has captivated taste buds for centuries, tracing its roots back to 17th-century Europe. To create the perfect crème brûlée, you'll need quality ingredients like heavy cream, egg yolks, and vanilla. Then, it's all about precision baking and chilling before adding that signature caramelized topping. Once you've mastered the technique, you'll be rewarded with a dessert that's both elegant and irresistible. Keep reading to discover the full story behind this timeless treat.
Key Takeaways
- Crème brûlée is a classic French dessert consisting of a rich, creamy custard base topped with a layer of hardened caramelized sugar.
- The origins of crème brûlée can be traced back to the 17th century, with the first mention in a 1691 cookbook.
- The unique caramelized top is what distinguishes crème brûlée from other custard-based desserts.
- Crème brûlée gained global popularity, particularly in the United States during the 1970s, and is considered a timeless, sophisticated dessert.
- The key to successful crème brûlée lies in high-quality ingredients, precise baking, and careful caramelization of the sugar topping.
History
Crème brûlée has a long and storied history, dating back to the early 17th century. This classic French dessert was first mentioned in a 1691 cookbook, but its origins can be traced even further to the 17th-century universities in Europe.
Back then, custard-based desserts were quite popular, and the unique caramelized top of crème brûlée made it stand out from the rest.
Over the centuries, this decadent treat evolved and gained popularity across the globe. During the 1970s, crème brûlée experienced a resurgence in the United States, becoming a staple on restaurant menus everywhere.
Today, it's considered a timeless and sophisticated dessert, loved for its creamy custard base and crisp, caramelized top. Whether you enjoy it in a fancy restaurant or make it at home, crème brûlée is a delightful indulgence that has stood the test of time.
Recipe
Crème Brûlée is a rich and creamy custard dessert with a caramelized sugar topping. This classic French dessert is a favorite among many for its delightful contrast of textures and flavors.
The key to a successful Crème Brûlée lies in the proper preparation of the custard. It's essential to use high-quality ingredients and follow the recipe closely to achieve the perfect balance of creaminess and sweetness.
Ingredients:
- 2 cups heavy cream
- 1 vanilla bean, split lengthwise
- 5 large egg yolks
- 1/2 cup granulated sugar, plus more for caramelizing
Instructions:
Preheat the oven to 325°F (165°C). In a medium saucepan, combine the heavy cream and vanilla bean. Heat the mixture over medium heat, stirring occasionally, until it just begins to simmer. Remove from heat and let the vanilla steep for 30 minutes.
In a medium bowl, whisk the egg yolks and 1/2 cup of granulated sugar until the mixture is pale and thick. Gradually pour the hot cream mixture into the egg yolk mixture, whisking constantly. Strain the custard through a fine-mesh sieve and discard the vanilla bean.
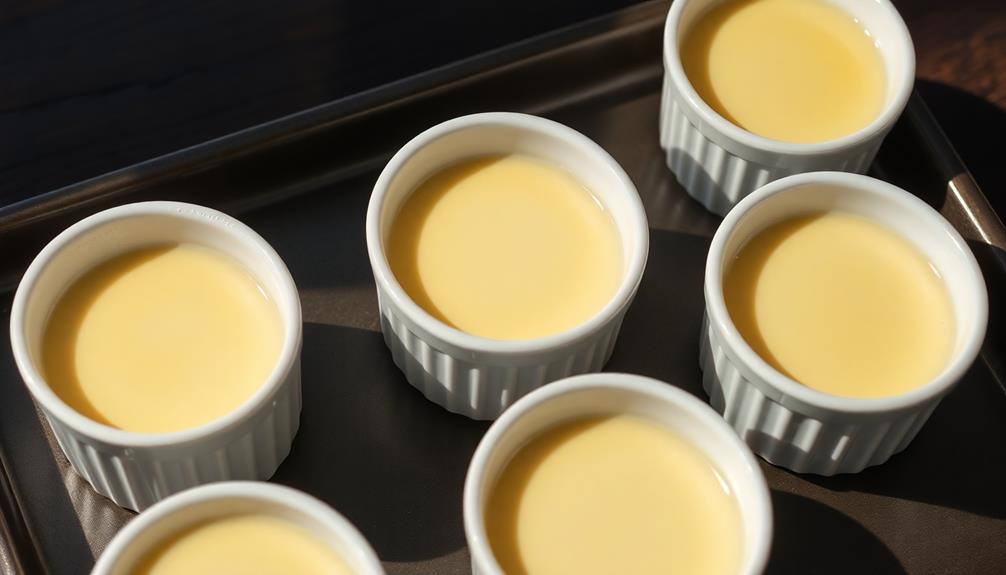
Divide the custard evenly among six 6-ounce ramekins. Place the ramekins in a baking dish and pour enough hot water into the dish to come halfway up the sides of the ramekins. Bake for 30-35 minutes, or until the centers are just set.
Remove the ramekins from the water bath and let cool to room temperature. Refrigerate for at least 2 hours or up to 3 days.
Just before serving, evenly sprinkle the tops of the chilled custards with a thin layer of granulated sugar. Using a kitchen torch, caramelize the sugar until it's golden brown and crisp. Serve immediately.
Cooking Steps
Preheat your oven to a toasty 300°F, then carefully spread that luscious custard into a baking dish.
Next, sprinkle the sugar evenly over the top, and use a kitchen torch to caramelize it until it's a delightful golden-brown.
Step 1. Preheat Oven to 300°F
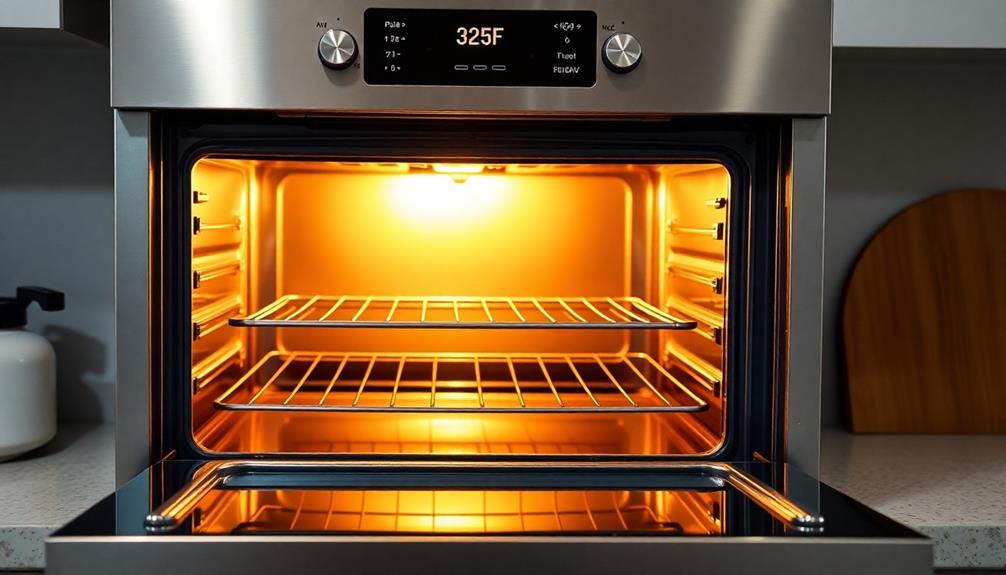
Crank up the oven to a toasty 300°F to get it ready for the next step in this delectable Crème Brûlée recipe.
You'll want to make sure your oven is nice and hot, so it can work its magic on the custard. Once that temperature is reached, slide the oven rack out and carefully place your ramekins filled with the creamy custard mixture onto it.
Make sure to keep a close eye on the oven, as you don't want the tops to brown too quickly. The custard needs time to bake through and set up perfectly.
When the timer dings, the edges should be just set, while the centers are still a bit jiggly.
With the oven preheated and the ramekins in place, you're one step closer to enjoying that crisp, caramelized top and velvety smooth custard. Yum!
Step 2. Spread Custard in Baking Dish
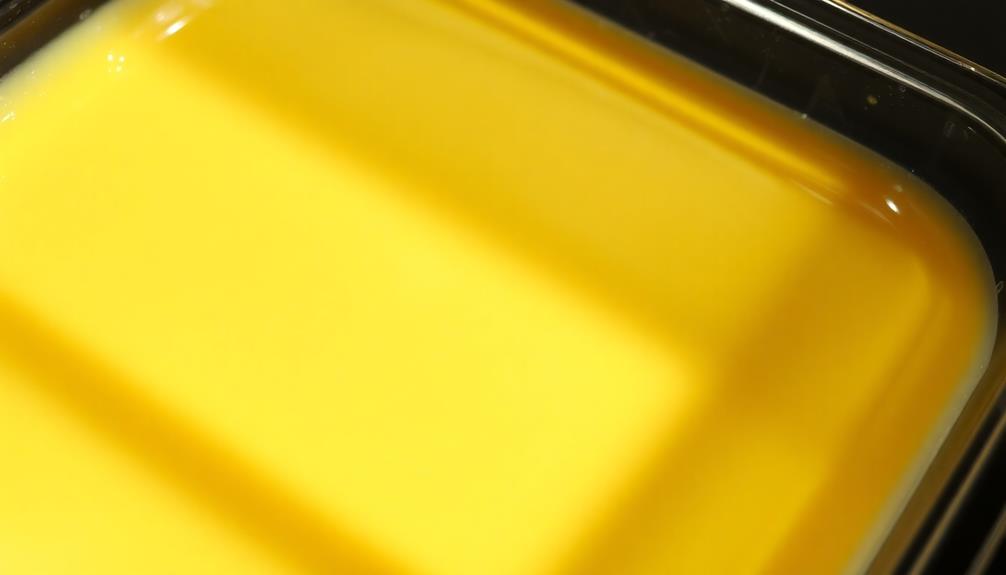
Grab a 9-inch baking dish and carefully pour the custard mixture into it. Spread the custard evenly across the bottom of the dish, making sure it's level. You want to create a nice, smooth surface for the caramelized topping. Use a spatula or the back of a spoon to gently smooth out any bumps or uneven areas.
Once the custard is in the dish, you'll need to refrigerate it for at least 2 hours, or until it's completely set. This gives the custard time to firm up and develop that classic crème brûlée texture. Be patient – the waiting is tough, but it'll be worth it!
After the custard has chilled, it's time for the fun part – caramelizing the top! Grab your kitchen torch and get ready to create that delightful, crackly shell. Slowly move the flame back and forth across the surface, watching as the sugar melts and turns a beautiful golden brown.
Don't be afraid to take your time and get the topping just how you like it!
Step 3. Sprinkle Sugar Evenly Over Custard
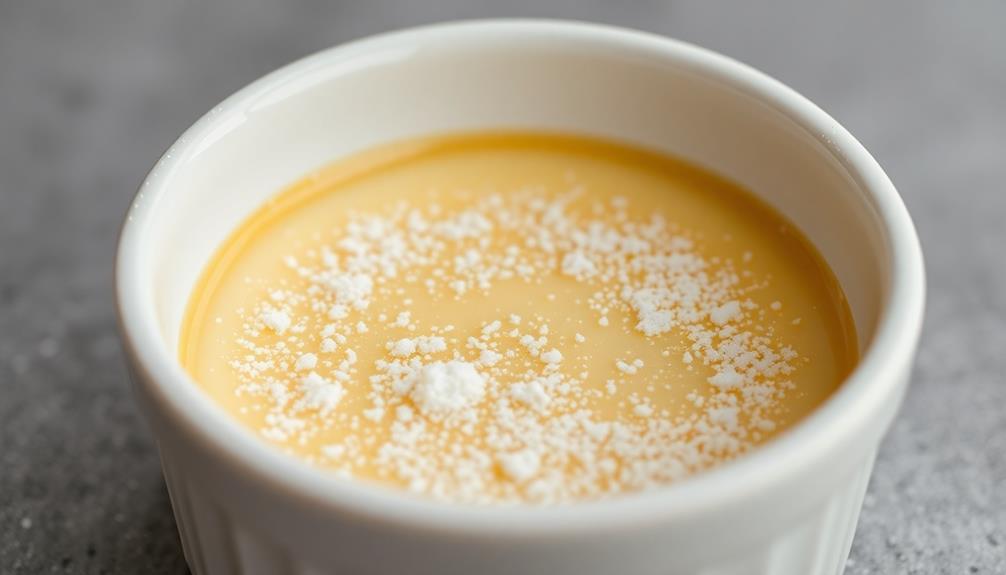
Once the custard has fully chilled, it's time to add the final touch – the caramelized topping. Grab a small spoon and sprinkle the sugar evenly over the surface of the custard. Make sure to cover every inch, so the entire top gets that delightful crunch when you take a bite.
Now, it's time for the fun part! Grab a kitchen torch and carefully run the flame across the sugar, moving it back and forth. Watch as the sugar transforms into a beautiful, golden-brown crust. The sweet aroma will start to fill the air, making your mouth water with anticipation.
Take your time and don't rush this step – you want to get that perfect, even caramelization.
Once the top is evenly browned, you're ready to serve your masterpiece. Grab a spoon and crack through that crisp, caramelized layer to reveal the silky-smooth custard underneath. It's a heavenly combination of textures and flavors that's sure to impress your family and friends.
Step 4. Caramelize Sugar With Kitchen Torch
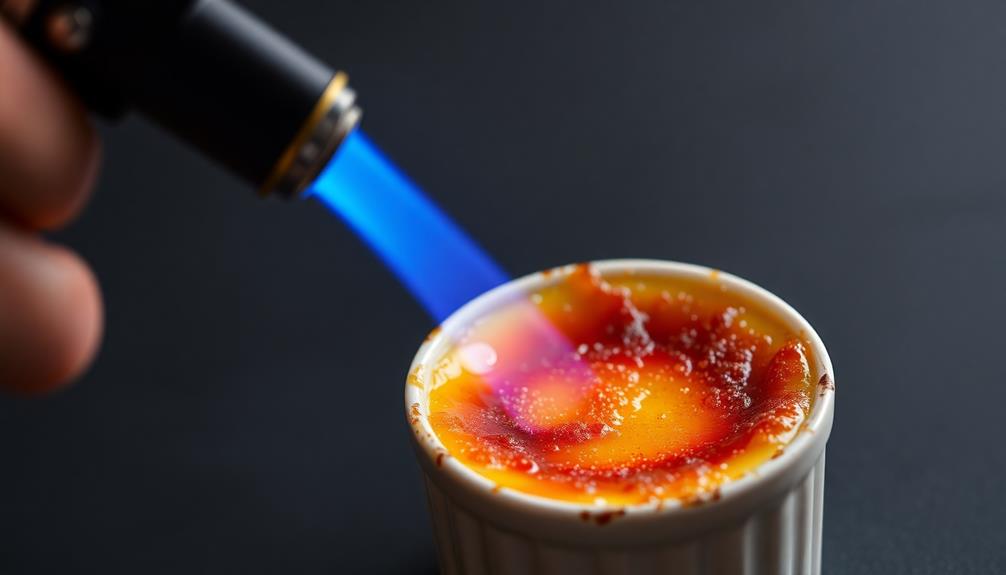
With the custard chilled and the sugar evenly sprinkled, it's time to wield the kitchen torch. This is the moment you've been waiting for – the dramatic finale that will transform your dessert into a masterpiece.
Grip the torch firmly in your hand, then slowly sweep the flame back and forth over the sugar. Watch as the granules begin to melt and caramelize, creating a delightful crackly crust. The aroma of toasted sugar fills the air, making your mouth water in anticipation.
Be patient and take your time, carefully caramelizing every inch of the surface. As the sugar transforms into a rich, golden brown hue, you'll know you've achieved perfection.
Step 5. Refrigerate Until Custard Is Set
After caramelizing the sugar, you'll need to refrigerate the ramekins until the custard is completely set. This usually takes about 2 to 3 hours, but it's important to be patient. As the custard cools, it will become firmer and more creamy.
You'll know it's ready when you gently shake the ramekin and the center no longer jiggles.
Once the custard is set, you can remove the ramekins from the fridge. Be careful, as the dishes will be cold to the touch.
Now it's time to add the caramelized sugar topping! Sprinkle an even layer of sugar over the top of the custard, making sure to cover the entire surface.
With the sugar in place, it's time to break out the kitchen torch. Slowly move the flame back and forth over the sugar until it melts and transforms into a crisp, golden brown crust.
Listen for the satisfying crackle as you crack through the caramelized top. Mmm, doesn't that sound delicious?
Final Thoughts
Crème brûlée, the classic French dessert, is a true culinary delight. The silky smooth custard and the caramelized sugar topping create a heavenly combination that's sure to please your taste buds.
When you take that first bite, the crisp shell gives way to the velvety custard, and you'll be in dessert heaven.
What makes crème brûlée so special is the contrast of textures and temperatures. The cool, rich custard paired with the warm, crunchy topping is simply irresistible.
And the best part? It's easy to make at home. All you need is a few simple ingredients and a little bit of patience.
Frequently Asked Questions
What Is the Difference Between Crème Brûlée and Crème Caramel?
While crème brûlée is a baked custard with a caramelized sugar topping, crème caramel is a custard dessert with a layer of caramel sauce on top. The main difference lies in their preparation and final presentation.
Can Crème Brûlée Be Made in Advance?
Yes, you can make crème brûlée in advance. The custard base can be prepared and chilled a day or two before the final caramelized topping is added and served.
How Do I Prevent the Custard From Curdling?
To prevent the custard from curdling, you should avoid overcooking or exposing it to sudden temperature changes. Gently heat the custard, whisking frequently, and let it cool gradually before using or refrigerating it.
Can Crème Brûlée Be Frozen?
Can it be frozen? Yes, you can freeze crème brûlée, though it may affect the texture and creaminess. It's best to consume it fresh for the optimal experience.
Is It Necessary to Use a Kitchen Torch?
Yes, you'll need a kitchen torch to properly caramelize the sugar on top of crème brûlée. The intense heat from the torch is essential for creating that signature crisp, golden-brown crust.