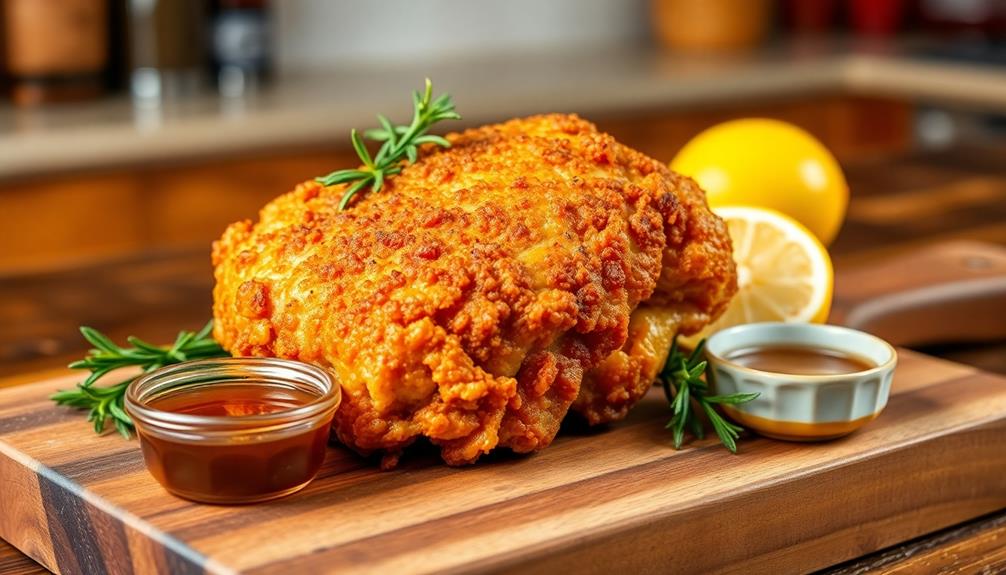
Fried chicken is a delicious dish that'll make your taste buds dance! It's crispy on the outside and juicy on the inside. You'll love how the golden-brown coating crunches when you bite into it. The secret is in the seasoning and cooking method. First, you marinate the chicken in buttermilk, then coat it in seasoned flour. Next, you fry it in hot oil until it's perfectly cooked. Fried chicken is great for family dinners, picnics, or anytime you want a comforting meal. It pairs well with mashed potatoes, coleslaw, or corn on the cob. There's so much more to discover about this mouthwatering favorite!
Key Takeaways
- Fried chicken originated from Scottish and West African culinary traditions, blending in the American South during the 1800s.
- Essential ingredients include chicken pieces, buttermilk marinade, and seasoned flour coating for crispy texture.
- Proper frying technique involves maintaining oil temperature at 350°F (175°C) and cooking until internal temperature reaches 165°F (74°C).
- Double-dipping chicken in flour and buttermilk enhances crispiness, while avoiding overcrowding ensures even cooking.
- Serving suggestions include letting chicken rest before eating and pairing with sides like mashed potatoes, coleslaw, or cornbread.
History
Two distinct culinary traditions gave rise to modern fried chicken. You might be surprised to learn that this beloved dish has roots in both Scottish and West African cooking!
In Scotland, people often fried their chicken in fat, without any coating. When Scottish immigrants came to America, they brought this cooking method with them.
Meanwhile, West African cooks had their own technique. They'd season and batter their chicken before frying it in palm oil.
These two styles met in the American South, where they blended to create the fried chicken we know today. During the 1800s, fried chicken became a popular dish for special occasions. It was easy to make and could feed a lot of people.
As time went on, fried chicken spread across the country. In the 1900s, restaurants started serving it, making it even more popular.
Colonel Sanders opened his famous Kentucky Fried Chicken restaurant in 1930, helping to make fried chicken a true American favorite.
Today, you can find this tasty treat all over the world!
Recipe
Fried chicken is a beloved comfort food that has been enjoyed for generations. Its crispy, golden-brown exterior and juicy, flavorful interior make it a crowd-pleaser at family gatherings, picnics, and casual dinners. While there are many variations of fried chicken recipes, this classic version delivers a perfect balance of taste and texture. For those looking to switch up their fried chicken game, they may want to try a crispy chicken fried steak recipe. This twist on the classic dish involves a tenderized steak that is breaded and fried to perfection, delivering a satisfying crunch with each bite. Whether it’s served with creamy mashed potatoes and gravy or sandwiched between two slices of bread, this crispy chicken fried steak recipe is sure to become a new favorite.
This recipe combines a flavorful marinade with a well-seasoned coating to create a delicious and satisfying meal. The key to achieving the perfect crunch lies in double-dredging the chicken pieces and maintaining the right oil temperature throughout the cooking process. With a little patience and attention to detail, you can create restaurant-quality fried chicken in your own kitchen.
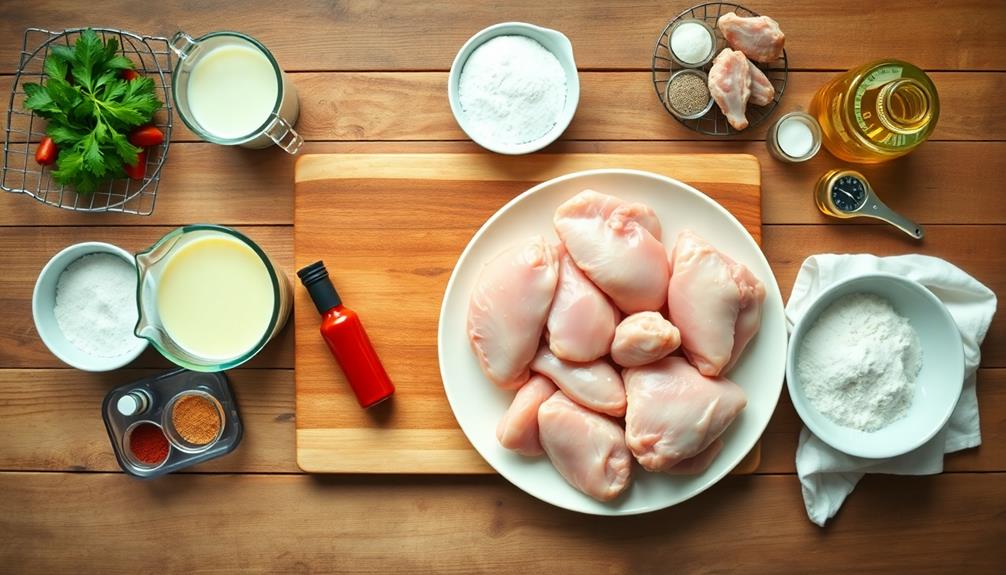
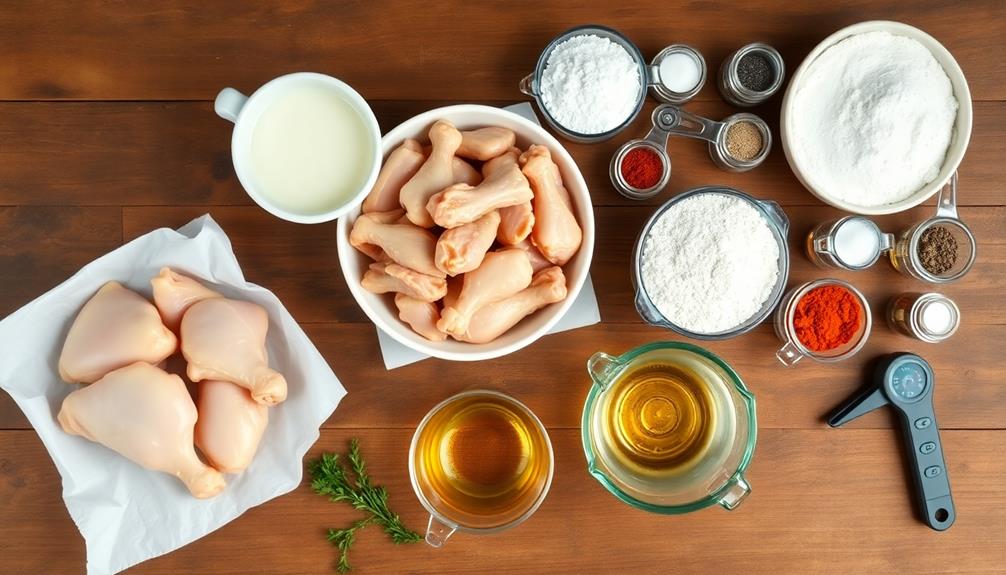
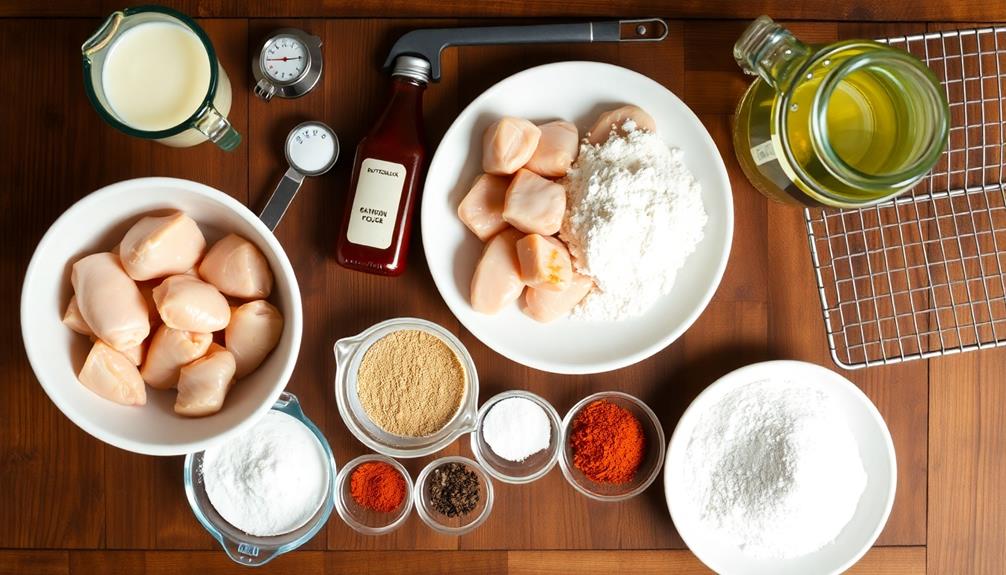
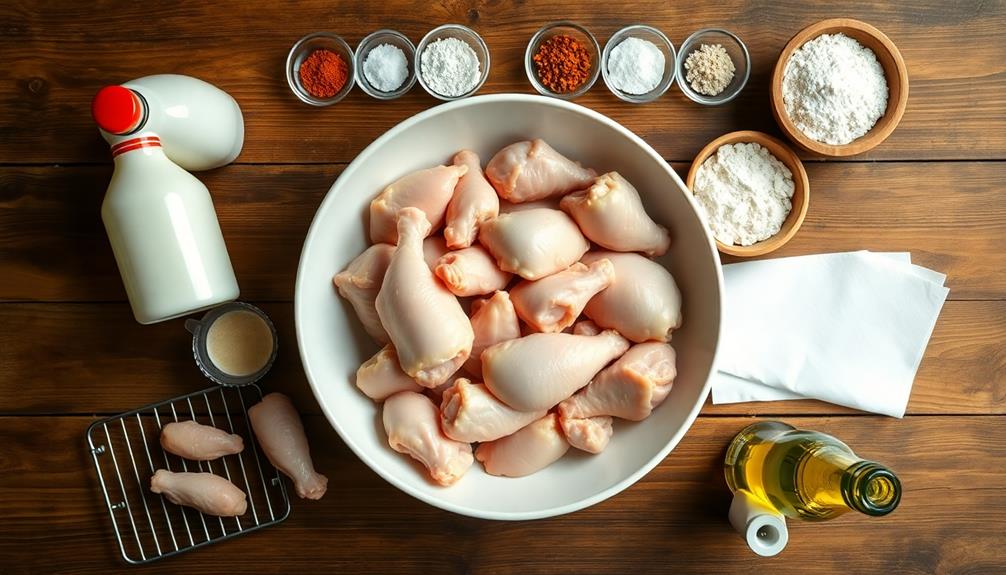
- 3 pounds chicken pieces (mix of thighs, drumsticks, and wings)
- 2 cups buttermilk
- 2 tablespoons hot sauce
- 2 cups all-purpose flour
- 1 tablespoon paprika
- 1 tablespoon garlic powder
- 1 tablespoon onion powder
- 1 teaspoon cayenne pepper
- 2 teaspoons salt
- 1 teaspoon black pepper
- Vegetable oil for frying
Begin by marinating the chicken pieces in a mixture of buttermilk and hot sauce for at least 4 hours or overnight. When ready to cook, mix the flour with all the seasonings in a shallow dish.
Remove the chicken from the marinade, allowing excess to drip off. Dredge each piece in the seasoned flour, then dip back into the marinade, and coat again with the flour mixture. Heat oil in a large, heavy-bottomed pot or deep fryer to 350°F (175°C). Fry the chicken in batches for 12-15 minutes, turning occasionally, until golden brown and cooked through (internal temperature should reach 165°F or 74°C). Drain on a wire rack or paper towels before serving.
For best results, use a meat thermometer to ensure the oil maintains a consistent temperature throughout the frying process. If the oil is too hot, the exterior will burn before the inside is cooked; if it's too cool, the chicken will absorb excess oil and become greasy.
Allow the fried chicken to rest for a few minutes before serving to help the crust set and the juices redistribute. Leftover fried chicken can be stored in the refrigerator for up to 3 days and reheated in a 350°F (175°C) oven for 10-15 minutes to restore crispiness.
Cooking Steps
You're about to embark on the exciting journey of cooking fried chicken!
First, you'll coat the chicken in seasoned flour and dip it in a buttermilk mixture.
Then, you'll fry the coated chicken in hot oil until it's golden brown and crispy, before removing it to rest and serve with your favorite sides.
Step 1. Coat Chicken in Seasoned Flour
Coating the chicken in seasoned flour is a crucial step in achieving that perfect crispy exterior. You'll want to start by preparing your flour mixture. In a large bowl, combine all-purpose flour with your favorite seasonings. Salt and pepper are must-haves, but don't be afraid to add garlic powder, paprika, or even a touch of cayenne for some heat.
Now, it's time to get your hands messy! Take each piece of chicken and dip it into the seasoned flour. Make sure you coat it evenly, pressing the flour into every nook and cranny. Shake off any excess flour, as too much can lead to a gummy coating.
For extra crispiness, you can double-dip your chicken. After the first coating, dip the piece in buttermilk or beaten egg, then back into the flour mixture. This creates a thicker, crunchier crust that'll have everyone asking for seconds.
Step 2. Dip Chicken in Buttermilk Mixture
After coating your chicken in seasoned flour, it's time to give it a luxurious buttermilk bath. This step adds moisture and helps create that perfect, crispy crust we all love. You'll need a large bowl for this part of the process.
Pour buttermilk into the bowl and add some beaten eggs. The mixture should be smooth and creamy.
Now, gently place each piece of floured chicken into the bowl. Make sure every bit of the chicken is covered in the buttermilk mixture. Let the pieces soak for a few minutes to really absorb the flavors.
As you work, you might notice the mixture getting a bit thick. That's okay! It's just the flour from the chicken mixing in. If it gets too thick, you can add a splash more buttermilk.
When you're done, lift each piece out of the bowl. Let the excess drip off for a moment. Your chicken is now ready for its final coat of flour before frying.
This double-dipping method is the secret to extra-crispy, super-tasty fried chicken that'll make your mouth water!
Step 3. Fry Chicken in Hot Oil
Finally, it's time to fry your perfectly prepared chicken. Heat vegetable oil in a large, deep skillet or Dutch oven until it reaches 350°F (175°C). You'll need enough oil to cover the chicken pieces halfway. Use a thermometer to check the temperature.
Carefully place a few pieces of chicken into the hot oil, making sure not to overcrowd the pan. This helps maintain the oil's temperature and ensures even cooking. You'll hear a satisfying sizzle as the chicken touches the oil.
Let the chicken fry for about 12-15 minutes, turning it once halfway through. The outside should turn a beautiful golden brown color. Keep an eye on the temperature, adjusting the heat as needed to keep it steady.
When the chicken is done, the internal temperature should reach 165°F (74°C). Use tongs to remove the chicken from the oil and place it on a wire rack or paper towels to drain excess oil. Let it cool for a few minutes before serving.
Repeat with the remaining chicken pieces, and enjoy your crispy, juicy fried chicken!
Step 4. Remove Chicken, Let Rest

Once the chicken reaches the perfect golden-brown color and internal temperature, it's time to remove it from the oil. Using tongs or a slotted spoon, carefully lift each piece out of the hot oil. Let the excess oil drip off for a few seconds before placing the chicken on a wire rack or paper towels.
Now, here's the important part: let your chicken rest! Give it about 5 to 10 minutes to cool down. This resting time lets the juices inside the meat settle, making sure your chicken stays moist and delicious.
While it's resting, you'll notice the outside getting even crispier. Don't cover the chicken while it's resting, or the steam will make the crispy skin soggy. Instead, let it sit out in the open air. This is a great time to finish up any side dishes or set the table.
Once the chicken has rested, it's ready to serve! The outside will be crispy and golden, while the inside stays juicy and tender. Enjoy your homemade fried chicken with your favorite sides and dipping sauces!
Step 5. Serve With Favorite Sides
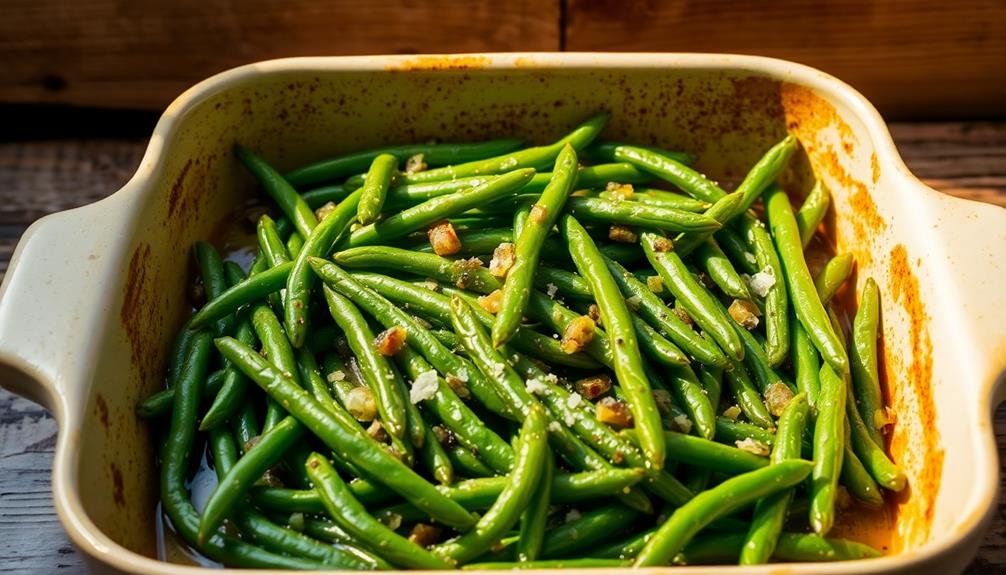
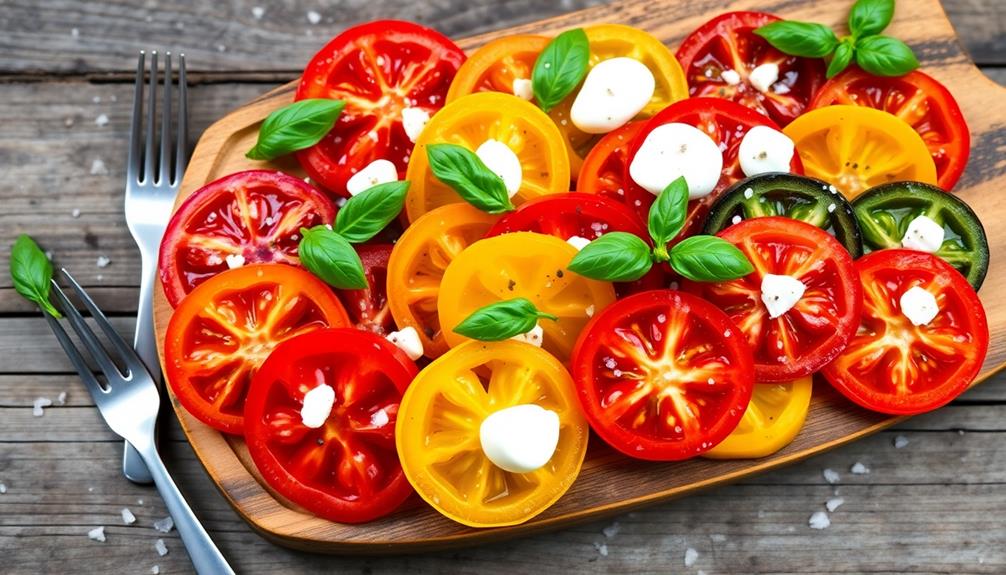
Your perfectly fried chicken deserves some delicious accompaniments. Now's the time to think about what sides you'd like to serve with your crispy, golden masterpiece. Classic choices include creamy mashed potatoes, tangy coleslaw, or buttery corn on the cob. These traditional sides complement the rich flavors of fried chicken beautifully.
If you're feeling adventurous, try some unique pairings. How about a fresh summer salad with crisp vegetables and a light vinaigrette? Or maybe some sweet potato fries for a colorful twist?
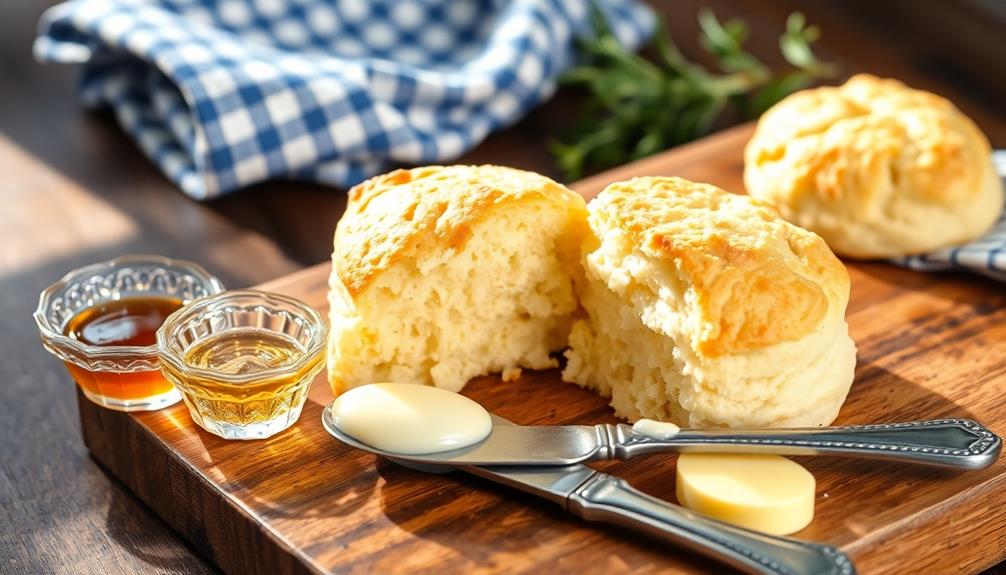
Don't forget about warm, fluffy biscuits – they're perfect for soaking up any leftover gravy or juices.
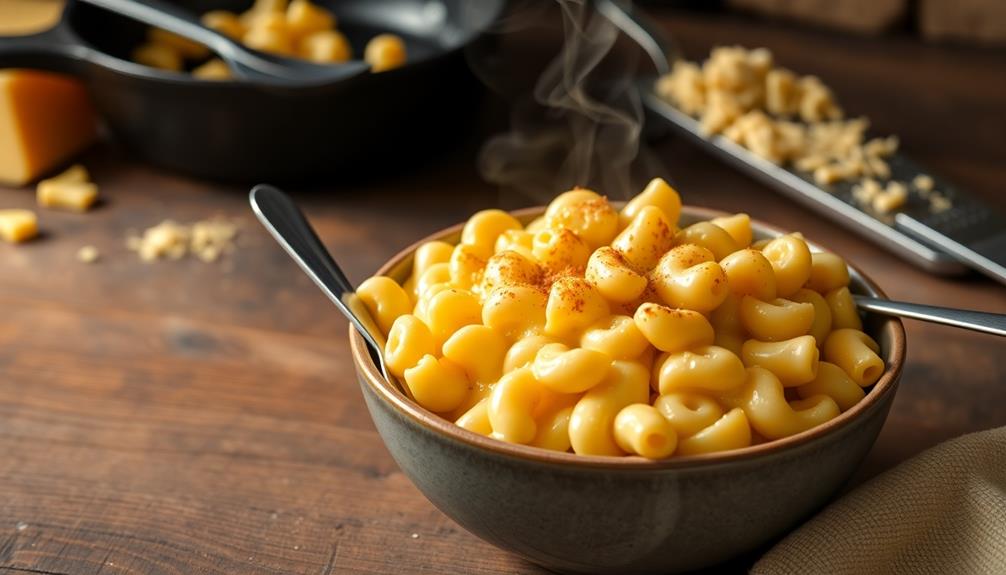
For a complete Southern-inspired meal, add some mac and cheese or collard greens to your plate. These hearty sides will make your dinner extra satisfying. Remember to include some pickles or a tangy sauce for those who like a bit of zing with their chicken.
Whatever sides you choose, make sure there's a good balance of flavors and textures. Your taste buds will thank you for creating such a delicious and well-rounded meal!
Final Thoughts
Savoring a perfectly crispy piece of fried chicken is an experience that's hard to beat. It's a comfort food that brings joy to many, whether you're enjoying it at a family gathering or as a special treat.
Now that you've learned how to make this delicious dish, you can create your own fried chicken masterpiece at home.
Remember, practice makes perfect. Don't be discouraged if your first attempt isn't exactly like the picture-perfect fried chicken you see in cookbooks. With each try, you'll get better at perfecting the crispy coating and juicy interior.
Experiment with different seasonings and side dishes to find your favorite combination.
Fried chicken is more than just a meal; it's a chance to create memories with loved ones. Whether you're sharing it at a picnic or cooking it for a cozy night in, this classic dish brings people together.
Frequently Asked Questions
Is Fried Chicken Healthy?
Is fried chicken healthy? No, it's not the best choice for your health. You'll consume excessive calories, unhealthy fats, and sodium. It's high in protein but lacks essential nutrients. Enjoy it occasionally, not regularly, for better health.
Can You Make Fried Chicken Without Buttermilk?
You can definitely make fried chicken without buttermilk. Instead, try using a marinade of yogurt, milk, or even pickle juice. These alternatives will still tenderize the meat and add flavor to your crispy chicken.
What's the Best Oil for Frying Chicken?
You'll want to use an oil with a high smoke point for frying chicken. Peanut oil is a top choice, but vegetable, canola, or sunflower oil work well too. They'll give you crispy results without burning.
How Long Does Leftover Fried Chicken Last in the Refrigerator?
You'll want to eat your leftover fried chicken within 3-4 days. Store it in an airtight container in your fridge. If you're not sure you'll consume it quickly, consider freezing it for longer storage.
Can You Reheat Fried Chicken in the Microwave?
Yes, you can reheat chicken in the microwave, but it's not ideal. You'll lose the crispy texture. Instead, try reheating in an oven or air fryer for better results. If you must use the microwave, use short intervals.