
Cheese straws are a delightful savory snack with a rich history dating back to 17th century England. These buttery, crunchy treats were originally created to use up leftover cheese and pastry dough. Over time, they gained popularity among the aristocracy as a sophisticated appetizer. Today, cheese straws are enjoyed globally, from casual gatherings to elegant cocktail parties. The classic recipe features simple ingredients like flour, butter, and cheddar cheese, resulting in a mouthwatering flavor profile. With a few key tips, you can easily master the art of crafting these impressive homemade snacks. And if you keep reading, you’ll discover even more about the intriguing world of cheese straws.
Key Takeaways
- Cheese straws are a savory snack that originated in 17th century England and gained popularity among the aristocracy as a sophisticated hors d’oeuvre.
- The classic recipe involves simple ingredients like flour, butter, cheddar cheese, and spices, with attention to detail being crucial for achieving the perfect texture and flavor.
- Cheese straws are made by rolling out the dough into strips, twisting them, and baking until golden brown, resulting in a crunchy texture and rich, cheesy taste.
- Homemade cheese straws are visually appealing, add elegance to any setting, and showcase the maker’s culinary skills, making them a popular choice for parties and gatherings.
- Cheese straws are versatile and can be customized with different cheeses and spices, catering to a wide range of palates and serving as a satisfying snack or appetizer option.

Fullstar The Original Pro Chopper - Vegetable Chopper and Spiralizer, Food Chopper with Container, Fruit Slicer, Kitchen Gadgets & Gifts, Home Essentials (4 in 1, White)
The Original Pro Chopper – Discover TikTok’s favorite veggie chopper and one of the top-rated kitchen gadgets of...
As an affiliate, we earn on qualifying purchases.
History
Cheese straws have a rich and storied history, dating back centuries to the kitchens of Europe. These delightful snacks were first created as a way to use up leftover bits of cheese and pastry dough. Over time, bakers and cooks perfected the recipe, creating the crisp, buttery treats we know and love today.
The earliest known cheese straws were made in England during the 17th century. They quickly became a favorite among the aristocracy, who often served them as a sophisticated hors d’oeuvre.
As the popularity of cheese straws spread, they made their way to other parts of Europe, including France and Italy.
Today, cheese straws are enjoyed all over the world, from small bakeries to elegant dinner parties. Whether you prefer them plain or with a sprinkling of herbs and spices, these classic snacks are a delicious reminder of their long and flavorful history.

2026 Upgraded Herb Scissors, Effortless Herb Shears Cutter Tool with Sharp Stainless Steel Blades for Fresh Herbs, Must-Have Kitchen & Cooking Gadget, Green
5 BLADE KITCHEN SCISSORS - JOFUYU herb scissors are made of food grade stainless steel, containing 5 sharp...
As an affiliate, we earn on qualifying purchases.
Recipe
Cheese straws are a classic savory snack that can be enjoyed at any time of the day. These flaky, buttery treats are made with a simple dough that can be easily customized to suit your taste buds. Whether you prefer them spicy, tangy, or just plain cheesy, cheese straws are sure to satisfy your craving.
The key to making delicious cheese straws is to use high-quality ingredients and to handle the dough gently. This ensures that the straws come out of the oven with a crisp, golden-brown exterior and a tender, flaky interior.
Ingredients:
- 2 cups all-purpose flour
- 1 teaspoon salt
- 1/2 teaspoon cayenne pepper (optional)
- 1 cup unsalted butter, chilled and cubed
- 1 1/2 cups shredded cheddar cheese
- 2-3 tablespoons ice water
Instructions:
In a food processor, combine the flour, salt, and cayenne pepper (if using). Add the chilled butter and pulse until the mixture resembles coarse crumbs.
Add the shredded cheese and pulse until just combined. Gradually add the ice water, 1 tablespoon at a time, and pulse until the dough just begins to come together. Don’t overmix.
Shape the dough into a disc, wrap in plastic wrap, and refrigerate for at least 30 minutes.
Tips:
When rolling out the dough, be sure to work quickly and use as little flour as possible to prevent the dough from becoming tough.
Baking the cheese straws at a high temperature (400°F) will help them achieve that perfect crispy texture.

GENGCANG Fruit Slicer Cup for Strawberry, Banana, Hard-Boiled Egg - Detachable Cutter with Push Plate - 304 Stainless Steel Blade - Rapid & Safe Slicing Kitchen Gadget for Quick Meal Prep (Black)
EXTRA-LARGE CAPACITY CUP: This fruit slicer is made with 304 stainless steel and food-grade materials for lasting durability....
As an affiliate, we earn on qualifying purchases.
Cooking Steps
First, you’ll preheat your oven to a toasty 375°F.
Then, roll that dough into long, thin strips and twist them into fun, spiraling shapes.
Finally, pop them in the oven until they’re golden brown.
Can’t wait to see how they turn out!
Step 1. Preheat Oven to 375°F
Preheating the oven to 375°F is a crucial first step in crafting delectable cheese straws. This temperature ensures the dough bakes to a perfect golden-brown hue, with a delightfully crisp exterior and a tender, flaky interior.
Take a moment to adjust your oven rack to the middle position, then press the buttons to set the temperature. Listen as the oven whirs to life, its internal mechanisms heating up to the ideal baking temperature.
While you wait for the oven to preheat, gather your baking sheet and line it with parchment paper. This simple step will prevent the cheese straws from sticking and make for easy cleanup later.
As the minutes tick by, you’ll notice the oven indicator light illuminating, signaling it has reached the desired temperature. Now, you’re ready to begin shaping and baking your homemade cheese straws, infusing your kitchen with the tantalizing aroma of melted cheese and buttery pastry.
Step 2. Roll Dough Into Long Strips

Once the oven is preheated, take the chilled dough and divide it into equal portions.
On a lightly floured surface, roll each piece of dough into long, thin strips about 1/4 inch thick. You’ll want to roll the dough to be about 6 inches long. Don’t worry if the strips aren’t perfectly straight – the rustic look is part of the charm!
As you roll the dough, be gentle and take your time. You don’t want to overwork the dough, or it could become tough. If the dough starts to stick, simply dust the surface with a bit more flour.
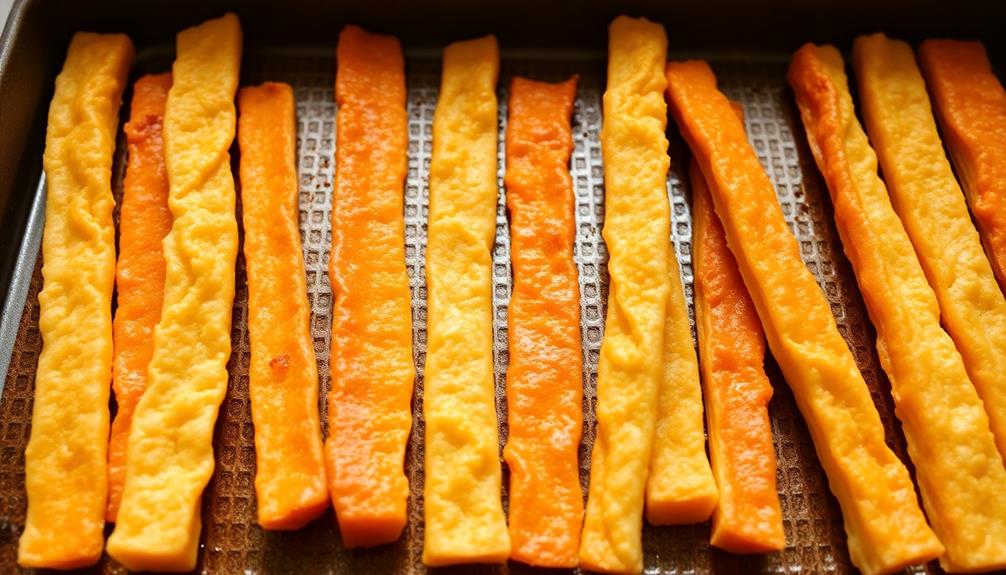
Once all the dough is rolled, arrange the strips in a single layer on the prepared baking sheets. Make sure to leave a bit of space between each one so they’ve room to bake evenly.
With the dough rolled and ready, it’s time to transfer the trays to the oven and start baking those delicious cheese straws!
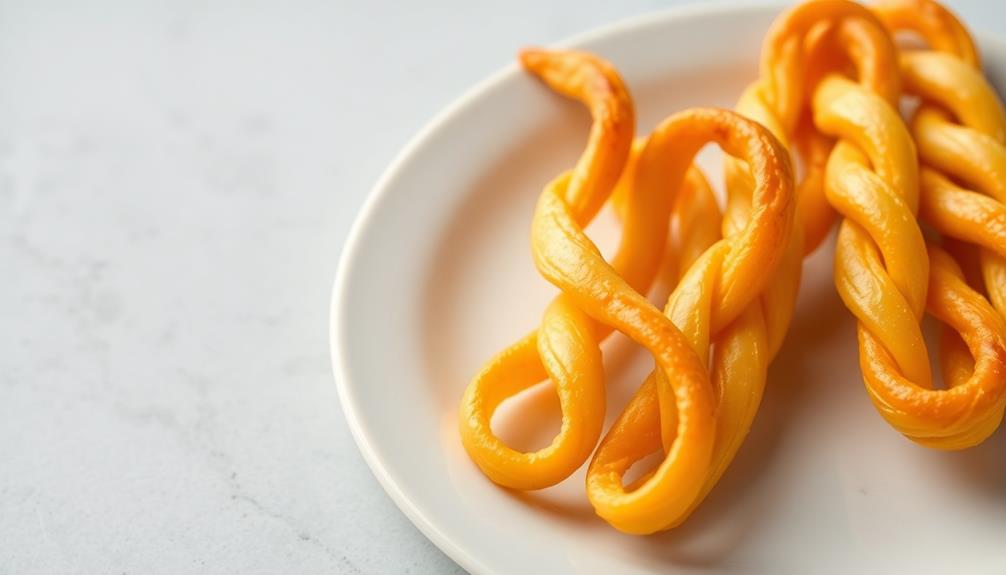
Step 3. Twist Strips Into Spirals

After rolling the dough into long strips, it’s time to twist them into spirals. This step adds a fun, playful shape to your cheese straws.
To begin, take one of the dough strips and hold it at both ends. Gently start twisting the strip, turning it into a spiral shape. As you twist, be careful not to overwork the dough. You want it to maintain its light, flaky texture.
Once the strip is fully twisted, carefully transfer it to your baking sheet. Repeat this process with the remaining dough strips, placing them about an inch apart on the sheet. Try to make each spiral the same size for an even, consistent look.
When all the strips are twisted, you’re ready to bake your cheese straws. The spirals will hold their shape beautifully as they cook, creating a unique and visually appealing final product.
Get ready to enjoy the delicious savory flavor and fun, twisted appearance of your homemade cheese straws!
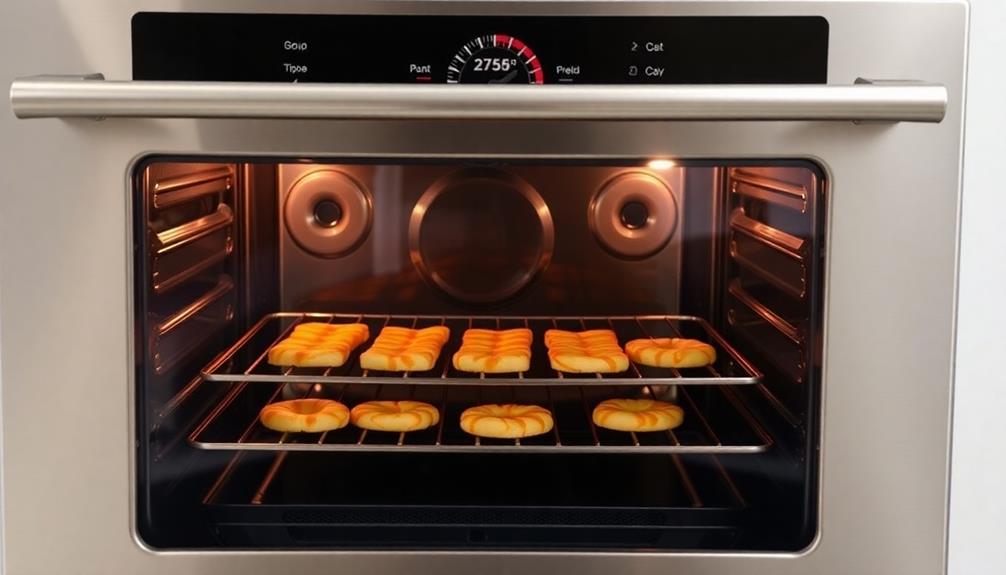
Step 4. Bake Until Golden Brown
With the cheese straws twisted into their spiraled shapes, it’s time to bake them to golden-brown perfection. Preheat your oven to 375°F (190°C) and line a baking sheet with parchment paper.
Carefully transfer the twisted cheese straws onto the prepared baking sheet, making sure they’re spaced apart. This will allow the hot air to circulate around each straw, ensuring even baking.
Pop the baking sheet into the preheated oven and set a timer for 12 to 15 minutes. Keep a close eye on the cheese straws, as you want them to turn a beautiful golden-brown color, but not burn. The delicious aroma of the baking cheese will start to fill your kitchen, making your mouth water in anticipation.
Once the timer goes off, use oven mitts to carefully remove the baking sheet from the oven. The cheese straws should be crisp and perfectly cooked.
Allow them to cool for a few minutes before serving. These flaky, cheesy treats are now ready to be enjoyed!
Step 5. Allow to Cool Before Serving

After removing the cheese straws from the oven, let them cool on the baking sheet for a few minutes. This will allow the cheese to set and the straws to firm up. You don’t want to bite into piping hot cheese straws – that would burn your mouth! Be patient and let them cool down to a comfortable temperature.
Once the cheese straws have cooled for 5-10 minutes, you can transfer them to a serving plate or platter. This gives them a chance to lose some of that intense heat while maintaining their delicious cheesy goodness.
The straws should feel slightly warm to the touch, but not scalding hot.
Now your cheese straws are ready to enjoy! Serve them up with friends and family, or save them for a tasty snack later. The aroma of the baked cheese is sure to have everyone eager to dig in.
Just be sure to let them cool first – you don’t want anyone to get hurt.

Mixing Bowls with Airtight Lids Set, 26PCS Stainless Steel Khaki Bowls with Grater Attachments, Non-Slip Bottoms & Kitchen Gadgets Set, Size 7, 4, 2.5, 2.0,1.5, 1QT, Great for Mixing & Serving
AIRTIGHT LIDS & 3 GRATER ATTACHMENTS:The airtight lids that come with this mixing bowl set make it easy...
As an affiliate, we earn on qualifying purchases.
Final Thoughts
Ultimately, cheese straws provide a delightful snacking experience that can be easily incorporated into various social gatherings or enjoyed as a satisfying solo treat.
These buttery, cheesy delights make for the perfect accompaniment to any occasion, whether it’s a casual movie night, a lively cocktail party, or a relaxing afternoon with friends.
Beyond their undeniable taste, cheese straws also offer a touch of elegance and sophistication to any setting.
The process of creating these bite-sized morsels may seem daunting, but the end result is well worth the effort.
With a little patience and attention to detail, you can impress your guests or indulge in a delectable homemade snack.
So, the next time you’re in the mood for something savory and irresistible, consider whipping up a batch of these cheese-filled delights.
Your taste buds won’t be disappointed!
Frequently Asked Questions
How Long Do Cheese Straws Last Once Baked?
You can enjoy those freshly baked cheese straws for quite a while!
Once they’ve cooled, you can store them in an airtight container at room temperature for up to 5 days. They’ll stay nice and crispy, perfect for snacking.
But don’t worry if you can’t finish them all – they also freeze well for up to 3 months.
Can I Use Different Types of Cheese in the Recipe?
Absolutely! You can use different types of cheese in your recipe.
Get creative and experiment with various cheeses like cheddar, parmesan, or even a blend. Each cheese will give your straws a unique flavor and texture.
Just be sure to grate or finely chop the cheese so it incorporates seamlessly into the dough.
Have fun exploring different cheese combinations – the possibilities are endless! The key is finding the flavors you and your family enjoy most.
Do Cheese Straws Need to Be Refrigerated?
Do cheese straws need to be refrigerated? No, they typically don’t!
Cheese straws are a crispy, savory snack that can be stored at room temperature. As long as you keep them in an airtight container, they’ll stay fresh and delicious for several days.
You don’t have to worry about refrigerating them – just enjoy your cheesy treats whenever the craving strikes!
The cheese and other ingredients in cheese straws are shelf-stable, so they’re perfect for snacking anytime.
Can I Freeze Baked Cheese Straws?
Absolutely! You can definitely freeze your baked cheese straws.
Just let them cool completely, then pop them in an airtight container or freezer bag. They’ll stay fresh for up to 3 months.
When you’re ready to enjoy them, simply take them out and let them thaw at room temperature.
It’s an easy way to have tasty snacks on hand whenever you need them. Isn’t that great? Freezing is a super convenient option for your cheese straws.
How Can I Make Cheese Straws Gluten-Free?
To make cheese straws gluten-free, you’ll want to substitute the all-purpose flour with a gluten-free flour blend. Many options are available, like almond, rice, or even a pre-made gluten-free flour mix.
Just follow the recipe instructions, swapping the regular flour for an equal amount of your chosen gluten-free flour.
With a few simple tweaks, you can enjoy delicious, gluten-free cheese straws that everyone can enjoy. It’s an easy way to make this tasty treat accessible to all!