Cheese straws are a delightful savory snack that'll transport you back in time! Originally from England, these flaky, buttery pastries were once a fancy treat for the upper classes. Today, they're a crowd-pleasing favorite that's perfect for parties, snacking, or serving as a side dish. The secret is in the high-quality ingredients – you'll find a dreamy combo of savory cheese and crisp, golden dough. And the best part? They're easy to customize with your choice of cheeses and seasonings. Want to learn more about whipping up a batch of these irresistible cheese straws?
Key Takeaways
- Cheese straws are a savory, flaky pastry snack that originated in England and gained popularity among the upper classes in the 18th and 19th centuries.
- The recipe combines high-quality cheese, such as sharp cheddar, with a buttery, crispy pastry dough that is customizable with various seasonings.
- Proper baking techniques, including preheating the oven and carefully handling the dough, are crucial for achieving the desired golden-brown color and satisfying crunch.
- Cheese straws are a versatile snack that can be enjoyed on their own, as an accompaniment to wine or cocktails, or as part of a charcuterie board.
- The timeless appeal of cheese straws has made them a crowd-pleasing favorite for entertaining and social gatherings, showcasing both culinary skills and personal touch.
History
Cheese straws have a rich history that dates back centuries. These savory treats originated in England, where they were initially served as a snack to accompany tea and wine. Over time, the recipe spread to other parts of Europe, evolving to suit local tastes and ingredients.
In the 18th and 19th centuries, cheese straws became a popular delicacy among the upper classes. They were often served at grand parties and social gatherings, showcasing the host's culinary skills and refined taste. The intricate process of shaping and baking the straws was seen as a demonstration of kitchen expertise.
Today, cheese straws remain a beloved snack worldwide. While the basic recipe has endured, different regions have put their own spin on the classic, experimenting with various cheeses, seasonings, and shapes.
Whether enjoyed as a quick bite or a special occasion treat, cheese straws continue to delight generations of food enthusiasts.
Recipe
Cheese straws are a classic Southern delicacy that combines the rich, savory flavors of cheese with the flaky, buttery texture of pastry. These bite-sized treats are perfect for entertaining, snacking, or serving as a side dish. They're easy to make and can be customized to suit your taste preferences.
To create the perfect cheese straws, you'll need to strike the right balance between the cheese and the dough. The key is to use high-quality ingredients and to handle the dough with care, ensuring it remains flaky and tender throughout the baking process.
Ingredients:
- 2 cups all-purpose flour
- 1/2 teaspoon salt
- 1/2 teaspoon black pepper
- 1 cup unsalted butter, chilled and cubed
- 1 1/2 cups shredded sharp cheddar cheese
- 2-3 tablespoons ice water
Directions:
Preheat your oven to 375°F (190°C). Line a baking sheet with parchment paper or a silicone baking mat. In a food processor, combine the flour, salt, and black pepper. Add the chilled butter cubes and pulse until the mixture resembles coarse crumbs.
Add the shredded cheese and pulse until the mixture is well combined. Add the ice water, 1 tablespoon at a time, and pulse until the dough just begins to come together. Be careful not to overmix. Turn the dough out onto a lightly floured surface and shape it into a disk. Wrap the disk in plastic wrap and refrigerate for at least 30 minutes.
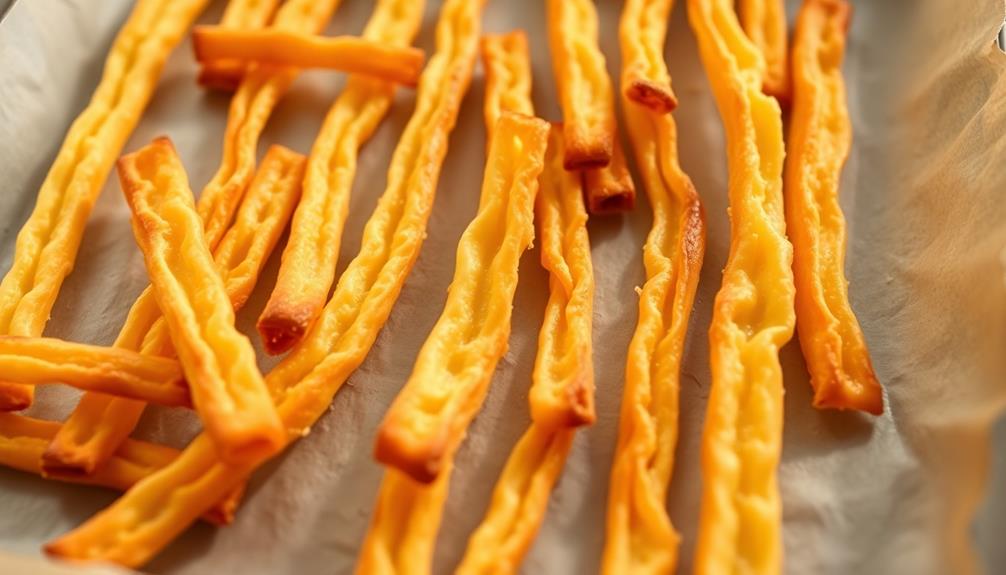
Once the dough has chilled, roll it out to a 1/4-inch thickness. Use a sharp knife or a pizza cutter to cut the dough into long, thin strips, about 1/2 inch wide. Carefully transfer the strips to the prepared baking sheet, spacing them about 1 inch apart.
Bake for 12-15 minutes, or until the cheese straws are golden brown and crispy. Allow them to cool on the baking sheet for a few minutes before serving.
To ensure your cheese straws turn out perfectly, be sure to use high-quality, freshly shredded cheese. The colder the butter, the flakier the dough will be. Additionally, you can experiment with different types of cheese or add a sprinkle of cayenne pepper or paprika for an extra kick of flavor.
Cooking Steps
Preheat your oven to 375°F – that's the perfect temp for baking these cheesy delights!
Next, roll that dough into long, thin strips.
Pop them in the oven for 20-25 minutes, until they're golden brown.
Let the strips cool on the baking sheet, then serve them up warm or at room temp. Yum!
Step 1. Preheat Oven to 375°F
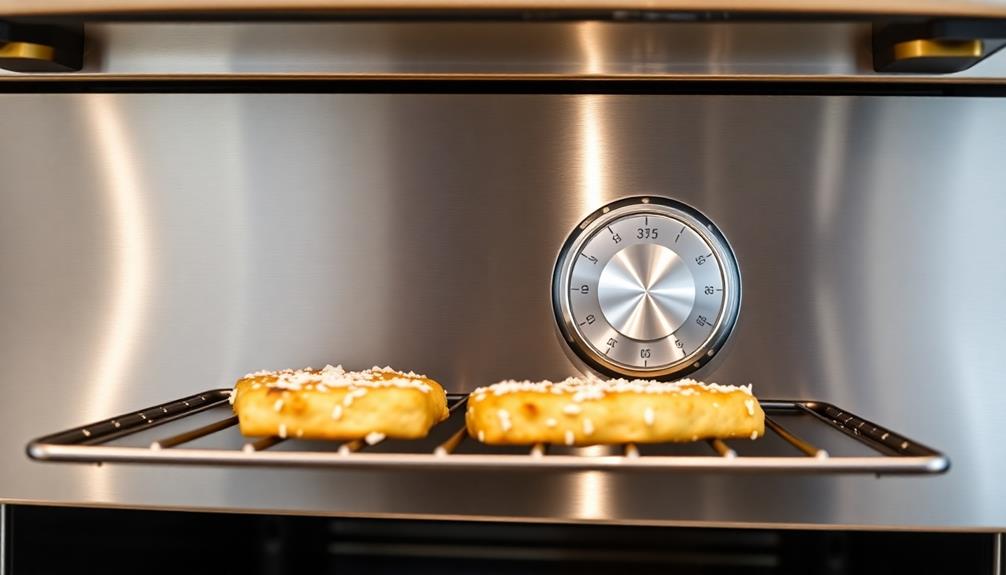
First, you'll want to make sure your oven is preheated to 375°F. This is an essential step for baking the perfect cheese straws. The high temperature helps the dough puff up and achieve that delightful, crispy texture.
Once your oven is ready, you can move on to the next steps. Preheating the oven is simple – just turn the knob to 375°F and wait a few minutes for it to reach the desired temperature. You can use this time to gather the rest of your ingredients and prepare your work surface.
When the oven is preheated, you'll hear a beep or see a light indicating it's ready. Now you're all set to start shaping and baking your cheese straws.
Remember to keep a close eye on them as they bake, as the high heat can cause them to brown quickly. With the oven preheated, you're one step closer to enjoying those flaky, cheesy delights.
Step 2. Roll Dough Into Strips
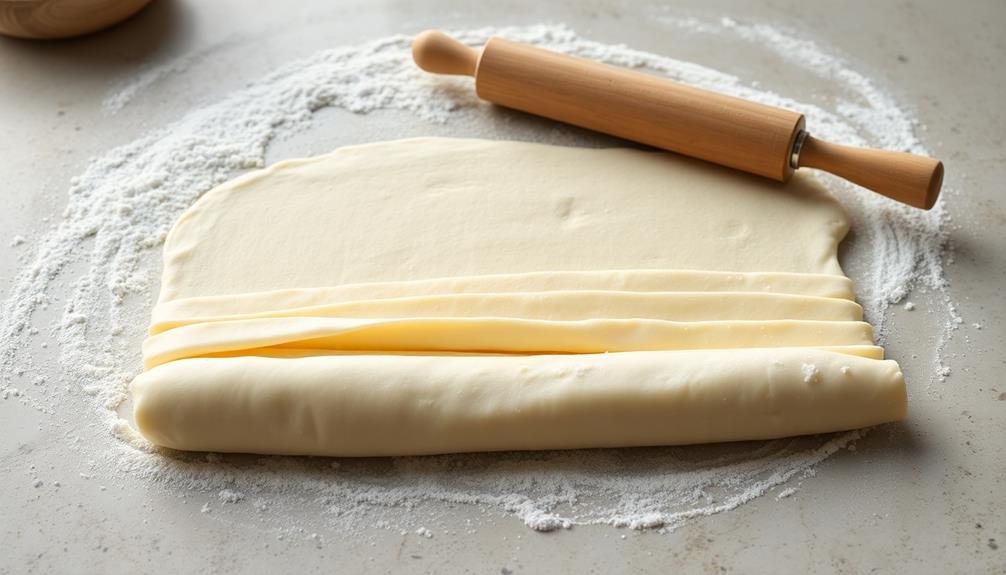
Next, take the prepared dough and divide it into smaller portions. This will make it easier to roll out the dough into long, thin strips.
Lightly flour your work surface to prevent the dough from sticking. Using your hands or a rolling pin, gently roll each portion of dough into a strip about 1/4 inch thick and 6 inches long. Try to keep the width consistent throughout the strip.
As you roll, be careful not to overwork the dough, as this can make the strips tough. Once you've rolled all the portions, you'll have a wonderful collection of cheese-flavored dough strips, ready to be baked.
Arrange the strips in a single layer on a parchment-lined baking sheet, leaving a little space between them. This will allow the cheese straws to bake evenly and develop their delightful crispness.
With the dough rolled and the baking sheet prepared, you're one step closer to enjoying these cheesy, flaky treats.
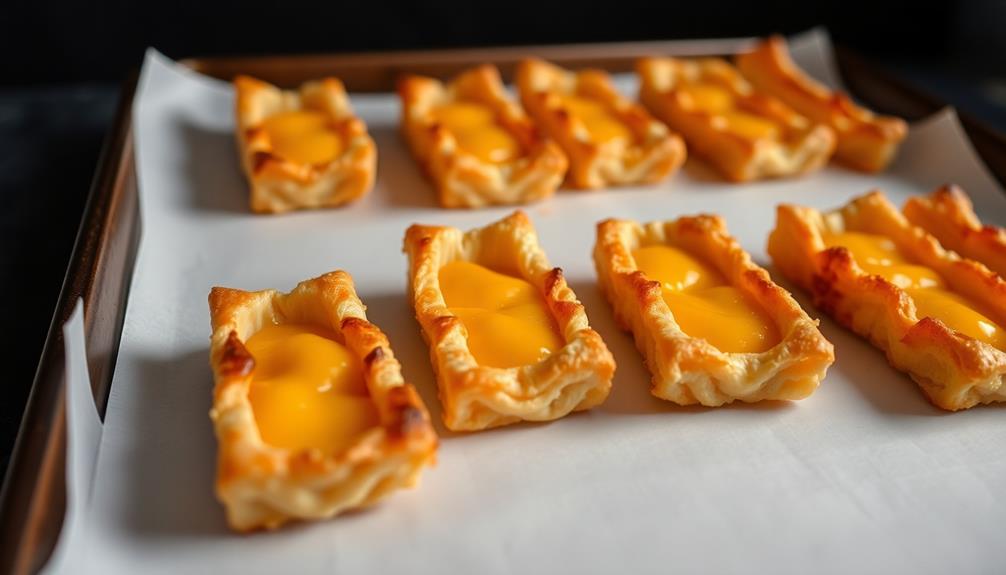
Step 3. Bake for 20-25 Minutes
The oven should be preheated to 375°F before you begin baking the cheese straws.
Once the dough is rolled into thin strips, arrange them on a baking sheet lined with parchment paper. Make sure the strips are spaced apart, as they'll expand during baking.
Now, pop the baking sheet into the oven and set a timer for 20-25 minutes. Keep an eye on the straws, as their baking time may vary depending on your oven.
You'll know they're done when the edges turn golden brown and the cheese has melted. Be careful when removing the hot baking sheet from the oven – use oven mitts to protect your hands.
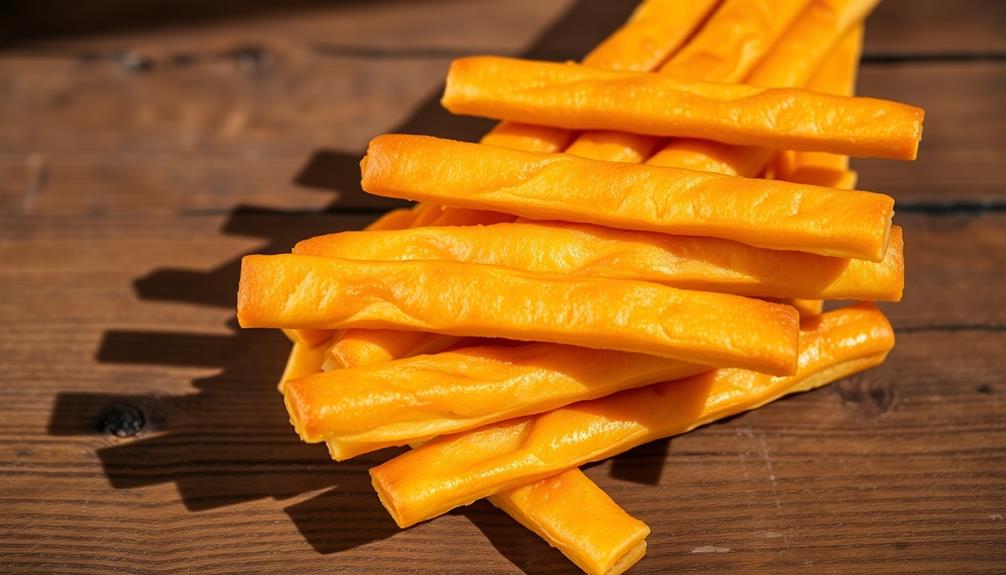
Once the cheese straws have finished baking, let them cool for a few minutes before serving.
These flaky, cheesy treats are best enjoyed warm, so don't wait too long to indulge. Pair them with a glass of your favorite beverage for a delightful snack.
Step 4. Let Strips Cool on Baking Sheet
Once the cheese straws have finished baking, let them cool on the baking sheet for a few minutes. This allows the hot, crispy straws to firm up before you move them. You don't want them to break apart!
Gently slide a spatula under each straw and transfer them to a wire rack or parchment paper. This helps air circulate around the straws so they can cool completely.
As they cool, the cheese will set, and the texture will become delightfully crunchy. Be patient – it's worth the wait!
Once cooled, the cheese straws are ready to enjoy. You can serve them as a tasty snack or appetizer. Share them with friends and family, or keep them all to yourself – we won't judge!
The key is letting them cool properly on the baking sheet first. This step ensures your homemade cheese straws turn out perfectly crisp and delicious every time.
Step 5. Serve Warm or at Room Temperature
Serve the cheese straws either warm straight from the oven or at room temperature. The choice is yours!
Warm cheese straws are perfect for cozy gatherings, with the buttery pastry and savory cheese flavors melting in your mouth. Allow the freshly baked straws to cool slightly on the baking sheet, then transfer them to a serving plate.
For a more casual vibe, let the cheese straws reach room temperature before serving. This allows the texture to firm up a bit, making them easy to pick up and enjoy. The flavors will still be delightful, just not quite as gooey as the warm version.
Cheese straws are versatile – you can serve them as an appetizer, snack, or even alongside a salad for a light meal.
No matter how you choose to serve them, your guests are sure to love these flaky, cheesy treats. Their buttery, crisp exterior and savory interior make them irresistible. After just one bite, they’ll be asking for the recipe. And speaking of recipes, if you’re looking for something sweet to complement these savory snacks, I highly recommend trying out the delicious recipe for cocacola cake. The rich, chocolatey flavor paired with the fizzy, caramel notes of Coca-Cola make for a truly decadent dessert that will have your guests coming back for seconds. So go ahead, impress your friends and family with these irresistible treats and top it off with a slice of delicious cocacola cake.
Gather friends and family, and get ready to share the joy of homemade cheese straws!
Final Thoughts
Despite the simplicity of cheese straws, they make for a delightful and versatile snack that can elevate any gathering.
Whether you're hosting a casual get-together or a formal event, these crisp, cheesy bites are sure to impress your guests. Their rich, buttery flavor and satisfying crunch make them the perfect accompaniment to a glass of wine or a refreshing cocktail.
Cheese straws can also be a great addition to a charcuterie board, adding a burst of savory goodness to complement the other artisanal offerings. For the best experience, pair your cheese straws with a variety of cured meats, cheeses, and fruits to create a well-rounded charcuterie board. To enhance the flavors, consider choosing a few different types of cheese straws, such as Parmesan, cheddar, and gouda. Expert tips for wine collection can also elevate your charcuterie experience, as certain wines can complement the flavors of the cheese straws and other board components.
Additionally, they make for a wonderful hostess gift or a delightful homemade treat to share with friends and family.
Frequently Asked Questions
How Long Do Cheese Straws Stay Fresh?
Cheese straws can stay fresh for up to a week when stored properly.
You'll want to keep them in an airtight container at room temperature. This preserves their crispy texture and delicious flavor.
If they start to get stale, you can revive them by popping them in the oven for a few minutes.
Enjoy your cheesy snacks while they're at their best!
Can Cheese Straws Be Frozen for Later Use?
Absolutely! You can definitely freeze cheese straws for later use.
Just pop them in the freezer, and they'll stay nice and fresh until you're ready to enjoy them.
When you want to serve them, simply take them out and let them thaw at room temperature.
It's a great way to always have a tasty snack on hand.
With a little planning, you can have cheese straws whenever the craving strikes!
What Is the Best Type of Cheese to Use?
When it comes to the best cheese for your recipe, you'll want to choose something with a bold, flavorful taste. Cheddar, parmesan, and gruyere are all excellent options that'll add a delicious punch of cheesy goodness.
The key is to grate or finely chop the cheese so it melts evenly throughout your dish. Experiment with different blends to find your perfect cheesy combination!
With the right cheese, you're sure to create a tasty treat everyone will love.
Can Gluten-Free Flour Be Substituted in the Recipe?
Absolutely! You can easily substitute gluten-free flour in your recipe.
Many folks are looking for gluten-free options these days, so this is a great way to make your cheese straws accessible to everyone.
The texture might be a bit different, but you'll still get that delicious cheesy flavor.
Just be sure to follow the recipe instructions carefully and adjust the baking time if needed.
Give it a try – you might be surprised by how well it turns out!
Are Cheese Straws Suitable for Vegetarians?
Absolutely, cheese straws are suitable for vegetarians! As long as you use a vegetarian-friendly cheese, like cheddar or parmesan, these savory treats are perfect for those who don't eat meat.
They're easy to make and so delicious – the combination of flaky pastry and rich, cheesy flavor is simply irresistible.
Your vegetarian friends will love snacking on these cheesy bites. Just be sure to check the ingredients and you're good to go!