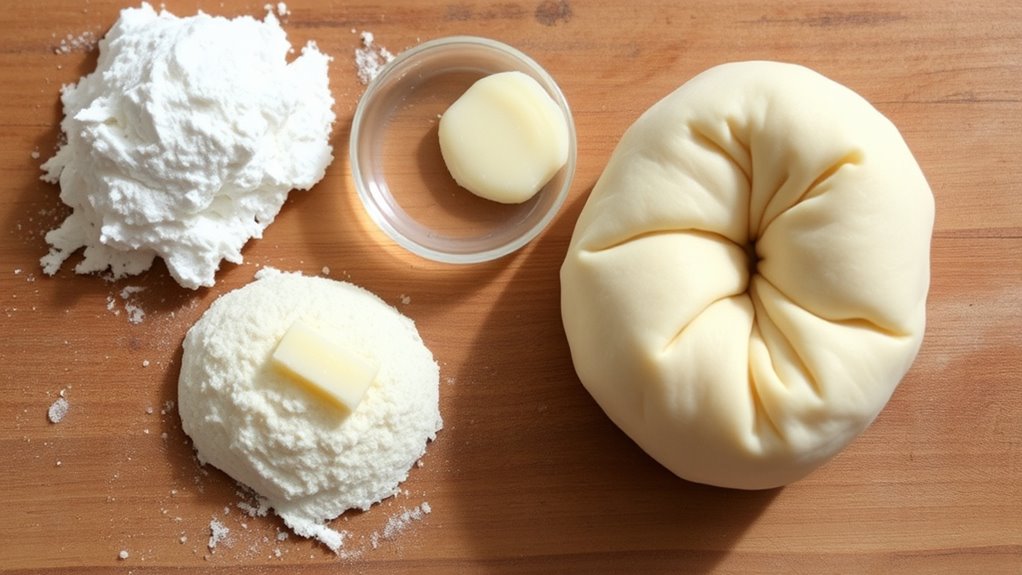

For perfect Polish pierogi, use about 2 cups of all-purpose flour, 1/2 teaspoon of salt, 1/2 cup of water, and 2 tablespoons of melted butter or oil. Mix until smooth and firm yet soft enough to roll thin. Keep the dough slightly moist and knead well for elasticity. With the right balance, your pierogi will seal easily and stay tender. If you want to master the technique, there’s more to discover below.
Key Takeaways
- Use about 2 cups of flour, 1/2 teaspoon salt, 1/2 cup water, and 2 tablespoons melted butter for a reliable dough ratio.
- Adjust water slightly based on humidity and flour type to maintain proper dough consistency.
- Roll dough to approximately 1/8 inch thickness for optimal flexibility and ease of sealing.
- Keep dough covered with a damp cloth during rolling to prevent drying and tearing.
- Proper sealing and moderate filling size ensure pierogis hold shape and cook evenly without leaks.
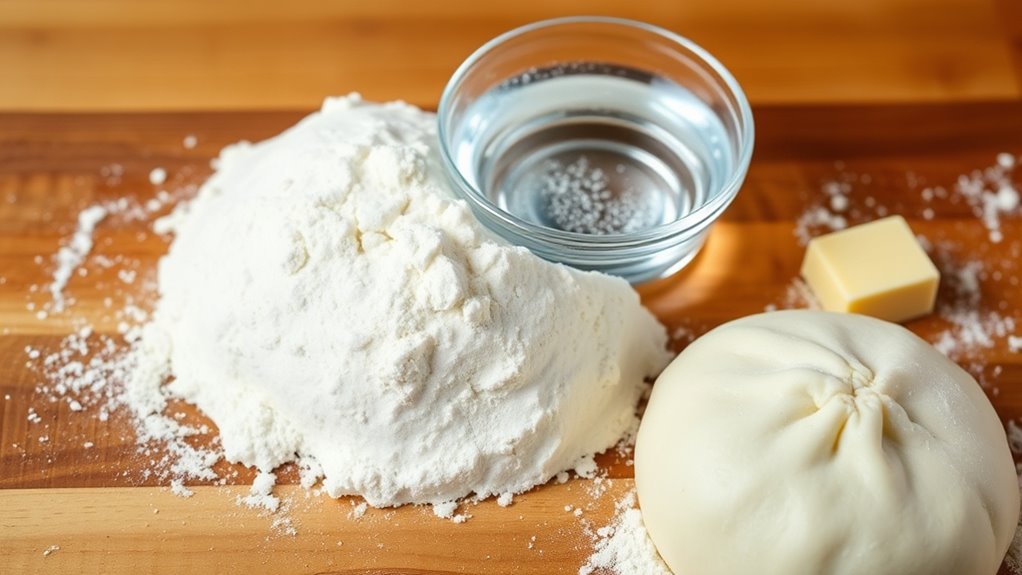
When making Polish pierogi, getting the dough ratio right is essential for perfect texture and flavor. The balance of flour, water, and fat determines how easy it is to work with and how well the pierogi hold their shape during cooking. A good starting point is using about 2 cups of all-purpose flour, 1/2 teaspoon of salt, 1/2 cup of water, and 2 tablespoons of melted butter or oil. This ratio provides a dough that’s firm enough to roll out thin but pliable enough to prevent tearing. Adjustments might be necessary based on humidity or flour type, but keeping this balance is key to consistent results.
When you roll out the dough, your goal is to achieve a thin, even sheet without sticking or tearing. To do this, flour your work surface generously and dust the dough lightly as you roll. Using proper dough rolling techniques, such as turning and rotating the dough regularly, ensures an even thickness. It’s best to roll from the center outward, applying gentle, consistent pressure. As you work, keep the dough covered with a damp cloth to prevent it from drying out. The goal is a thin, flexible sheet that can be cut into circles for filling. The thickness should be about 1/8 inch, which strikes a balance between sturdiness and delicate texture.
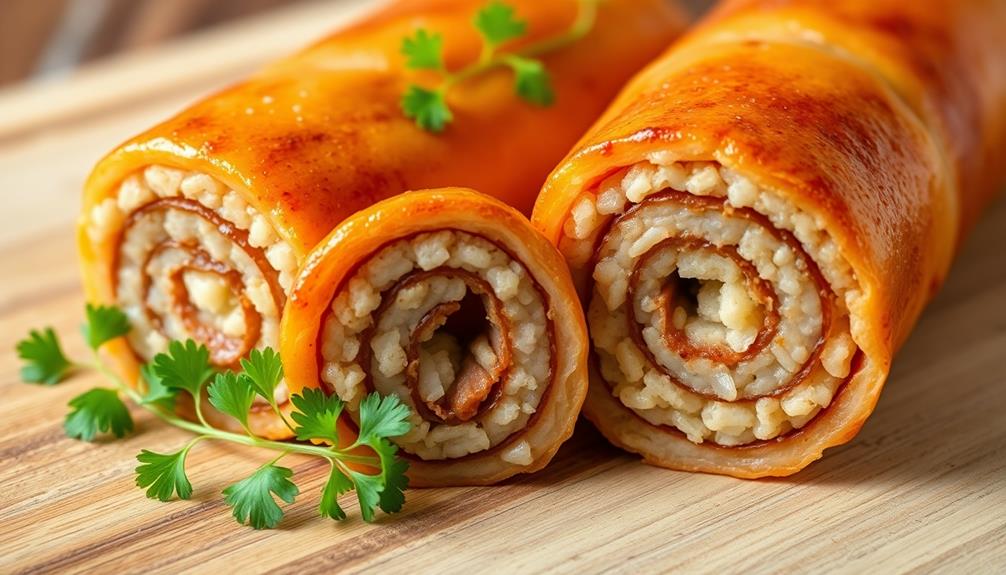
Choosing traditional filling options is an important part of mastering pierogi. Classic choices include mashed potato and cheese, sauerkraut with mushrooms, or sweet options like fruit preserves. The dough’s ratio influences how well these fillings are encased and how they cook. For example, a slightly firmer dough helps contain juicy fillings like sauerkraut, preventing leaks during boiling. When filling, don’t overstuff; a teaspoon of filling per circle is enough. Fold the dough over the filling to create a half-moon shape, then pinch and seal the edges tightly, ensuring no gaps. Proper sealing prevents water from seeping in and ruining the texture.
Understanding the dough consistency and mastering dough rolling techniques will make your pierogi stand out, whether you prefer traditional fillings or want to experiment with new flavors. The right balance of flour, water, and fat ensures your pierogi are tender yet sturdy, with a delightful bite every time. Keep practicing, and you’ll develop a feel for the dough that makes every batch perfect. Remember, consistency in your technique and ingredients makes all the difference in achieving that authentic, homemade taste that defines Polish pierogi.
Frequently Asked Questions
Can I Substitute Gluten-Free Flour in Pierogi Dough?
You can definitely try gluten-free alternatives for pierogi dough, but expect some adjustments. Gluten-free flours often affect dough consistency, making it more fragile or crumbly. To get the right texture, mix different gluten-free flours and add extra moisture or binding agents like xanthan gum. Keep in mind, your dough might require a bit more kneading or resting. Experimenting is key to achieving that perfect, foolproof pierogi texture.
How Long Can Raw Pierogi Dough Be Stored Safely?
Imagine you’re in a sci-fi movie, but instead, you’re wondering about dough storage. You can keep raw pierogi dough in the fridge for up to 24-48 hours, ensuring it’s tightly wrapped or in an airtight container. For food safety, avoid leaving it out at room temperature longer than 2 hours. If you need to store it longer, freezing is your best bet—just thaw before using.
What’S the Best Way to Prevent Pierogi From Bursting During Boiling?
To prevent your pierogi from bursting during boiling, focus on maintaining dough elasticity and using proper boiling techniques. Make certain your dough is well-kneaded for flexibility, which helps it stretch without breaking. When boiling, gently lower the pierogi into simmering water, not boiling rapidly. Stir occasionally to prevent sticking, and cook just until they float. These steps help keep your pierogi intact and perfect every time.
Can I Freeze Pierogi Dough Before Shaping?
Freezing pierogi dough is like sealing a treasure chest, keeping your ingredients fresh and ready for later. You can freeze the dough before shaping, but wrap it tightly in plastic or store it in an airtight container to prevent freezer burn. Use proper storage tips—label and date it—and thaw it in the fridge when you’re ready to work. This way, your dough stays pliable and delicious, just like fresh.
How Do I Adjust Dough Ratios for Larger or Smaller Pierogis?
When adjusting dough ratios for larger or smaller pierogis, you need to focus on maintaining dough elasticity. For larger pierogis, add a bit more water or fat to keep the dough flexible and easy to handle. For smaller ones, slightly reduce the liquid to prevent tearing. Remember, small ratio adjustments make a big difference in achieving the perfect texture, ensuring your pierogis are tender and easy to shape.
Conclusion
Mastering the perfect pierogi dough is like tuning a delicate instrument—you need the right balance of flour, water, and fat to create harmony. When you get these ratios just right, your pierogi will whisper tender secrets with every bite. Think of it as crafting a edible symphony, where each ingredient plays its part in harmony. With a little practice, you’ll turn simple ingredients into a culinary masterpiece that sings with flavor and texture.