Apple pie is a timeless American classic, tracing its heritage back to the 14th century when English and Dutch settlers first brought their versions to the American colonies. Over the centuries, the recipe has evolved, layering on buttery crusts, sweet apples, and aromatic spices to create a dessert that captures the warmth of family gatherings and comforting traditions. Each slice offers a delightful balance of flavors and textures, from the flaky pastry to the tender, cinnamony filling. Baking this iconic treat fills the kitchen with an irresistible aroma and the promise of a truly memorable experience. There's more to discover about this beloved dessert.
Key Takeaways
- Apple pie has a rich history as an American icon, tracing its origins to 14th-century English and Dutch settlers in the American colonies.
- The classic apple pie recipe combines a flaky crust with a sweet, tangy filling made from Granny Smith apples, sugar, flour, and warm spices like cinnamon.
- Preparation of apple pie involves creating a pastry dough, preparing the apple filling, assembling the pie, and baking it until the crust is golden brown and the filling is bubbly.
- The aroma of baking apple pie fills the kitchen, creating a sense of anticipation and promoting the enjoyment of simple pleasures.
- Homemade apple pie leaves lasting memories and encourages repeat baking as a timeless delicacy that fosters connections among family and friends.
Top picks for "apple"
Open Amazon search results for this keyword.
As an affiliate, we earn on qualifying purchases.
History
The origins of apple pie can be traced back to the 14th century, when English and Dutch settlers first brought their apple-baking traditions to the American colonies.
These early pies were often made with a simple pastry crust and a filling of tart apples, cinnamon, and a touch of sweetness. As the colonies grew, the recipe evolved, with the addition of ingredients like sugar, butter, and even a lattice crust on top.
Throughout the centuries, apple pie has become a beloved American icon, a comforting dessert that evokes images of cozy kitchens and family gatherings.
Today, you can find endless variations on the classic recipe, from Dutch apple pie with a crumbly topping to French-inspired tarts with delicate pastry.
No matter how it's made, the humble apple pie remains a timeless treat that brings people together and celebrates the bounty of the harvest season.
Recipe
Apple pie is a classic American dessert that combines a flaky crust with a sweet, tangy filling. Whether you're baking it for a special occasion or simply enjoying it as a comforting treat, this recipe will guide you through the process of creating a delicious homemade apple pie.
The key to a successful apple pie lies in the balance of flavors and textures. The combination of tart apples, warm spices, and a buttery crust creates a harmonious blend that's sure to delight your taste buds.
Ingredients:
- 2 9-inch pie crusts (homemade or store-bought)
- 6-8 Granny Smith apples, peeled, cored, and sliced
- 3/4 cup granulated sugar
- 1/4 cup all-purpose flour
- 1 teaspoon ground cinnamon
- 1/4 teaspoon ground nutmeg
- 1/4 teaspoon ground cloves
- 1/4 cup unsalted butter, cubed
- 1 egg, beaten (for egg wash)
- 1 tablespoon coarse sugar (for topping)
Instructions:
Preheat your oven to 425°F (220°C). Roll out one of the pie crusts and place it in a 9-inch pie dish.
In a large bowl, toss the sliced apples with the granulated sugar, flour, cinnamon, nutmeg, and cloves until well combined.
Arrange the seasoned apple slices in the prepared pie crust. Dot the top of the apple filling with the cubed butter.
Roll out the remaining pie crust and place it over the filling. Crimp the edges to seal, and cut several slits in the top crust to allow steam to escape.
Brush the top crust with the beaten egg and sprinkle with the coarse sugar.
Bake the pie for 25 minutes, then reduce the oven temperature to 375°F (190°C) and continue baking for an additional 30-35 minutes, or until the crust is golden brown and the filling is bubbly.
Tips:
- For a flakier crust, consider using a combination of butter and shortening.
- Experiment with different apple varieties to find your preferred flavor profile.
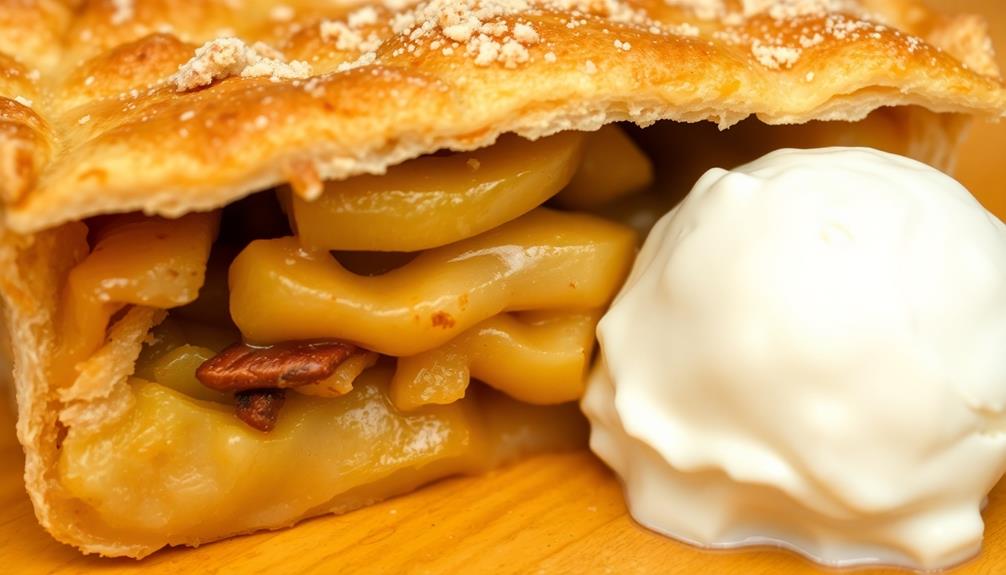
- Serve the apple pie warm, with a scoop of vanilla ice cream or a dollop of whipped cream for an extra indulgent treat.
Cooking Steps
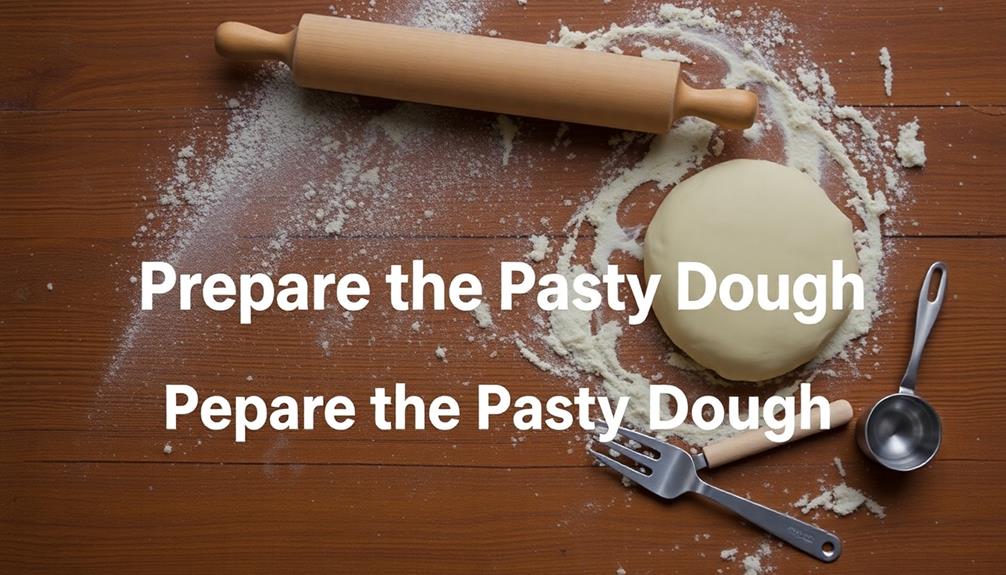
First, you'll need to prepare the pastry dough for a perfectly flaky crust.
Next, mix up the delightful apple filling to create the heart of your pie.
Then, assemble the pie by layering the dough and filling, and bake until the crust is golden brown.
Step 1. Prepare the Pastry Dough
To begin, you'll need to gather your ingredients for the pastry dough. You'll be working with all-purpose flour, unsalted butter, granulated sugar, and a pinch of salt.
Measure out the flour and place it in a large mixing bowl. Cut the chilled butter into small cubes and add them to the flour. Using your fingertips, lightly rub the butter into the flour until the mixture resembles coarse breadcrumbs.
Next, sprinkle in the sugar and salt, then gently mix everything together. Gradually add in ice-cold water, a tablespoon at a time, and use your hands to bring the dough together. Be careful not to overwork it.
Once the dough starts to form a ball, stop adding water. Turn the dough out onto a lightly floured surface and give it a few quick kneads to bring it together.
Divide the dough in half, shape each half into a disk, wrap in plastic, and refrigerate for at least 30 minutes before rolling and using.
Step 2. Prepare Apple Filling Mixture
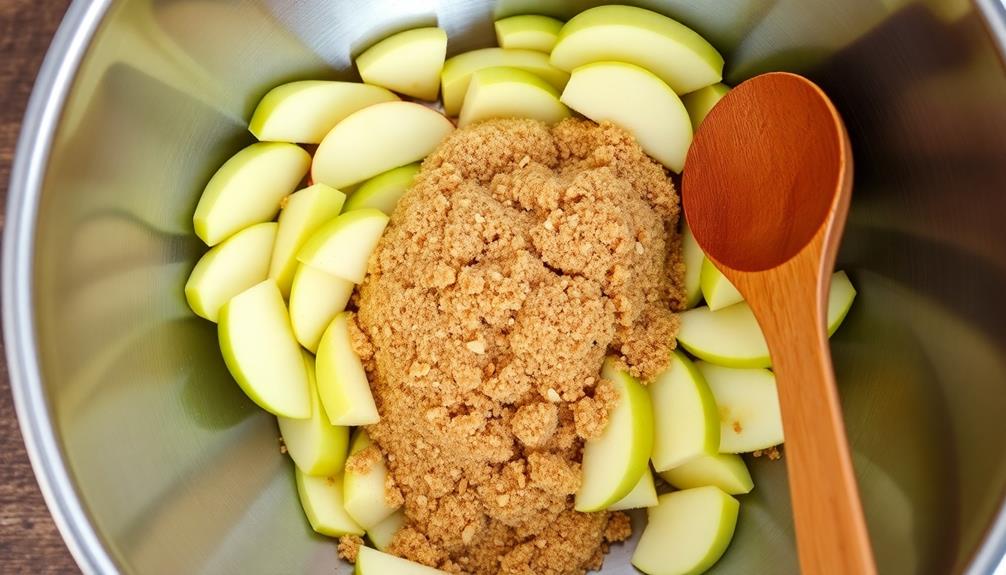
While the pastry dough chills, you can start preparing the apple filling. Grab a large bowl and gather your ingredients: crisp, juicy apples, brown sugar, ground cinnamon, a pinch of nutmeg, and a squeeze of lemon juice.
Peel, core, and slice the apples into thin, even pieces, then add them to the bowl. Sprinkle the brown sugar, cinnamon, and nutmeg over the apples and give everything a gentle toss to coat. The lemon juice will help prevent the apples from browning and add a lovely brightness to balance the sweetness.
Now, use your hands to gently mix and squeeze the apple slices, releasing their natural juices. This will create a delectable, syrupy filling. Taste a piece and adjust the seasoning as needed, adding more cinnamon or sugar to suit your preferences.
Once you're satisfied, cover the bowl and set it aside while you finish preparing the pastry. The apple filling will be bursting with flavor, ready to be nestled between the buttery layers of the homemade crust.
Step 3. Assemble the Pie in Layers

With the apple filling prepared, you can now begin assembling the pie. Take your chilled bottom crust and gently press it into a 9-inch pie dish. Make sure to carefully smooth out any wrinkles or gaps.
Next, pour the delicious apple filling into the crust, spreading it out evenly. The sweet, fragrant apples should fill the dish, almost to the top.
Now, it's time to add the top crust. Carefully unroll or place the chilled top crust over the filling. Use your fingers to crimp and seal the edges of the crust, creating a beautiful, fluted pattern around the pie.
Don't forget to cut a few small slits in the top crust to allow steam to escape during baking. Finally, brush the top crust with a beaten egg or milk to give it a lovely, golden sheen.
Congratulations! Your Szarlotka (Polish Apple Pie) is now ready to be baked to perfection.
Step 4. Bake the Assembled Pie
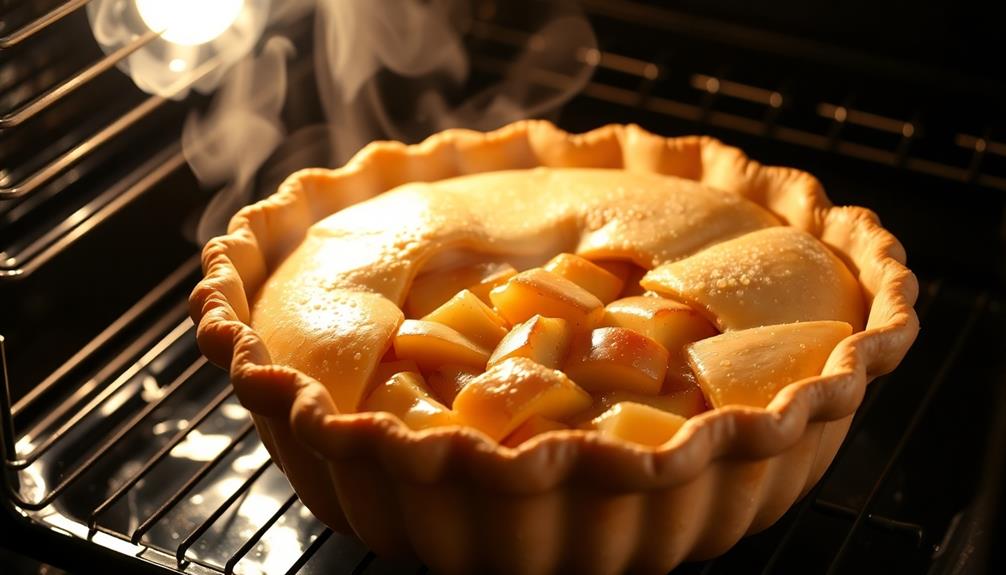
Preheat your oven to 375°F (190°C). Carefully place the assembled pie onto a baking sheet, ensuring it's centered. This will catch any drips or bubbles that may occur during baking, keeping your oven clean.
Slide the baking sheet into the preheated oven. Bake the pie for 45-55 minutes, or until the crust is a beautiful golden brown and the filling is bubbly. Keep an eye on it, as oven temperatures can vary. The aroma of cinnamon and apples will fill your kitchen, making your mouth water in anticipation.
Once the pie is done, remove it from the oven using oven mitts. Allow it to cool on a wire rack for at least 30 minutes. This resting period is crucial, as it allows the filling to set and the crust to firm up.
Slice into the warm, fragrant pie and serve with a scoop of vanilla ice cream or a dollop of whipped cream, if desired. Enjoy the perfect balance of flaky crust and sweet, cinnamony apple filling.
Step 5. Allow Pie to Cool
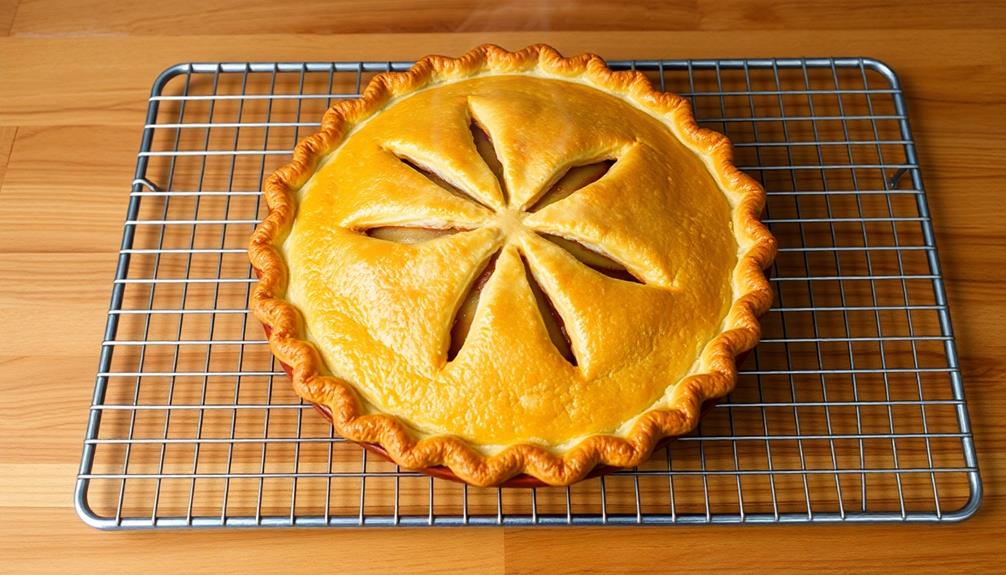
Once the pie is out of the oven, let it cool on a wire rack for at least 30 minutes. This resting period is crucial to allow the filling to set and the crust to firm up.
You'll be tempted to dive right in, but patience is key. As the pie cools, the aromatic scent of apples and spices will fill your kitchen, teasing your taste buds.
Resist the urge to slice into the pie too soon. The filling needs time to solidify, or it will ooze out messily when you cut into it.
Set a timer and walk away – go tidy up the kitchen or enjoy a refreshing beverage while you wait.
When the timer goes off, the pie should be at a comfortable, sliceable temperature. Use a sharp knife to cut clean, neat slices, revealing the layers of flaky crust and tender, cinnamony apples within.
Now you're ready to serve this delectable Polish treat and savor every bite.
Final Thoughts
After savoring the delightful flavors of the homemade apple pie, one can't help but feel a sense of satisfaction and accomplishment. The warm, buttery crust, the tender apples, and the perfect blend of spices create a truly mouthwatering experience.
The aroma that fills the kitchen as the pie bakes is enough to make your taste buds dance with anticipation.
Now that you've indulged in this Polish delight, you might find yourself craving it again and again. Szarlotka, the traditional Polish apple pie, isn't just a dessert; it's a culinary tradition that brings families and friends together.
The act of baking and sharing this pie can be a cherished ritual, a way to connect with your cultural heritage or simply to enjoy the simple pleasures in life.
As you savor the last bite, you'll be left with a sense of contentment and the desire to recreate this delectable treat time and time again.
The memories of this homemade apple pie will linger, beckoning you to the kitchen for another slice of this timeless delicacy.
Frequently Asked Questions
What Are the Nutritional Benefits of Szarlotka?
You'll be delighted to know that this delicious treat packs a nutritional punch! The apples are full of fiber, vitamins, and antioxidants that can help support a healthy digestive system and boost your immune system.
Plus, the buttery crust provides a satisfying crunch and some essential fats. Enjoy this dessert as a tasty way to get more wholesome ingredients into your diet.
Your body will thank you for treating it to this scrumptious and nourishing slice of goodness!
Can Szarlotka Be Made Gluten-Free or Vegan?
Yes, you can definitely make szarlotka (the traditional Polish apple pie) gluten-free and vegan!
All you need to do is swap out the regular flour for a gluten-free flour blend, and use dairy-free alternatives like plant-based butter or coconut oil instead of regular butter.
With a few simple ingredient swaps, you can enjoy this delicious apple dessert without any wheat or animal products. This delicious apple pancakes recipe is perfect for anyone looking for a vegan and gluten-free treat. By using almond milk instead of regular milk and swapping out the all-purpose flour for a gluten-free alternative, you can still enjoy the wonderful taste of apple pancakes without any dietary restrictions getting in the way. The apples add a natural sweetness and a lovely texture to the pancakes, making them a delightful and satisfying breakfast or dessert option.
Just be sure to follow a trusted recipe that's been adapted for gluten-free and vegan baking.
It's a great way to make this classic treat accessible for everyone to enjoy!
How Long Does Szarlotka Typically Stay Fresh?
Freshness is key for any delicious homemade treat!
When properly stored, your szarlotka should stay fresh for 3-4 days. Keep it covered at room temperature, or in the fridge for longer shelf life.
The crust will stay crisp, and the apples won't get soggy. Enjoy a slice whenever you need a sweet pick-me-up!
With proper handling, you can savor the flavors of your hard work for several days.
Just be sure to dig in before it disappears – this tasty pie won't last long!
Can Szarlotka Be Frozen and Reheated Later?
Yes, you can absolutely freeze and reheat szarlotka later! This is a great way to enjoy that delicious homemade treat anytime.
Just let it cool completely, then wrap it tightly in plastic wrap or foil.
When you're ready to indulge, simply pop it in the oven at 350°F until warmed through, about 15-20 minutes.
The crust will still be flaky, and the apples will taste just as fresh. Enjoy that warm, comforting flavor whenever the craving strikes!
Are There Any Regional Variations of Szarlotka in Poland?
You'll be pleased to know that there are indeed several regional variations of the beloved Polish dessert, szarlotka!
Depending on where in Poland you go, you might find szarlotka with a crumbly, buttery crust, or one with a puff pastry base.
Some regions prefer a taller, more cake-like version, while others enjoy a flatter, more rustic take.
No matter the style, the star of the show is always the delicious apple filling – a true delight for your taste buds!