Knafeh is a mouth-watering Middle Eastern dessert that'll transport you to the vibrant markets of the region. Its crispy, golden-brown crust and creamy, cheese-filled center make it an irresistible treat. Originating from the Ottoman Empire, this traditional pastry has evolved over centuries, boasting unique regional variations that showcase the rich culinary heritage. From the nabulsi cheese used in Palestine to the crushed pistachios and syrups added in Lebanon, each bite is a celebration of flavors and textures. Savoring knafeh evokes memories of communal joy and togetherness – a delightful experience you won't soon forget. Let's dive deeper into the captivating history and preparation of this beloved dessert.
Key Takeaways
- Knafeh is a traditional Middle Eastern dessert with origins in the Ottoman Empire, known for its crispy crust and creamy center.
- The dish features variations across regions, such as the use of nabulsi cheese in Palestine or the addition of crushed pistachios or syrup in Lebanon.
- Knafeh holds strong cultural significance, symbolizing togetherness and celebration, and its global popularity has surged with the emergence of knafeh shops worldwide.
- The cooking process involves preparing a cheese filling, layering it with shredded phyllo pastry (kataifi) in a baking dish, and baking until golden brown and crispy.
- After baking, the knafeh is typically drizzled with a sweet syrup and garnished with chopped pistachios, creating a delightful balance of textures and flavors.
History
Knafeh's origins can be traced back to the Middle East, where it has been a beloved dessert for centuries. This delectable treat has a long and storied history, dating back to the Ottoman Empire. Back then, it was a favorite among the palace elite, who savored its crispy, golden-brown crust and its creamy, cheese-filled center.
Over time, the recipe for knafeh has evolved, with different regions and cultures putting their own unique spin on this classic dessert. In Palestine, for example, knafeh is often made with a soft, stringy cheese called nabulsi, while in Lebanon, it may be topped with crushed pistachios or a sweet syrup.
Regardless of the variations, one thing remains constant: knafeh's ability to delight the senses and bring people together.
Today, this Middle Eastern delicacy has gained global popularity, with knafeh shops and bakeries popping up all over the world. Whether you're enjoying it in the bustling streets of Nablus or in a cozy café in your own city, the taste of knafeh is sure to transport you to the heart of the Middle East.
Cooking Steps
To make knafeh, begin by preheating your oven to 350°F (175°C).
Next, prepare the filling by combining ricotta or cottage cheese, sugar, and a touch of lemon zest in a bowl. Mix everything together until well combined.
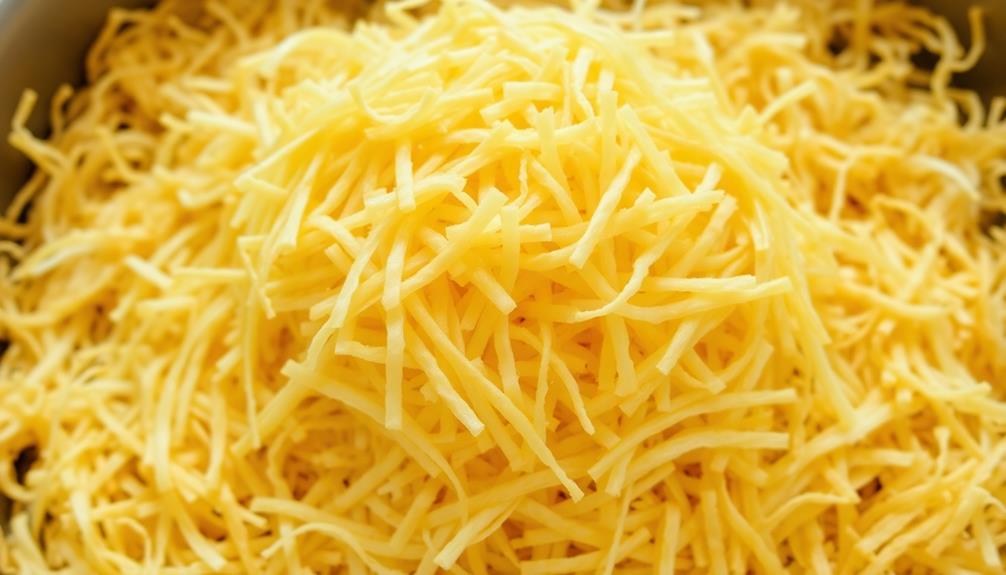
For the dough, you'll need to work with kataifi, which are shredded phyllo pastry threads. Spread the kataifi into a greased baking dish, pressing it down to form a crust.
Carefully spoon the cheese filling over the kataifi, spreading it evenly. Top the filling with another layer of kataifi, again pressing it down gently.
Bake the knafeh in the preheated oven for 30-40 minutes, or until the top is golden brown and crispy.
Once done, remove it from the oven and drizzle a warm simple syrup over the top. Let it cool slightly before serving warm, garnished with crushed pistachios or a dusting of powdered sugar.
Step 1. Prepare the Knafeh Dough
Preparing the knafeh dough is the first crucial step in this delectable dessert's creation. You'll need to gather your ingredients: fine semolina flour, unsalted butter, and warm water.
Start by mixing the semolina and butter in a large bowl until the mixture resembles coarse crumbs. Slowly add the warm water, kneading the dough until it comes together into a smooth, pliable ball. Be careful not to overwork the dough, as that can make it tough.
Once the dough is ready, cover it with a damp cloth and let it rest for at least 30 minutes. This allows the gluten to relax, making the dough easier to work with.
When you're ready to assemble the knafeh, you'll need to divide the dough into small, walnut-sized pieces and roll them into balls. These will form the base of your delicious dessert.
With the dough prepared, you're one step closer to enjoying the rich, syrupy goodness of homemade knafeh.
Step 2. Layer the Cheese

With the dough prepared, it's time to layer the cheese. Grab a baking dish and grease it up to make sure the knafeh doesn't stick.
Now, it's time to add the first layer – a generous helping of shredded akkawi or other white cheese. Make sure to spread it evenly across the bottom of the dish.
Next, grab the shredded phyllo dough you made earlier and sprinkle it over the cheese. Be gentle as you layer it on, making sure not to pack it down too tightly. You want to keep it light and airy.
Top that with another layer of the shredded cheese.
Keep alternating between the phyllo dough and cheese until you reach the top of the dish. The final layer should be the shredded phyllo.
Get ready to bake this beauty to perfection!
Step 3. Bake the Knafeh
Preheat your oven to 375°F (190°C). Grab your prepared cheese-filled phyllo dough and place it in a baking dish. Drizzle the top with melted butter or oil to help it get crispy and golden.
Pop the dish into the preheated oven and let it bake for 25-30 minutes, until the top is beautifully browned.
Once it's baked to perfection, remove the knafeh from the oven and let it cool for a few minutes. This gives the cheese a chance to set up nicely.
Now, it's time to prepare the sweet syrup. In a saucepan, combine sugar, water, and a touch of lemon juice or rose water. Bring this mixture to a boil, then reduce the heat and let it simmer for about 10 minutes, until the syrup thickens slightly.
Drizzle the warm, fragrant syrup all over the top of the baked knafeh. Serve it up hot, and enjoy the incredible flavors and textures in every bite!
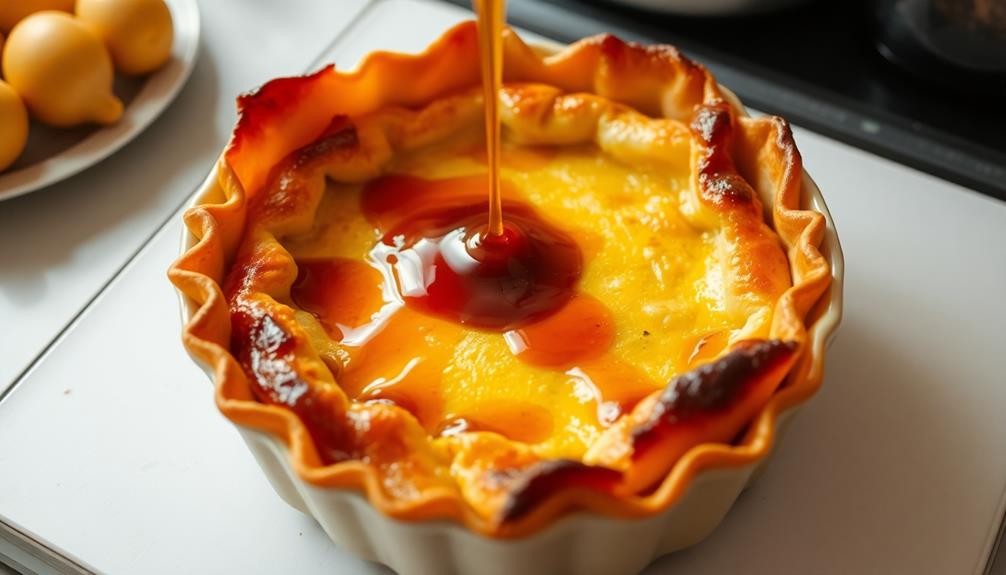
Step 4. Drizzle With Sweet Syrup
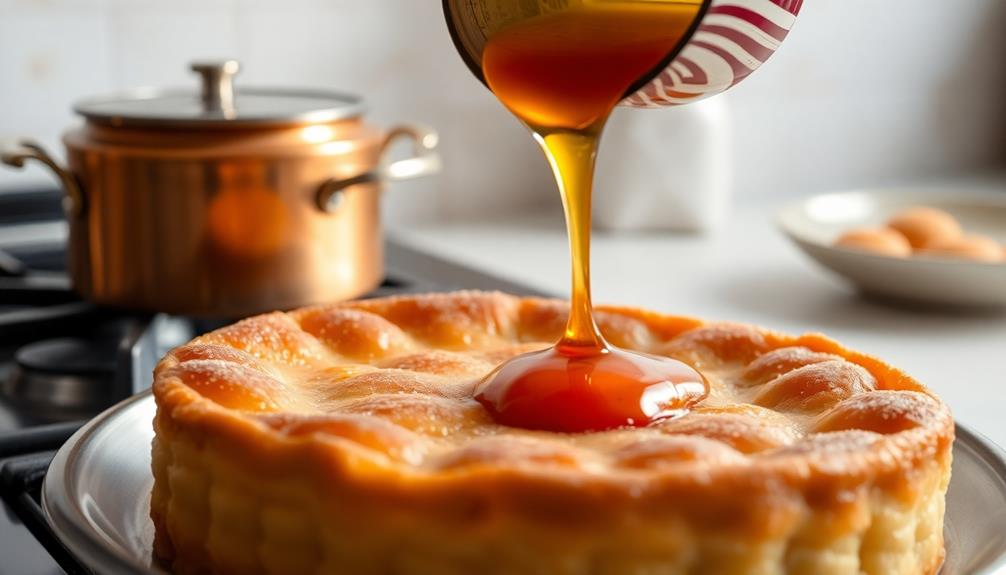
Once the knafeh has finished baking to a beautiful golden brown, it's time to drizzle the warm, fragrant syrup all over the top. This sweet, sticky syrup is the perfect finishing touch, adding a glossy sheen and mouthwatering aroma to the dish.
Gently pour the syrup in a circular motion, making sure to cover every inch of the crispy, buttery pastry. The honey-like sweetness will soak into the layers, creating a heavenly contrast with the soft, cheese-filled interior.
Watch as the syrup cascades over the edges, creating beautiful drips and pooling around the sides.
Now, it's time to let the knafeh rest for a few minutes, allowing the flavors to meld together. The warm, syrupy goodness will continue to seep into the pastry, making every bite a delightful balance of crunch and gooey sweetness.
Get ready to savor the ultimate Middle Eastern dessert experience!
Step 5. Garnish With Chopped Pistachios

Finish drizzling the warm, fragrant syrup over the crispy, golden-brown knafeh.
Now, it's time to add the finishing touch – a generous sprinkling of chopped pistachios! These vibrant green nuts will provide a delightful crunch and a burst of flavor that perfectly complements the sweetness of the pastry.
Carefully grab a handful of shelled pistachios and give them a quick chop with a sharp knife. Don't worry about getting them perfectly uniform – a bit of variation in size will add to the visual appeal.
Sprinkle the chopped pistachios generously over the top of the knafeh, making sure to cover the entire surface. The contrast of the bright green nuts against the golden-brown pastry will be simply stunning.
As you take your first bite, you'll be rewarded with the satisfying crunch of the pistachios, the soft, buttery texture of the knafeh, and the lingering sweetness of the syrup.
It's a flavor and texture explosion that will have your taste buds dancing with delight!
Final Thoughts
As you prepare to savor this delectable Middle Eastern dessert, take a moment to reflect on the journey you've embarked upon. From the fragrant layers of buttery phyllo dough to the sweet, creamy cheese filling and the final dusting of crushed pistachios, every bite of knafeh is a celebration of flavors and textures.
This traditional confection has been delighting palates for centuries, passed down through generations, each family adding their own unique twist. Whether you're discovering knafeh for the first time or revisiting a beloved favorite, this moment of indulgence is sure to transport you to the vibrant markets and bustling streets of the Middle East.
As you savor each morsel, allow the flavors to linger, letting the rich dairy notes and the crunch of the nuts mingle on your tongue.
Knafeh isn't just a dessert – it's a cultural touchstone, a testament to the enduring power of culinary traditions. Embrace this experience, for it's a delicious reminder of the joy that can be found in the simple pleasures of life.
Frequently Asked Questions
What Is the Significance of the Green Garnish on Knafeh?
The green garnish on the dish adds a vibrant splash of color that really makes it pop!
It's not just for looks, though. That fresh greenery provides a crisp, herbal flavor that perfectly complements the sweetness of the pastry.
It's like adding a refreshing note to balance out the rich, indulgent treat.
The green garnish takes the dish to a whole new level, making it a true feast for the senses!
How Can I Achieve the Perfect Texture in the Knafeh Dough?
Achieving that perfect knafeh texture is all about mastering the dough!
First, you'll want to use a mix of semolina and all-purpose flour. The semolina adds a delightful crunch, while the all-purpose keeps things nice and tender.
Don't forget to let the dough rest – this allows the gluten to relax, so your knafeh bakes up light and flaky.
With a little practice, you'll be whipping up bakery-worthy knafeh in no time!
Can I Substitute Any Ingredients in the Traditional Knafeh Recipe?
Absolutely! You can get creative with the traditional knafeh recipe and try some delicious substitutions.
For example, you could swap out the classic cheese filling for a sweet nut mixture or even fresh fruit.
And instead of the classic semolina dough, you could use a flaky phyllo pastry.
The possibilities are endless! Just be sure to experiment with small batches first to find your perfect flavor combination.
Have fun and get ready to wow your taste buds!
How Long Does the Knafeh Keep After It's Been Baked?
Freshly baked knafeh is a real treat, but how long does it last?
Well, you'll be happy to know that this delightful dessert can keep for up to 3 days after it's been baked!
Just store it in an airtight container at room temperature, and you can enjoy its crispy, cheesy goodness for days.
Of course, it's best when it's fresh out of the oven, but with proper storage, you can savor every bite for a little while longer.
Is Knafeh Commonly Served With Any Specific Drink or Beverage?
You're in for a treat! Knafeh is often enjoyed with a refreshing cup of Arabic coffee or a sweet, milky tea. If you’ve never tried knafeh before, you’re in for a real indulgence. This popular Middle Eastern dessert is made with shredded phyllo dough, sweet cheese, and a sweet syrup, creating a deliciously unique combination of flavors and textures. After enjoying your knafeh and a warm beverage, consider trying your hand at a traditional kibbeh recipe for a complete Middle Eastern culinary experience. The savory and flavorful mixture of ground meat, bulgur, and aromatic spices is sure to delight your taste buds.
The rich, gooey pastry pairs beautifully with the bold, aromatic flavors of these traditional beverages. Whether you prefer your coffee strong and bold or your tea fragrant and soothing, the combination is sure to delight your senses and leave you feeling satisfied.