The Inkigayo sandwich is Korea's viral convenience store treat, blending irresistible flavors and a vibrant cultural identity that reflects the dynamic K-pop scene. You'll love how the soft white bread, runny fried egg, crispy bacon, and shredded cheese come together in perfect harmony. The diagonal slicing creates a fun, triangular shape that's as visually appealing as it is delicious. Spread on a thin layer of cool, creamy mayonnaise, then layer juicy tomatoes, crisp lettuce, and savory protein for an unforgettable flavor explosion. With its eye-catching presentation and irresistible taste, it's no wonder the Inkigayo sandwich has captured global hearts and taste buds. Keep reading to discover the full story behind this Korean cultural phenomenon.
Key Takeaways
- The Inkigayo sandwich is a popular Korean convenience store snack that has evolved over time with unique variations featuring creative fillings.
- Its special connection to the K-pop music scene has contributed to its widespread popularity among fans.
- The sandwich's convenient and portable nature allows K-pop fans to grab a quick bite before or after performances.
- The process of assembling the sandwich includes slicing bread diagonally, spreading mayonnaise, and layering various ingredients like tomato, lettuce, and protein.
- The Inkigayo sandwich has become a cultural phenomenon, representing the vibrant Korean food scene and captivating the global taste buds of food enthusiasts.
History
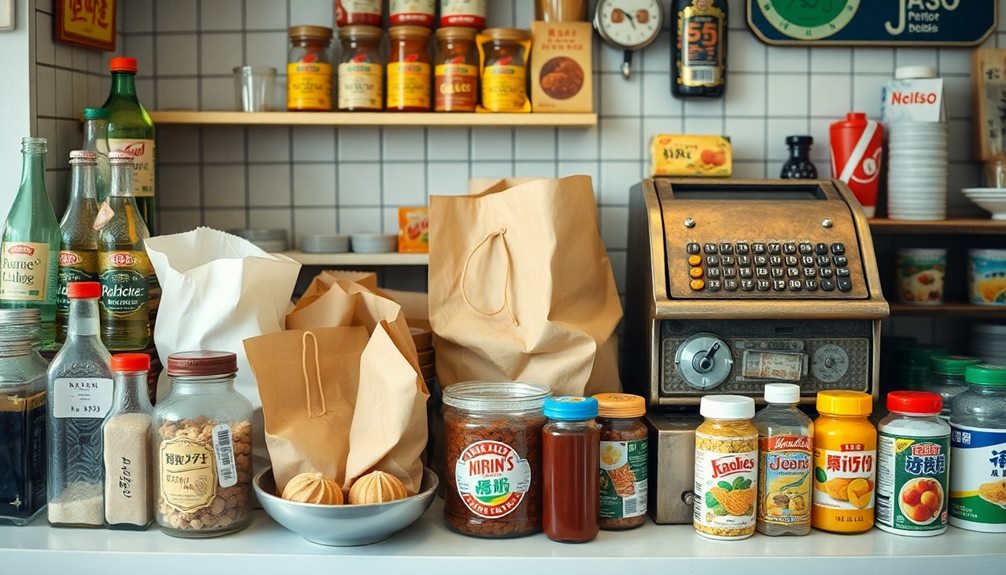
Over the years, these sandwiches evolved, with different stores offering their own unique variations.
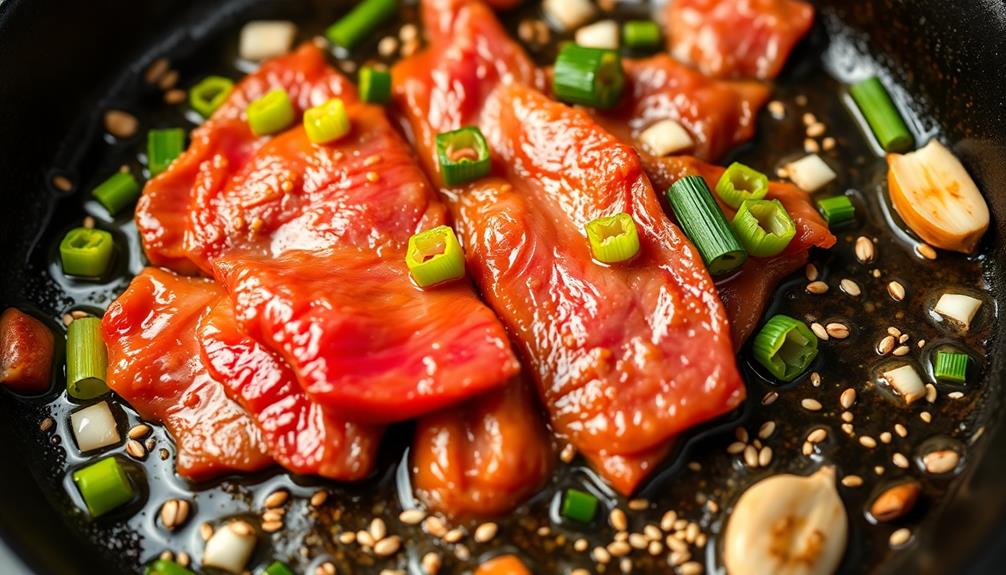
Some added creative fillings like bulgogi or fried chicken, while others kept it classic with just ham and cheese.
What made the Inkigayo Sandwich so special was its convenience and connection to the K-pop music scene.
Fans could quickly grab a bite before or after their favorite artists' performances, creating a sense of community and excitement around the beloved treat.
Cooking Steps

To start, gather all the necessary ingredients and equipment. You'll need a few slices of soft white bread, a runny fried egg, some crispy bacon, and a sprinkle of shredded cheese. Don't forget a small plate and a fork – you'll need them to assemble your sandwich.
First, cook the bacon until it's golden and crispy. Drain it on a paper towel-lined plate.
Next, fry an egg in a pan until the white is set, but the yolk is still runny.
Now it's time to build your Inkigayo sandwich. Place two slices of bread on your plate. Layer the crispy bacon and the fried egg on one slice. Sprinkle the shredded cheese on top. Close the sandwich with the other slice of bread.
Carefully pick up your creation and take a big bite. Enjoy the amazing flavors and textures – the soft bread, the runny egg, the salty bacon, and the melty cheese.
It's a delicious, handheld treat that's perfect for any time of day.
Step 1. Slice Bread Diagonally

Deftly wielding a sharp knife, slice the bread diagonally. This creates a fun, triangular shape that's perfect for the Inkigayo sandwich. Make sure to cut the bread at a 45-degree angle, slicing from one corner to the opposite. Go slowly and be careful – you don't want uneven, jagged edges. The diagonal cut not only looks great but also allows you to pack more filling into each sandwich.
Next, repeat this process with the other slice of bread. Cutting both pieces diagonally ensures a symmetrical, visually appealing final product.
The angled surfaces also provide more surface area for your delicious fillings to cling to. Feel free to adjust the angle slightly if you want a more pronounced triangular shape. Just be consistent so both halves match.
With the bread neatly sliced, you're one step closer to crafting the perfect Inkigayo sandwich!
Step 2. Spread Mayonnaise on Bread Slices
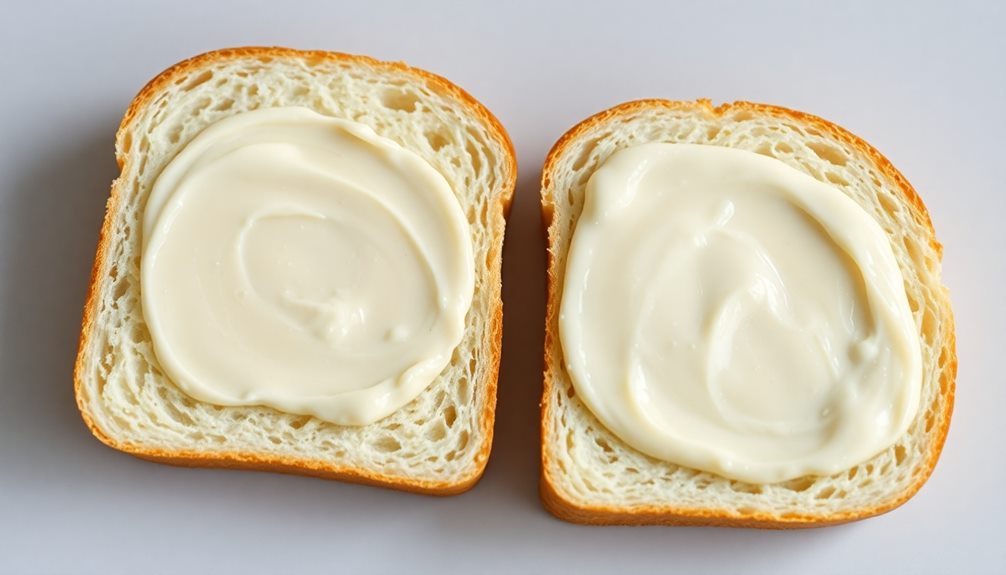
Next, spread a thin, even layer of mayonnaise over the surface of each diagonally sliced bread piece.
Be sure to cover the entire surface, from corner to corner, for maximum flavor and texture. The cool, creamy mayonnaise will complement the soft bread perfectly, creating a delightful contrast.
Spread it gently with a butter knife, taking care not to tear the delicate slices. A little mayonnaise goes a long way, so you don't need to overdo it. Just a light coating will do the trick.
The mayonnaise will help the fillings adhere to the bread, preventing any messy slippage. It also adds a subtle richness that takes the Inkigayo sandwich to the next level.
With the bread slices prepped, you're one step closer to enjoying this beloved Korean snack. Get ready to savor the perfect balance of flavors and textures in every bite. The delightful combination of soft, pillowy bread and sweet, creamy filling makes this treat truly irresistible. Whether you’re recreating this Korean sweet bread recipe for a cozy snack at home or to impress guests, it’s bound to be a crowd-pleaser. Serve it warm with a hot cup of tea or coffee, and let the comforting flavors transport you straight to the streets of Korea.
Step 3. Add Sliced Ingredients

After preparing the bread with the mayonnaise, you'll want to carefully add the sliced ingredients.
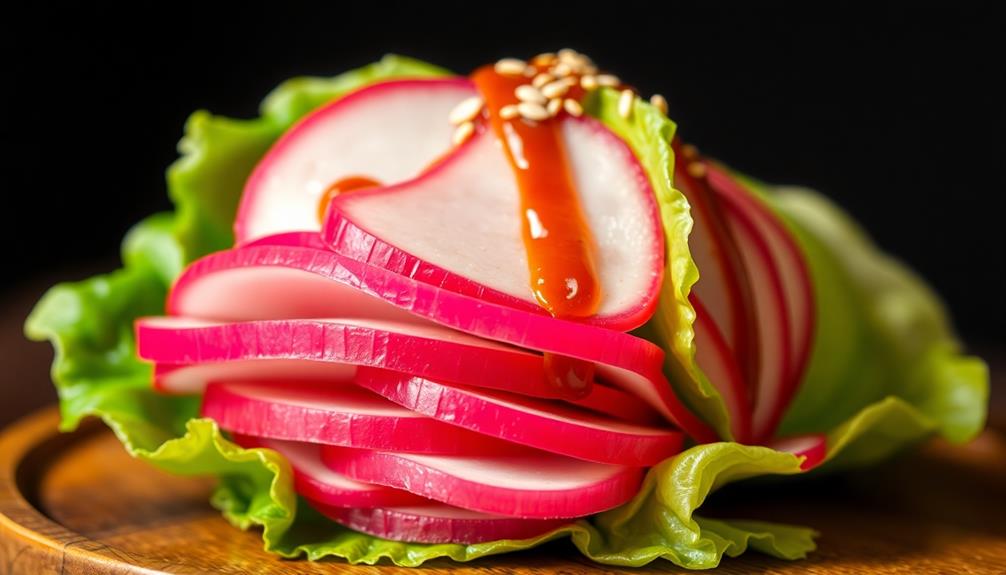
First, lay out a few thin slices of juicy tomato. The bright red color and tangy flavor will create a delightful contrast with the creamy mayonnaise. Including fresh vegetables in your diet can also contribute to overall health and wellness, as they're packed with essential nutrients and antioxidants foods beneficial for managing gout symptoms.
Next, add a few crisp, fresh lettuce leaves. Their crunchy texture and mild taste will balance the other ingredients nicely.
Don't forget the protein! Lay a few thin slices of savory ham or roasted chicken across the bread. The salty, savory flavors will tie everything together.
If you're feeling adventurous, you could even add a slice or two of creamy cheese, like cheddar or Swiss.
Step 4. Assemble Sandwich With Layers
Now that you've carefully layered the sliced ingredients, it's time to assemble the sandwich. First, take the bottom slice of bread and place it on a clean surface.
Next, add a generous layer of your favorite savory spread, like mayo or mustard. Then, carefully layer the sliced ingredients in the order you prefer, making sure to cover the entire surface of the bread. Be creative and have fun with the arrangement!
Once you've added all the fillings, it's time to top it off with the other slice of bread. Gently press down to secure the layers in place.
And voila, your Inkigayo sandwich is ready to enjoy! Feel free to cut it in half or leave it whole, whichever way you like it best. The key is to savor each delicious bite and appreciate the harmonious blend of flavors.
Now, go ahead and take a big, satisfying bite – you've earned it!
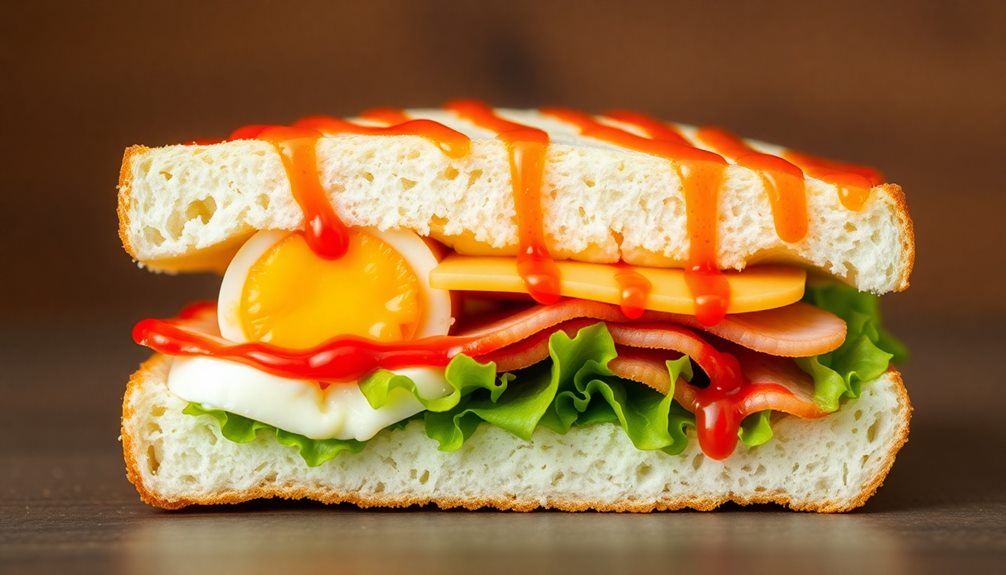
Step 5. Cut Diagonally for Presentation

To give your Inkigayo sandwich a professional and visually appealing presentation, cut it diagonally. This simple step transforms the ordinary into the extraordinary. By slicing the sandwich on a bias, you create two perfect triangular halves that are sure to impress.
The diagonal cut not only looks amazing, but it also makes the sandwich easier to eat. Each triangle-shaped piece is the perfect bite-sized portion, allowing you to savor the flavors without getting overwhelmed.
Plus, the diagonal cut exposes the delicious layers inside, enticing your taste buds and making your mouth water in anticipation.
Don't be afraid to experiment with the angle of your cut. You can go for a sharper, more pronounced diagonal or a more gentle, subtle slice.
Play around and see what looks best with your particular sandwich creation. With a little practice, you'll be slicing like a professional in no time.
Final Thoughts

The Inkigayo sandwich has undoubtedly captured the hearts and taste buds of fans worldwide. This humble convenience store treat has become a cultural phenomenon, sparking a global craze that transcends its simple ingredients.
From its eye-catching presentation to its irresistible flavor, the Inkigayo sandwich has proven itself to be far more than just a quick snack.
What makes the Inkigayo sandwich so special? It's the perfect blend of textures and flavors – the soft, pillowy bread, the savory fillings, and the satisfying crunch of the potato chips.
But beyond its taste, the sandwich has become a symbol of Korean culture, a delightful representation of the country's vibrant food scene.
Whether you're a longtime K-pop fan or simply someone who appreciates good food, the Inkigayo sandwich is a must-try that will leave you craving more.
Frequently Asked Questions
How Long Can Inkigayo Sandwiches Be Stored After Purchase?
You can typically store Inkigayo sandwiches for up to 2-3 days after purchase when kept refrigerated. However, it's best to consume them as soon as possible to enjoy their freshness and signature flavors.
Are Inkigayo Sandwiches Suitable for People With Dietary Restrictions?
While Inkigayo sandwiches can be enjoyed by many, their ingredients may not suit those with dietary restrictions. It's best to check the contents carefully to ensure they align with your individual needs.
Can Inkigayo Sandwiches Be Customized to Individual Preferences?
Absolutely! You can customize Inkigayo sandwiches to suit your dietary needs and preferences. Many stores offer options like vegetarian, vegan, or gluten-free fillings, so you can create the perfect sandwich just for you.
What Is the Recommended Serving Size for an Inkigayo Sandwich?
The recommended serving size for an Inkigayo sandwich is typically one sandwich per person. While you can customize the fillings, the compact size of the sandwich means it's best enjoyed as a single-serve snack or light meal.
How Does the Price of an Inkigayo Sandwich Compare to Other Convenience Store Snacks?
The price of an Inkigayo sandwich tends to be a bit higher than other convenience store snacks, usually costing around $2-3 USD. However, its unique and popular appeal makes it a special treat worth the extra cost.