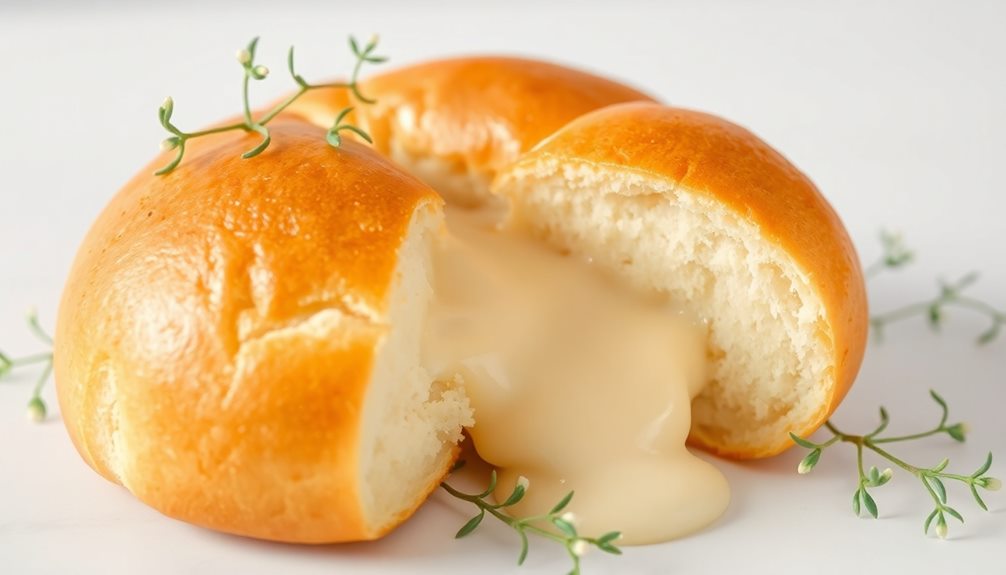

Get ready to indulge in the soft, fluffy delight of authentic Korean cream bread! This beloved delicacy's origins trace back to early 20th century Korea, where bakers blended Western baking traditions with their own unique techniques, creating a creamy, irresistible filling. Over the decades, the recipe has evolved, offering delightful flavors like classic vanilla cream and playful fruit-filled options. Biting into a slice, you'll experience the perfect balance of subtle sweetness and comforting textures that have made cream bread a beloved staple in Korean bakeries and cafes, showcasing their culinary pride. There's so much more to discover about this captivating treat!
Key Takeaways
- Cream Bread Korean is a unique baked treat that originated in early 20th century Korea, blending Western baking traditions with a creamy, flavorful filling.
- The bread features a soft, fluffy texture and a delicate balance of sweetness, appealing to diverse palates and showcasing Korean culinary pride.
- The baking process involves carefully measuring and combining dry ingredients, kneading the dough, and allowing it to rise for optimal texture and flavor.
- Detailed instructions guide bakers through the preparation steps, making the homemade cream bread accessible for all skill levels.
- Enjoying the final product rewards the effort of baking, fostering creativity and a sense of accomplishment in the process.

D-Plus Tennen Koubo Hokkaidou Japanese Bread, Milk Cream, 2.82 Ounce
Hokkaido cream flavor
As an affiliate, we earn on qualifying purchases.
As an affiliate, we earn on qualifying purchases.
History

Originating in the early 20th century, the history of cream bread in Korea traces back to the nation's encounter with Western baking traditions.
As Korean bakers began experimenting with new techniques, they created a unique spin on classic white bread, infusing it with a rich, creamy filling. This delightful fusion captured the hearts and taste buds of Koreans, who couldn't get enough of the soft, pillowy texture and delicate sweetness.
Over the decades, the recipe for cream bread evolved, with bakers trying different fillings and techniques to achieve the perfect balance of flavors.
From traditional vanilla cream to playful fruit-filled varieties, the versatility of cream bread became a source of pride for Korean culinary culture.
Today, this beloved treat can be found in bakeries and cafes across the country, a testament to its enduring popularity and the ingenuity of Korean bakers who've kept this delicious tradition alive.

Gicyiit Pullman Loaf Pan with Lid, 13×4 inch, Premium 2.2LB Nonstick Sandwich Bread Loaf Pan for Homemade Sourdough Bread, Heavy Duty Carbon Steel Corrugated Toast Box with Cover for Baking, Bakeware
【PERFECT LOAVES EVERY TIME】Bake like a pro with our extra-long Pullman loaf pan, perfectly sized for 2.2LB dough….
As an affiliate, we earn on qualifying purchases.
As an affiliate, we earn on qualifying purchases.
Cooking Steps

To begin the cooking process, preheat your oven to 350°F (175°C).
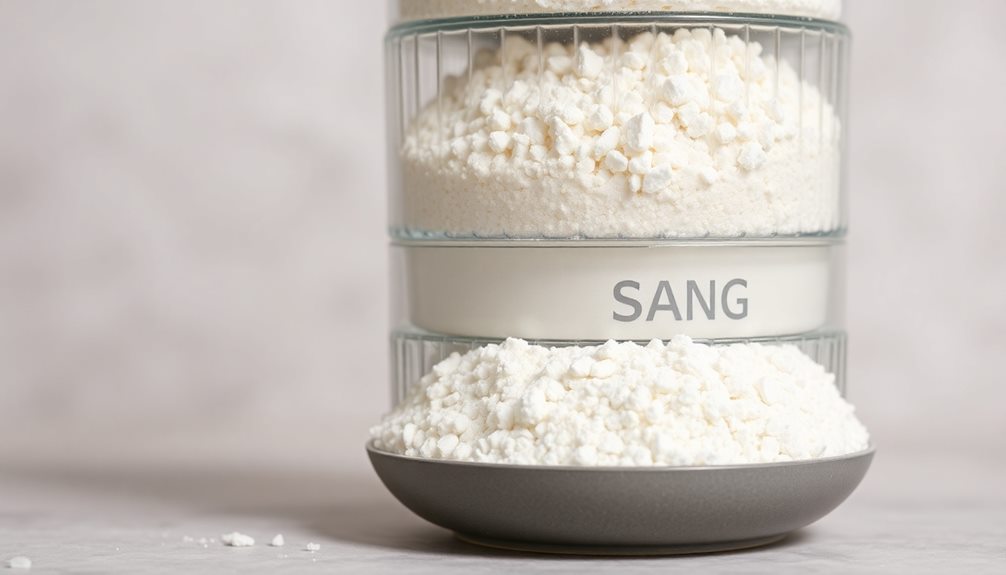
In a large mixing bowl, combine the all-purpose flour, sugar, salt, and instant yeast. Whisk these dry ingredients together until well blended.
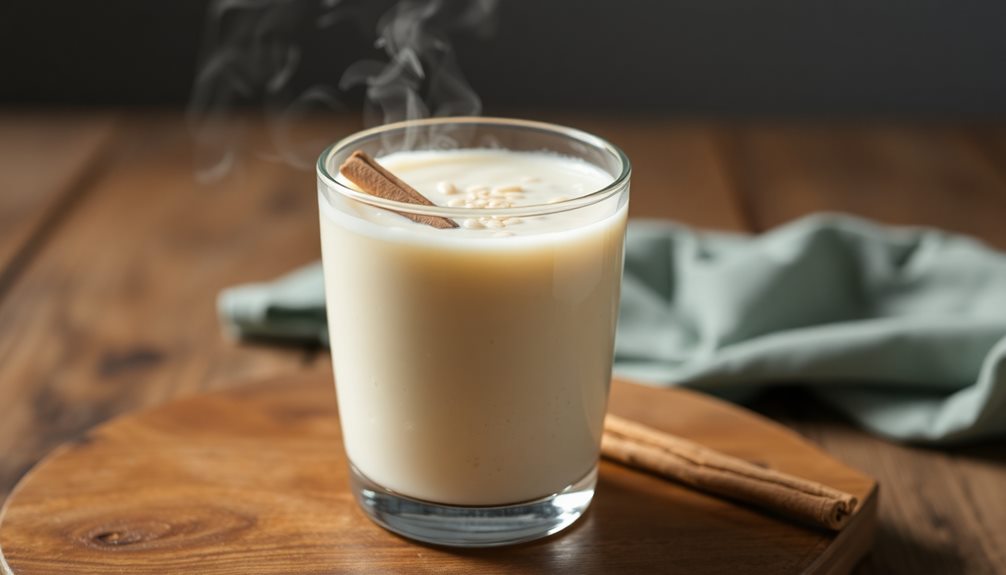
Next, warm the milk and butter in a saucepan over medium heat, stirring frequently, until the butter has melted and the mixture is warm to the touch, but not hot.
Slowly pour the warm milk mixture into the dry ingredients, while gently mixing with a wooden spoon. Keep mixing until a sticky dough forms.
Turn the dough out onto a lightly floured surface and knead it for about 5 minutes, until it becomes smooth and elastic.
Place the dough in a lightly greased bowl, cover it with a damp towel, and let it rise for 1 hour, or until doubled in size.
Punch down the dough to release any air bubbles, then divide it into 8 equal pieces.
Roll each piece into a ball and arrange them in a greased 9-inch baking pan. Cover the pan and let the dough rise for another 30 minutes.
Bake the cream bread for 25-30 minutes, or until the tops are golden brown. Enjoy the soft, fluffy, and delicious Korean cream bread!
Step 1. Measure and Combine Dry Ingredients
In this step, you'll need to gather and measure the dry ingredients. First, you'll want to grab a medium-sized bowl.
Into this bowl, you'll carefully pour 3 cups of all-purpose flour. Next, add 1/4 cup of granulated sugar and 1 teaspoon of salt. These dry ingredients will form the base of your delicious cream bread.
Now, it's time to measure out the baking powder. You'll need 2 and 1/4 teaspoons of this fluffy raising agent. Gently pour it into the bowl, making sure it's evenly distributed throughout the flour mixture.
Finally, grab a whisk and give everything a good stir. This will help the dry ingredients blend together seamlessly before you add the wet components.
With the dry ingredients prepped and ready to go, you can move on to the next crucial step – mixing in the moist and creamy elements that will transform your dough into the soft, pillowy bread you've been craving.
Get excited, because you're one step closer to biting into that heavenly Korean cream bread!
Step 2. Knead Dough Until Smooth and Elastic
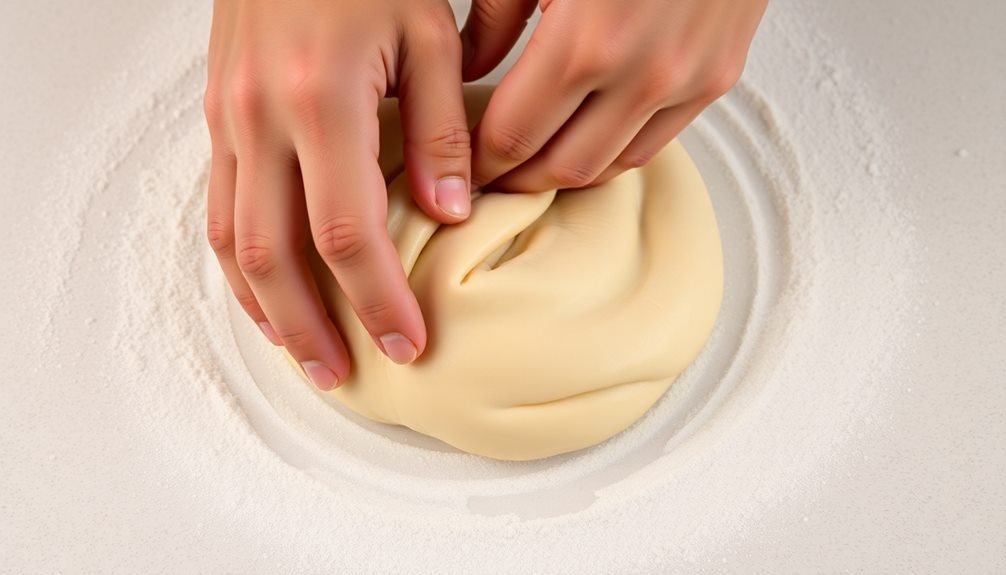
With the dry ingredients thoroughly combined, the next step is to knead the dough until it becomes smooth and elastic.
Get ready to roll up your sleeves and put in some elbow grease! Gently turn the dough out onto a lightly floured surface. Using the heels of your hands, start pushing and folding the dough over itself.
Give it a quarter turn and repeat. Keep kneading for about 5 to 10 minutes, until the dough becomes soft, supple, and bounces back when you poke it.
Don't be afraid to add a sprinkle of flour if the dough starts sticking to the surface. Kneading develops the gluten, which gives the bread its chewy texture.
You'll know you've kneaded enough when the dough is smooth, silky, and stretches easily without tearing.
Once it reaches this perfect, elastic state, you're ready to let the dough rise and transform into fluffy, pillowy goodness.
Step 3. Allow Dough to Rise
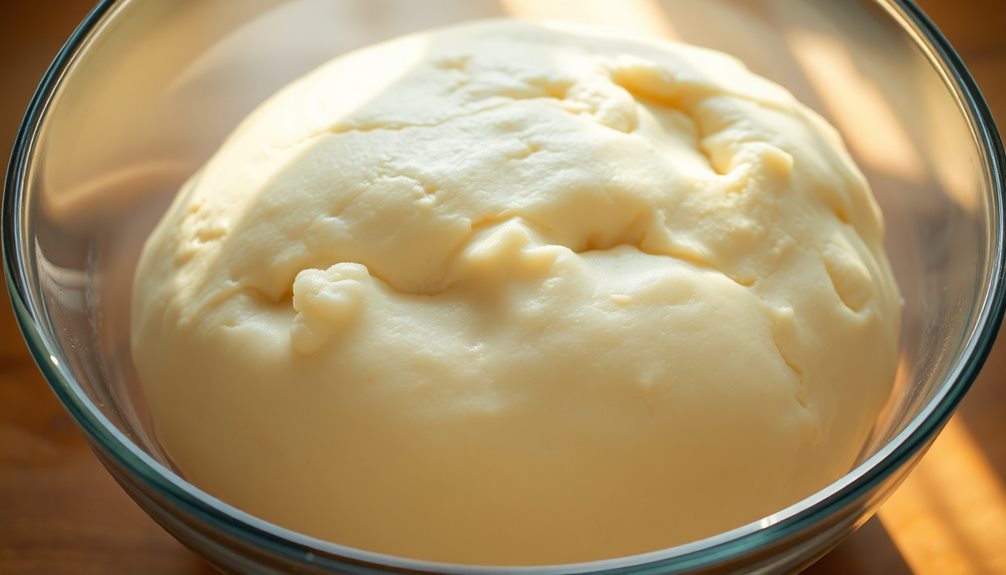
Once the dough has been properly kneaded, let it rise. This is a crucial step that allows the yeast to work its magic, transforming the dough into a soft, pillowy delight.
Place the dough in a large, lightly greased bowl, cover it with a damp towel, and let it sit in a warm, draft-free spot for about an hour. You'll know it's ready when the dough has doubled in size and feels light and airy.
Gently punch down the dough to release any trapped air bubbles, then shape it into a ball.
Return the dough to the bowl, cover it again, and let it rise for another 30 minutes to an hour. This second rise will further develop the dough's texture and flavor, ensuring your cream bread turns out perfectly soft and fluffy.
Once the dough has risen to your satisfaction, you're ready to shape it and bake it to golden-brown perfection. Get ready to enjoy the irresistible taste of homemade cream bread!
Step 4. Punch Down Dough to Release Air
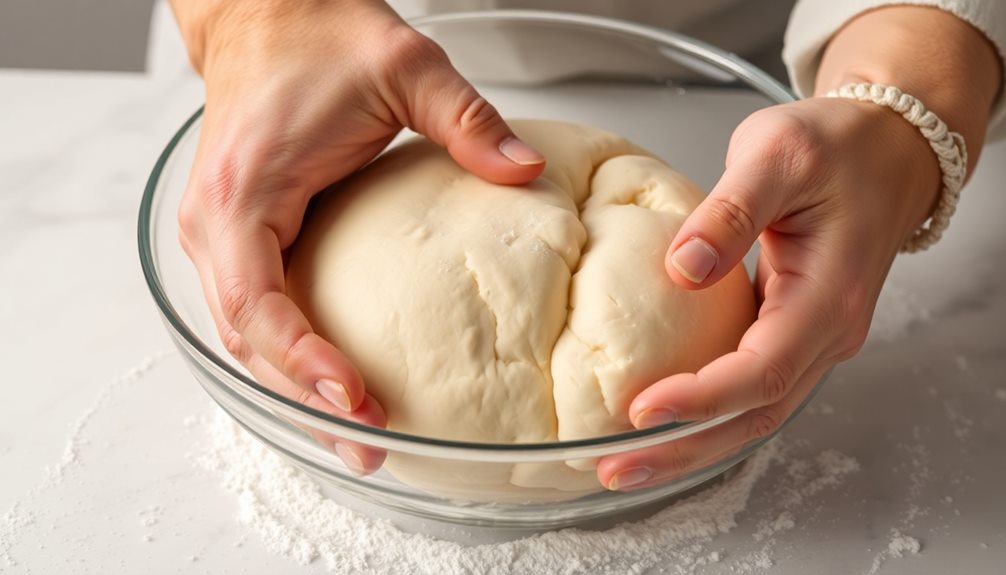
After the dough has risen, gently punch it down to release any trapped air bubbles. This step is crucial for creating the soft, fluffy texture you crave in your Cream Bread Korean. A well-prepared dough can make all the difference, much like how high refresh rates enhance gaming experiences in projectors.
Use your fist to push down on the dough, pressing out the excess air. Don't be afraid to really get in there and give it a good push! This will help the dough become smooth and even, ready for the next step.
Once you've punched down the dough, gather it into a ball and place it back in the bowl. Cover it with a damp cloth or plastic wrap to prevent it from drying out.
Let the dough rest for a few minutes, allowing the gluten to relax. This will make it easier to shape and mold into your desired form.
Step 5. Shape Dough and Bake

To shape the dough, gently turn it out onto a lightly floured surface. Using your hands, pat and stretch the dough into a rectangle.
Fold the dough in half, then in half again to create a smaller rectangle. This will help develop the gluten and create a soft, pillowy texture.
Next, use a rolling pin to roll the dough into a long, thin rectangle, about 1/2 inch thick. Starting from the short end, tightly roll the dough up like a jelly roll. Pinch the seam to seal it.
Place the rolled dough, seam-side down, into a greased loaf pan.
Cover the pan and let the dough rise for about 30 minutes, until it's puffed up and nearly doubled in size.
When it's ready, preheat your oven to 375°F (190°C). Bake the bread for 25-30 minutes, until the top is golden brown.
Allow the loaf to cool in the pan for 5 minutes before transferring it to a wire rack. Slice and enjoy your homemade cream bread!

Saf Instant Yeast, 1 Pound Pouch
Safe Instant Yeast is one of the top selling yeasts in the world
As an affiliate, we earn on qualifying purchases.
As an affiliate, we earn on qualifying purchases.
Final Thoughts

Overall, the Cream Bread Korean recipe is a delightful exploration of a beloved Korean baked good. This soft, fluffy treat is sure to become a new favorite, whether you're a seasoned baker or just starting your culinary journey.
The process of shaping the dough and baking it to perfection may seem daunting at first, but with the detailed instructions provided, you'll soon be whipping up batches of this irresistible bread with ease. The reward of biting into the pillowy-soft interior and savoring the subtle sweetness is well worth the effort.
Beyond the fantastic flavor, the process of making Cream Bread Korean can be a truly rewarding experience, allowing you to tap into your creativity and take pride in the homemade treats you've crafted.

3Pcs Puff Cream Filling Piping Tips with 50 Pcs Disposable Piping Bags Stainless Steel Piping Nozzle Tips with 1 Tip Cleaning Brush Puff Pastry Filling Cake Decorating Tools for Filling Donuts Cream
【What You Get】Add a touch of sophistication and convenience to your baking. The cream filling nozzle piping tips…
As an affiliate, we earn on qualifying purchases.
As an affiliate, we earn on qualifying purchases.
Frequently Asked Questions
How Long Does Cream Bread Korean Last Once Baked?
Freshly baked cream bread Korean typically lasts 2-3 days when stored at room temperature in an airtight container. Its soft, fluffy texture and delicate flavor make it best enjoyed within the first few days after baking.
Can You Substitute Ingredients in Cream Bread Korean?
You can absolutely substitute ingredients in cream bread recipes. Feel free to experiment with different types of flour, milk, or even add ins like fruit or nuts. Just be mindful of how the changes may affect the texture and flavor.
Is Cream Bread Korean Suitable for Vegans or Vegetarians?
Cream bread Korean may not be suitable for vegans or vegetarians, as it traditionally contains dairy products like milk and butter. However, you could explore vegan substitutes to make a dairy-free version that fits your dietary preferences.
What Is the Ideal Temperature to Serve Cream Bread Korean?
The ideal temperature to serve cream bread Korean is best enjoyed at room temperature. This allows the soft, fluffy texture and rich flavors to shine through, creating a delightful experience for your taste buds.
Can You Freeze Leftover Cream Bread Korean for Later?
You can absolutely freeze leftover cream bread Korean for later enjoyment. Simply wrap it tightly in plastic or place it in an airtight container before freezing. When ready to serve, thaw at room temperature and enjoy the soft, fluffy delight once more.