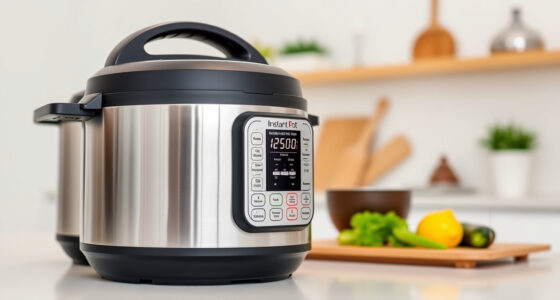
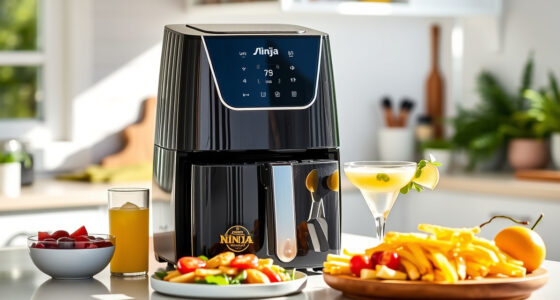
Getting started with your new COSORI 9-in-1 TurboBlaze Air Fryer can seem overwhelming, but with the right setup, you’ll enjoy healthy, crispy meals in no time. This guide provides clear, practical steps to set up your air fryer safely, troubleshoot common issues, and optimize its features for perfect results every time.

Get kitchen staples and gadgets delivered free — and shop member deals
- Fast, free delivery on millions of items
- Access to Prime Big Deal Days deals on October 6–7
- Prime Video, Amazon Music and more included
Whether you’re a first-time user or upgrading your kitchen equipment, following these instructions will ensure you get the most out of your air fryer while maintaining safety and efficiency.
Key Takeaways
| Easy Setup | Follow simple step-by-step instructions for initial setup. |
| Safety First | Learn important safety tips to prevent accidents. |
| Optimal Performance | Utilize accessories and features for best results. |
| Troubleshooting | Identify and resolve common setup issues quickly. |
| Accessory Tips | Enhance cooking with recommended accessories like mesh racks and liners. |
Unboxing and Initial Inspection
Begin by carefully unboxing your COSORI 9-in-1 TurboBlaze Air Fryer. Remove all packaging materials, including plastic wraps, foam inserts, and any protective films. Check that all components listed in the manual are present, including the main unit, accessories, and power cord.
Inspect the unit for any visible damage or defects. If you notice any issues or missing parts, contact customer support before proceeding.
Placement and Safety Precautions
- Place your air fryer on a flat, stable surface away from water, heat sources, or flammable materials.
- Ensure there is at least 4 inches of clearance around the unit for proper ventilation.
- Do not block the air intake and exhaust vents to prevent overheating.
- Keep the power cord away from hot surfaces and water.
For safety, avoid placing the unit near children or pets during operation.
Initial Setup and Pre-Use Preparation
- Remove the basket and accessories from the unit. Wash the basket, racks, and liners (if used) with warm, soapy water. Rinse and dry thoroughly.
- Insert the basket back into the main unit, ensuring it slides in smoothly and clicks into place.
- Plug the air fryer into a grounded 120V outlet.
- Turn on the unit using the control panel. The display should light up, indicating readiness.
- Run a quick test by setting the temperature to 400°F for 5 minutes to burn off any manufacturing residues. Do not add food during this initial cycle.
Using Your Air Fryer for the First Time
After the initial burn-in, your air fryer is ready for cooking. Use the smart control features via the app for guided recipes or manually select your preferred settings on the control panel. Remember to shake or flip your food during cooking if the recipe recommends it.
For even results, consider using accessories such as mesh racks or liners, which help improve airflow and ease cleanup.
Always monitor the first few cooks to get a feel for your unit’s performance and adjust time and temperature as needed.
Troubleshooting Common Setup Issues
- Unit not turning on: Check that the power cord is securely plugged in and the outlet is functional.
- Display not lighting: Ensure the unit is plugged in and the power switch is on.
- Uneven cooking: Make sure the basket is correctly inserted, and food is not overcrowded.
- Overheating or error messages: Turn off the unit, unplug it, and allow it to cool down. Reset and try again.
If problems persist, consult the user manual or contact COSORI customer support for assistance.
Accessories and Enhancing Your Cooking Experience
To optimize your air frying, consider using accessories like the ALJ 3PCS Air Fryer Oven Mesh Rack, which promotes even cooking and crisper results. Additionally, disposable liners like the Cosori Air Fryer Liners or Air Fryer Paper Liners can facilitate quick cleanup and protect your basket from residue.
Always ensure liners are placed on food and not in the basket during preheating or empty runs to prevent fire hazards or damage.
Using the right accessories can extend your appliance’s lifespan and improve your cooking versatility.
The Products in This Guide

Cosori 9-in-1 TurboBlaze Air Fryer 6 Qt
- ✔ Color: Cream
- ✔ Power: 1200W
- ✔ Control: Smart via app

ALJ 3PCS Air Fryer Oven Mesh Rack
- ✔ Compatibility: COSORI 10QT/13QT
- ✔ Material: Stainless steel
- ✔ Dishwasher Safe: Yes
Cosori 9-in-1 TurboBlaze Air Fryer 6 Qt
The COSORI 9-in-1 TurboBlaze Air Fryer offers advanced TurboBlaze technology with precise temperature control from 90°–450°F, ensuring evenly cooked, crispy results. Its smart control features and multiple cooking modes make it a top choice for busy households.
Pros:
- Powerful 3600 rpm fan for crispy results
- Multiple cooking modes including roast, bake, broil
- Smart control via app for convenience
- Precise temperature control
Cons:
- Requires space for proper ventilation
- Potential learning curve for new users
- Limited accessories included
Best for: Cooking a variety of crispy, healthy meals efficiently
Not ideal for: For those who prefer simple, single-function devices
Bottom line: A powerful, versatile air fryer perfect for busy families seeking crispy, healthy meals.
ALJ 3PCS Air Fryer Oven Mesh Rack
The ALJ 3PCS Air Fryer Oven Mesh Rack is a great addition to your COSORI air fryer, promoting even air circulation and crisper results. Made of food-grade stainless steel, it’s durable and dishwasher safe, making cleanup effortless.
Pros:
- Fits COSORI 10QT and 13QT models
- Made of food-grade stainless steel
- Easy to clean and dishwasher safe
- Improves airflow for even cooking
Cons:
- Additional cost
- Requires proper placement for best results
Best for: Optimizing airflow and crispiness in your air fryer
Not ideal for: For those who don’t want extra accessories
Bottom line: A durable, easy-to-clean accessory that enhances your air frying results.
Frequently Asked Questions
Can I preheat my COSORI air fryer?
Yes, preheating is recommended for certain recipes. Simply set the temperature and run the unit empty for 3-5 minutes to warm it up before adding food.
Are accessories like racks and liners safe to use?
Yes, use only accessories designed for air fryers, made of food-grade materials. Always follow manufacturer instructions, especially regarding liners during preheating.
How do I clean my COSORI air fryer?
Remove the basket and accessories, wash with warm, soapy water, and dry thoroughly. Use non-abrasive sponges and avoid harsh chemicals to preserve the coating.
What should I do if the air fryer stops working?
Unplug the unit, check for any visible damage, ensure proper ventilation, and reset. If the problem persists, contact COSORI customer support.
Can I use foil or parchment paper inside the air fryer?
Yes, but only use approved liners or foil that do not block airflow. Never place liners during preheating or when the basket is empty.
Getting the Most Out of Your COSORI Air Fryer
Following these setup steps and safety tips will ensure your COSORI air fryer performs optimally and lasts for years to come. Proper placement, regular cleaning, and using appropriate accessories can greatly enhance your cooking convenience and results. With your new appliance ready, you’re set to enjoy healthy, crispy meals effortlessly.
Remember to consult the user manual for specific details and troubleshooting, and don’t hesitate to explore new recipes and accessories to fully enjoy your air frying experience.
Affiliate disclosure: As an Amazon Associate we earn from qualifying purchases. Prices and availability are accurate as of the time of publishing.
Halloween Picks
halloween
As an affiliate, we earn on qualifying purchases.