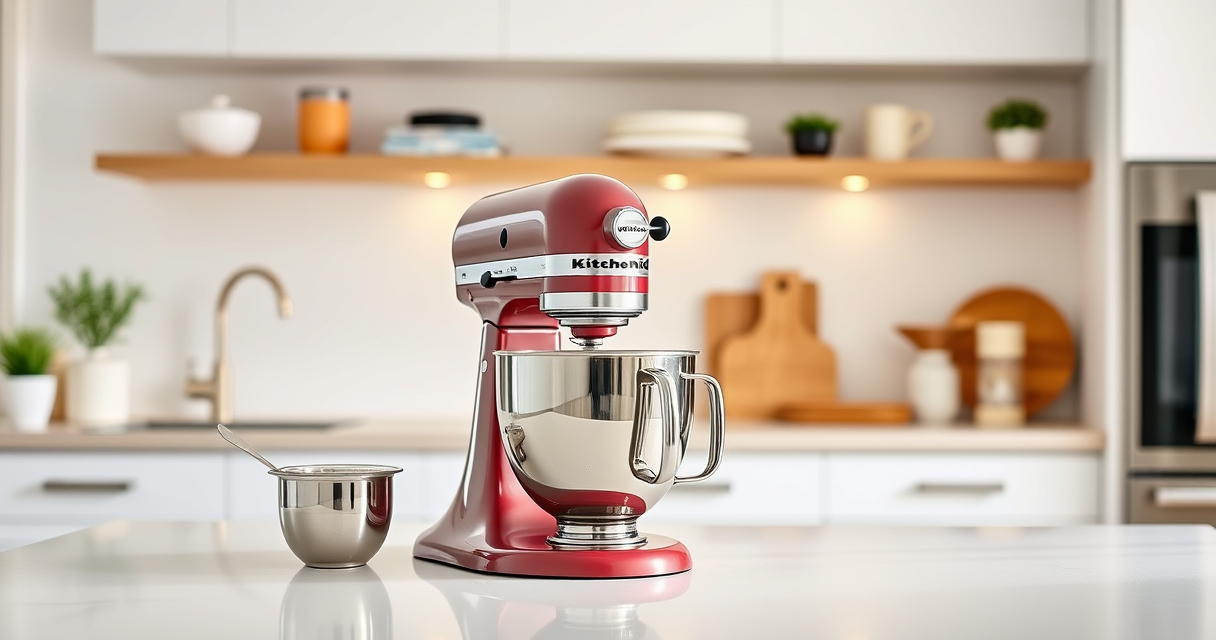
Keeping your KitchenAid Classic mixer clean is essential for optimal performance and longevity. Regular cleaning removes food residues, prevents odors, and ensures your appliance remains in top condition. This guide provides practical, safe, and detailed steps to help you clean your mixer thoroughly without risking damage.

Get kitchen staples and gadgets delivered free with Prime
- Fast, free delivery on millions of items
- Prime Video, Amazon Music and more included
- Member-only deals all year
Follow these instructions carefully to maintain your mixer’s cleanliness and efficiency, whether you’re preparing for a new recipe or just routine maintenance.
Key Takeaways
| Proper Disassembly | Disassemble parts carefully for effective cleaning. |
| Safe Cleaning Methods | Use mild detergents and avoid harsh abrasives. |
| Dry Thoroughly | Ensure all parts are completely dry before reassembling. |
| Regular Maintenance | Clean after each use to prevent buildup. |
| Avoid Water Damage | Keep the motor and electrical parts dry at all times. |
Gather Your Cleaning Supplies
- Warm water and mild dish soap
- Soft cloths or sponges
- Cleaning brush (for crevices)
- Dry towels
- Optional: White vinegar or baking soda for stubborn stains
Disassemble the Mixer Attachments
- Unplug the mixer from the power outlet.
- Remove all attachments, such as the flat beater, dough hook, or wire whip.
- Detach the mixing bowl and any removable parts.
Clean the Attachments and Bowl
- Wash attachments and bowl with warm, soapy water.
- Use a soft brush to scrub crevices and stubborn spots.
- Rinse thoroughly and dry with a clean towel.
Wipe Down the Mixer Body and Motor Base
Use a damp cloth with mild soap to wipe the exterior of the motor base. Avoid getting water into the motor housing or electrical components. Dry with a soft, dry cloth.
Reassemble and Maintain
- Ensure all parts are completely dry.
- Reattach the cleaned attachments and bowl.
- Plug in the mixer and run briefly to check for proper operation.
The Products in This Guide

Stainless Steel Flat Beater
- ✔ Weight: Approx. 1.2 lbs
- ✔ Warranty: As per manufacturer
- ✔ Cleaning: Dishwasher safe

KitchenAid Stand Mixer Attachment
- ✔ Capacity: Allows processing large batches
- ✔ Power: Uses mixer motor
- ✔ Storage: Includes case
Stainless Steel Flat Beater
The Stainless Steel Flat Beater is an ideal replacement for your KitchenAid 4.5-5 Qt tilt-head mixers, offering superior strength and longevity. It handles heavy-duty mixing tasks with ease and resists bending or breaking, making it a reliable choice for all your baking needs.
Pros:
- Heavy-duty durability
- Dishwasher safe
- Perfect fit for major models
- No paint chipping
Cons:
- May be heavier than plastic paddles
- Requires proper cleaning to avoid rust
- Limited to specific models
Best for: Heavy-duty mixing of thick batters and doughs
Not ideal for: Light mixing or delicate ingredients
Bottom line: A durable and safe replacement beater for heavy-duty baking tasks.
KitchenAid Stand Mixer Attachment
This KitchenAid Metal Food Grinder attachment expands your mixer’s capabilities, allowing you to grind meat, vegetables, and more with ease. It’s perfect for making fresh, custom foods at home and is easy to clean and assemble.
Pros:
- Multiple grinding plates
- Includes sausage stuffer tubes
- Large food tray
- Easy to store
Cons:
- Requires refrigerator-chilled ingredients
- Additional cost for attachment
- Requires separate purchase
Best for: Grinding meats, vegetables, and creating fresh sausages
Not ideal for: Light-duty grinding or small quantities
Bottom line: A powerful attachment for fresh, home-ground ingredients.
Frequently Asked Questions
Can I clean my KitchenAid mixer with water directly?
No, avoid getting water into the motor or electrical parts. Use a damp cloth for cleaning the exterior and removable parts with soap and water.
How often should I clean the attachments?
Clean the attachments after each use to prevent buildup and maintain hygiene, especially when switching between different ingredients.
What should I do if my paddle has rust spots?
Light rust can be removed with a gentle rust remover or vinegar. Ensure the paddle is thoroughly dried and consider applying a light coat of food-safe oil if recommended.
Can I put all parts in the dishwasher?
Most attachments like the stainless steel flat beater are dishwasher safe, but always check the manufacturer’s instructions for each part.
Maintaining Your KitchenAid Classic for Long-Lasting Performance
Regular cleaning and proper maintenance of your KitchenAid Classic mixer ensure it performs optimally for years to come. Disassemble, clean, and dry all parts thoroughly after each use, and check for any signs of wear or damage. This simple routine can prevent costly repairs and keep your baking experience enjoyable and efficient.
Affiliate disclosure: As an Amazon Associate we earn from qualifying purchases. Prices and availability are accurate as of the time of publishing.
Halloween Picks
halloween
As an affiliate, we earn on qualifying purchases.