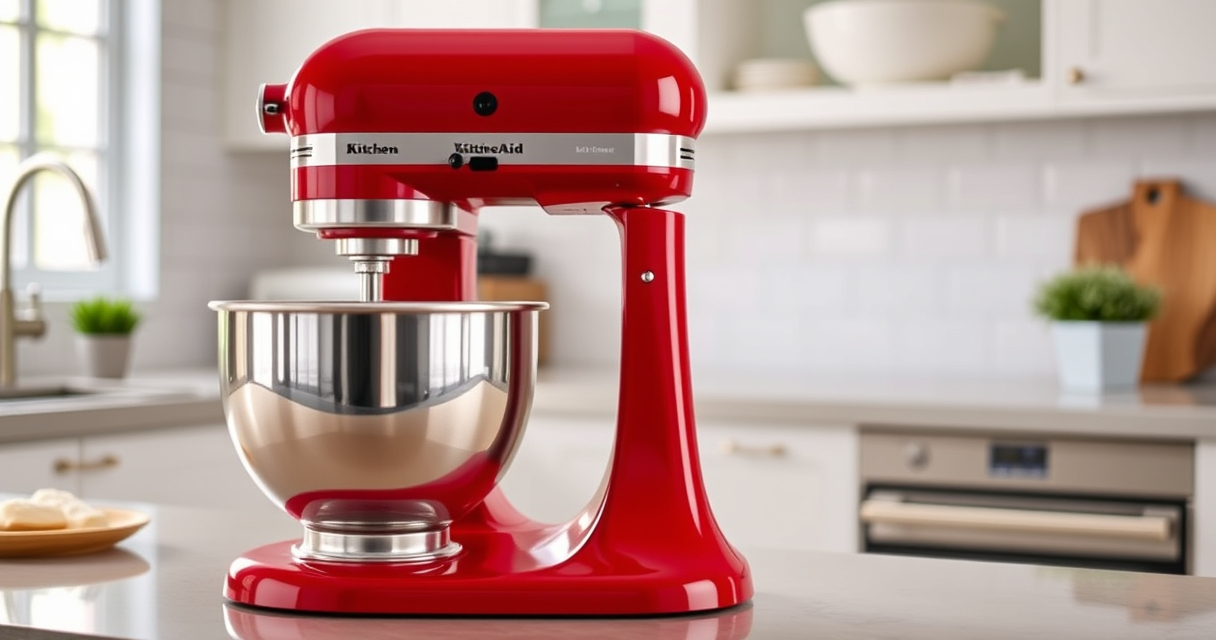

If your KitchenAid Artisan Series 5 Quart Tilt Head Stand Mixer is leaking oil, it can be concerning and affect its performance. This guide provides clear, safe steps to identify the cause and fix the issue, ensuring your mixer runs smoothly again.

Get kitchen staples and gadgets delivered free — and shop member deals
- Fast, free delivery on millions of items
- Access to Prime Big Deal Days deals on October 6–7
- Prime Video, Amazon Music and more included
Regular maintenance and understanding common problems can extend the lifespan of your mixer and prevent costly repairs. Follow these detailed instructions to troubleshoot and resolve the oil leakage problem efficiently.
Key Takeaways
| Identify the source of the leak | Check seals, gaskets, and the gear housing for leaks. |
| Disassemble carefully | Follow step-by-step procedures to access internal components. |
| Replace worn parts | Use genuine parts to ensure proper sealing and function. |
| Reassemble and test | Ensure all parts are correctly fitted before testing the mixer. |
| Prevent future leaks | Regularly inspect and maintain your mixer to avoid recurrence. |
Gather Necessary Tools and Parts
Before starting, assemble all the tools you’ll need: screwdrivers (Phillips and flat-head), replacement seals or gaskets (if available), and cleaning supplies. It’s also advisable to have a clean workspace to prevent losing small parts.
Identify the parts that might be causing the leak. The main areas to inspect are the gear housing, the seal around the motor shaft, and the tilt-head mechanism where oil can sometimes seep out if seals are worn or damaged.
Disassemble the Mixer Carefully
- Unplug the mixer from the power outlet for safety.
- Remove the mixing bowl and attachments.
- Use a screwdriver to loosen screws holding the tilt-head in place, following your mixer’s model-specific disassembly instructions.
- Carefully lift the head and set it aside, exposing the internal components.
- Inspect the gear housing and seals for signs of damage or oil buildup.
Identify and Replace Worn or Damaged Seals
Look for cracked, hardened, or missing seals. The gear housing and the motor shaft seal are common culprits for oil leaks. If you find damaged seals, replace them with genuine replacements designed for your KitchenAid model.
Apply a small amount of food-grade or appliance-safe lubricant if recommended, to ensure smooth operation and sealing.
Reassemble the Mixer and Conduct a Test Run
- Carefully reattach the tilt-head, ensuring all screws are tightened securely.
- Replace the mixing bowl and attachments.
- Plug in the mixer and run it at low speed to check for leaks.
- Gradually increase speed and observe closely for any signs of oil seepage.
If the leak persists, double-check the seals and reassemble again if necessary.
Tips and Warnings for Safe and Effective Repairs
- Always unplug the mixer before disassembly to prevent electrical shock.
- Use only genuine replacement parts to ensure proper fit and function.
- Handle internal components gently to avoid damage.
- If uncomfortable with disassembly, consult a professional technician.
- Regularly inspect your mixer for signs of wear and address issues promptly to prevent leaks.
The Products in This Guide

KitchenAid Artisan Series 5 Quart Tilt Head Stand Mixer
- ✔ Warranty: 1 year
- ✔ Dishwasher Safe: Yes
- ✔ Color Options: Multiple

KitchenAid Stand Mixer Attachment
- ✔ Dimensions: 10 x 8 x 4 inches
- ✔ Weight: 4 pounds
- ✔ Cleaning: Wipe clean
KitchenAid Artisan Series 5 Quart Tilt Head Stand Mixer
The KitchenAid Artisan Series 5 Quart Tilt Head Stand Mixer is built with sturdy metal construction and features 59 touchpoints for thorough mixing. While it’s designed to last, oil leaks can occur if seals wear out, requiring careful inspection and replacement.
Pros:
- Robust metal build
- Easy to access bowl and attachments
- Multiple speed settings
- Dishwasher-safe bowl
Cons:
- Potential for seal wear over time
- Requires disassembly for repairs
- Oil leaks if seals deteriorate
Best for: Home bakers and cooking enthusiasts seeking durability
Not ideal for: Users uncomfortable with DIY repairs or disassembly
Bottom line: Proper maintenance and seal replacement keep this mixer functioning smoothly.
KitchenAid Stand Mixer Attachment
The KitchenAid Stand Mixer Attachment Food Grinder allows you to process meats, vegetables, and more, directly from your mixer. Its durable metal construction and multiple grinding plates make it a valuable addition for home cooks who want fresh ingredients.
Pros:
- Sturdy metal build
- Multiple grinding plates
- Easy to connect
- Large food tray
Cons:
- Requires separate purchase
- Cleaning needs care
- Additional storage space needed
Best for: Food enthusiasts wanting homemade ground ingredients
Not ideal for: Users looking for all-in-one appliances
Bottom line: Enhance your kitchen with fresh, homemade ground foods using this durable attachment.
Frequently Asked Questions
Can I fix my KitchenAid mixer myself if it leaks oil?
Yes, if you are comfortable with disassembly and follow proper safety procedures. Replace worn seals carefully and reassemble, or consult a professional if unsure.
What parts are most likely to cause oil leaks?
The gear housing seals and the motor shaft seal are common sources of leaks when they become cracked or worn out.
Is it safe to run the mixer after fixing the seal?
Yes, but ensure all parts are securely reassembled and no oil leaks are present during operation. Always monitor during the first test run.
How often should I inspect my mixer for leaks?
Regularly check the mixer after heavy use or every few months, especially around the gear housing and tilt-head area.
Where can I find genuine replacement seals?
Order authentic replacement seals from KitchenAid authorized parts suppliers or directly from the manufacturer.
Keeping Your KitchenAid Mixer Leak-Free
Addressing oil leaks in your KitchenAid Artisan stand mixer involves inspection, careful disassembly, and replacing worn seals. With patience and proper maintenance, you can restore your mixer to optimal performance and extend its lifespan. Regular checks and timely repairs are key to preventing future leaks and ensuring your culinary adventures continue smoothly.
Affiliate disclosure: As an Amazon Associate we earn from qualifying purchases. Prices and availability are accurate as of the time of publishing.
NFL season / tailgating Picks
team gear
As an affiliate, we earn on qualifying purchases.