
As a home cook, having the right kitchen tools is essential for transforming your cooking experience. Start with sturdy knives for precise ingredient prep, reliable cookware for even heating, and specialized gadgets to simplify tasks. Quality tools like a Dutch oven enhance flavors, while familiarity with each piece maximizes its effectiveness. Proper maintenance extends the lifespan of your tools, contributing to a more enjoyable cooking journey. A well-rounded kitchen toolkit lays the foundation for culinary creativity and exploring new techniques. Continue reading to discover the key essential tools every home cook should own.
Key Takeaways
- Invest in a set of high-quality, versatile knives for efficient food preparation.
- Acquire reliable cookware like pots, pans, and baking sheets for even heating and cooking.
- Incorporate specialized tools like a chef's knife, peeler, and strainer to simplify culinary tasks.
- Prioritize durable, easy-to-clean appliances that enhance cooking techniques and final dish quality.
- Proper tool maintenance, including regular cleaning and storage, extends their lifespan and performance.
Top picks for "essential kitchen tool"
Open Amazon search results for this keyword.
As an affiliate, we earn on qualifying purchases.
History
The history of essential kitchen tools dates back centuries, as humans have long relied on various implements to prepare and cook food. From the earliest stone tools used for grinding and chopping, to the development of more specialized utensils, the evolution of kitchen tools has been a fascinating journey.
As civilizations progressed, so too did the tools used in the kitchen. Ancient Egyptians, Greeks, and Romans all had their own unique cooking implements, some of which are still recognizable today.
The Middle Ages saw the rise of specialized cooking equipment, such as spits and cauldrons, while the Renaissance period ushered in a new era of innovation, with the introduction of the first ovens and stoves.
In the modern era, kitchen tools have become increasingly diverse and specialized, catering to the needs of home cooks and professional chefs alike. From the humble spatula to the high-tech food processor, the tools we use in the kitchen continue to evolve, reflecting our changing culinary preferences and cooking techniques.
Recipe
Cooking a delectable meal can be a truly rewarding experience, and the right kitchen tools can make all the difference. This recipe for a classic dish will showcase how essential tools can transform the cooking process. Just as selecting the right top projectors for gaming enthusiasts enhances your gaming experience, choosing the right kitchen equipment elevates your cooking.
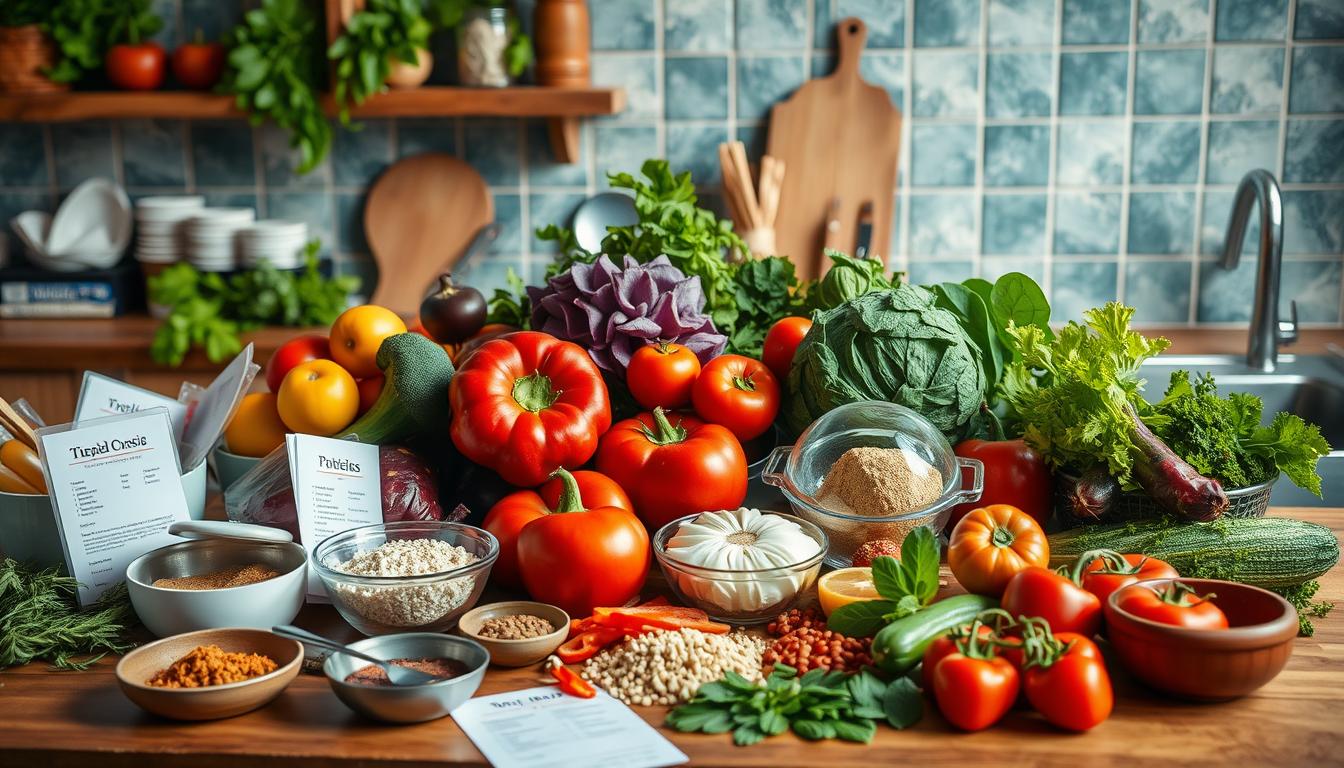
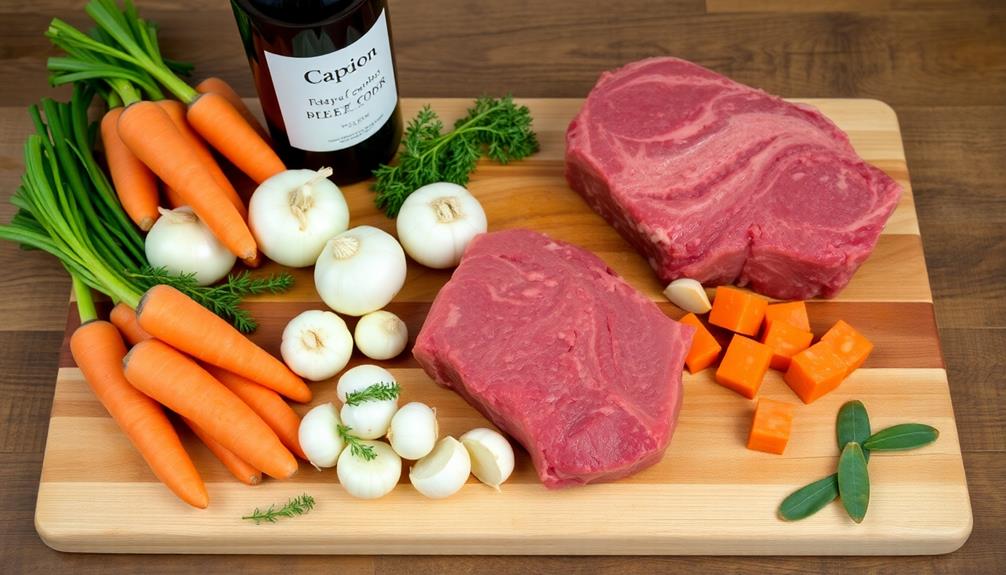
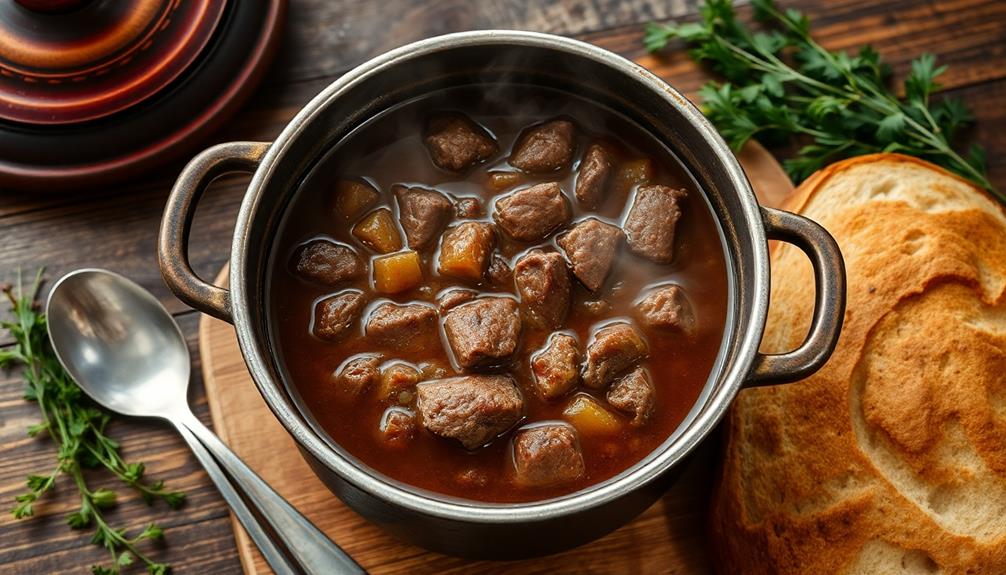
In this recipe, we'll explore the preparation of a hearty and flavorful stew. The key to a successful stew lies in the careful selection and combination of ingredients, as well as the proper technique for simmering and reducing the flavors.
Ingredients:
- 2 lbs beef chuck, cubed
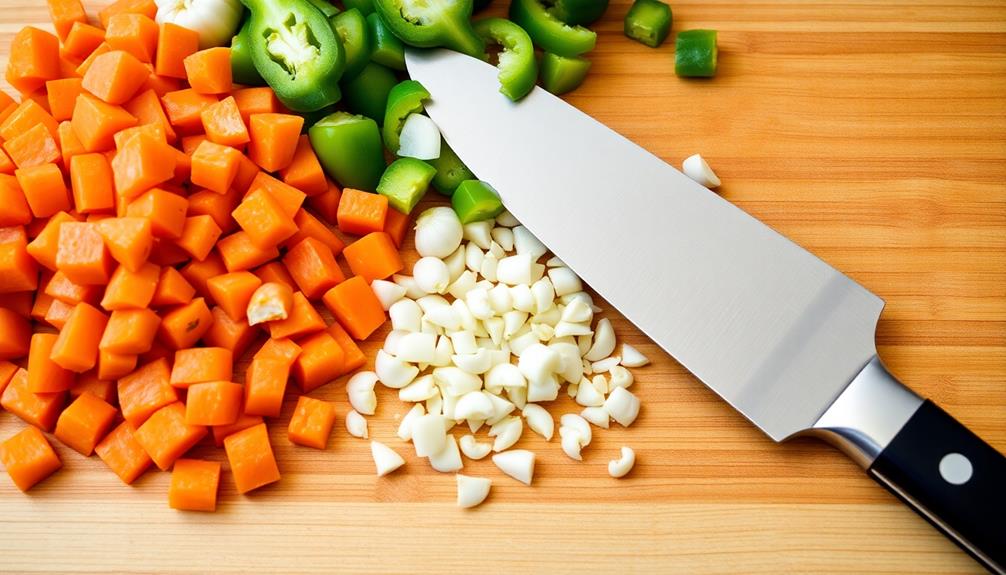
- 3 medium carrots, peeled and sliced
- 2 medium onions, diced
- 3 cloves garlic, minced
- 2 cups beef broth
- 1 cup red wine
- 2 bay leaves
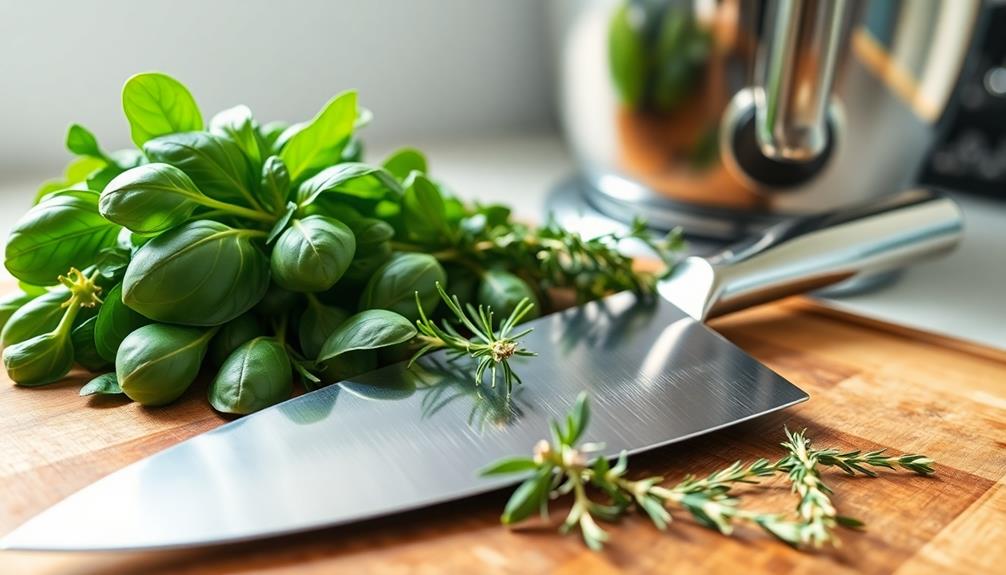
- 1 tsp dried thyme
- Salt and pepper to taste
Directions:
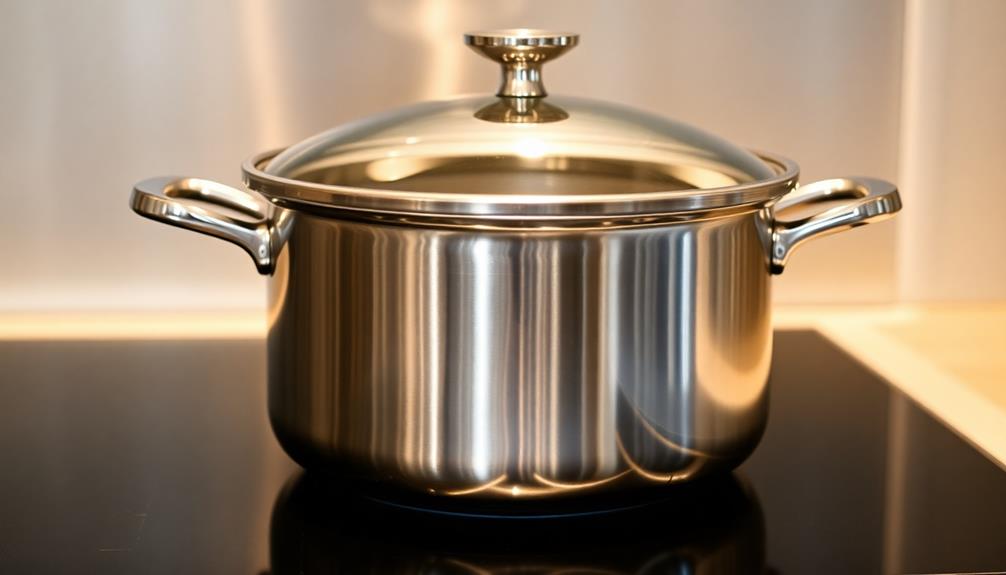
In a large Dutch oven or heavy-bottomed pot, sear the beef over high heat until a nice brown crust forms on all sides. Remove the beef from the pot and set aside.
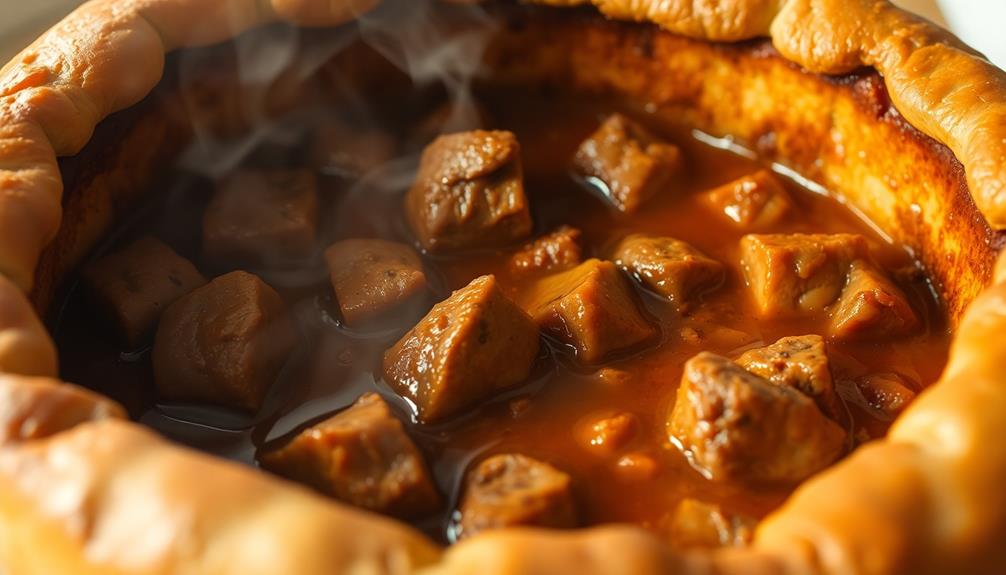
Reduce the heat to medium, then add the onions and garlic to the pot. Sauté for 2-3 minutes, or until fragrant. Pour in the red wine and use a wooden spoon to scrape up any browned bits from the bottom of the pot. Allow the wine to simmer for a minute or two, then return the beef to the pot along with the beef broth, carrots, bay leaves, and thyme.
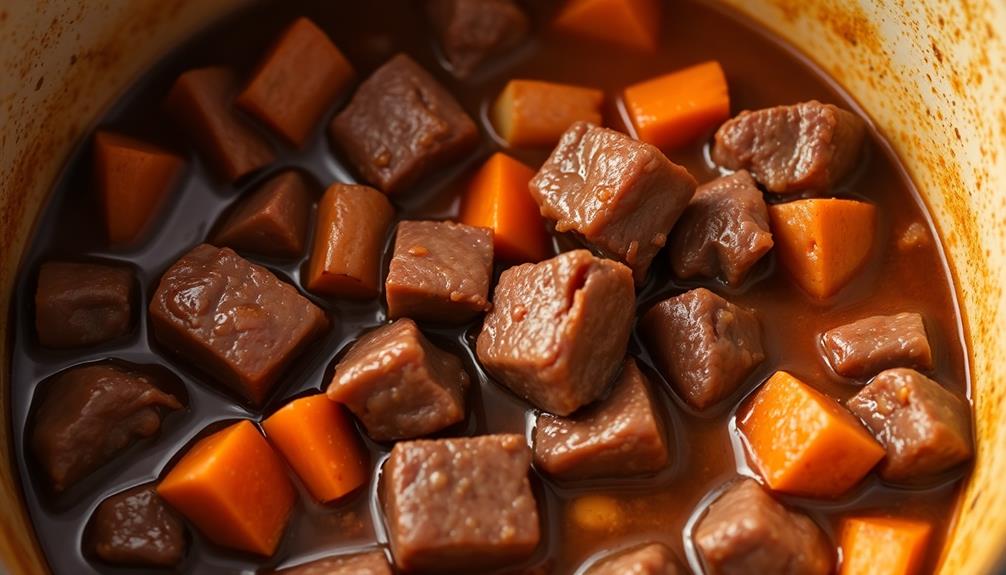
Bring the mixture to a boil, then reduce the heat to low, cover, and let the stew simmer for 1.5-2 hours, or until the beef is fork-tender.
To ensure the best results, be sure to use a sturdy, high-quality Dutch oven or heavy-bottomed pot. The even heat distribution and heat retention of these pots are essential for slow-simmering the stew and allowing the flavors to meld together perfectly.
Additionally, using a wooden spoon to scrape up the browned bits from the bottom of the pot will help to develop a deeper, richer flavor in the final dish.
Cooking Steps
First, preheat your oven to 375 degrees Fahrenheit.
While the oven is heating, consider preparing a nutritious option like red lentils, which cook quickly and can be a great addition to your dish.
Next, add the necessary ingredients and bake for 20-25 minutes.
Step 1. Preheat Oven to 375 Degrees Fahrenheit
Preheat your oven to 375 degrees Fahrenheit. This crucial step ensures your oven is at the right temperature before you begin baking. It typically takes around 10-15 minutes for the oven to reach the desired temperature, so don't skip this step.
Once it's preheated, you can confidently place your dish in the oven, knowing it'll cook evenly and to perfection.
Make sure to use an oven thermometer to verify the temperature. Ovens can sometimes vary, and you don't want to end up with a half-baked cake or undercooked casserole.
Take a few extra minutes to ensure your oven is precisely at 375 degrees Fahrenheit. This attention to detail will pay off in the final result of your culinary creation.
Step 2. Add Ingredients
With your oven preheated to the perfect temperature, you can now begin adding the ingredients. Measure each item precisely, using the appropriate measuring cups and spoons.
Carefully pour or scoop the necessary amounts, ensuring nothing spills or gets overlooked. As you add each ingredient, take a moment to inhale the aroma, letting your senses guide you.
Gently fold the components together, combining them with a light touch to preserve their individual textures and flavors. Be mindful of the order in which you add the items, as this can impact the final dish.
Taste as you go, making any necessary adjustments to achieve the perfect balance of flavors. Take your time and enjoy the process – the care you put into this step will shine through in the final result.
With the ingredients properly incorporated, you're one step closer to creating a delicious masterpiece in your kitchen.
Step 3. Bake for 20-25 Minutes
Now that the ingredients are thoroughly combined, it's time to get your creation into the oven. Preheat your oven to the temperature specified in the recipe, typically between 350°F and 400°F.
Carefully transfer the prepared batter or dough into a greased baking dish or pan. Be sure to smooth the top to create an even surface.
Once the oven has reached the correct temperature, gently slide the pan onto the middle rack. Set a timer for 20-25 minutes, keeping a close eye on your bake. The exact timing may vary depending on the recipe and your oven's calibration, so use the recommended range as a guideline.
When the timer goes off, use oven mitts to carefully remove the pan from the oven. Check the doneness by inserting a toothpick or cake tester into the center – it should come out clean. If more time is needed, return the pan to the oven and check again in 5-minute intervals until fully baked.
Step 4. Remove From Oven
Once the timer goes off, carefully remove the baked item from the oven using oven mitts. Grasp the sides of the baking dish or sheet firmly and slowly pull it out, taking care not to tilt it and spill the contents.
Place the hot dish on a heat-resistant surface, such as a trivet or a wire rack, to allow it to cool.
Be cautious when removing the item, as the oven and the baked goods will be extremely hot. Avoid touching the hot surfaces with your bare hands, as you can easily get burned. If the dish is too heavy or awkward to handle, ask someone to help you.
Once the item is out of the oven, resist the temptation to start cutting or serving it right away. Allow it to cool for a few minutes before handling, as this will help set the structure and prevent it from falling apart.
This cooling time is crucial for maintaining the integrity of your baked creation.
Step 5. Allow to Cool
Having removed the baked item from the oven, you'll want to let it cool for a few minutes before handling. This allows the internal temperature to stabilize, preventing burns and ensuring the item's structural integrity.
Depending on the size and complexity of your baked good, the cooling time may vary from 5 to 15 minutes. For delicate items like cakes or pastries, it's best to let them cool completely on the baking sheet or in the pan before attempting to remove them. This prevents the item from breaking or losing its shape.
If you're in a hurry, you can transfer the baked item to a wire rack, which promotes even cooling and air circulation. Be sure to handle the item with oven mitts or a clean towel to avoid burns.
Once cooled, you can then proceed to slice, frost, or assemble your baked creation as desired.
Final Thoughts
Putting together a comprehensive kitchen toolkit is a worthwhile investment that can streamline your cooking experience. The essential tools we've covered, from sturdy knives and reliable cookware to specialized gadgets and appliances, are the building blocks of a well-equipped kitchen.
With these in hand, you'll be able to tackle a wide range of culinary tasks with ease and efficiency.
Remember, the key is to find the right balance of tools that cater to your cooking style and needs. Don't be afraid to experiment and gradually expand your collection as your skills and interests evolve. Ultimately, the goal is to create a kitchen environment that inspires you to cook with confidence and creativity. Consider exploring different techniques and equipment, such as learning new recipes or diving into specialized methods like sous vide cooking. For those interested, incorporating sous vide cooking tips at home can help you master precision and consistency in your dishes. As you refine your approach, your kitchen can become a hub of discovery and culinary adventure tailored to your unique preferences.
Take the time to familiarize yourself with each tool, learn its proper use, and maintain it well. Doing so will ensure your essential kitchen tools serve you for years to come, making your time in the kitchen more enjoyable and productive.
Frequently Asked Questions
How Often Should I Replace My Kitchen Tools?
You should replace your kitchen tools when they become worn or damaged. The frequency depends on how often you use them, but most tools should be replaced every 1-3 years for optimal performance and safety.
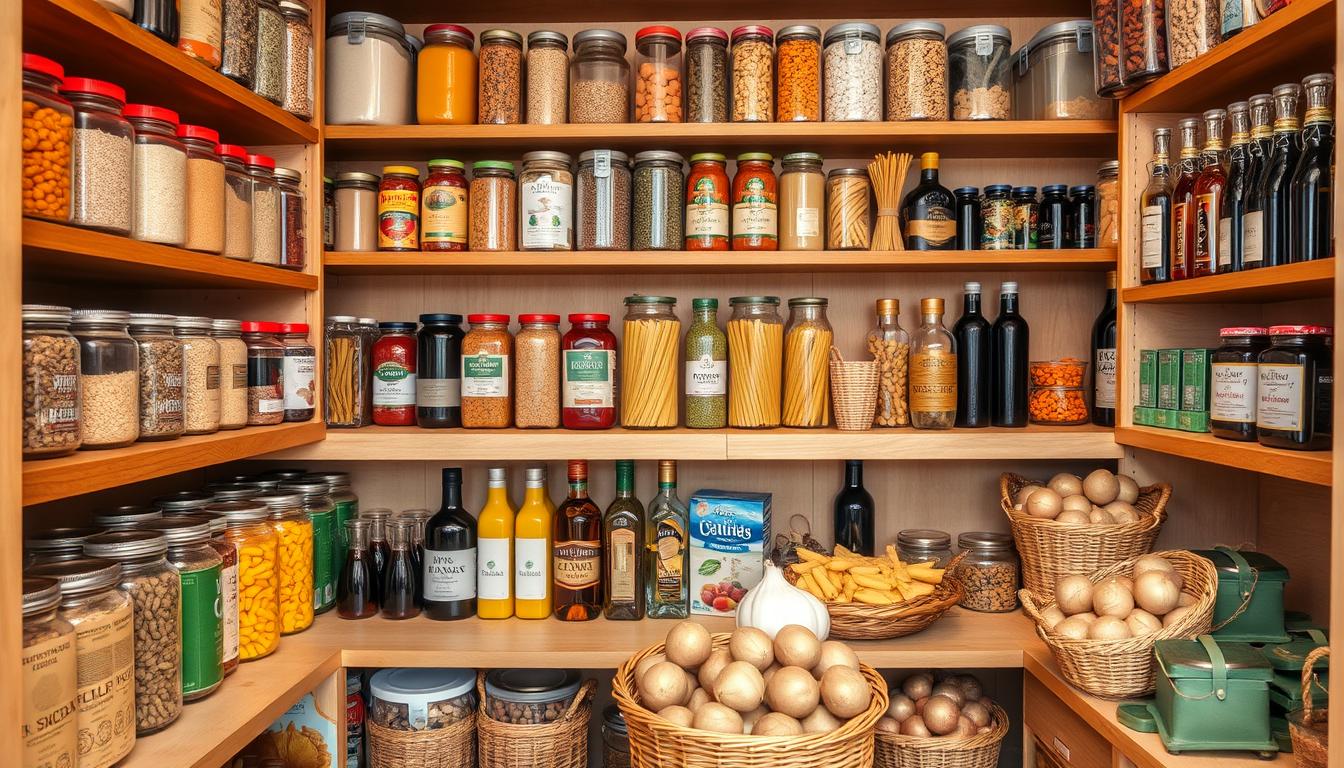
What Are the Best Ways to Store My Kitchen Tools?
Store your kitchen tools efficiently by using drawer organizers, wall-mounted racks, and magnetic strips. Keep frequently used items within easy reach and group similar tools together to maintain a tidy and well-organized kitchen.
Can I Use the Same Tool for Different Tasks?
Absolutely! You can often use the same tool for different tasks, but be mindful of cross-contamination. For example, you can use a chef's knife for chopping vegetables and slicing meat, but wash it thoroughly between uses.
How Do I Clean and Maintain My Kitchen Tools?
To clean and maintain your kitchen tools, use warm soapy water, a soft cloth, and dry them thoroughly. Avoid submerging wooden handles in water. Store tools properly to prevent damage. Regularly sharpen knives for optimal performance.
What Are the Signs That a Tool Needs to Be Replaced?
When your tools become worn, dull, or damaged, it's time to replace them. Look for cracks, chips, or signs of rust – these indicate it's time to invest in new, high-quality kitchen tools that'll make cooking easier and more enjoyable.