
Have you ever wondered about the delicate balance of flavors and textures that makes Chawanmushi, the revered Japanese savory egg custard, such a captivating culinary experience? From its origins in the Kansai region to its enduring popularity, this dish offers a glimpse into the artistry and attention to detail that define Japanese cuisine. Prepare to be enchanted as we explore the intricacies of this humble yet remarkable dish, unraveling the secrets that have made it a beloved staple for centuries.
Key Takeaways
- Chawanmushi is a traditional Japanese savory steamed egg custard dish originating from the Kansai region, dating back to the Heian period.
- It is characterized by its delicate texture, umami flavors, and a harmonious blend of ingredients like dashi, soy sauce, mirin, and various fillings.
- The preparation process involves carefully mixing the egg and broth mixture, then steaming the custards in individual cups or bowls.
- Chawanmushi is often served as an appetizer or light meal, and is celebrated for its simplicity, elegance, and the balance of flavors in Japanese cuisine.
- It remains a beloved dish in traditional Japanese cuisine, frequently featured in tea ceremonies and special occasions, showcasing the art of Japanese cooking.
Top picks for "chawanmushi savory custard"
As an affiliate, we earn on qualifying purchases.
History
Chawanmushi, a delicate Japanese savory custard dish, has its roots firmly embedded in the country's rich culinary heritage. Originating in the Kansai region, this steamed egg custard has been enjoyed for centuries, with records dating back to the Heian period (794-1185 AD). The name "chawanmushi" translates to "steamed in a tea cup," reflecting the traditional method of cooking the dish in small, individual ceramic vessels.
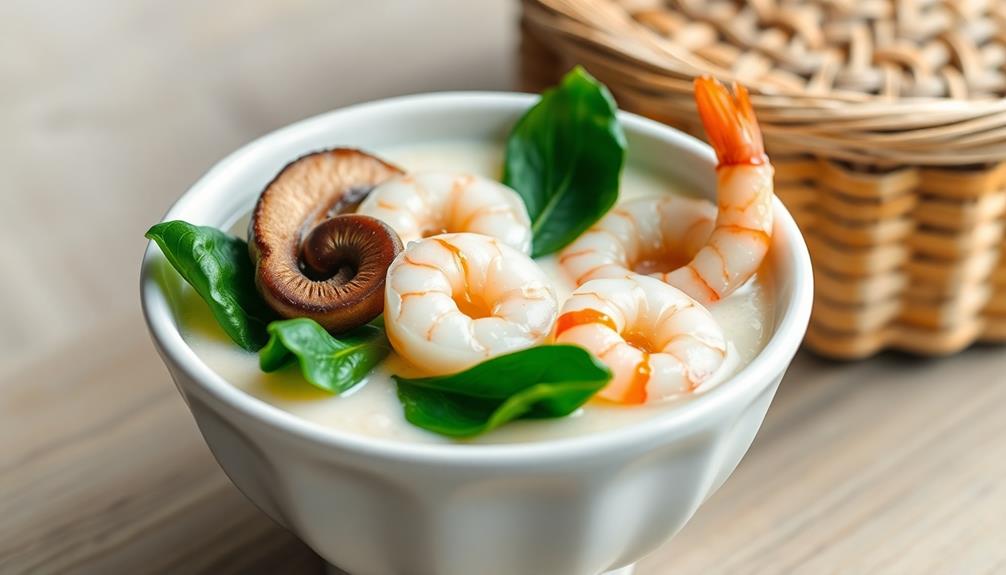
Over time, chawanmushi has evolved, with different regions and households developing their own unique variations. Some may include ingredients like shrimp, chicken, or mushrooms, while others keep the custard simple and pure.
Regardless of the specific ingredients, the essence of chawanmushi remains the same – a delicate, savory custard that melts in your mouth, offering a harmonious blend of flavors and textures.
Today, chawanmushi is a beloved part of traditional Japanese cuisine, often served as an appetizer or a light meal, especially during special occasions and celebrations.
Recipe
Chawanmushi is a savory Japanese steamed egg custard dish that's delicate, silky, and packed with umami flavors. Traditionally, it's served as an appetizer or a light meal, showcasing the natural sweetness of the eggs and the complementary ingredients within. One common variation of chawanmushi includes the addition of edamame, which not only adds a pop of color and texture but also enhances the dish with its nutty flavor and nutritional benefits. Edamame, or young soybeans, are rich in protein, fiber, and various vitamins and minerals, making them a healthy and satisfying addition to this traditional Japanese dish. The combination of the delicate, custard-like texture of the chawanmushi and the benefits of edamame creates a delightful and nutritious culinary experience.
The key to a successful chawanmushi lies in the careful preparation and gentle steaming process. This recipe will guide you through the steps to create an authentic and delectable chawanmushi at home.
Ingredients:
- 2 eggs
- 1 cup dashi stock
- 1 tablespoon soy sauce
- 1 teaspoon mirin
- 1/2 teaspoon salt
- Assorted fillings (such as shrimp, chicken, mushrooms, and vegetables)
Instructions:
In a medium bowl, whisk the eggs gently until just combined. Gradually add the dashi stock, soy sauce, mirin, and salt, stirring continuously to incorporate.
Strain the mixture through a fine-mesh sieve to remove any air bubbles. Divide the custard mixture evenly among individual chawanmushi cups or ramekins.
Arrange the desired fillings on top of the custard. Place the cups in a steamer basket and steam over medium heat for approximately 15-20 minutes, or until the custard is set but still slightly jiggly in the center.
When cooking chawanmushi, it's essential to maintain a gentle and consistent steam throughout the process. Avoid opening the steamer lid too often, as this can disrupt the delicate texture of the custard.
Additionally, be mindful of the water level in the steamer, replenishing it as needed to ensure continuous steam.
Once the chawanmushi is cooked, serve it warm, garnished with additional ingredients if desired, and enjoy the delicate flavors and silky smooth texture.
Cooking Steps
First, you'll need to prepare a steamer and gather the necessary ingredients.
Next, mix the dashi, soy sauce, and mirin to create the custard base.
Then, crack and beat the eggs before carefully adding the custard mixture.
Step 1. Prepare Steamer and Gather Ingredients
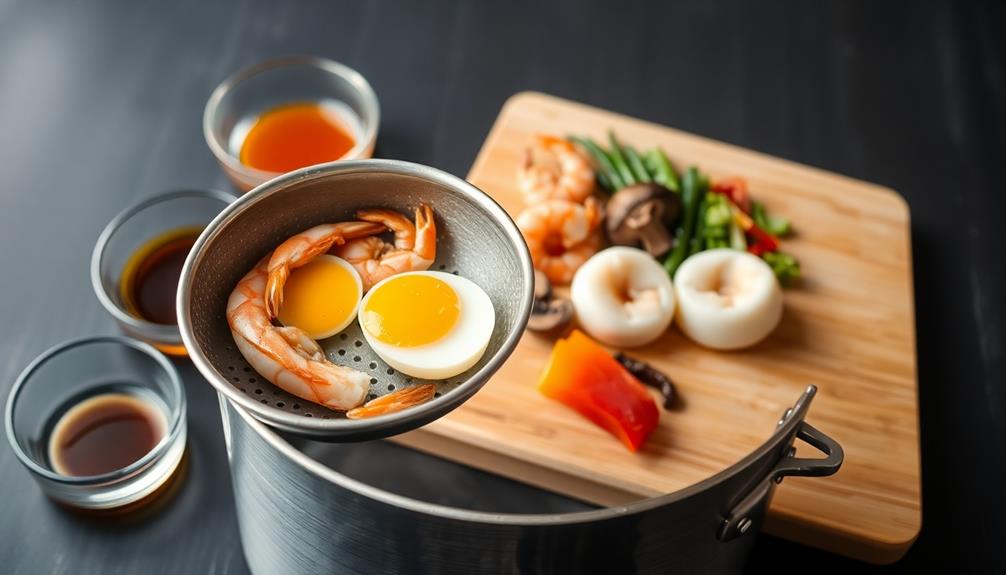
To begin, you'll need to set up your steamer. Grab your largest pot or saucepan and fill it about halfway with water.
Place a steamer basket or colander inside, making sure it doesn't touch the water.
Now it's time to gather the ingredients. You'll need Japanese short-grain rice, dashi stock, soy sauce, mirin, eggs, and any other savory toppings you'd like, such as shrimp, chicken, or mushrooms.
Measure out the rice and rinse it thoroughly under cool running water until the water runs clear. Let it drain well.
In a bowl, whisk together the dashi stock, soy sauce, and mirin. Crack the eggs into a separate bowl and beat them lightly.
Have all your ingredients ready to go before you start assembling the custards. With your steamer set up and ingredients prepped, you're now ready to start building those delicate chawanmushi!
Just follow the next steps to create this traditional Japanese dish.
Step 2. Mix Dashi, Soy Sauce, and Mirin
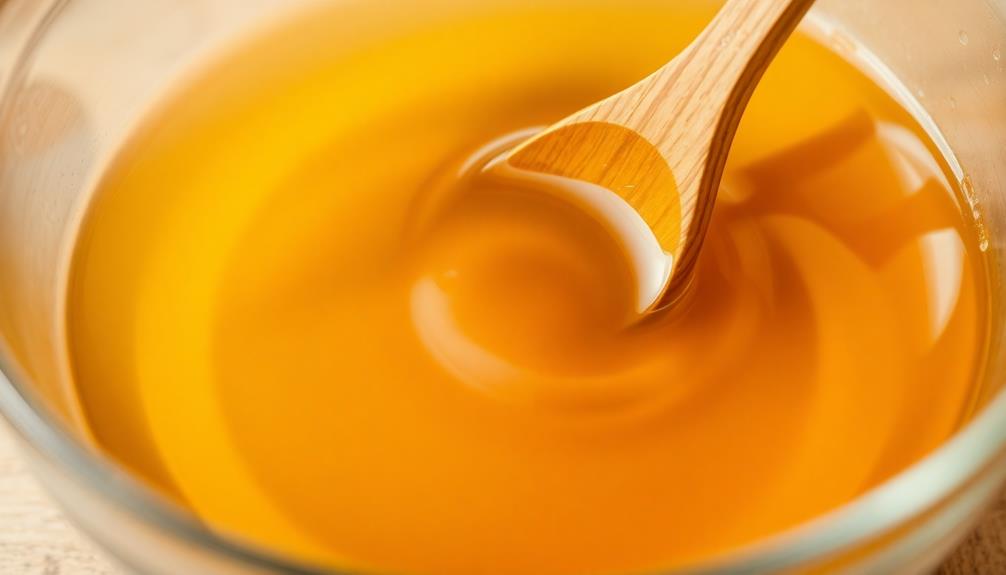
In a medium bowl, whisk together 1 cup of dashi stock, 1 tablespoon of soy sauce, and 2 teaspoons of mirin until well combined. The dashi stock provides the savory umami flavor, while the soy sauce and mirin add a touch of sweetness and depth to the custard.
Be sure to mix the ingredients thoroughly, so the flavors are evenly distributed.
Next, add 3 large eggs to the bowl and whisk them in until the mixture is smooth and well-incorporated. You want the eggs to be fully combined without any visible lumps.
This ensures a silky, uniform texture in the final chawanmushi.
Step 3. Crack and Beat the Eggs

Crack the eggs gently against the side of the bowl, letting the contents effortlessly slide into the waiting liquid.
You'll want to beat the eggs lightly with a pair of chopsticks or a small whisk until they're well combined.
Don't overbeat – you're aiming for a smooth, silky texture, not a frothy meringue.
Once the eggs are fully incorporated, give the mixture a final stir to ensure everything is evenly distributed.
This step is crucial for creating the custard's signature soft, custardy consistency.
Be careful not to incorporate too much air, which can lead to an undesirable airy texture.
With the eggs prepared, you're now ready to gently pour the custard into individual serving bowls.
Move slowly and steadily to avoid any splashing or uneven distribution.
The final chawanmushi should have a smooth, glossy surface, inviting you to savor its delicate flavor and velvety texture.
Step 4. Add Custard Mixture
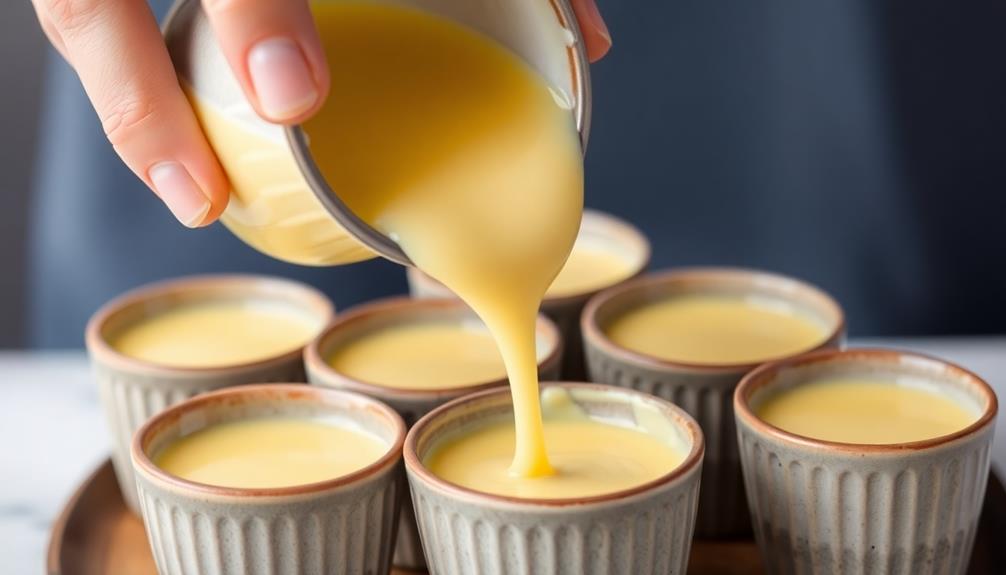
Next, carefully pour the beaten egg mixture into the prepared ramekins or bowls. Ensure the liquid is distributed evenly, filling each container about three-quarters full.
You want the custard to have a smooth, silky texture, so pour slowly and gently to prevent any air bubbles from forming on the surface.
Once the ramekins are filled, place them in a steamer basket or a pan with about an inch of simmering water. Cover the pan with a lid and steam the custards for 15-20 minutes, or until they're set but still slightly wobbly in the center.
Keep a close eye on them, as oversteaming can cause the custards to become dry and rubbery.
When the chawanmushi is ready, carefully remove the ramekins from the steamer. Allow them to cool for a few minutes before serving.
The custards can be enjoyed as is or with additional toppings, such as soy sauce, diced vegetables, or shredded meat, depending on your personal preferences.
Step 5. Steam Until Set
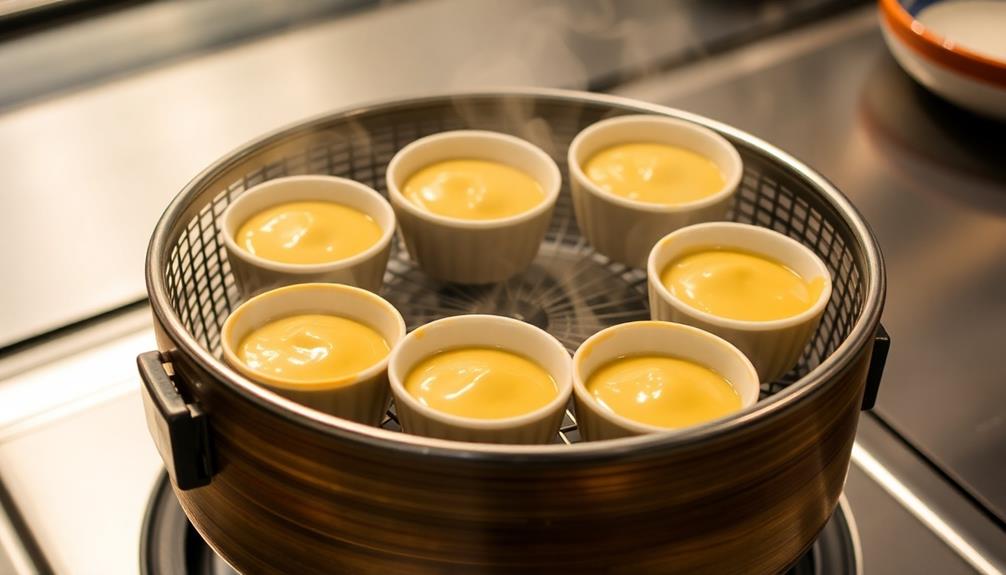
Once the ramekins are filled, place them in a steamer basket or a pan with about an inch of simmering water.
Cover the pan and steam the chawanmushi for 15-20 minutes, or until the custards are set. The custard should be firm yet still slightly jiggly in the center when gently shaken.
Keep an eye on the water level during steaming, adding more as needed to maintain the simmering water.
You'll know the chawanmushi is ready when a toothpick inserted into the center comes out clean.
Carefully remove the ramekins from the steamer, taking care not to disturb the delicate custards.
Let them cool slightly before serving.
Top each chawanmushi with the reserved toppings, such as shredded chicken, shrimp, or mushrooms.
Serve the savory custards warm, providing small spoons for easy scooping.
Enjoy this elegant, umami-rich Japanese dish as an appetizer or light main course.
Final Thoughts
As you've now had the chance to explore the exquisite Japanese dish of chawanmushi, you might find yourself marveling at its delicate flavors and intricate preparation. This savory egg custard is truly a work of art, requiring precise timing and technique to achieve the perfect, silky-smooth texture.
While it may seem daunting at first, the rewarding experience of crafting and savoring chawanmushi is well worth the effort.
Whether you serve it as a starter or a light meal, this elegant dish is sure to impress your family and friends. The combination of umami-rich broth, tender chicken, and delicate egg custard creates a harmonious symphony of flavors that dance on the palate.
As you continue to explore the wonders of Japanese cuisine, don't hesitate to add chawanmushi to your culinary repertoire. With a little practice, you'll be able to masterfully prepare this delightful dish and delight your guests with its exquisite presentation and flavors.