Gluten, a protein found in wheat, rye, and barley, is a crucial component in baking. It provides structure, texture, and chewiness to your baked goods. Proper kneading activates the gluten, aligning the strands and forming a strong network. Resting and proofing further develop the gluten, creating the desired rise and crumb. High baking temperatures set the gluten structure, leading to the final texture. Mastering gluten's role takes practice, but your efforts will be rewarded with consistently delicious baked treats. And if you'd like to learn more about the science behind gluten's impact, there's much more to explore.
Key Takeaways
- Gluten is a key structural protein in wheat-based baked goods, providing elasticity, chewiness, and gas-trapping capabilities for desirable crumb texture.
- Proper kneading, resting, and proofing are crucial for optimal gluten development, which affects the final baked product's appearance, mouthfeel, and moisture retention.
- Adjusting kneading and mixing techniques can influence gluten structure, requiring experimentation to achieve the desired baking outcomes.
- Hydration levels and ingredient quality significantly impact gluten formation and overall baking success, both for gluten-containing and gluten-free recipes.
- Gentle handling of gluten-free dough and the use of specialized flour blends are necessary to replicate traditional baking textures without the presence of gluten.
Top picks for "role gluten protein"
Open Amazon search results for this keyword.
As an affiliate, we earn on qualifying purchases.
History
For centuries, gluten has been an integral component in the art of baking. This natural protein, found in wheat, rye, and barley, has been a staple ingredient in breads, pastries, and other baked goods for thousands of years.
Ancient Egyptians were among the first to recognize the unique properties of gluten, using it to create the iconic loaves of bread that have become a symbol of their civilization.
Over time, bakers have refined their understanding of gluten's role in creating the perfect crumb structure and chewy texture in breads. The development of commercial yeast in the 19th century further bolstered the importance of gluten, as it enabled bakers to produce lighter, airier loaves.
Today, gluten remains a crucial element in modern baking, with its ability to trap gas and provide structure making it indispensable in the creation of a wide range of beloved baked goods.
Recipe
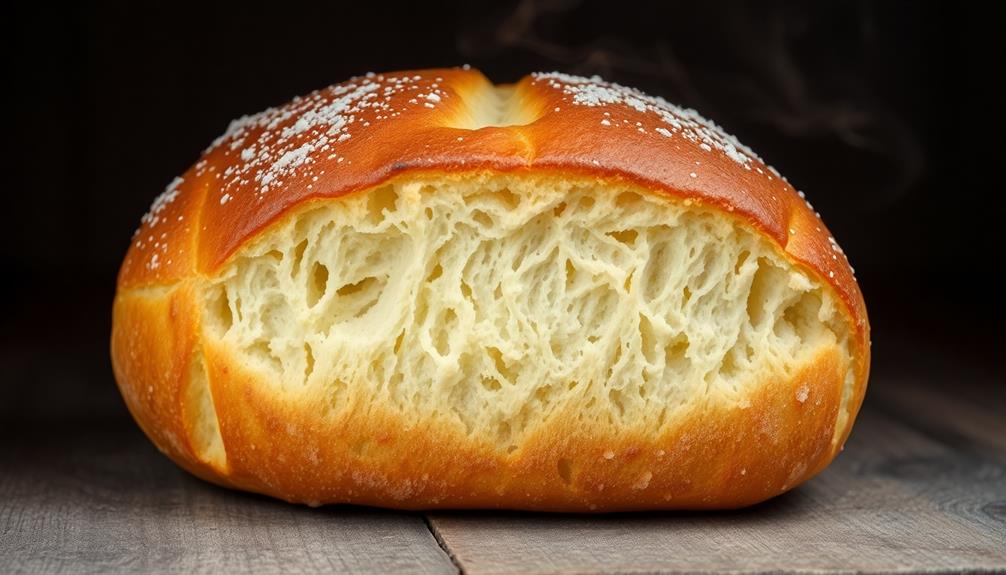
Gluten plays a crucial role in baking, providing structure, texture, and that satisfying chewiness we all love. When it comes to baking, understanding how to work with gluten can make all the difference between a dense, heavy loaf and a light, airy one.
The key is to strike the right balance – not over-kneading the dough, which can result in a tough, rubbery texture, but also not under-kneading, which can lead to a crumbly, fragile end result.
With a little practice and the right techniques, you can create delectable gluten-free baked goods that are just as satisfying as their wheat-based counterparts.
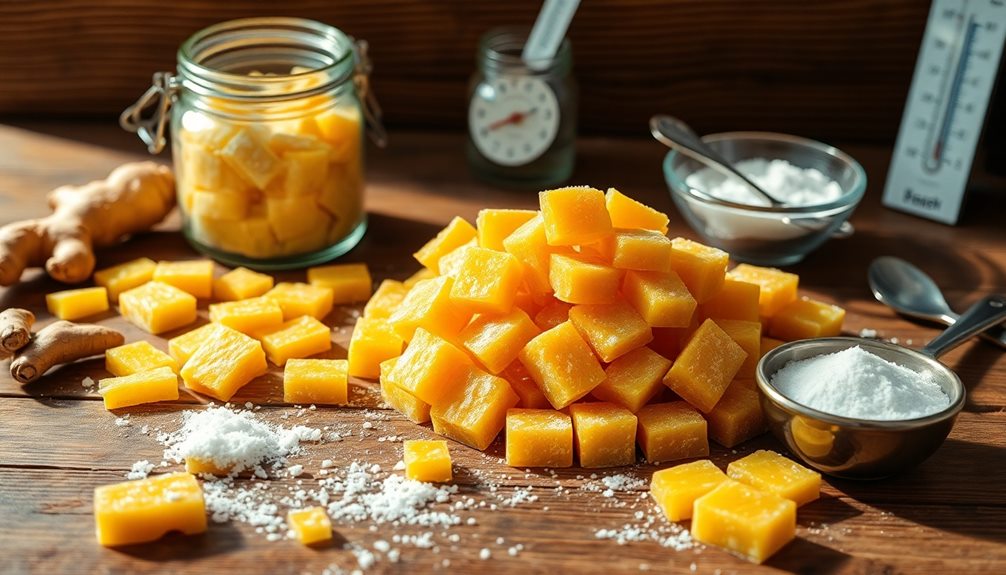
Ingredients:
- 2 cups gluten-free all-purpose flour
- 1 teaspoon baking powder
- 1/2 teaspoon salt
- 1/2 cup unsalted butter, softened
- 3/4 cup granulated sugar
- 2 large eggs
- 1 teaspoon vanilla extract
- 1/2 cup milk
Instructions:
Preheat the oven to 350°F (180°C). Grease a 9-inch baking pan with butter or non-stick cooking spray. In a medium bowl, whisk together the gluten-free flour, baking powder, and salt.
In a separate large bowl, cream the butter and sugar until light and fluffy. Beat in the eggs, one at a time, then stir in the vanilla. Gradually add the dry ingredients and milk, alternating between the two, and mix until just combined.
Pour the batter into the prepared baking pan and smooth the top. Bake for 25-30 minutes, or until a toothpick inserted into the center comes out clean. Allow the cake to cool completely before serving.
Tips:
When working with gluten-free flour, be gentle with the dough and avoid over-mixing. This can help prevent the development of too much gluten, leading to a tough, dense texture.
Additionally, be sure to use high-quality, fresh ingredients for the best results. Experiment with different gluten-free flour blends to find the one that works best for your baking needs.
Cooking Steps
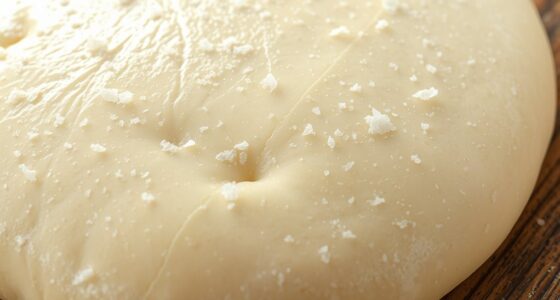
Knead the dough to activate gluten development.
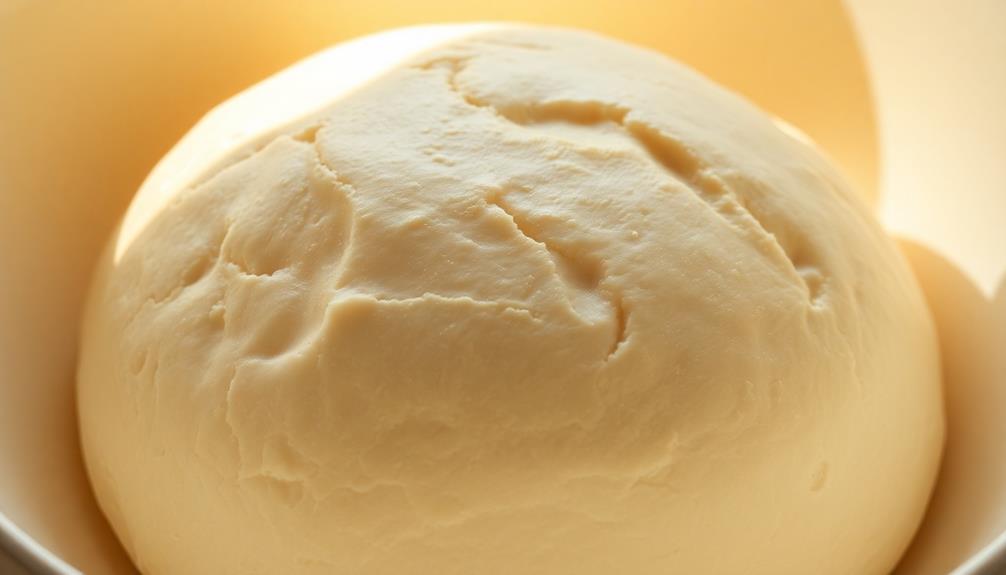
After kneading, let the dough rest to relax the gluten.
Proof the dough to further develop the gluten, then bake it at a high temperature and cool down the final loaf.
Step 1. Activate Gluten Development Through Kneading

Once you've assembled your ingredients, the key to activating gluten development lies in the kneading process. As you knead the dough, you'll work the gluten strands, causing them to align and form a cohesive network. This network traps the gas produced by the yeast, resulting in the dough's rise and airy texture.
The intensity and duration of kneading directly impact gluten development. Vigorous kneading, either by hand or with a stand mixer, strengthens the gluten bonds. The more you knead, the more the gluten strands intertwine, creating a firmer, chewier structure. Conversely, underkneading leads to a weak, crumbly crumb.
The optimal kneading time varies based on the recipe and your technique, but a good rule of thumb is to knead until the dough becomes smooth, elastic, and springs back when poked.
Mastering the art of kneading is crucial for achieving the desired gluten development and, ultimately, the perfect baked good.
Step 2. Rest Dough to Relax Gluten

After you've kneaded the dough to activate the gluten, it's time to let it rest. This resting period allows the gluten to relax and become more pliable.
During this time, the gluten strands unwind and the dough becomes less elastic and easier to work with.
Resting the dough is a crucial step in many baking recipes. It typically takes 30 minutes to an hour, depending on the recipe.
Cover the dough with a damp towel or plastic wrap to prevent it from drying out. The resting period gives the gluten a chance to realign and redistribute, resulting in a more cohesive and less springy dough.
Once the dough has rested, you can proceed with the next steps of your recipe, such as shaping or rolling it out.
Resting the dough is an essential technique that helps ensure your baked goods have the desired texture and structure.
Step 3. Proof Dough to Develop Gluten
The proofing stage is a critical step in harnessing gluten's power. During this time, the dough rests and the gluten network develops further. As the yeast consumes the sugars, it produces carbon dioxide, which gets trapped in the gluten strands, causing the dough to rise. This process allows the gluten to become stronger and more elastic, resulting in a soft, airy crumb.
To proof the dough effectively, you'll want to create a warm, humid environment. This could be as simple as placing the dough in a lightly greased bowl, covering it with a damp towel, and letting it sit in a warm spot. The ideal proofing temperature ranges from 75°F to 85°F.
As the dough rises, be gentle when handling it to avoid deflating the delicate gluten structure. Properly proofed dough will have doubled in size and feel light and airy to the touch. With attention to this critical step, you'll unlock the full potential of gluten and achieve bakery-worthy results.
Step 4. Bake Dough at High Temperature
When the dough has been properly proofed, it's time to bake it at a high temperature. Preheat your oven to at least 400°F (200°C). This high heat is crucial for achieving the perfect bread texture.
As the dough bakes, the gluten structure will set, trapping the gases produced by the yeast. The intense heat causes the starch granules to gelatinize, creating the bread's crumb.
Don't be tempted to open the oven door frequently – this can cause the bread to collapse. Instead, let the dough bake undisturbed for 20-25 minutes. You'll know it's ready when the crust is golden brown and the internal temperature reaches 205-210°F (96-99°C).
The high heat also caramelizes the sugars, adding a delicious flavor and aroma.
Once baked, remove the bread from the oven and let it cool on a wire rack. This allows the steam to escape, preventing a soggy crust.
With the right baking temperature and technique, you'll achieve a beautifully structured, gluten-rich bread every time.
Step 5. Cool Down Baked Loaf
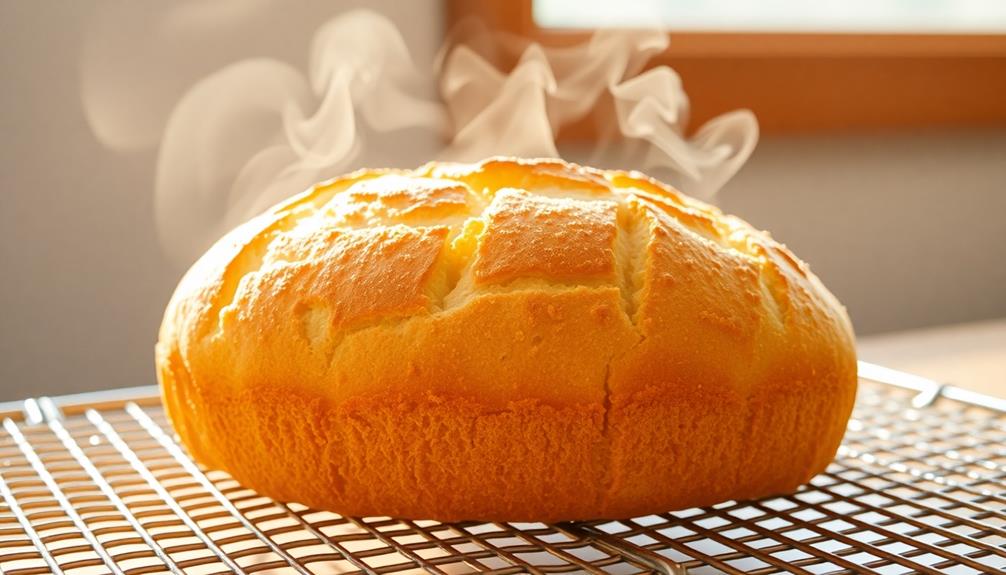
Once you've pulled the perfectly baked loaf from the oven, don't let your hard work go to waste. Allowing the loaf to cool properly is crucial for developing its final texture and structure.
Begin by placing the hot loaf on a wire rack or a clean kitchen towel. This will allow air to circulate around the loaf, preventing the bottom from becoming soggy.
As the loaf cools, the internal temperature will gradually drop, causing the gluten network to set and the crumb to firm up. Resist the temptation to slice into the loaf immediately, as this can result in a gummy, uneven texture.
Instead, let it cool for at least 30 minutes, or up to an hour for larger loaves. This resting period allows the gluten to fully set and the moisture to redistribute evenly throughout the crumb.
Once cooled, the loaf will be ready for slicing and enjoying, with a beautiful, well-structured crumb that showcases the role of gluten in creating the perfect loaf of bread.
Final Thoughts
Ultimately, gluten's role in baking is a delicate balance. Too much gluten can result in a dense, chewy texture, while too little can lead to a crumbly and fragile structure. As a baker, you must find the sweet spot that allows the dough to rise properly and develop an ideal crumb.
Gluten is the backbone of many baked goods, providing structure and stability. However, it's crucial to understand that different recipes and techniques call for varying levels of gluten development. Yeasted breads, for instance, require more gluten to support the risen dough, whereas pastries and cakes benefit from a more delicate touch.
Mastering the use of gluten in baking takes practice and experimentation. Pay close attention to the texture and rise of your baked goods, and don't be afraid to adjust your techniques accordingly.
With this knowledge, you'll be able to create consistently delicious and well-structured baked treats that satisfy both the eye and the palate.
Frequently Asked Questions
How Does Gluten Affect the Rise and Texture of Bread?
Gluten's influence on bread rise and texture is significant. It forms an elastic network that traps gas, allowing the dough to expand and creating a light, airy crumb. Without gluten, the bread won't rise properly and will have a dense, tough texture.
Can Gluten-Free Flours Produce Similar Results to Wheat Flour in Baking?
While gluten-free flours can't provide the same structural support as wheat flour, you can still create tasty baked goods by using special techniques and ingredients to mimic gluten's role in the baking process.
What Are the Health Implications of Consuming High-Gluten Foods?
Consuming high-gluten foods can lead to digestive issues, inflammation, and even autoimmune conditions like celiac disease for some individuals. You should consult your healthcare provider to determine if a gluten-free diet is appropriate for your needs.
How Can I Identify Gluten-Containing Ingredients in Baked Goods?
To identify gluten-containing ingredients in baked goods, check the labels for wheat, barley, rye, and oats. Also, look out for flours, starches, and grains that aren't explicitly labeled as "gluten-free."
What Are the Best Tips for Baking With Gluten-Free Substitutes?
When baking gluten-free, use xanthan or guar gum to replace gluten's structure, and adjust liquid ratios to create the right texture. Experiment with gluten-free flours like rice, almond, or coconut to find the best combination for your recipe.