You'll love learning about the chemistry behind pickling and fermentation! These ancient food preservation methods were used by ancient Egyptians, Chinese, and Greeks to create deliciously tangy flavors. The fermentation process transforms sugars into acids, creating a fizzy, probiotic-rich liquid. Cucumbers, onions, and garlic come together in a classic dill pickle relish, developing complex flavors as they ferment. The acidity, temperature, and oxygen levels all play a crucial role in producing the perfect pickled and fermented delights. Discover the rich history and cultural significance behind these flavorful techniques – there's so much more to explore!
Key Takeaways
- Pickling and fermentation involve the conversion of sugars into acids by microorganisms like Lactobacillus, creating a tangy, probiotic-rich liquid.
- The fermentation process requires a delicate balance of oxygen levels, acidity, and temperature to promote beneficial bacteria and prevent spoilage.
- Fermentation enhances the natural sweetness and complexity of flavors in various fruits, vegetables, and meats.
- Fermented foods are often easier to digest and can improve nutrient absorption due to the breakdown of complex compounds.
- Understanding the chemistry behind pickling and fermentation allows for experimentation and the creation of unique, flavorful, and nutritious food products.
Top picks for "chemistry pickl fermentation"
Open Amazon search results for this keyword.
As an affiliate, we earn on qualifying purchases.
History
The history of pickling and fermentation dates back thousands of years, with evidence of these food preservation techniques being used in ancient civilizations. You might be surprised to learn that people have been pickling and fermenting foods for a very long time!
In fact, the ancient Egyptians, Chinese, and Greeks all had their own unique ways of preserving foods. They'd pickle vegetables, fruits, and even meats to make them last longer.
Fermentation was also a popular method, where foods were allowed to sit and develop delicious, tangy flavors.
As the centuries passed, these traditional techniques spread around the world. People in different cultures started experimenting and coming up with their own signature pickled and fermented foods.
From sauerkraut in Germany to kimchi in Korea, the variety of pickled and fermented foods is truly amazing.
Even today, people continue to explore the rich history and exciting flavors of this ancient culinary art.
Recipe
Pickling is a preservation method that has been used for centuries, allowing for the long-term storage and enjoyment of fresh produce.
Fermentation, on the other hand, is a process that transforms the flavors and nutritional profile of foods through the action of beneficial bacteria. When these two techniques are combined, the result is a delicious and versatile condiment that can enhance a wide variety of dishes.
Understanding the principles of the refrigeration cycle can be beneficial in maintaining the ideal temperature for fermentation, ensuring optimal flavor development.
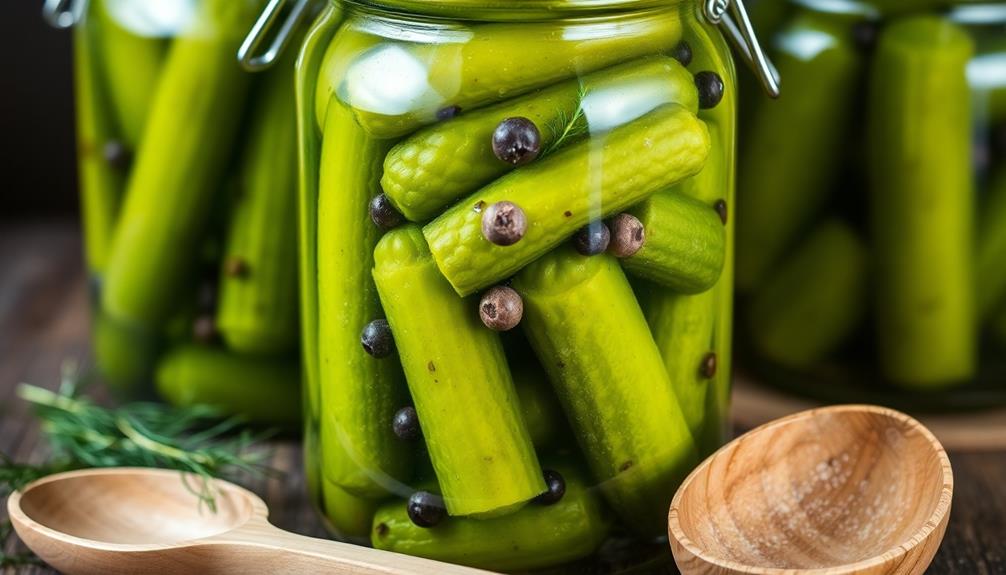
This recipe for a classic dill pickle relish combines the tangy acidity of pickling with the complex flavors developed through fermentation. The end product can be used as a topping for burgers, hot dogs, or sandwiches, or as a flavorful addition to salads, tacos, and more.
- 4 cups chopped cucumbers
- 1 cup chopped onions
- 1/2 cup chopped dill
- 3 cloves garlic, minced
- 2 tablespoons sea salt
- 1 cup water
- 1/2 cup white vinegar
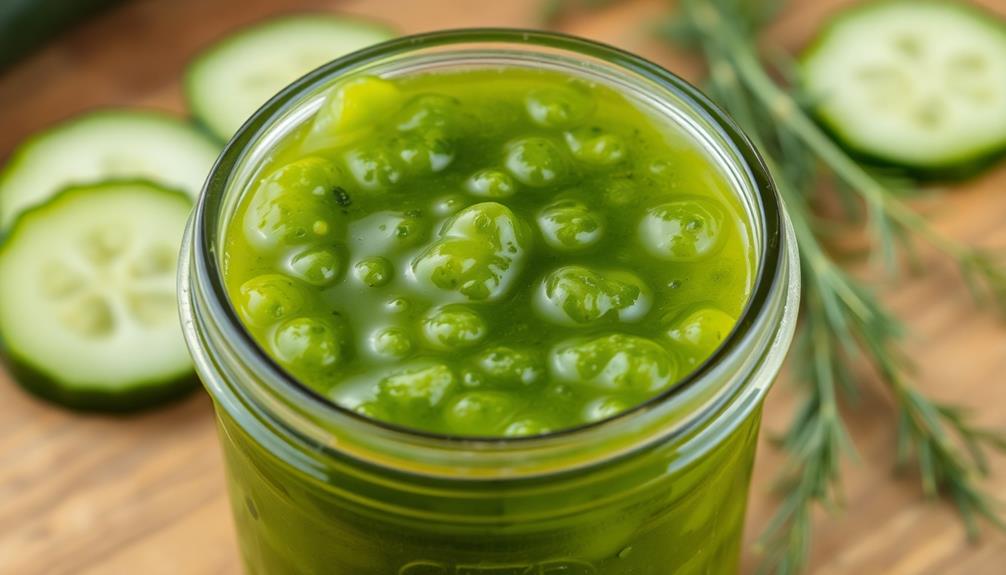
In a large bowl, combine the chopped cucumbers, onions, dill, and garlic. Sprinkle the sea salt over the mixture and toss to coat.
Transfer the salted vegetables to a clean, sterilized jar or fermentation crock, packing them down to remove any air pockets. In a separate bowl, mix together the water and vinegar, then pour this brine over the vegetables, ensuring they're fully submerged.
Cover the container with a tight-fitting lid or airlock, and let the mixture ferment at room temperature for 4-7 days, or until the desired flavor is achieved.
Once the fermentation is complete, the relish can be refrigerated for up to 6 months. The longer it's stored, the more complex and developed the flavors will become.
Enjoy this versatile condiment on your favorite dishes, and savor the unique balance of acidity, crunch, and herbaceous notes.
Cooking Steps
First, chop your veggies to the perfect size for pickling.
Next, combine the chopped veggies and brine in a sealed container with an airlock.
Step 1. Chopping Vegetables to Appropriate Size

Knife in hand, carefully slice the vegetables into pieces of uniform size. This is an important step in pickling and fermentation, as evenly chopped ingredients will ensure even cooking and distribution of flavors.
Nimble fingers guide the knife, dicing onions, carrots, and cucumbers into bite-sized chunks. The rhythmic chopping fills the air with the fresh scents of garden-grown goodness.
As you work, pay close attention to the size of each piece. Consistency is key – you don't want some veggies to be too thick and others too thin.
Imagine how the final pickled product will look and taste. Envision the crunchy texture and tangy flavors dancing on your tongue. Keep slicing until you have a colorful collection of evenly-sized veggie coins and cubes, ready for their brining adventure.
With the prep work complete, you're one step closer to creating your very own homemade pickles and fermented delights. The fun is just beginning!
Step 2. Combine Vegetables and Brine

With the veggies prepped, it's time to combine them with the brine.
Grab your chopped vegetables and gently place them into a clean jar or fermentation vessel.
Now, slowly pour in the salty brine, making sure all the veggies are fully submerged. You can even give the jar a little shake to remove any air bubbles.
As the veggies soak up the brine, you'll start to see them shrink down and the liquid level rise. That's exactly what you want!
Put the lid on and let the pickling magic begin.
Over the next few days, the brine will transform the veggies, giving them that delicious, tangy flavor.
Remember to keep an eye on the jar and skim off any foam that develops on the surface.
Soon, you'll have yourself some tasty, homemade pickles!
Step 3. Seal Container With Airlock

Sealing the fermentation vessel with an airlock is a crucial step in the pickling process. This handy tool creates a one-way valve, allowing gases to escape while keeping oxygen out.
Once you've packed your vegetables and poured in the brine, simply attach the airlock to the lid of your container. As the veggies begin to ferment, bubbles will start to rise and the airlock will start doing its job, releasing that carbon dioxide while maintaining an anaerobic (no oxygen) environment inside.
This helps prevent mold and other unwanted microbes from spoiling your tasty pickle creation. Plus, it's really satisfying to watch those bubbles fizzing away!
Just make sure to top up the airlock with a bit of water now and then, so it can continue working its magic. With the airlock sealing in the goodness, your pickles will be well on their way to becoming crisp, flavorful, and oh-so-delicious.
Get ready for some serious pickle power!
Step 4. Ferment for 4-6 Weeks

Once the airlock is securely in place, allow your vegetable mixture to ferment for 4 to 6 weeks. During this time, the good bacteria will feast on the natural sugars, creating a fizzy, tangy liquid that's full of probiotics – that's the healthy stuff that's great for your gut!
You'll start to see bubbles forming, and the mixture might get a little cloudy, but don't worry, that's all part of the process.
As the weeks go by, keep an eye on the jar and give it a gentle swirl every few days. This helps the veggies stay submerged in the brine, which is key for proper fermentation.
The flavors will develop and become more complex the longer you let it sit. When the 4 to 6 weeks are up, your pickled veggies will be ready to enjoy! Crisp, crunchy, and bursting with flavor – the perfect addition to any meal.
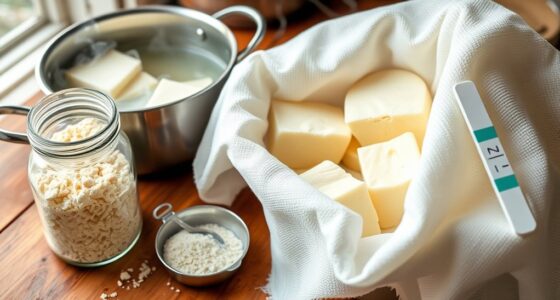
Step 5. Test Final Fermented Product
After the 4-6 week fermentation period, you're ready to test your final fermented product!
First, take a good look at the jar – you should see lots of bubbles and the brine should be cloudy. Give it a gentle stir and take a whiff. Mmm, doesn't it smell tangy and delicious?
Now, it's time for the big taste test. Carefully scoop out a small sample and pop it in your mouth. Feel how the flavors burst and dance on your tongue? The salty-sour notes are perfectly balanced, with a satisfying crunch from the veggies. Yum!
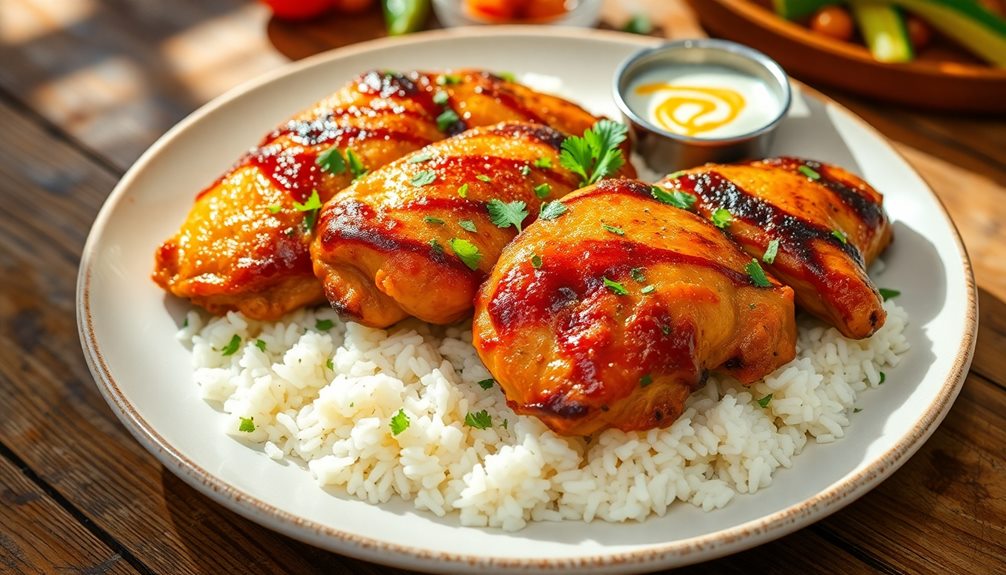
If everything checks out, you can go ahead and enjoy your homemade fermented treats. Try them on sandwiches, in salads, or all by themselves as a healthy snack.
Don't be afraid to experiment – the possibilities are endless! Just remember to store your fermented goodies in the fridge to keep them fresh and flavorful.
Final Thoughts
As we reach the culmination of our exploration into the chemistry of pickling and fermentation, it's essential to reflect on the key takeaways.
We've learned how beneficial bacteria transform vegetables and fruits into delicious, tangy treats. The magic happens when microorganisms break down sugars and produce acids that give pickles and fermented foods their unique flavors.
You might be surprised to know that the science behind these processes is quite complex, with a delicate balance of temperature, acidity, and oxygen levels.
But don't worry, the end result is always worth it – crunchy, zesty pickles and bubbly, probiotic-rich kombucha that aren't only tasty but also great for your gut health.
Frequently Asked Questions
What Makes Pickles and Fermented Foods so Healthy?
Pickles and fermented foods are healthy because they're full of beneficial bacteria that aid digestion, boost your immune system, and provide essential vitamins and minerals. Their unique flavors also make them a tasty, probiotic-rich addition to your diet.
How Can I Tell When My Pickles Are Ready?
You'll know your pickles are ready when they've developed a crisp texture and tangy flavor. Check them after 3-4 weeks of fermentation, and they'll be perfect for enjoying!
Can I Use Different Vegetables in the Same Pickling Process?
You can use different vegetables in the same pickling process, but you'll need to adjust the brine ratios to suit each veggie's unique properties. Experiment with combinations, but keep an eye on the fermentation to ensure even results.
How Do I Prevent Mold Growth in My Fermented Foods?
To prevent mold growth in your fermented foods, ensure proper brine concentration, maintain an anaerobic environment, and periodically check for signs of contamination. Regularly clean your fermentation vessels and utensils to maintain a clean, mold-resistant setup.
What Is the Difference Between Pickling and Fermentation?
Pickling and fermentation are two distinct processes. Pickling uses an acidic solution to preserve foods, while fermentation relies on beneficial bacteria to transform the food. The end products have different flavors, textures, and health benefits.