Pine needle tea has long been a winter staple, with indigenous peoples harvesting and drying the nutrient-rich needles for year-round use. The vitamin C and antioxidants in pine needles can boost your immune system and overall health. When foraging, be sure to identify non-toxic pine species and avoid areas with chemicals or pollutants. Brew the tea by simmering chopped pine needles in water for 10-15 minutes, then strain and sweeten if desired. The steeping time affects the flavor, so experiment to find your perfect cup. Keep reading to dive deeper into the history, health benefits, and preparation of this winter wonder.
Key Takeaways
- Identify safe pine species for foraging and avoid needles from roadsides or chemically treated areas.
- Harvest young, green growth at the tips of pine branches for the best flavor and nutrient content.
- Prepare pine needle tea by simmering chopped needles in water for 10-15 minutes, then strain the tea.
- Adjust steeping time to achieve the desired flavor profile, as longer steeping may result in a more bitter taste.
- Use pine needle tea as a nutritious and refreshing winter beverage, as it is rich in vitamin C and antioxidants.
Top picks for "pine needle winter"
Open Amazon search results for this keyword.
As an affiliate, we earn on qualifying purchases.
History
Pine needle tea has a long and fascinating history. Indigenous peoples across the Northern Hemisphere have used pine needles for their medicinal and culinary properties for centuries. These hardy evergreens have provided a reliable source of nutrients, especially during the harsh winter months when other forage was scarce.
You can trace the origins of pine needle tea back to the traditional practices of Native American tribes, who recognized the potent antioxidant and vitamin C content of pine needles. They'd carefully harvest the needles, often drying and storing them for year-round use. The tea became a beloved tradition, sipped for its robust, slightly citrusy flavor and its purported health benefits.
As European settlers arrived, they too adopted the use of pine needle tea, learning from the indigenous populations. Over time, the practice spread globally, with each region developing its own distinct pine needle tea culture and preparation methods.
Recipe
Pine needles have been used for centuries by indigenous cultures around the world for their medicinal properties. Rich in vitamin C, pine needle tea can help boost the immune system and provide a variety of other health benefits, including promoting gut health due to its natural properties. Making this tea at home is simple and can be a great way to enjoy the outdoors, even during the colder months.
Foraging for the right pine needles is an important first step. Be sure to identify the pine species correctly and only use needles from non-toxic varieties. Avoid needles that have been sprayed with chemicals or are from roadsides, as they may be contaminated.
- 2-3 tablespoons fresh pine needles, rinsed and chopped
- 4 cups water
- Honey or lemon, optional
Bring the water to a boil in a saucepan. Add the chopped pine needles, reduce heat, and simmer for 10-15 minutes. Strain the tea through a fine-mesh sieve to remove the needles. Sweeten with honey or a squeeze of lemon, if desired.
When brewing pine needle tea, be mindful of the steep time. Longer steeping can result in a more potent, bitter flavor. Start with a shorter steep and adjust to your taste preferences. The tea can be enjoyed hot or chilled.
Cooking Steps
First, gather some fresh, green pine needles.
Then, give them a quick rinse and inspect them for any impurities.
Step 1. Gather Fresh, Green Pine Needles

To gather the freshest, most vibrant pine needles for your tea, look for young, green growth at the tips of the branches. Avoid the older, brown needles, as they can impart a more bitter flavor. Gently snip the tender tips with scissors or your fingers, taking care not to damage the tree. Aim for 1-2 inches of the fresh growth, as this will provide the most aromatic and flavorful needles.
When foraging, be mindful of your surroundings and ensure the area is free from pollution or other contaminants. Stick to trees in remote, natural settings for the purest, safest pine needles.
Once you've gathered your bounty, give the needles a gentle rinse under cool water to remove any debris or insects. Pat them dry with a clean towel, and you're ready to begin steeping your homemade pine needle tea.
Step 2. Rinse and Inspect Pine Needles
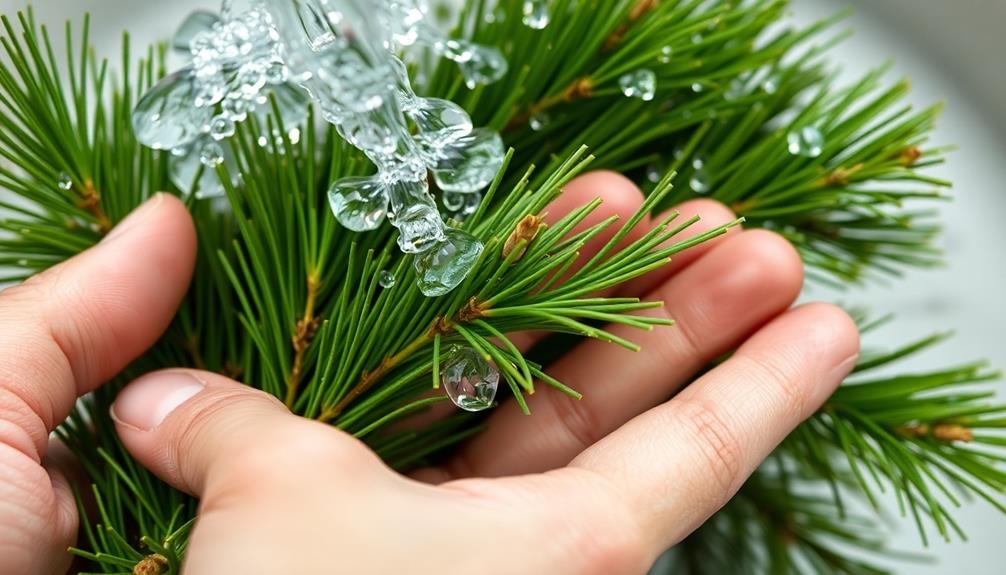
Now that you have gathered your fresh, green pine needles, it's time to give them a quick rinse. Gently wash the pine needles under cool, running water, being careful not to bruise or crush them. This will help remove any dirt, debris, or insects that may be clinging to the needles.
Once rinsed, lay the pine needles out on a clean, dry surface and inspect them closely. Look for any brown, dry, or discolored needles, and discard them. You want to use only the vibrant, green needles for your tea.
Avoid using needles that have been exposed to potential pollutants, such as those near roadsides or in areas with heavy foot traffic.
After inspecting, your pine needles are ready to be chopped or crushed, depending on your preferred brewing method. This will help release the essential oils and maximize the flavor of your homemade pine needle tea.
Step 3. Chop Pine Needles Into Small Pieces
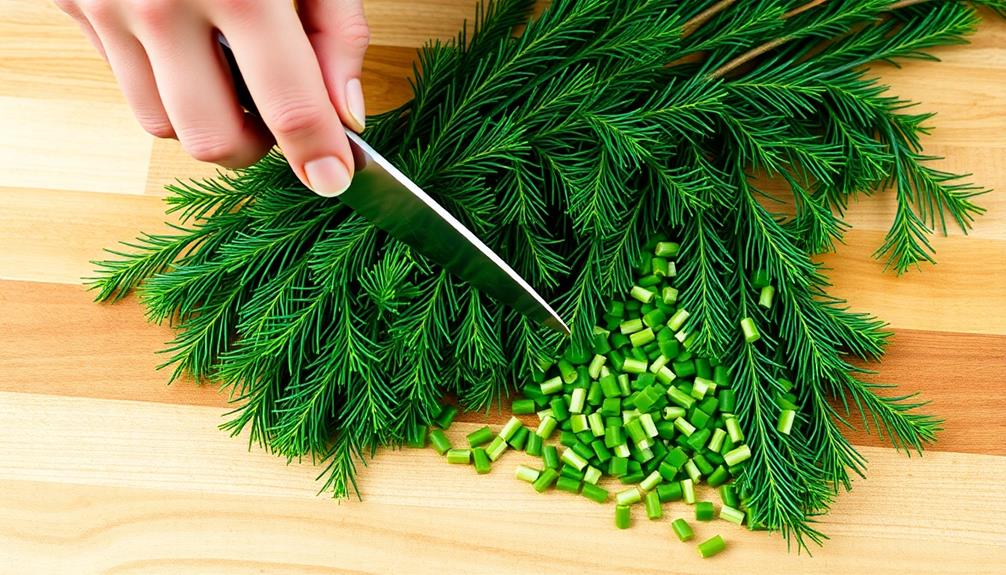
With clean, dry pine needles in hand, begin chopping them into small, bite-sized pieces. Use a sharp knife or kitchen shears to ensure even, consistent cuts. Aim for pieces around a quarter inch in length, as this will help the needles release their flavor and aroma during the steeping process.
Don't worry about getting every piece exactly the same size – a little variation is fine. As you chop, you may notice the needles release a pleasant, pine-like scent. This is a good sign, as it means the essential oils that give pine needle tea its distinctive flavor are being released.
Work carefully, taking care not to mash or crush the needles, as this can result in a bitter or overly strong taste. Once you've chopped the desired amount, you're ready to move on to the next step of the tea-making process.
Step 4. Simmer Chopped Needles in Water
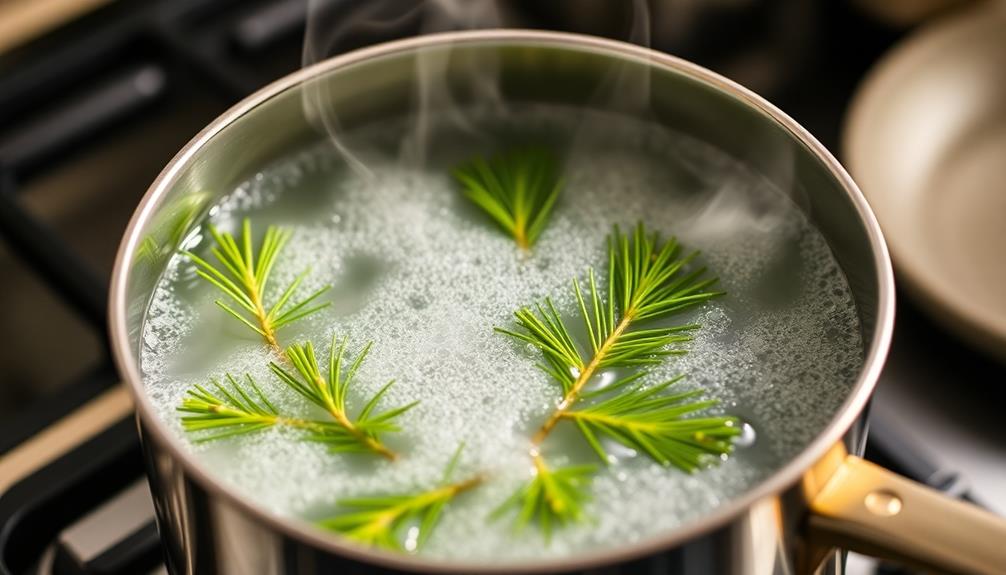
Bring the chopped pine needles to a gentle simmer in a pot of fresh, cold water. Let the mixture simmer for 15-20 minutes, ensuring the water doesn't boil. This process will release the beneficial compounds from the needles, giving you a nourishing tea.
Depending on your desired strength, you can adjust the simmer time. The longer you let it steep, the more intense the flavor will be. Once it's finished simmering, remove the pot from the heat and let it cool slightly.
Use a fine-mesh strainer to pour the tea into your favorite mug, leaving the spent needles behind. Add a touch of honey or a squeeze of lemon if desired, then sip and enjoy the earthy, pine-like flavor of your homemade pine needle tea.
This simple yet rewarding drink is a great way to embrace the bounty of nature during the colder months.
Step 5. Strain Tea Through Mesh Strainer
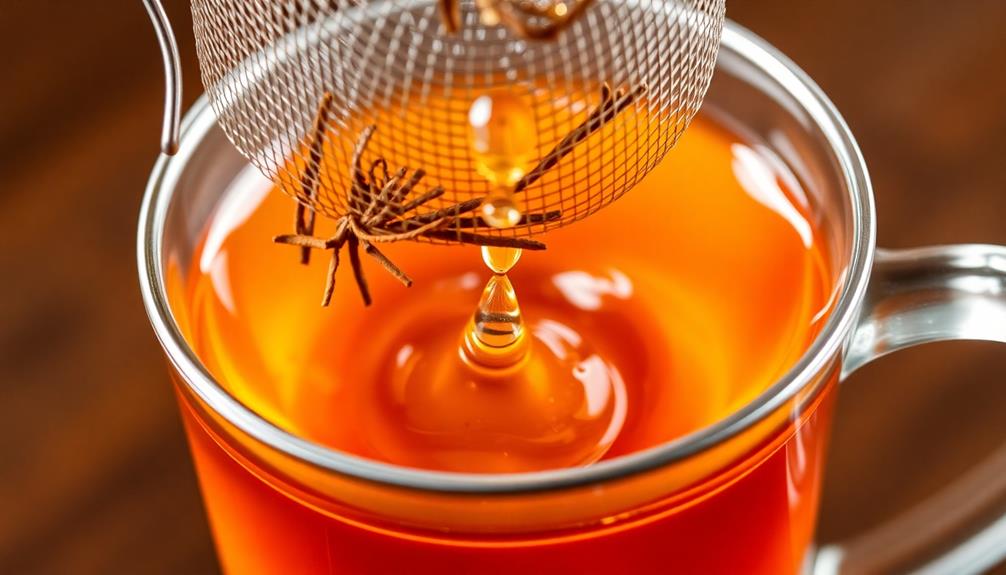
Once the pine needle tea has finished simmering, you'll want to strain it through a fine-mesh strainer. This step removes any small pine needle fragments that may have made their way into the liquid.
Place the strainer over a clean container, such as a glass measuring cup or a teapot. Carefully pour the hot tea through the strainer, allowing the liquid to flow through while the solids are caught in the mesh. You may need to use a spoon to gently press down on the needles to extract every last drop of the earthy, fragrant tea.
Once strained, the tea will appear clear and vibrant. If you notice any sediment at the bottom of the container, you can pour the tea through the strainer once more to ensure a perfectly clear beverage.
With the pine needles removed, your pine needle tea is now ready to enjoy. Whether you choose to drink it immediately or allow it to cool slightly, this nourishing and flavorful tea is sure to warm you from the inside out on a chilly winter day.
Final Thoughts
Pine needle tea offers a unique and flavorful alternative to traditional teas. Its robust, earthy taste and potential health benefits make it a worthwhile addition to your winter beverage repertoire.
Don't be intimidated by the seemingly complex process – with a little practice, you'll be sipping homemade pine needle tea like a pro.
Frequently Asked Questions
Is Pine Needle Tea Safe for Pets to Consume?
You should avoid giving pine needle tea to your pets, as it can be toxic to them. Pine needles contain compounds that can cause digestive issues and other health problems in animals. It's best to stick to pet-safe foods and drinks.
Can Pine Needle Tea Be Frozen for Later Use?
You can freeze pine needle tea for later use. Simply pour the brewed tea into ice cube trays and freeze. Once frozen, pop the tea cubes out and store them in an airtight container in the freezer.
How Long Does Homemade Pine Needle Tea Last?
Homemade pine needle tea can last for 3-5 days when stored in the refrigerator. For longer-term storage, you can freeze it for up to 6 months, ensuring you always have a warm, flavorful tea on hand.
Can Pine Needle Tea Be Used for Making Other Recipes?
Yes, you can use pine needle tea in other recipes. It has a unique flavor that can add depth to sauces, soups, and even baked goods. Get creative and experiment with incorporating this herbal tea into your cooking.
Are There Any Known Side Effects of Drinking Pine Needle Tea?
Though generally safe, you should be aware that drinking pine needle tea may potentially cause digestive upset or allergic reactions in some people. It's best to start with small amounts and monitor your body's response.