Mastering the art of sous vide is an exciting journey that'll have you cooking up juicy, flavorful dishes like a professional chef. This low-temperature technique dates back to the 1970s, and it's revolutionized cooking for both home cooks and culinary experts. With precise temperature control, you'll seal food in airtight bags and submerge it in a water bath to achieve perfectly cooked results every time. Whether you're tackling tender chicken breasts or decadent desserts, sous vide unlocks a world of culinary possibilities. And the best part? There's so much more to discover about this incredible cooking method.
Key Takeaways
- Understand the history and evolution of sous vide cooking, which originated in the 1970s and has become a global culinary sensation.
- Grasp the basics of sous vide cooking, including sealing food in airtight bags, controlling water temperature, and achieving perfectly cooked, tender, and flavorful dishes.
- Follow essential tips for successful sous vide cooking, such as using reliable equipment, appropriate food-grade bags, and proper cooking time monitoring.
- Recognize the mastery and precision in sous vide cooking, which allows for consistent results, exact temperature control, and enhanced texture and flavor.
- Embrace the opportunities for experimentation and creativity in sous vide cooking, while also enjoying the relaxation and satisfaction of the cooking process.
Top picks for "master sous vide"
Open Amazon search results for this keyword.
As an affiliate, we earn on qualifying purchases.
History
Tracing the origins of sous vide, you'll find its roots stretching back to the 1970s, when chefs and scientists began exploring the potential of low-temperature, long-duration cooking.
They discovered that by sealing food in airtight bags and immersing it in precisely controlled water baths, they could achieve remarkably tender and flavorful results. These early pioneers were onto something special!
As the years passed, the sous vide technique continued to evolve, with advancements in equipment and a growing understanding of the science behind it.
Chefs from around the world embraced this innovative cooking method, using it to create dishes that were simply out of this world. Juicy steaks, perfectly cooked vegetables, and even delicate desserts – the possibilities were endless! Some chefs even took it a step further, experimenting with fusion cuisine and creating unique dishes that blend different culinary traditions. One such creation was the Vietnamese tacos, which combined the flavors of traditional Vietnamese cuisine with the familiar format of a Mexican taco. This new approach to cooking opened up a world of new flavors and culinary experiences for food lovers everywhere.
Today, sous vide has become a culinary sensation, with home cooks and professional chefs alike marveling at its ability to unlock the true potential of ingredients.
It's a fascinating journey through time, and one that's sure to inspire your own culinary adventures.
Recipe
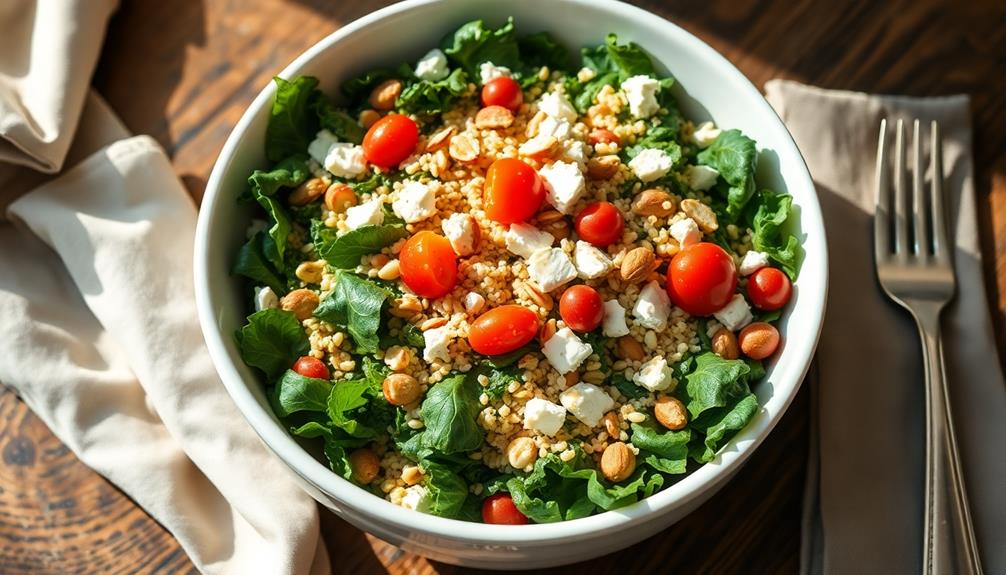
Sous vide is a method of cooking that involves sealing food in an airtight plastic bag and submerging it in a water bath held at a precise, constant temperature. This technique allows for precise temperature control, resulting in perfectly cooked, tender, and flavorful dishes every time.
In this recipe, we'll demonstrate how to create a delicious sous vide dish that showcases the versatility of this cooking method. By following these steps, you'll be able to impart a depth of flavor and achieve a level of doneness that's simply unattainable with traditional cooking methods.
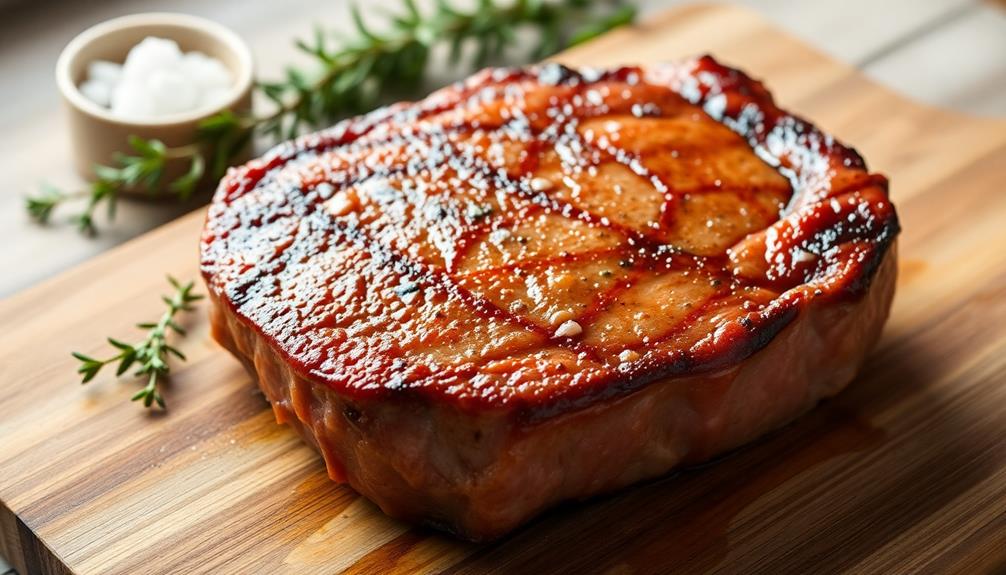
Ingredients:
- 4 boneless, skinless chicken breasts
- 2 tablespoons olive oil
- 1 teaspoon salt
- 1/2 teaspoon black pepper
- 2 cloves garlic, minced
- 1 sprig fresh thyme
Cooking Instructions:
Preheat a water bath to 165°F (74°C). Season the chicken breasts with salt, pepper, and garlic. Place the chicken in a resealable plastic bag, seal, and submerge in the water bath. Cook for 1 hour and 15 minutes, or until the chicken reaches an internal temperature of 165°F (74°C).
Tips:
When cooking sous vide, it's important to use a high-quality, food-grade plastic bag that's BPA-free and designed for this purpose. Avoid using regular plastic bags, as they may not provide an airtight seal and can potentially leach harmful chemicals into the food.
Additionally, be sure to fully submerge the sealed bag in the water bath to ensure even cooking throughout the dish.
Cooking Steps
Alright, let's get started!
First, you'll want to preheat your water bath to the perfect temperature.
Then, seal your food up nice and tight in a vacuum-tight pouch.
Next, gently lower that sealed pouch into the warm water bath and let it cook for the specified amount of time.
Step 1. Preheat Water Bath to Desired Temperature
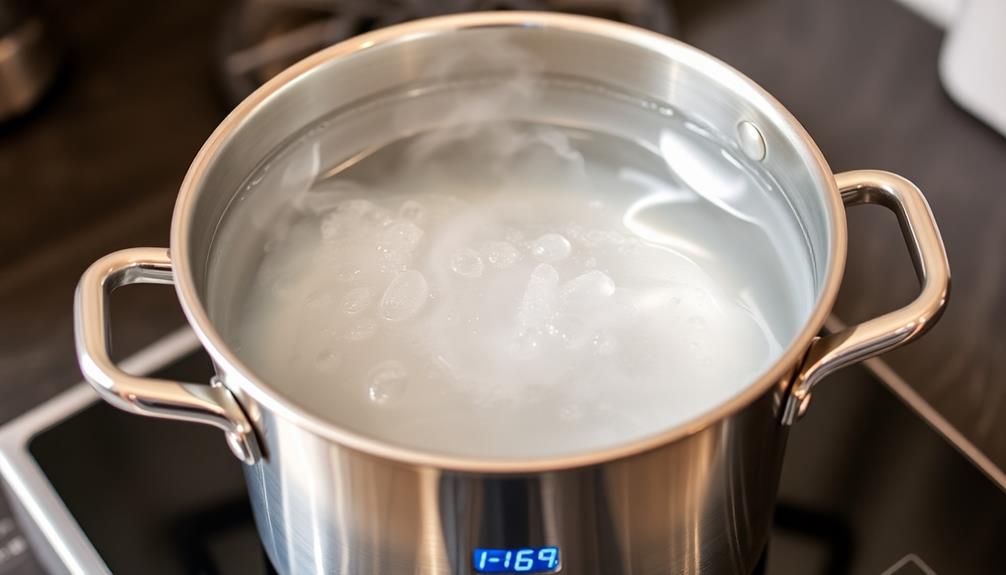
Once you've gathered your ingredients and equipment, the next step is to preheat your water bath to the desired temperature. This is a crucial part of the sous vide process, as maintaining the correct temperature is key to achieving perfectly cooked results.
First, fill your sous vide container or pot with water, making sure to leave enough room for the food you'll be cooking.
Then, use your sous vide device to set the water bath to the precise temperature required for your recipe. This could be anywhere from 120°F for a rare steak to 185°F for a custard.
As the water heats up, you can start preparing your food. Just remember to wait until the water bath has fully preheated before adding your ingredients.
This ensures the temperature remains stable throughout the cooking process. Once the water is at the right temperature, you're ready to lower your sealed food pouch into the bath and let the magic of sous vide work its wonders!
Step 2. Seal Food in Vacuum-Tight Pouch
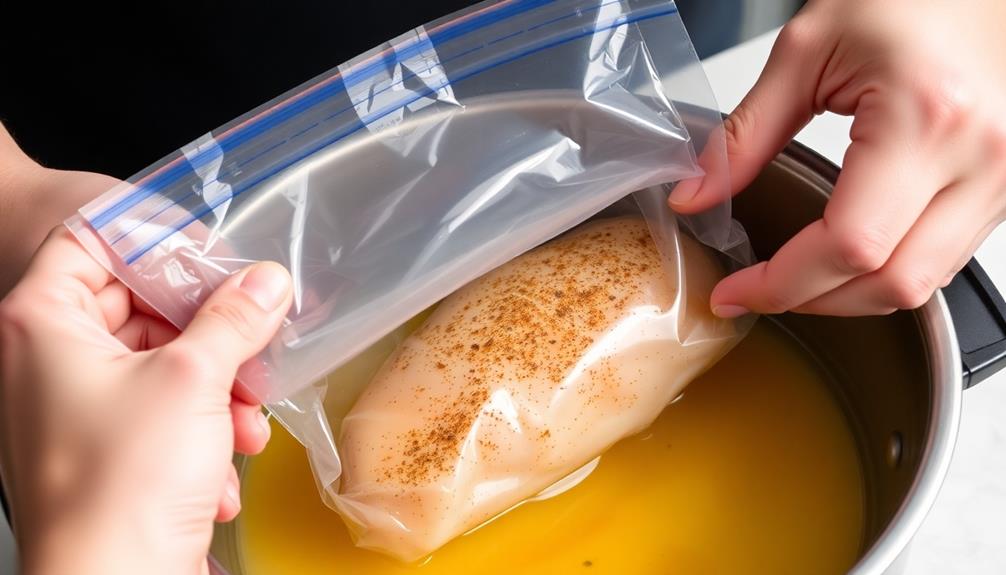
With the water bath preheated to the perfect temperature, you can now focus on sealing your food in a vacuum-tight pouch.
This step is crucial for ensuring your ingredients cook evenly and retain all their delicious flavors. Carefully place your food items into a sturdy, high-quality vacuum bag. Gently smooth out any air pockets, then slowly lower the open end of the bag into a vacuum sealer.
Watch as the machine sucks out every last bit of air, creating a tight, secure seal. This airtight environment will prevent any water or steam from entering the pouch during the cooking process.
Once sealed, your food is ready to be submerged in the water bath. The vacuum-tight pouch will protect your ingredients, locking in all the juices and nutrients.
Get ready for a mouthwatering meal that's cooked to perfection!
Step 3. Immerse Sealed Pouch in Water Bath
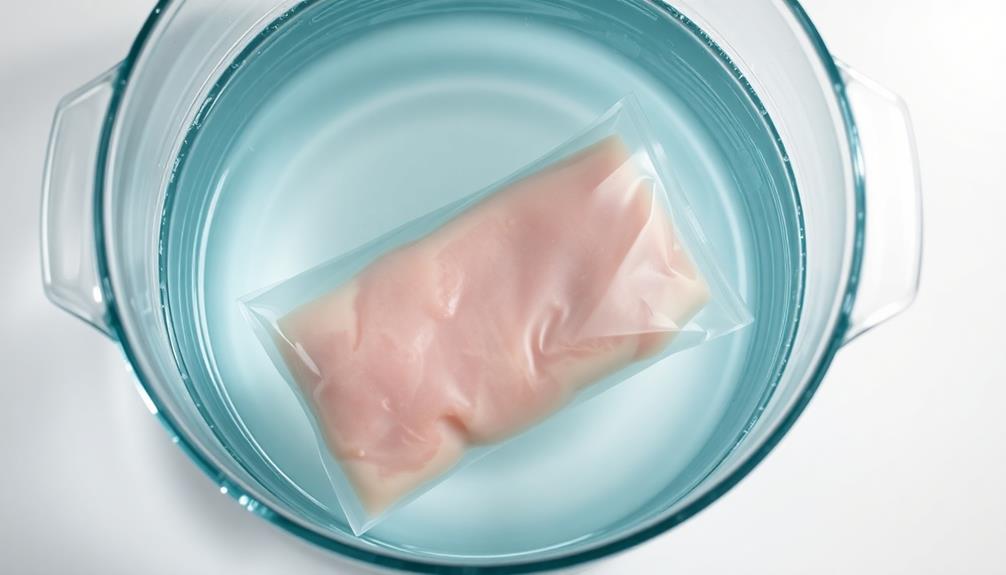
Gently lower the vacuum-sealed pouch into the preheated water bath. Make sure it's completely submerged, with no air pockets.
The water temperature should be precisely set to the optimal cooking temperature for your dish – this ensures your ingredients cook evenly and retain their delicious flavors. As the pouch sinks, you'll see tiny bubbles start to rise, signaling that the cooking process has begun.
Let the pouch sit undisturbed, gently circulating the water to maintain an even temperature.
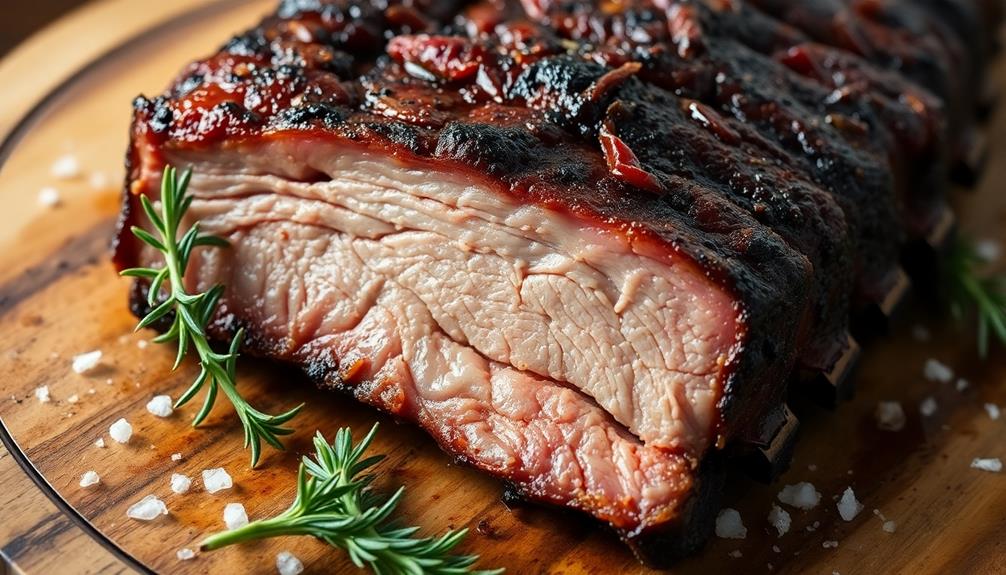
Depending on the recipe, your food may need to cook for anywhere from 30 minutes to several hours. Be patient and let the magic of sous vide work its wonders! The slow, steady heat will transform even the toughest cuts of meat into melt-in-your-mouth perfection.
Keep an eye on the time, and when your dish is ready, carefully remove the pouch from the water bath. Get ready to unveil a culinary masterpiece!
Step 4. Cook for Specified Duration
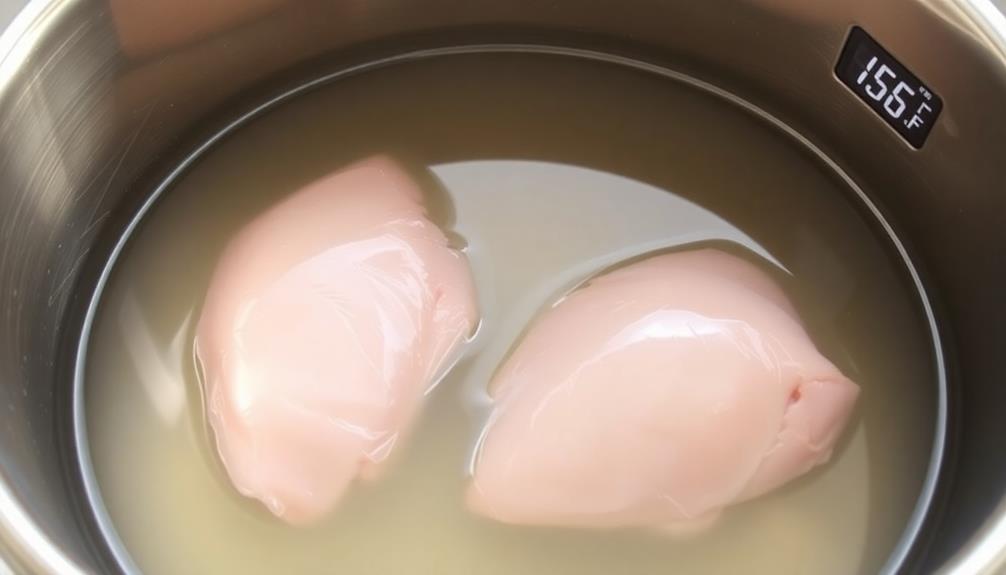
Although the cooking time may vary depending on the specific dish, it's crucial to follow the recipe's recommended duration.
Once your sealed pouch is submerged in the water bath, simply sit back and let the magic happen! The controlled temperature of the water will gently and evenly cook your food to perfection.
You'll be amazed at how tender and juicy your meats turn out, with all the delicious flavors locked in.
And the best part? You don't have to constantly monitor the pot or worry about overcooking. Just set a timer and let the sous vide do its thing.
When the timer goes off, carefully remove the pouch from the water. Be cautious – it'll be hot!
Then, simply open up the pouch and get ready to enjoy a restaurant-quality meal in the comfort of your own home.
Get ready to impress your family and friends with your newfound sous vide skills!
Step 5. Remove Pouch From Water Bath
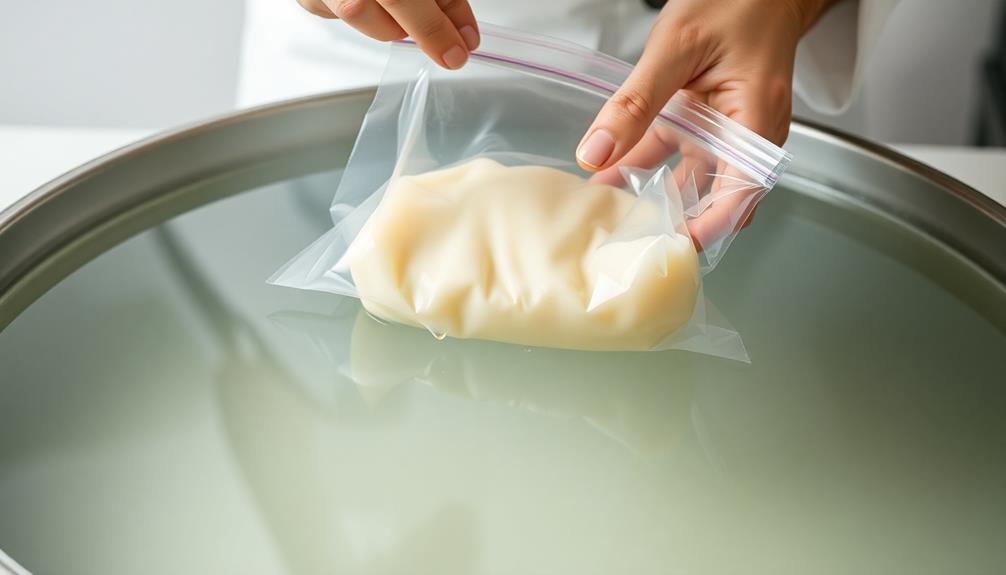
Once the timer goes off, carefully remove the pouch from the water bath.
Make sure to use tongs or a slotted spoon to gently lift the pouch out of the hot water. The pouch will be very hot, so be extra cautious! Slowly and steadily, lift the pouch and transfer it to a clean work surface.
Now, take a moment to admire the perfectly cooked food inside. The meat or vegetables should look mouth-wateringly tender and juicy.
Gently open the pouch, allowing the delicious aromas to fill the air. At this stage, you're one step closer to enjoying your delectable sous vide creation.
Next, you'll need to finish the dish by searing, grilling, or adding any final touches.
But first, take a deep breath and savor the anticipation. You've mastered an important step in the sous vide process.
Pat yourself on the back – you're well on your way to becoming a sous vide superstar!
Final Thoughts
Mastering the sous vide technique requires a blend of precision and patience.
You've come so far, learning how to set up the perfect water bath and carefully seal your food in pouches. Now, it's time to take a step back and reflect on your journey. Think about how much you've learned and how much more confident you feel in the kitchen.
Sous vide cooking may have seemed intimidating at first, but with each successful dish, you've proven that you can master this technique.
As you continue to experiment and explore the world of sous vide, remember to have fun. Don't be afraid to get creative and try new flavor combinations.
The beauty of this method is that it allows you to cook food to perfection every time. So, relax, take a deep breath, and savor the delicious results of your hard work.
Who knows, you might even become the neighborhood sous vide expert!
Frequently Asked Questions
What Is the Ideal Water Temperature for Sous Vide Cooking?
The ideal water temperature for sous vide cooking typically ranges from 130°F to 185°F, depending on the dish you're preparing. This precise temperature control ensures your food is cooked to perfection every time.
How Do I Seal Food in a Vacuum Bag for Sous Vide?
To seal food in a vacuum bag for sous vide, you'll need a vacuum sealer. Place the food in the bag, align the edges, and use the sealer to remove all the air, creating an airtight seal. This prevents water from entering the bag during cooking.
Can I Reuse Sous Vide Bags Multiple Times?
You can reuse sous vide bags multiple times, but it's essential to clean and dry them thoroughly after each use. However, avoid reusing bags that have held raw proteins to prevent cross-contamination.
How Long Can I Store Cooked Sous Vide Food in the Fridge?
You can typically store cooked sous vide food in the fridge for 3-4 days. Make sure to refrigerate the food in an airtight container and consume it within this timeframe for optimal quality and safety.
Is Sous Vide Cooking Safe for Pregnant Women or Children?
Sous vide cooking can be safe for pregnant women and children, but you should consult with your healthcare provider first. The precise cooking times and temperatures are crucial to ensure the food is cooked thoroughly and safely.