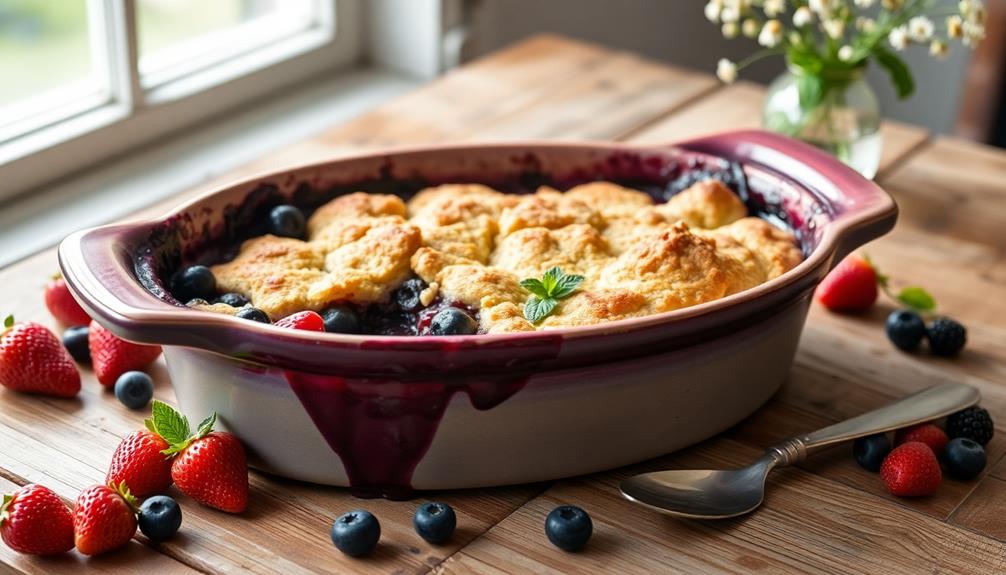
House-made fruit preserves let you capture the peak ripeness and natural sweetness of seasonal fruits. You can customize the flavors to your taste, using a few simple ingredients like ripe fruit, sugar, and lemon juice. Not only do homemade preserves taste far better than store-bought, but they also offer health benefits from the vitamins and antioxidants. Preserving fruit also reduces food waste and saves money by letting you enjoy seasonal bounty all year long. And when you discover how easy it is to make your own, you'll be inspired to experiment with different fruits and flavors. Let's dive into the steps to create your own signature preserves.
Key Takeaways
- Homemade fruit preserves offer customizable flavors tailored to individual preferences, with health benefits from vitamins and antioxidants.
- Making preserves extends the shelf life of fruits while intensifying their natural sweetness and aroma, and can be used as gifts or added to charcuterie boards.
- The ingredients for fruit preserves typically include ripe fruit, sugar, lemon juice, and optional vanilla extract, with a straightforward cooking process involving chopping, cooking, and jarring.
- Proper storage and preservation techniques, such as using sterilized jars and processing sealed jars in a water bath canner, ensure the preserves' freshness and longevity.
- Homemade preserves often surpass store-bought options in terms of depth of flavor, vibrant colors, and the opportunity to develop a signature recipe.
Top picks for "house made fruit"
Open Amazon search results for this keyword.
As an affiliate, we earn on qualifying purchases.
History
Fruit preserves have a rich and storied history, dating back centuries to ancient civilizations. The earliest known recorded use of fruit preserves comes from the ancient Persians, who'd boil fruit with honey to create spreadable delights.
As trade routes opened up, these sweet preserves made their way across the globe, with each culture putting its unique spin on the tradition.
In Europe, monasteries became hubs of preserve-making, experimenting with local fruits and herbs. By the 17th century, aristocratic households were competing to create the most exquisite jams and marmalades.
Meanwhile, in the Americas, settlers preserved native berries and citrus to savor the flavors of their new homes.
Today, the art of making house-made fruit preserves lives on, with passionate home cooks and small-batch producers keeping these time-honored traditions alive.
Whether you're aiming to capture the peak of summer's bounty or hoping to brighten up your morning toast, fruit preserves offer a delicious slice of history in every bite.
Recipe
Making house-made fruit preserves is a rewarding and versatile kitchen project. Not only do homemade preserves offer a more natural and customizable flavor, but they also make wonderful gifts or additions to charcuterie boards. With just a few simple ingredients and some patience, you can create delicious spreads that capture the essence of seasonal produce.
Additionally, incorporating fresh fruit into your diet can provide numerous health benefits, including improved skin health from the vitamins and antioxidants found in fruits like berries and citrus best juices for radiant skin health.
The process of preserving fruit involves gently cooking the fruit with sugar to create a thick, spreadable consistency. This method not only extends the shelf life of the fruit but also intensifies its natural sweetness and aroma. Experimenting with different fruit combinations and flavors can yield unique and delightful results.
Ingredients:
- 3 lbs ripe fruit (such as berries, stone fruit, or citrus)
- 1 1/2 cups granulated sugar
- 2 tbsp lemon juice
- 1 tsp vanilla extract (optional)
Instructions:
Wash and prepare the fruit by cutting it into small pieces if necessary. In a large saucepan, combine the fruit, sugar, and lemon juice. Bring the mixture to a gentle simmer over medium heat, stirring frequently, until the sugar has dissolved and the fruit has softened, about 20-25 minutes.
Continue to cook, stirring occasionally, until the preserve has thickened to your desired consistency, about 30-40 minutes total. Remove from heat and stir in the vanilla extract, if using. Transfer the preserve to sterilized jars or containers, and allow to cool completely before sealing and refrigerating.
When making fruit preserves, it's important to use ripe, flavorful fruit for the best results. Adjust the sugar content to your personal taste preferences, and experiment with add-ins like spices or herbs to create unique flavor profiles.
Properly storing the preserves in an airtight container in the refrigerator will ensure they maintain their freshness for several weeks.
Cooking Steps
Wash and trim your fresh fruit, then chop it into bite-sized pieces.
Next, cook the fruit mixture over medium heat, stirring frequently.
Step 1. Wash and Trim Fruit

First, you'll want to thoroughly rinse the fruit under cool running water. This helps remove any dirt, debris, or pesticide residue that may be on the surface. Be sure to handle the fruit gently to avoid bruising.
Next, use a sharp knife or paring tool to carefully trim off any blemishes, stems, or other imperfections. It's important to cut away only the damaged parts, as you don't want to waste too much of the precious fruit.
Once trimmed, give the fruit another quick rinse to wash away any loose particles. Now it's time to pat the fruit dry with a clean, soft towel or paper towels. This will help prepare the fruit for the next step in the preserve-making process.
Take your time with this initial washing and trimming – it's a crucial foundation for creating delicious, high-quality preserves.
Step 2. Chop Fruit Into Bite-Sized Pieces
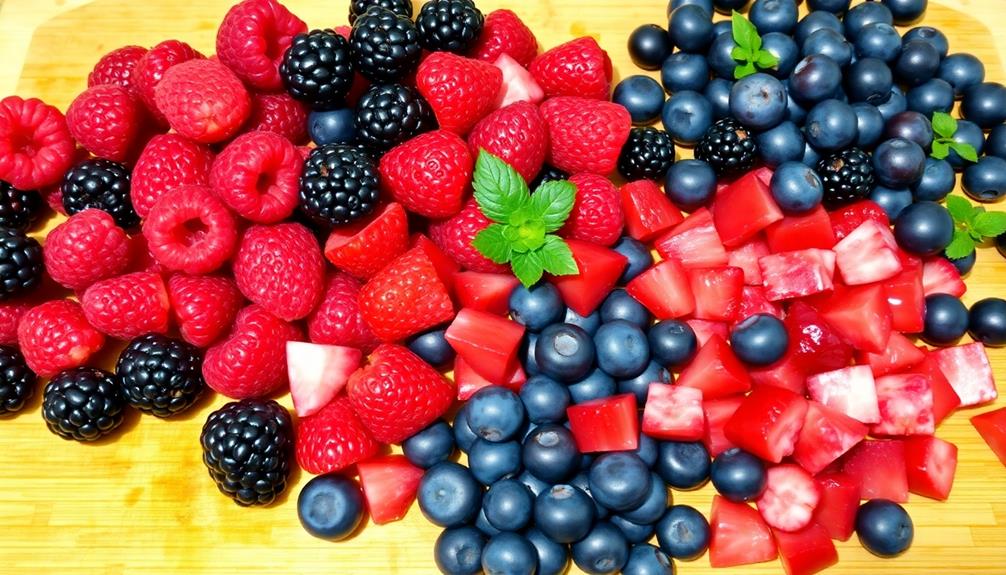
With the fruit washed and trimmed, you're now ready to chop it into bite-sized pieces. Grab a sharp knife and cutting board, and start slicing the fruit into small, evenly-sized chunks. This will help the fruit cook evenly and create a nice, chunky texture in your preserves.
Be sure to cut the fruit into pieces that are roughly the same size, around 1/2 to 1 inch in diameter. This will ensure the preserves have a consistent texture and cook time. For softer fruits like berries or peaches, you can simply use your fingers to gently tear them into smaller chunks.
As you chop, try to work quickly but carefully to avoid bruising the fruit. Discard any stems, pits, or other inedible parts.
Once all the fruit is chopped, you're ready to move on to the next step in making delicious homemade fruit preserves.
Step 3. Cook Fruit Mixture
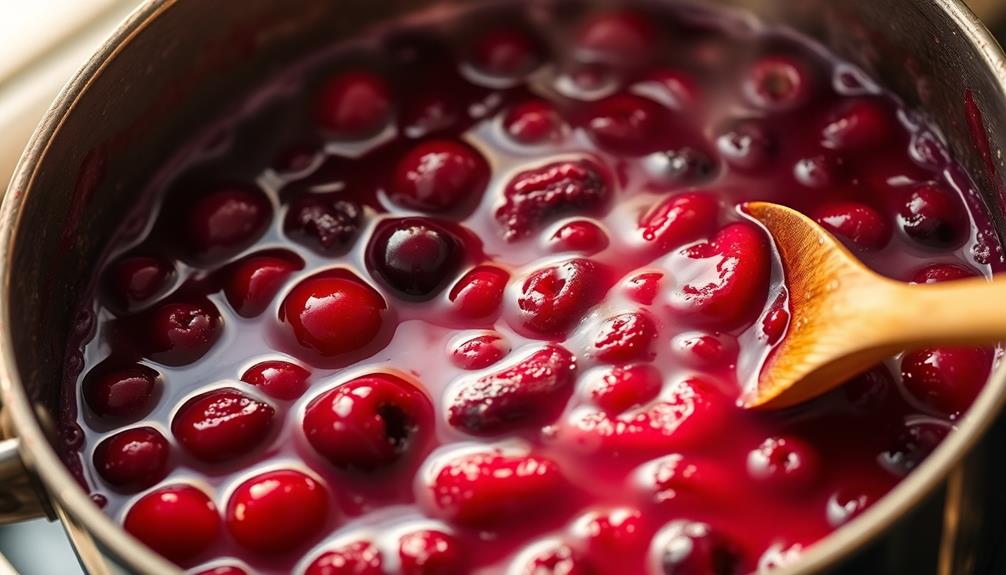
Once you've chopped the fruit, it's time to start cooking the mixture. In a large saucepan, combine the chopped fruit, sugar, and any additional ingredients like lemon juice or spices.
Bring the mixture to a gentle simmer over medium heat, stirring occasionally to prevent sticking or burning.
As the fruit simmers, you'll notice the mixture start to thicken and the flavors meld together. This process can take 20-30 minutes, so be patient and keep an eye on it, adjusting the heat as needed to maintain a gentle bubble.
The preserves are ready when the fruit is soft and the liquid has reduced to a thick, spreadable consistency.
Remember to stir the preserves frequently to ensure even cooking.
Once the desired texture is achieved, remove the saucepan from heat and let the preserves cool slightly before transferring them to jars or containers for storage.
With a little time and care, you'll have delicious homemade fruit preserves to enjoy.
Step 4. Stir in Pectin as Directed

After the fruit mixture has simmered and reached the desired thickness, it's time to stir in the pectin as directed. Once the pectin is thoroughly mixed in, carefully ladle the hot fruit mixture into sterilized canning jars, leaving about 1/4 inch of space at the top. Seal the jars and process them in a hot water bath for the recommended time. The benefits of dragon fruit are numerous, as it is packed with antioxidants, vitamins, and fiber, making it a healthy addition to any fruit mixture.
Pectin is a natural substance that helps thicken and set your homemade preserves. Follow the instructions on the pectin package carefully, as the amount you need to add will vary depending on the type and brand you're using.
Slowly pour the pectin into the hot fruit mixture, stirring continuously to prevent clumping. Keep stirring for a full minute or two, making sure it's fully incorporated. This step is crucial for getting the right consistency in your preserves.
Once the pectin is mixed in, let the mixture return to a full boil, then remove it from the heat. The preserves will continue to thicken as they cool.
Be patient and let them set up completely before transferring to jars. With the pectin added, your homemade fruit preserves will have the perfect spreadable texture.
Step 5. Transfer to Sterilized Jars
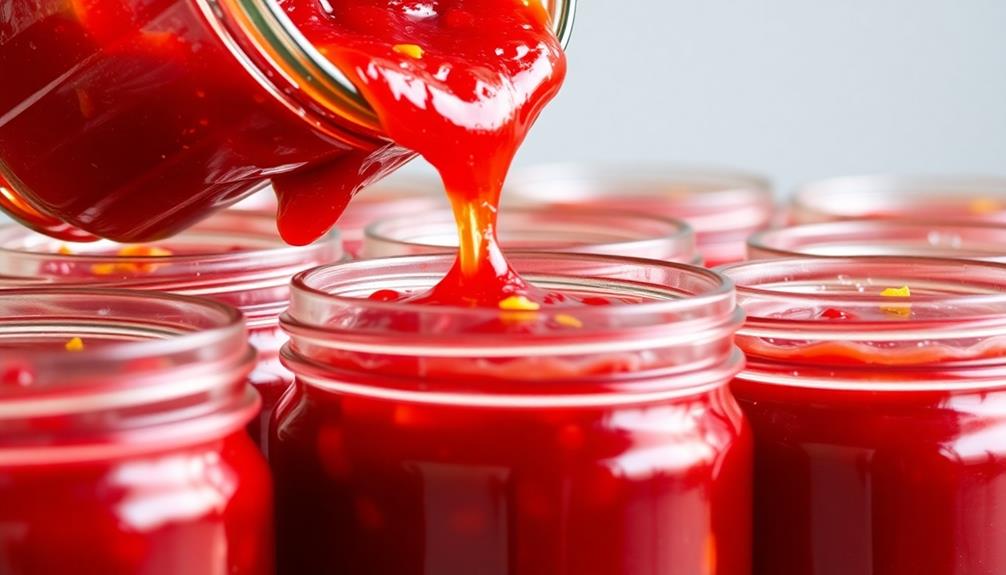
Now that the pectin is fully incorporated, you can begin transferring the homemade fruit preserves to sterilized jars. This step is crucial for ensuring the preserves stay fresh and safe to eat.
Start by gathering your clean, sterilized jars and lids. You can sterilize them by boiling them in water for 10 minutes or running them through the sanitize cycle in your dishwasher.
Carefully ladle the hot fruit preserve mixture into the jars, leaving about 1/4 inch of headspace at the top. This allows for proper sealing and expansion.
Use a clean, damp cloth to wipe the rims of the jars, ensuring they're free of any debris that could prevent a proper seal. Tightly secure the lids and rings on the jars.
For extra security, you can process the sealed jars in a water bath canner for 10 to 15 minutes. This step helps create an airtight seal, locking in the freshness of your homemade preserves.
Final Thoughts
Reflecting on the process of crafting house-made fruit preserves, you're likely impressed by the depth of flavor and vibrant colors these homemade delights possess. The time and care you've invested have truly paid off, creating preserves that are far superior to anything store-bought.
As you enjoy the final product, remember that this is just the beginning. You can experiment with different fruits, spices, and techniques to continuously expand your repertoire of preserves. Perhaps you'll even find a signature recipe that becomes a cherished family tradition.
Looking ahead, consider gifting jars of your preserves to loved ones or selling them at a local farmer's market. This is a wonderful way to share your culinary talents and bring joy to others.
Preserving the bounty of the season not only saves money but also allows you to savor the flavors year-round. So take pride in your accomplishment and continue exploring the art of homemade preserves.
Frequently Asked Questions
How Long Do Homemade Preserves Last?
Homemade preserves can last up to a year when stored properly. It depends on the recipe, preparation method, and storage conditions. Properly canned preserves will last longer than those kept in the refrigerator.
Can I Use Frozen Fruit for Preserves?
Sure, you can use frozen fruit for preserves. The frozen fruit will work just as well as fresh, and it'll make the preserving process quicker and easier. Just be sure to thaw the fruit before using it.
What Is the Best Way to Store Preserves?
The best way to store preserves is to keep them in clean, sterilized jars. Seal the jars tightly and store them in a cool, dark place. This will help preserve the flavor and texture of your preserves.
Can I Adjust the Sugar Content in Preserves?
You can absolutely adjust the sugar content in preserves. By reducing the sugar, you'll create a less sweet preserve that highlights the natural fruit flavor. Experiment to find the perfect balance that suits your taste preferences.
How Do I Prevent Mold Growth in Preserves?
To prevent mold growth in your preserves, you can use sterile jars, boil the jars, and store them in a cool, dark place. Additionally, adding a bit of lemon juice can help inhibit mold formation.