
Radish slices have a history that dates back to ancient civilizations, celebrated for their peppery flavor and rejuvenating properties. Today, you can find a wide variety of radishes, from red globe to watermelon, that make for a versatile and nutritious side dish. To prepare, simply rinse the radishes, slice them thin, toss with olive oil, salt, and pepper, then bake until crisp. Serve these warm radish slices immediately for the best taste and texture. Whether you enjoy them in salads, as a snack, or alongside your favorite main course, radish slices are sure to complement any meal. Now let's explore the rich history and countless ways to serve this crisp delight.
Key Takeaways
- Radish slices offer a delightful crunch and peppery flavor that can elevate a wide range of dishes, from salads to main courses.
- Easily prepared by thinly slicing radishes and tossing them with oil, salt, and pepper before baking for a crisp texture.
- Versatile in their applications, radish slices can be enjoyed as a standalone snack or paired with dips and dressings.
- Packed with nutritional benefits, radish slices provide a healthier alternative to traditional side dishes or snacks.
- Radish slices complement various cuisines and can be used to garnish or add a refreshing contrast to meals.
Top picks for "radish slic crisp"
Open Amazon search results for this keyword.
As an affiliate, we earn on qualifying purchases.
History
Radish slices have long graced the plates of culinary enthusiasts, tracing their roots back to ancient civilizations. These vibrant, crunchy delights were prized by the ancient Egyptians, Greeks, and Romans, who celebrated their peppery flavor and rejuvenating properties.
Over the centuries, radish slices have become a beloved side dish, complementing a wide array of cuisines worldwide.
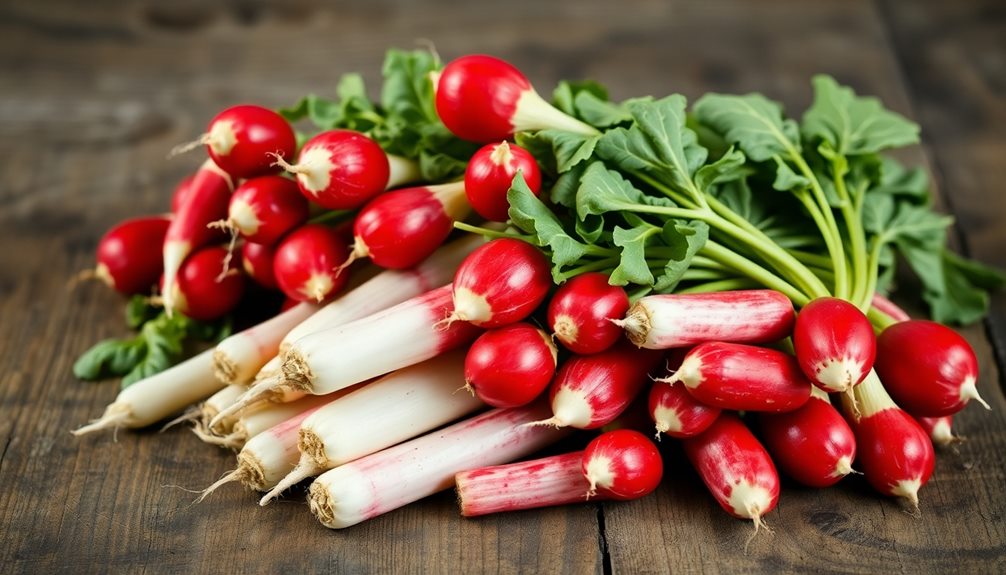
While their popularity endures, the humble radish has evolved significantly. Today, you can find a dazzling array of radish varieties, from the classic red globe to the delicate watermelon radish. Each type offers its own unique taste and texture, allowing you to experiment and discover your personal favorites.
Whether you enjoy them tossed in a salad, served alongside a savory main course, or even pickled for a tangy crunch, radish slices are a versatile and nutritious addition to any meal. Their crisp, refreshing nature makes them an irresistible accompaniment that's sure to delight your taste buds.
Cooking Steps
To prepare the radish slices, begin by thoroughly washing the radishes and trimming off the stems and root ends. Slice the radishes into thin, even rounds using a sharp knife or a mandoline slicer. This will ensure they cook evenly and get that lovely crispiness you're after.
Next, bring a pot of water to a boil. Carefully add the radish slices and let them blanch for about 2 minutes. This quick dip in hot water helps to soften the radishes slightly and enhance their natural crispness.
Drain the slices in a colander and pat them dry with paper towels.
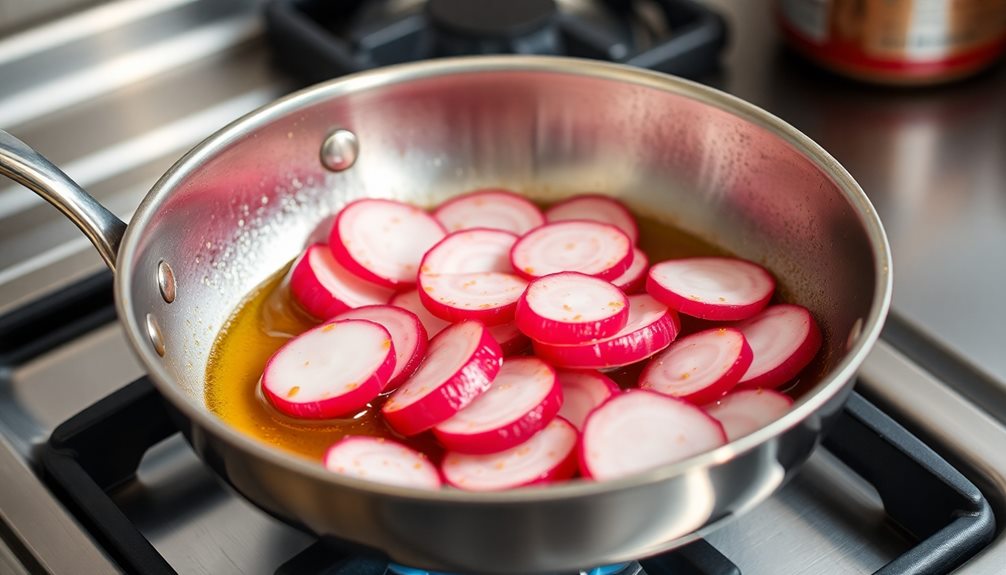
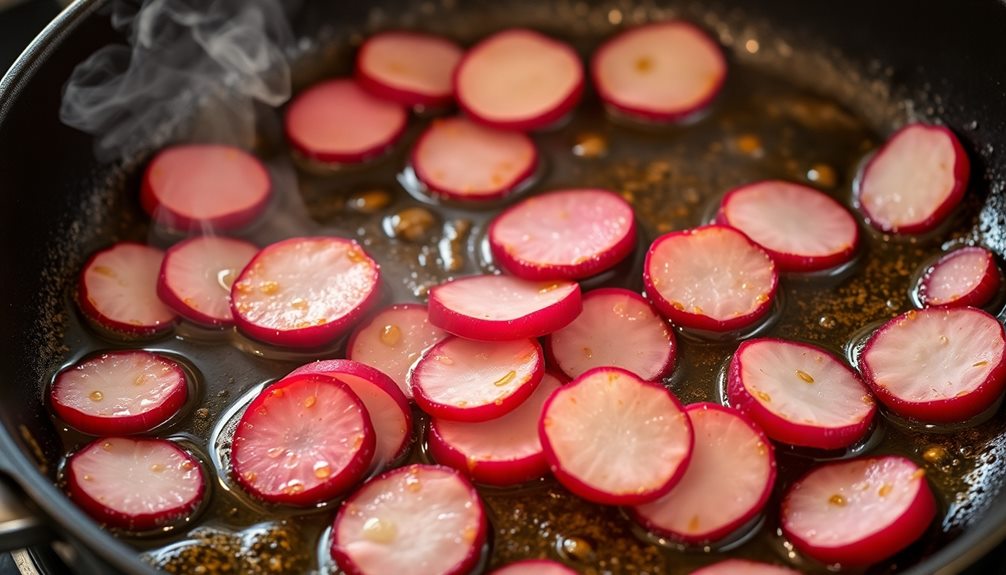
Now, heat a skillet over medium-high heat and add a drizzle of olive oil. Arrange the radish slices in a single layer and cook for 3-4 minutes per side, until they're lightly browned and crispy around the edges.
Season with a sprinkle of salt and pepper, then serve the radish slices warm as a tasty side dish.
Step 1. Rinse Radish Slices Under Water
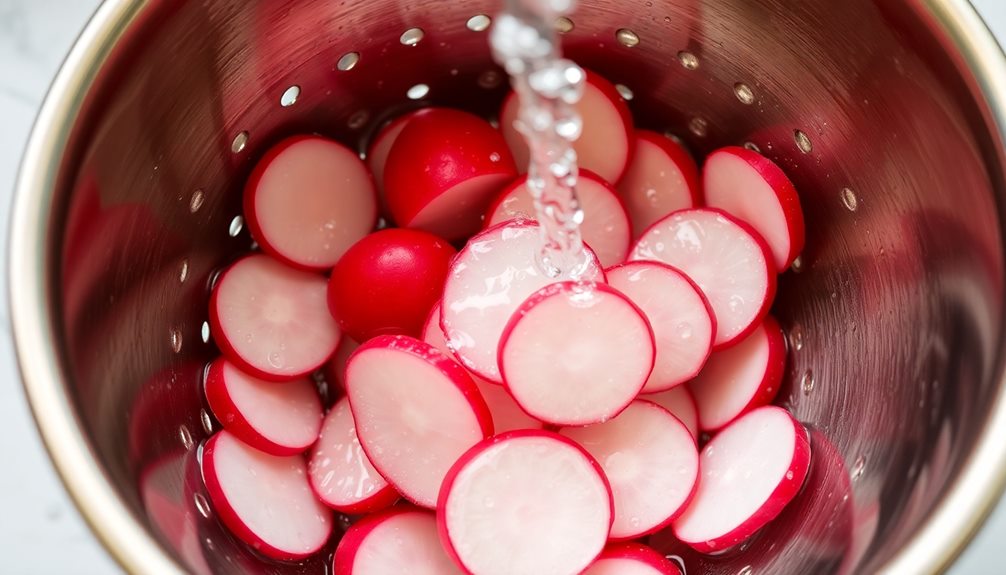
Rinse the sliced radishes under cool running water, gently swishing them back and forth to remove any dirt or debris. This simple step ensures your radishes are clean and ready for the next part of the cooking process.
Be sure to use your hands to carefully separate the slices, allowing the water to reach every nook and cranny. Once the radishes are rinsed, you can give them a gentle pat dry with a clean paper towel or kitchen cloth.
This will help them maintain their crisp texture when you add them to your dish. With the radishes now prepped, you're one step closer to enjoying their satisfying crunch and peppery flavor.
Step 2. Slice Radishes Into Thin Rounds
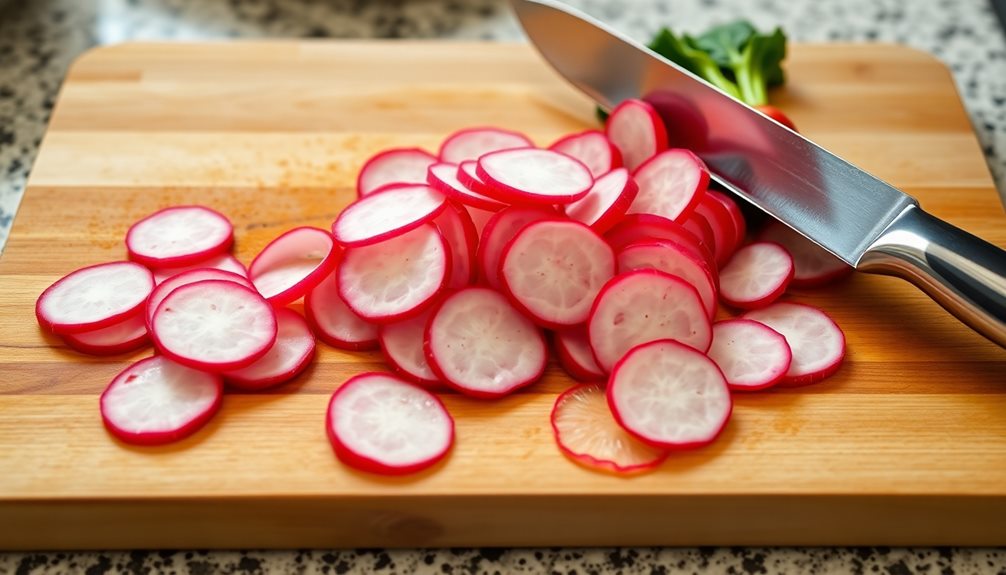
With the radishes now cleaned, it's time to slice them into thin, even rounds. Grab a sharp knife and carefully start slicing the radishes, making each slice about 1/8-inch thick. Try to keep the slices uniform in size so they cook evenly.
As you slice, arrange the radish rounds in a single layer on a clean cutting board or plate. This thin, uniform slicing is the key to getting those perfect crisp radish slices. The thinner you can make them, the crispier they'll become when you cook them.
Don't worry if some of the slices break apart a bit – you can still use those irregular pieces. In fact, the smaller bits will get even crispier than the larger, intact slices.
Once you have all the radishes sliced, you're ready for the next step: cooking them to bring out their delicious crispness! Keep an eye on the thickness of your slices, and you'll be well on your way to radish slice perfection.
Step 3. Toss With Olive Oil, Salt, and Pepper
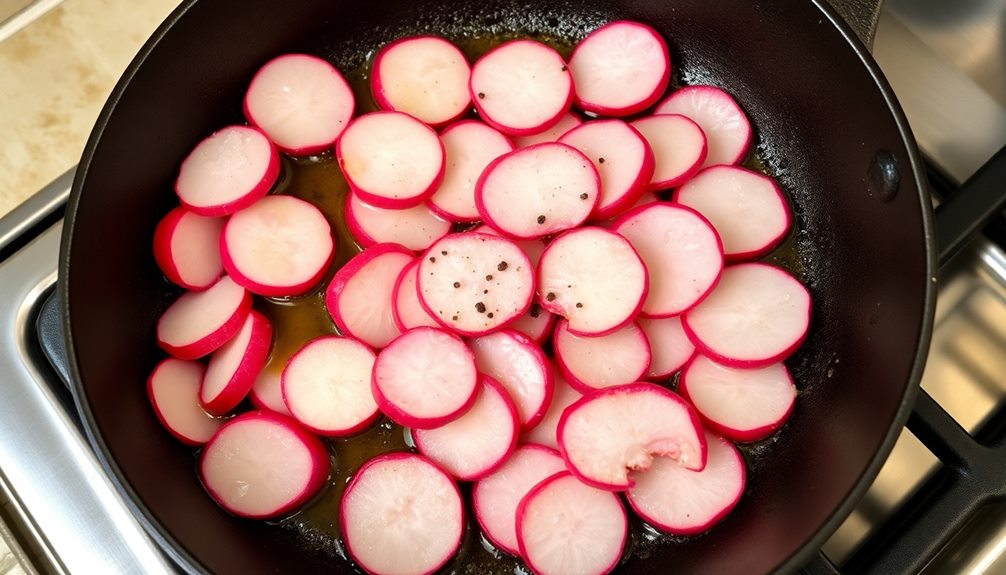
After slicing the radishes, toss them with a drizzle of olive oil, ensuring each slice is lightly coated. This will help the radishes become extra crisp and flavorful.
Sprinkle on a pinch of salt and a few grinds of black pepper. The salt will enhance the natural peppery taste of the radishes, while the pepper adds a little kick. Use your hands to gently toss the radishes, making sure the seasoning is evenly distributed.
Once the radishes are coated, arrange them in a single layer on a baking sheet. This will allow them to get nice and crispy as they roast in the oven.
Pop the sheet into a preheated oven and let the radishes bake until they're tender on the inside and delightfully crunchy on the outside. Keep an eye on them, giving the pan a shake every few minutes, so they don't burn.
In no time, you'll have a tasty, crunchy side dish that's perfect for any meal!
Step 4. Bake Radish Slices Until Crisp
Preheat your oven to a toasty 400°F (200°C). Grab a baking sheet and line it with parchment paper or a silicone baking mat.
Slice your radishes into thin, even rounds, about 1/8-inch thick. Arrange the radish slices in a single layer on the prepared baking sheet. Drizzle the radishes with a bit of olive oil, making sure they're all evenly coated. Sprinkle with a pinch of salt and freshly ground black pepper.
Slide the baking sheet into your preheated oven and bake for 15-20 minutes, flipping the radish slices halfway through. Keep a close eye on them, as you want the radishes to become crisp and golden-brown, but not burnt.
Once they've reached your desired level of crispness, remove the baking sheet from the oven. Let the radish slices cool for a minute or two before serving. Enjoy these crunchy, flavorful radish slices as a delightful side dish that complements any meal.
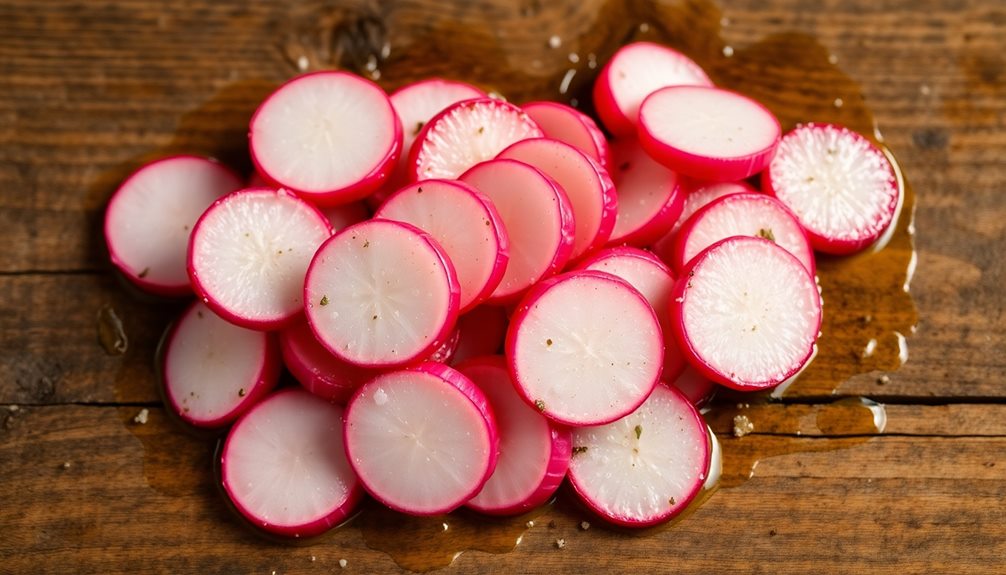
Step 5. Serve Radish Slices Immediately

Serve the crisp radish slices immediately while they're still warm. The delightful crunch and tangy flavor are at their peak when you enjoy them fresh from the oven.
Don't let those tasty morsels sit too long – they're best savored right away!
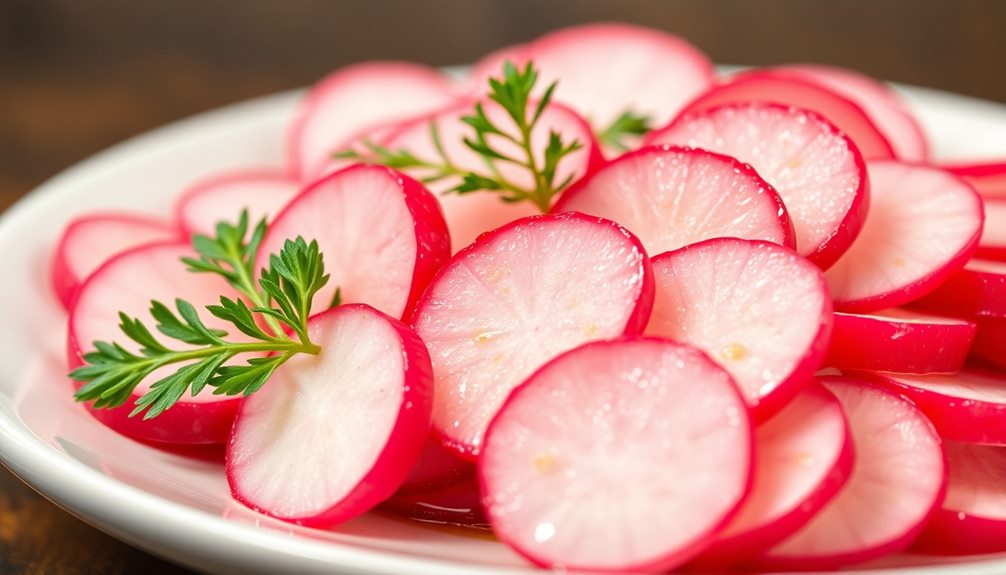
Arrange the radish slices on a serving platter or plate. You can leave them as individual rounds, or gently group them together for a lovely presentation.
Sprinkle with a light dusting of salt or your favorite seasoning blend to enhance the natural peppery notes. The vibrant color and inviting aroma will have your family and guests eager to dig in.
These crispy radish slices are the perfect accompaniment to all kinds of meals. Pair them with grilled meats, fish, or hearty stews for a refreshing contrast.
They also make a fantastic snack on their own or dipped in a cool and creamy dip. No matter how you serve them, these crunchy radish slices are sure to delight.
Final Thoughts
Radish slices make a delightful side dish that's sure to impress. They're crunchy, refreshing, and add a pop of color to any meal. Whether you're serving a fancy dinner or enjoying a casual backyard BBQ, these little veggie discs are the perfect accompaniment.
Once you start snacking on radish slices, you won't be able to stop. Their subtle peppery flavor and satisfying crunch make them incredibly addictive. They pair beautifully with a variety of dips and dressings, from cool ranch to tangy lemon vinaigrette.
Plus, they're a healthy alternative to chips or crackers, so you can indulge guilt-free.
Radish slices are also incredibly versatile. Use them to garnish salads, tacos, or sandwiches. Or, serve them as a standalone appetizer with a selection of cheeses and olives.
No matter how you enjoy them, these crisp and flavorful veggies are sure to become a staple in your kitchen.
Frequently Asked Questions
How Long Do Radish Slices Last in the Refrigerator?
Radish slices can last 3-5 days in the refrigerator when stored properly in an airtight container. To ensure maximum freshness, you should wash and dry the radishes before slicing and storing them in the coldest part of your fridge.
Can I Substitute Other Types of Radishes for This Recipe?
You can absolutely substitute other types of radishes in this recipe. Whether you use round red radishes, daikon, or even watermelon radishes, the preparation and serving method will remain the same, providing a refreshing crunch to your meal.
What Is the Best Way to Store Leftover Radish Slices?
The best way to store leftover radish slices is to place them in an airtight container or plastic bag in the refrigerator. This will help maintain their crispness and prevent them from drying out.
Can I Make Radish Slices Ahead of Time for Meal Prep?
You can definitely make radish slices ahead of time for meal prep. Just store them in an airtight container in the fridge, and they'll stay crisp and fresh for several days. This makes for easy, convenient meal prep.
Are There Any Health Benefits to Consuming Radish Slices?
Yes, there are health benefits to eating radish slices. They're packed with vitamins and minerals like vitamin C, fiber, and antioxidants. Incorporating them into your meals can support your overall wellness and digestion.