Toasted sesame oil and regular sesame oil may seem similar, but they actually have unique flavors that can make a big difference in your cooking. Toasted sesame oil has a rich, nutty taste that's perfect for stir-fries and marinades, while regular sesame oil has a milder flavor suitable for various cooking methods. When making toasted sesame oil, you'll gently toast the seeds first to enhance their aroma and texture. Then, you'll strain the oil to remove any bits and let it cool before bottling it up. Both oils offer incredible versatility, so why not try them out and discover which one fits your culinary style best?
Key Takeaways
- Toasted sesame oil has a richer, nuttier flavor compared to regular sesame oil, which has a milder taste.
- Toasted sesame oil is made by heating the sesame seeds before pressing, while regular sesame oil is made from untoasted seeds.
- Toasted sesame oil is best used in small amounts as a finishing oil or for flavoring, while regular sesame oil can be used for various cooking methods.
- Toasted sesame oil has a higher smoke point than regular sesame oil, making it more suitable for high-heat cooking.
- Both types of sesame oil offer health benefits, but the toasted variety may have slightly more concentrated antioxidant properties.
Top picks for "sesame toast difference"
Open Amazon search results for this keyword.
As an affiliate, we earn on qualifying purchases.
History

Sesame oil's rich history can be traced back to ancient civilizations. For thousands of years, people have used this versatile oil for cooking, healing, and even religious ceremonies. In fact, sesame seeds were one of the earliest oilseed crops cultivated by humans!
The earliest known records of sesame oil come from Mesopotamia, where it was prized for its nutty flavor and numerous health benefits. Over time, the use of sesame oil spread throughout the ancient world, from Egypt to India and China.
These cultures discovered that toasting the sesame seeds before pressing the oil could create an even richer, more aromatic flavor.
Today, sesame oil remains an essential ingredient in many global cuisines, from Asian stir-fries to Middle Eastern dips. Whether you choose the toasted or untoasted variety, this versatile oil continues to captivate the senses and nourish the body, just as it has for generations.
Cooking Steps
When cooking with sesame oil, the process is straightforward. Whether you're using regular or toasted sesame oil, the steps are quite similar.
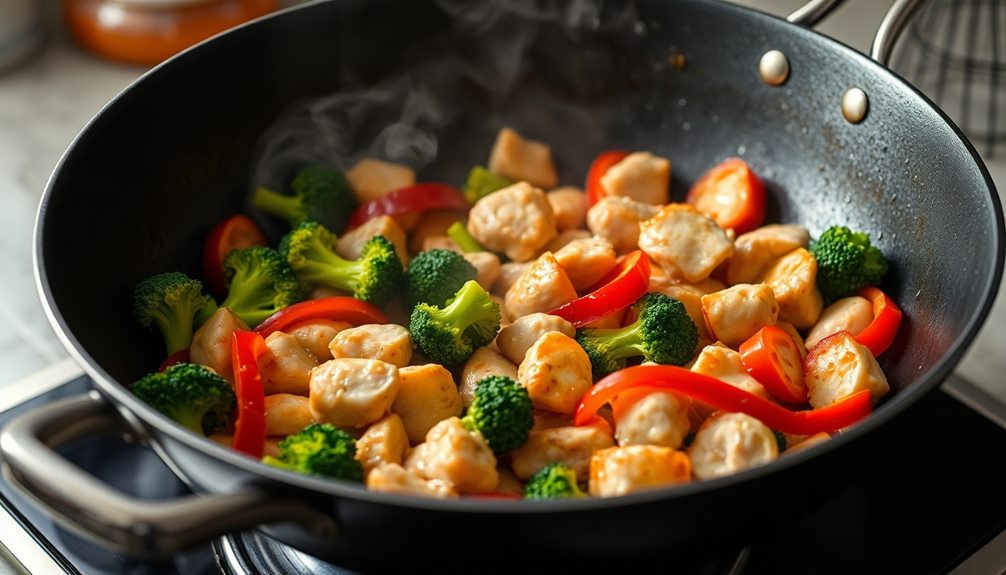
First, make sure to heat the oil over medium heat. This helps to bring out the rich, nutty flavors of the oil. Once the oil is warm, you can add your ingredients and start cooking. Be mindful not to overheat the oil, as this can cause it to burn and become bitter.
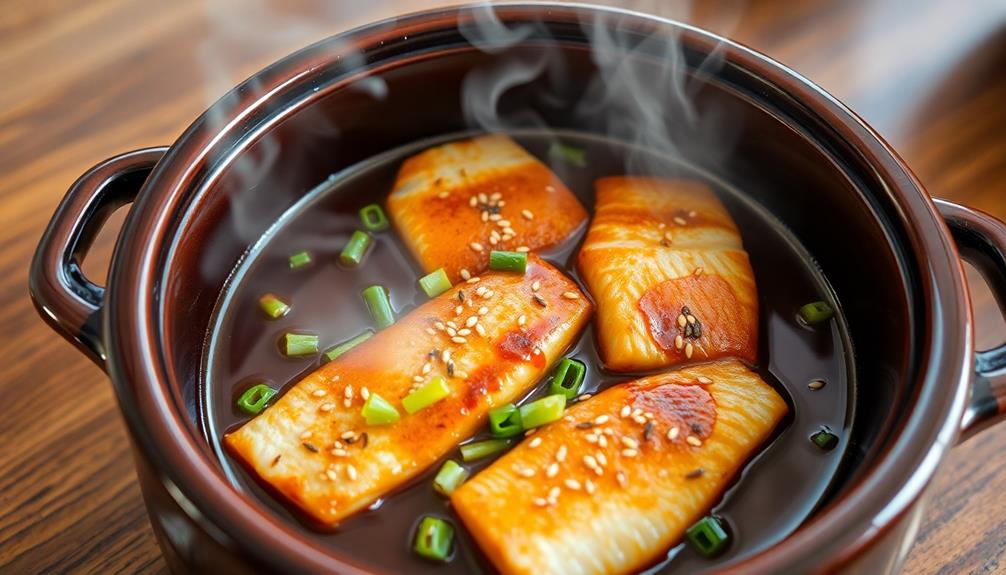
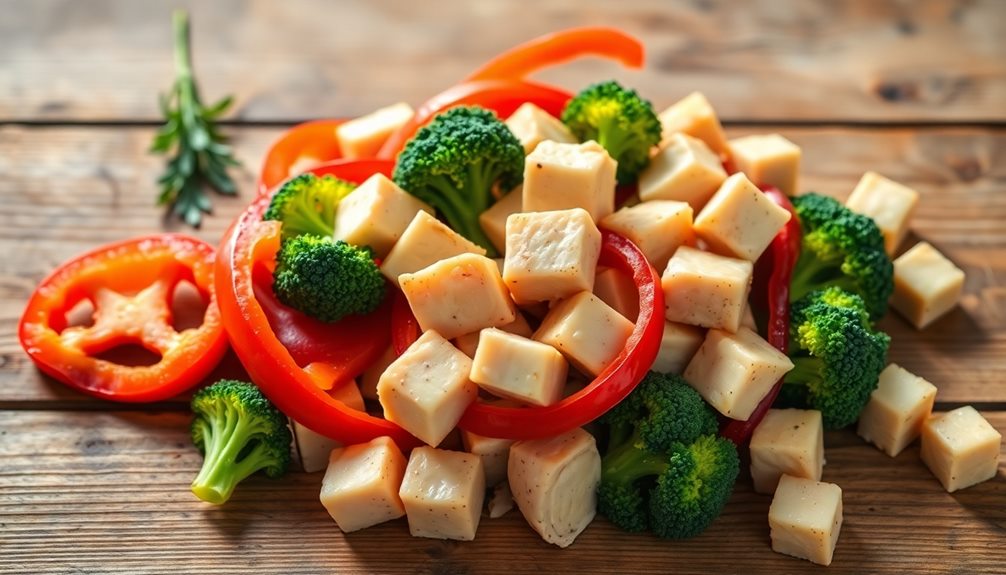
Toasted sesame oil has a more intense flavor compared to regular sesame oil, so you may want to use a smaller amount when cooking. Start with just a teaspoon or two and adjust to your taste preferences. The toasted oil is excellent for adding depth of flavor to stir-fries, marinades, and even dressings.
Regular sesame oil, on the other hand, is a bit more mild and can be used in a wider range of dishes, from baking to sautéing.
Step 1. Lightly Toast Sesame Seeds in Skillet
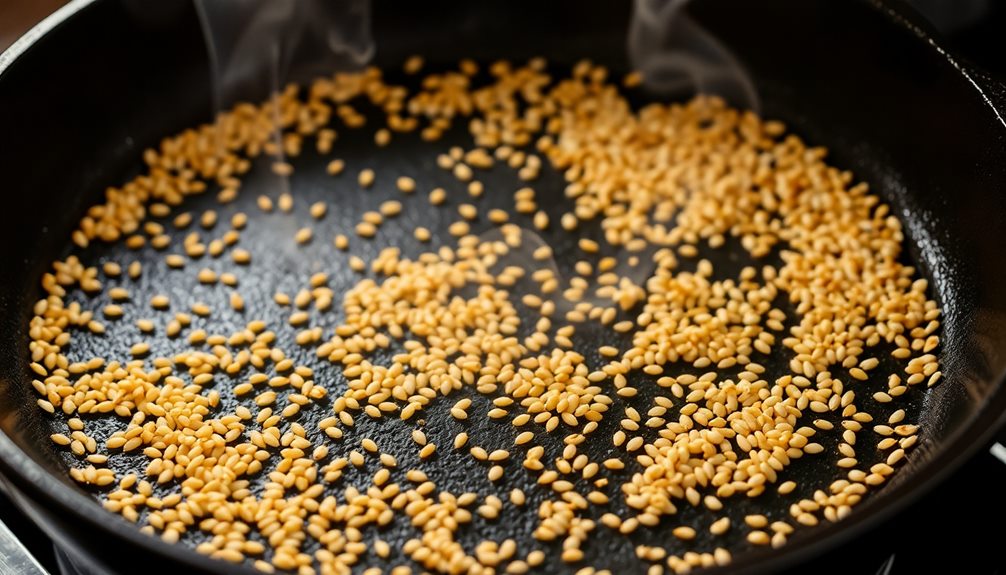
To begin, heat a skillet over medium heat. Once it's hot, add the sesame seeds. You'll want to stir them constantly as they toast, so they don't burn. Keep a close eye on them – it only takes a minute or two for the seeds to go from pale to golden brown.
As the sesame seeds toast, you'll start to smell their nutty, fragrant aroma filling the air. This is when you know they're ready. Once they reach that perfect golden hue, immediately transfer the seeds to a plate or bowl to stop the cooking. You don't want them to get too dark, or they'll taste bitter.
Toasting the sesame seeds intensifies their flavor and brings out their natural oils. This extra step makes a big difference in how the seeds taste, compared to using them raw.
Toasted sesame seeds add a lovely crunch and deep, nutty taste to all sorts of dishes, from stir-fries to salads. Plus, the process is quick and easy. Just keep a watchful eye on those seeds as they toast to perfection!
Step 2. Remove Sesame Seeds From Heat

Once the sesame seeds have reached that perfect golden-brown hue, immediately remove them from the heat. This step is crucial, as the seeds can quickly go from perfectly toasted to burnt if left on the heat too long.
Carefully transfer the toasted seeds to a clean plate or bowl, being mindful not to overcrowd them. This allows the seeds to cool down evenly and prevents them from continuing to cook.
As the sesame seeds cool, their nutty, aromatic flavors will intensify, making them a delightful addition to a variety of dishes. Whether you're using them to garnish a salad, sprinkle over roasted vegetables, or incorporate into a flavorful dressing, these toasted seeds will elevate your culinary creations.
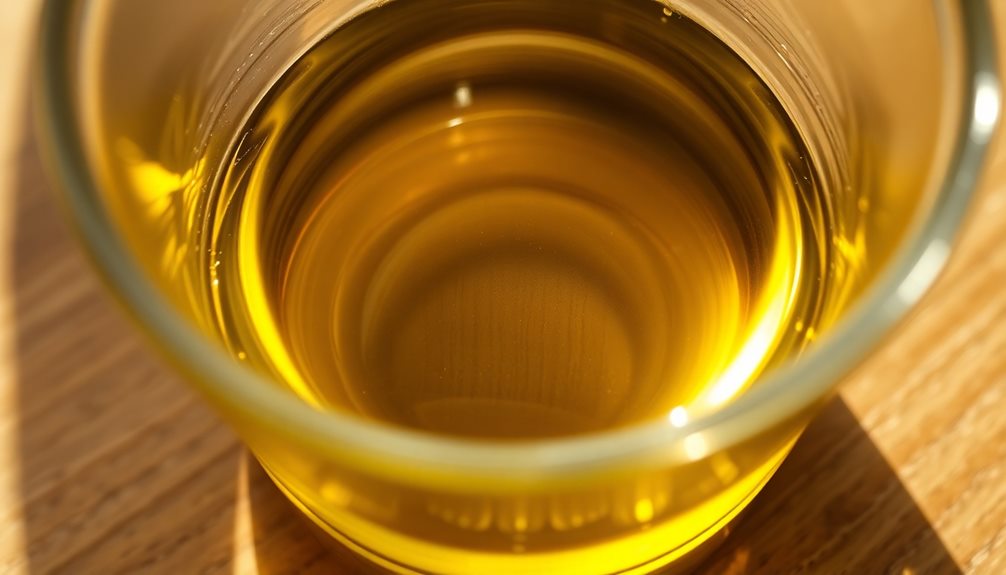
Step 3. Strain and Reserve Sesame Oil
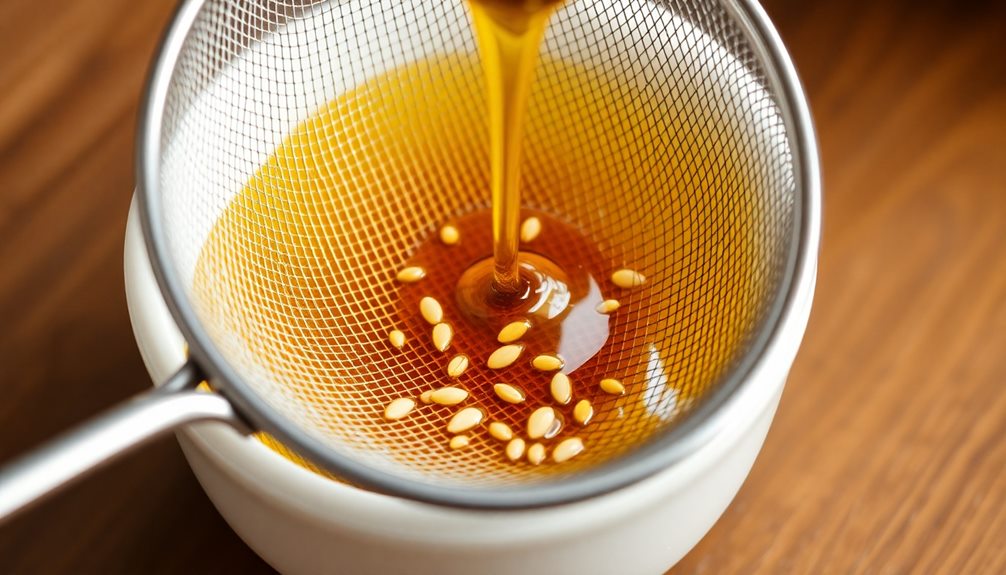
After the sesame seeds have been perfectly toasted, you'll want to strain and reserve the sesame oil.
Grab a fine-mesh sieve and carefully pour the hot oil through it. This will catch all the little bits of toasted sesame so you're left with a clear, golden oil.
Be careful – the oil will be very hot, so take your time and use caution.
Once it's strained, you can transfer the sesame oil to a clean, heat-safe container. This could be a glass jar or bottle with a tight-fitting lid.
The oil will keep for several months, so you can use it to add a delicious nutty flavor to all sorts of dishes.
Try drizzling it over roasted vegetables, stirring it into dressings and marinades, or even using it for stir-fries. The possibilities are endless!
Just remember to store the oil in a cool, dark place to preserve its freshness.
Step 4. Allow Oil to Cool
Why not let the sesame oil cool down a bit before using it? You'll be glad you did! Allowing the oil to cool will help preserve its unique flavor and aroma. When sesame oil is heated, it can start to lose some of its delicate, nutty taste. By letting it cool, you'll be able to enjoy the full, rich flavor of the oil.
Plus, using hot oil can be tricky – it's easy to accidentally splash yourself or make a mess. Waiting for the oil to cool down a bit makes it safer and easier to work with. You can pour it more slowly and precisely, avoiding any spills or splatters.
Once the oil has had a few minutes to cool, it'll be the perfect temperature to use in your cooking. You'll be able to drizzle it over your dish or use it for sautéing without worrying about it burning or overpowering the other flavors.
Step 5. Bottle and Refrigerate Sesame Oil

Typically, once you've finished cooking with your sesame oil, you'll want to bottle and refrigerate it. This helps preserve the delicate flavors and prevent the oil from going rancid.
Start by pouring the remaining oil into a clean, airtight bottle or container. Make sure to leave a little bit of headspace at the top to allow for expansion.
Next, pop that bottle right into the fridge. The cool temperature will slow down the oxidation process, keeping your sesame oil fresh for longer. You can typically store it this way for up to six months.
Just be sure to give it a sniff before using to make sure it still smells nice and nutty.
When you're ready to use the oil again, simply take it out of the fridge and let it come up to room temperature. This allows the flavors to fully develop.
Then drizzle it over your favorite dishes for a delightful toasted sesame taste!
Final Thoughts
When all is said and done, the choice between toasted sesame oil and regular sesame oil ultimately comes down to personal preference and the intended use.
Both oils have their unique flavors and applications, so it's up to you to decide which one best fits your culinary needs.
Toasted sesame oil has a richer, nuttier taste that's perfect for adding depth to stir-fries, marinades, and dressings. On the other hand, regular sesame oil has a more subtle flavor, making it a versatile option for sautéing, roasting, and baking.
If you're looking to add a robust sesame flavor to your dishes, the toasted variety might be your go-to. But if you prefer a more subtle sesame note, the regular oil could be the better choice.
Ultimately, the best way to decide is to experiment with both and see which one you enjoy the most.
Have fun exploring the world of sesame oils and find the one that suits your taste buds!
Frequently Asked Questions
What Are the Health Benefits of Toasted Sesame Oil?
Toasted sesame oil offers a range of health benefits. It's rich in antioxidants that can lower inflammation, promote heart health, and support cognitive function. Plus, it adds a delightful nutty flavor to your favorite dishes.
Can Toasted Sesame Oil Be Used for High-Heat Cooking?
You can absolutely use toasted sesame oil for high-heat cooking. Its nutty, rich flavor can withstand the high temperatures without burning or compromising the taste. Just be mindful of its lower smoke point compared to other oils.
How Do I Store Toasted Sesame Oil Properly?
To store toasted sesame oil properly, keep it in an airtight container away from direct light and heat. Refrigeration can help extend its shelf life, but let it come to room temperature before using to enjoy its full flavor.
Can I Substitute Regular Sesame Oil for Toasted Sesame Oil?
You can substitute regular sesame oil for toasted sesame oil, but the flavor will be significantly milder. Toasted sesame oil has a deeper, nuttier taste that can't be replicated with regular sesame oil.
What Are Some Common Uses for Toasted Sesame Oil?
Toasted sesame oil has a rich, nutty flavor that makes it ideal for drizzling over dishes like stir-fries, rice bowls, and salad dressings. You can also use it to add depth to marinades, sauces, and dips.