
When it comes to gluten-free baking, xanthan gum and guar gum are two powerful allies. Xanthan gum creates a smooth, creamy texture, while guar gum improves structure and moisture retention. Both work as natural thickeners, but you'll want to experiment with small amounts to find the right balance for your recipes. Properly measuring, mixing, and kneading the dough are crucial steps for activating these binders and developing the perfect texture. With a little trial and error, you'll be crafting gluten-free baked goods that impress. Curious to learn more about these versatile ingredients and how to master gluten-free baking?
Key Takeaways
- Xanthan gum and guar gum are two popular gluten-free binders, with xanthan gum being produced through fermentation and guar gum extracted from guar plant seeds.
- Both gums enhance the texture and structure of gluten-free baked goods, with xanthan gum creating a smooth, creamy texture and guar gum improving chewiness and moisture retention.
- The choice between xanthan and guar gum depends on specific recipe requirements, as they offer unique advantages, and a combination of the two may yield beneficial outcomes.
- Proper incorporation of the gums, including accurate measurement, kneading, and resting time, is crucial for achieving the desired texture and structure in gluten-free baked goods.
- Understanding the properties and roles of xanthan and guar gum can aid in innovation and development of high-quality gluten-free food products.
Top picks for "xanthan guar understand"
Open Amazon search results for this keyword.
As an affiliate, we earn on qualifying purchases.
History
Xanthan gum and guar gum have long been used in the food industry, with their histories dating back to the 1950s.
Xanthan gum was first produced in the 1950s by fermentation of the bacterium Xanthomonas campestris. It quickly gained popularity as a thickening and stabilizing agent in a wide range of foods, from salad dressings to ice cream.
Guar gum, on the other hand, has been used for centuries in traditional Indian cuisine, but it wasn't until the 1950s that it became commercially available. Extracted from the seeds of the guar plant, guar gum is a powerful thickener and emulsifier, making it a valuable ingredient in gluten-free baking and other food applications.
Both xanthan gum and guar gum have continued to evolve and adapt to meet the changing needs of the food industry, cementing their status as essential tools in the quest for healthier, more innovative food products.
Recipe
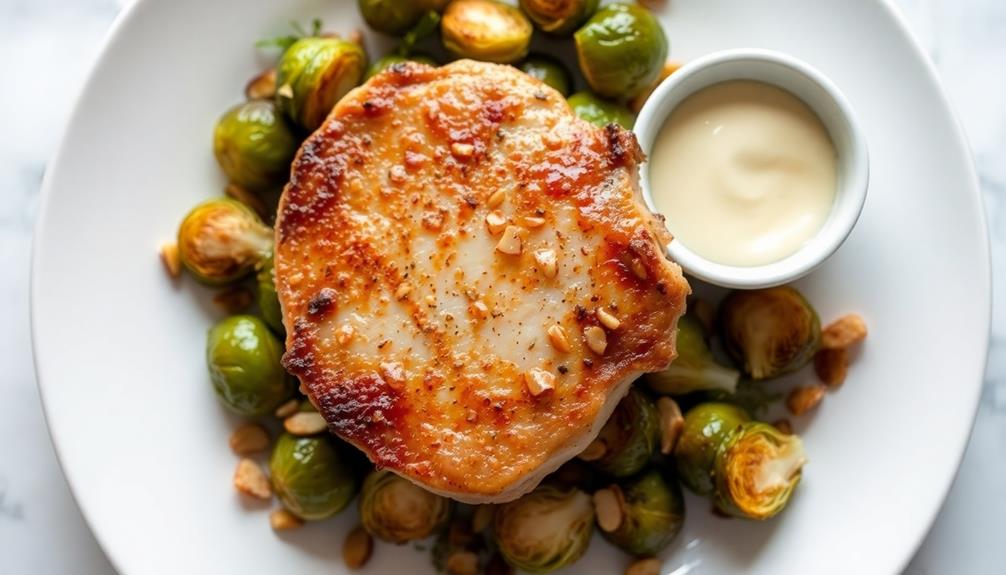
Making a delicious dish with either xanthan gum or guar gum can be a rewarding experience. These ingredients are versatile thickeners and can be used to create a variety of textures in both sweet and savory recipes.
Whether you choose xanthan gum or guar gum, the key is to experiment and find the right balance to achieve your desired consistency. Additionally, using sustainable ingredients is becoming increasingly important in many food sectors, including those that focus on sustainable practices in tea production.
In this recipe, we'll explore how to incorporate xanthan gum or guar gum to enhance the mouthfeel and overall quality of the dish. The choice between the two will depend on your personal preference and the specific requirements of the recipe.
Ingredients:
- 2 cups all-purpose flour
- 1 teaspoon salt
- 1 tablespoon sugar
- 1/2 cup unsalted butter, chilled and cubed
- 1/4 cup ice water
- 1 teaspoon xanthan gum or guar gum
Instructions:
Preheat your oven to 375°F (190°C). In a large mixing bowl, combine the flour, salt, and sugar. Cut in the chilled butter using a pastry cutter or two forks until the mixture resembles coarse crumbs.
Gradually add the ice water, mixing just until the dough comes together. Knead the dough briefly, then roll it out on a lightly floured surface to your desired thickness. Transfer the dough to a baking dish and sprinkle the xanthan gum or guar gum evenly over the top.
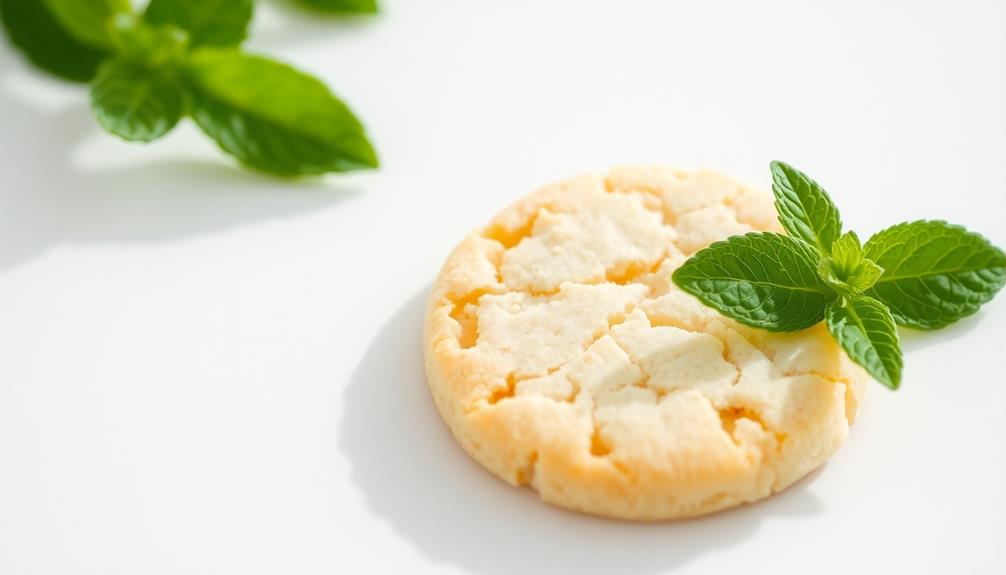
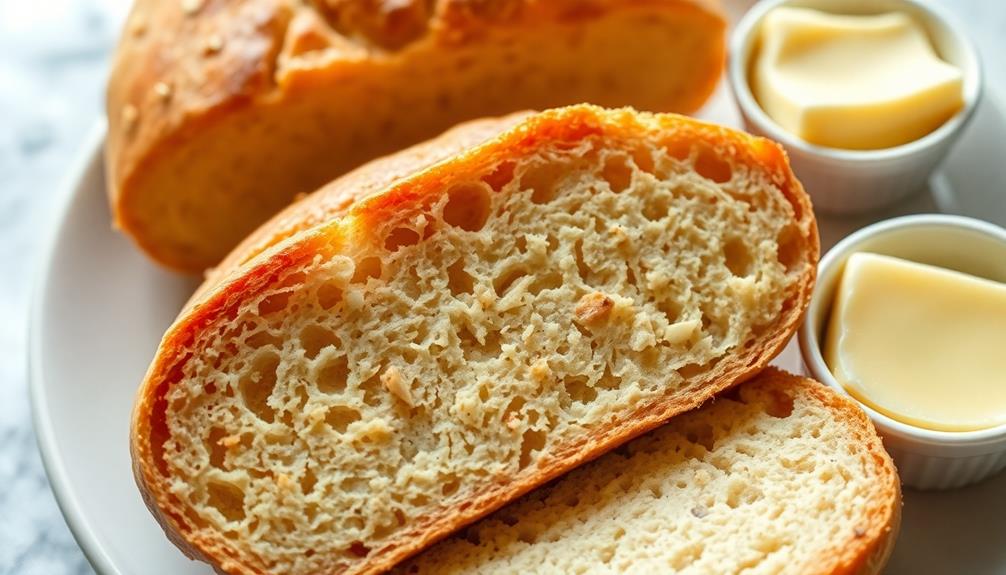
Bake for 25-30 minutes, or until the crust is golden brown and flaky.
Cooking Steps
First, measure and combine all your dry ingredients.
Then, add the wet ingredients and knead the dough thoroughly.
Step 1. Measure and Combine Dry Ingredients

Before you can begin combining the wet and dry ingredients, it's important to carefully measure and mix the dry ingredients. First, use a dry measuring cup to scoop the xanthan gum or guar gum and add it to a medium-sized bowl.
These binders play a crucial role in gluten-free baking, helping to provide structure and prevent crumbling. In gluten-free recipes, it's essential to ensure that the right proportions are used, as this can significantly affect the texture of your baked goods.
Next, measure the other dry ingredients, like flour, baking powder, and salt, and add them to the bowl. Be sure to level off each measurement with a knife for accurate proportions.
Once all the dry ingredients are in the bowl, use a whisk to thoroughly combine them. Mixing the dry ingredients well ensures they're evenly distributed throughout the batter or dough. This step helps create a consistent texture and flavor in your final baked goods.
Take your time with this process, as properly measuring and blending the dry ingredients lays the foundation for successful gluten-free baking. For those looking to elevate their baking, understanding how to use candy with the most sugar can also inspire creative flavor combinations.
Step 2. Add Wet Ingredients
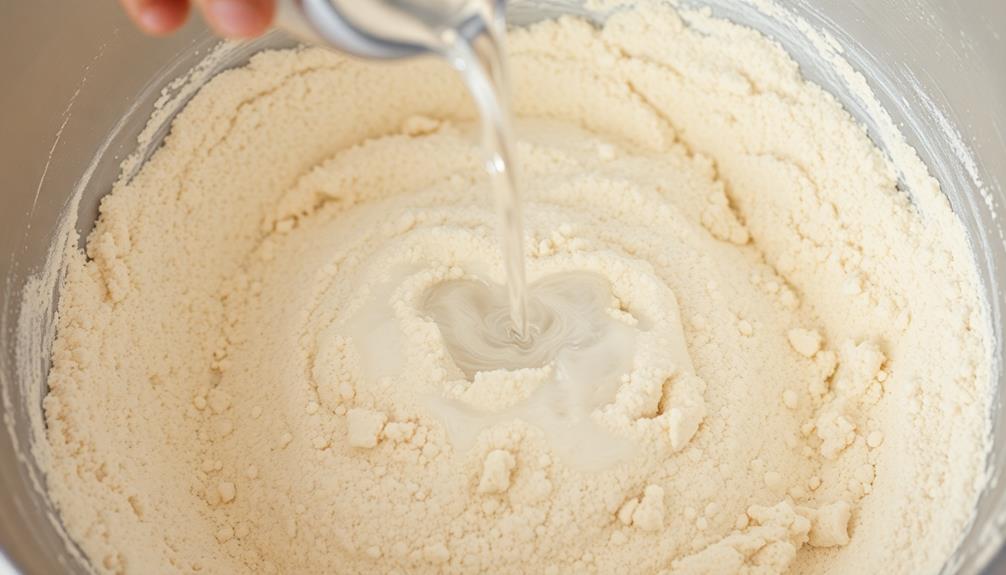
After measuring the dry ingredients, you can now focus on adding the wet ones. This is a crucial step in creating a cohesive, well-blended batter or dough. Typically, you'll need to incorporate liquids like water, milk, or plant-based milk, as well as any oils or fats called for in the recipe.
Start by mixing the wet ingredients together in a separate bowl or pitcher. This helps ensure they're evenly distributed before being added to the dry mixture.
Once the wet ingredients are combined, slowly pour them into the bowl with the measured dry ingredients. Use a spatula or wooden spoon to gently mix everything together, being careful not to over-mix. The goal is to incorporate the wet and dry components until they form a smooth, uniform batter.
Pay close attention to the consistency, adding more liquid if the mixture seems too thick or more dry ingredients if it's too thin. With the wet and dry ingredients properly combined, you're ready to move on to the next step in your gluten-free baking process.
Step 3. Knead the Dough Thoroughly
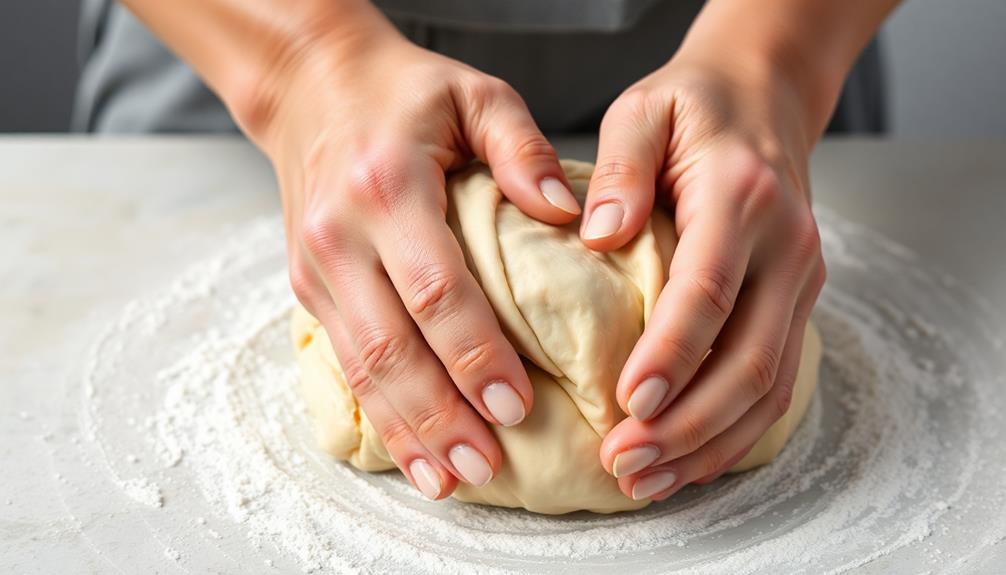
Proper kneading is crucial for developing the gluten-free dough's structure and elasticity. You'll want to knead the dough thoroughly, for about 5-7 minutes, to activate the xanthan or guar gum. This helps the dough hold together and creates a nice, chewy texture.
Use the heel of your hand to push the dough away from you, then fold it back towards you. Rotate the dough a quarter-turn and repeat. You'll feel the dough becoming more smooth and elastic as you knead. If it starts to stick to your hands, lightly dust the surface with a bit of flour.
Keep a gentle but firm pressure as you knead. You don't want to overwork the dough, which can make it tough. When it forms a cohesive ball and passes the "windowpane test" – where you can stretch a small piece thin enough to see light through it – it's ready.
This well-kneaded dough will bake up lighter and better-structured.
Step 4. Let Dough Rest for 30 Minutes
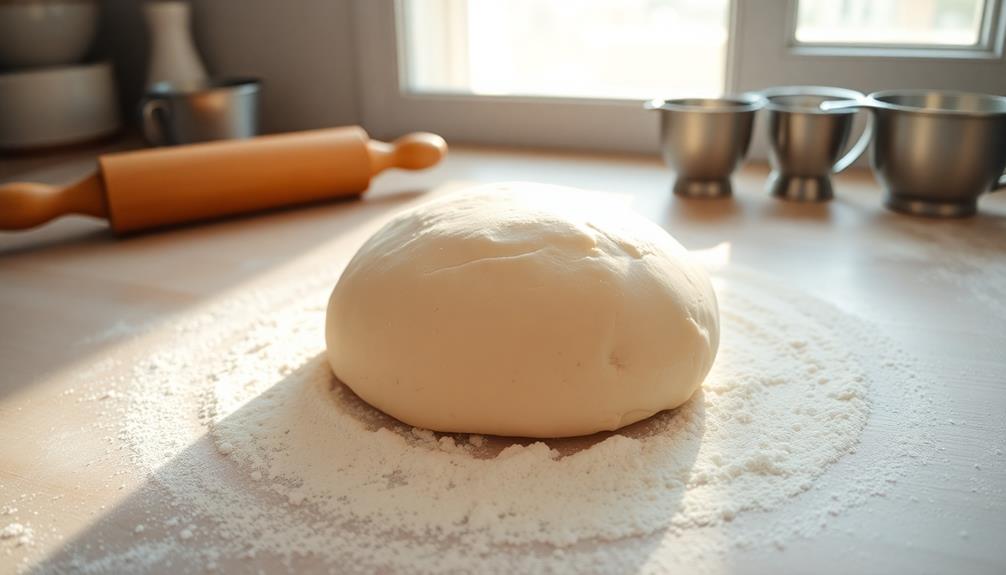
Once you've thoroughly kneaded the dough, let it rest for 30 minutes. This resting period is crucial for gluten-free baking. During this time, the gluten-free flours and starches will have a chance to fully hydrate, allowing the dough to develop its structure and texture.
Don't be tempted to skip this step – the resting period helps prevent your baked goods from becoming dense or crumbly. As the dough rests, the proteins and starches will align themselves, creating a more cohesive and pliable dough that's easier to work with.
This, in turn, will result in a lighter, more tender final product. Set a timer and walk away for half an hour. When the timer goes off, you'll have a dough that's ready to be shaped, proofed, and baked to perfection.
Resist the urge to peek – just let the dough do its thing, and you'll be rewarded with beautifully risen, delicious gluten-free baked goods.
Step 5. Bake at 375°F for 30 Minutes
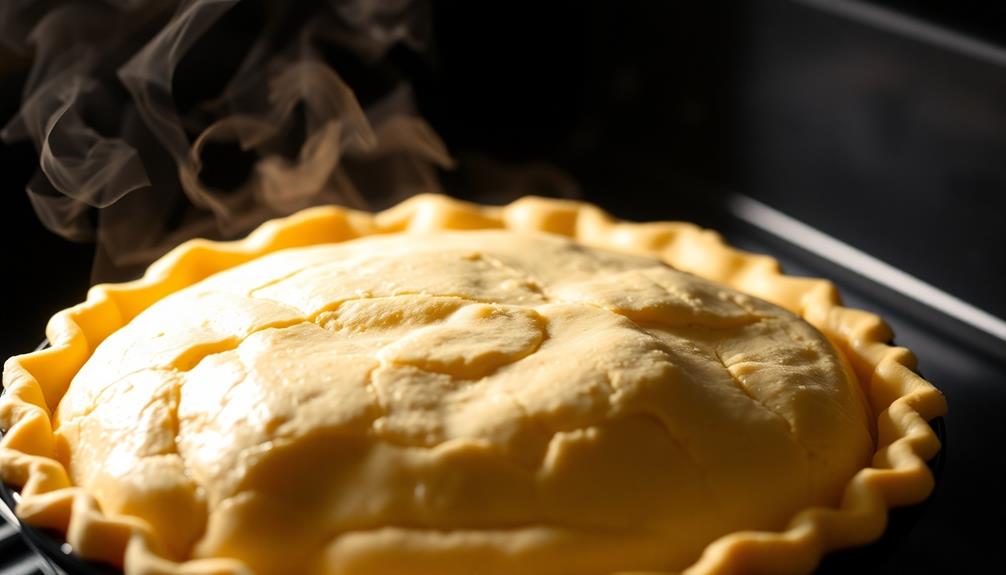
Preheat your oven to 375°F. This temperature will give your baked goods a perfectly golden-brown finish.
Once the oven is ready, you'll want to place your dough or batter into the appropriate baking pan. Whether you're making bread, muffins, or cookies, be sure to evenly distribute the mixture to ensure even cooking.
Now, set a timer for 30 minutes. This timeframe will allow your baked goods to develop their structure and reach the desired level of doneness.
Keep an eye on them, though, as oven temperatures can vary. You'll know they're ready when the tops are lightly browned, and a toothpick inserted into the center comes out clean.
Final Thoughts
When comparing xanthan gum and guar gum, you'll find that both have their unique advantages and applications. Ultimately, the choice between the two will depend on your specific baking needs and preferences.
Xanthan gum is known for its ability to create a smooth, creamy texture, making it a popular choice for gluten-free baked goods. It's also highly effective at stabilizing and thickening various recipes. Additionally, xanthan gum is often used in salad dressings and sauces to prevent separation and improve overall texture. For those following a dairy-free diet, xanthan gum can be especially useful when creating creamy avocado as dairy substitute, as it helps achieve a rich and indulgent texture without the use of milk or cream. Overall, xanthan gum is a versatile ingredient that can enhance the quality of gluten-free and dairy-free recipes.
On the other hand, guar gum is a natural thickener that can help improve the structure and moisture retention of your baked goods. It's particularly useful for recipes that require a bit more chewiness or elasticity.
When it comes to baking, it's often best to experiment with small amounts of each binder to see which one works best for your specific recipe and desired texture.
Don't be afraid to try a combination of the two, as they can sometimes complement each other well. With a little trial and error, you'll be able to find the perfect gluten-free binder for your needs.
Frequently Asked Questions
What Are the Main Differences Between Xanthan Gum and Guar Gum?
The main differences between xanthan gum and guar gum are their sources and functionalities. Xanthan gum is derived from bacteria, while guar gum comes from a plant. They also have varying effects on the texture and viscosity of gluten-free baked goods.
When Should I Use Xanthan Gum Versus Guar Gum in Gluten-Free Baking?
When baking gluten-free, use xanthan gum for structure and binding, and guar gum for moisture retention. Xanthan gum works well in yeast breads, while guar gum is better for cakes and cookies.
How Do the Binding Properties of Xanthan Gum and Guar Gum Compare?
The binding properties of xanthan gum and guar gum differ. Xanthan gum creates a firmer, more elastic texture, while guar gum provides a softer, more pliable binding. The choice depends on the desired texture of your gluten-free baked goods.
Can I Substitute One Gum for the Other in Recipes?
You can substitute one gum for the other, but the results may differ. Xanthan gum and guar gum have distinct properties, so you'll need to experiment to see how they perform in a given recipe.
What Are the Potential Health Benefits of Using Xanthan Gum or Guar Gum?
While xanthan gum may help with digestion, guar gum can lower cholesterol and blood sugar levels. Both offer potential health benefits, so consider your dietary needs when deciding which gum to use in your gluten-free recipes.