Mastering gluten-free bread is all about using the right ingredients and techniques. Start with a flour blend of rice flour, tapioca, and potato starch to build structure. Don't forget xanthan gum; it gives you the elasticity you need. Mix your dry ingredients thoroughly and use room temperature liquids to activate the yeast properly. Allow the dough to rest for about 30 minutes to hydrate, and maintain a warm environment for proofing. Finally, bake at 350°F and remember to cool the bread on a wire rack. You'll find even more helpful tips to enhance your bread-making skills ahead.
Key Takeaways
- Use a blend of rice flour, tapioca, and potato starch, and add xanthan gum for elasticity in gluten-free bread dough.
- Allow an autolyse period of 30 minutes to hydrate the flour blend before mixing.
- Maintain proofing temperatures between 75°F to 85°F to optimize yeast activity and dough rise.
- Incorporate steam in the oven during baking for a better crust and improved oven spring.
- Cool baked bread on a wire rack for at least 30 minutes to prevent gumminess and achieve the right texture.
Importance of Gluten-Free Ingredients
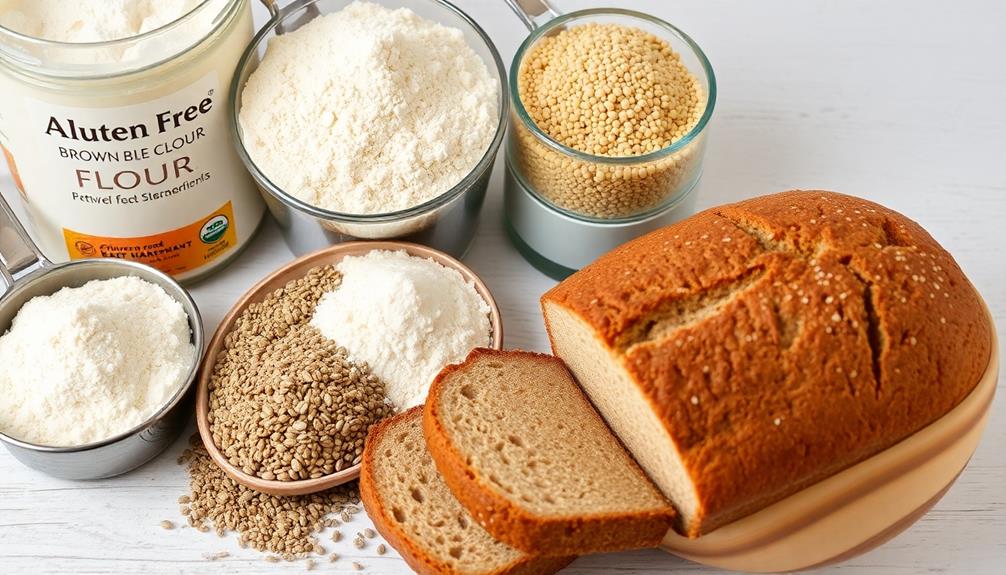
When it comes to baking gluten-free bread, the importance of choosing the right ingredients can't be overstated. To achieve the desired texture in gluten-free bread, you'll want to use a blend of gluten-free flours, like rice flour combined with tapioca and potato starch. These flour blends provide the structure that's often missing in gluten-free recipes.
Xanthan gum is another critical ingredient; it acts much like gluten, giving your bread the elasticity and stability it needs. Typically, you'll use about one teaspoon per cup of flour to guarantee your bread rises properly.
Liquid ingredients are equally essential because gluten-free flours absorb more moisture. You may find that you need to increase the amount of water, milk, or plant-based milk in your recipe.
Don't forget the fats, like olive oil or butter, as they enhance flavor and contribute to the moisture content, preventing dryness.
Key Techniques for Mixing Dough

Mastering the key techniques for mixing gluten-free dough is essential for achieving that perfect loaf. Start by thoroughly combining all your dry ingredients, including the gluten-free flours and binders like xanthan gum. This guarantees even distribution throughout the dough.
Once mixed, add your wet ingredients, incorporating room temperature liquids to enhance yeast activation and improve rise and texture. Mix until just combined—this should only take 1-2 minutes. Over-mixing can lead to dense bread, which you definitely want to avoid.
After mixing, let the dough rest for about 30 minutes during the autolyse period. This step hydrates the flour blend and greatly enhances the final texture of your bread.
Once the autolyse is complete, use a gentle folding technique to incorporate air into the dough. This promotes a lighter, fluffier loaf without the need for kneading.
Proofing and Rising Processes

After you've mixed your gluten-free dough and allowed it to rest, the next step involves proofing and rising processes that are essential to achieving a light and airy loaf.
The ideal proofing temperature for gluten-free bread is between 75°F to 85°F, which encourages ideal yeast activity and dough rise. To maintain moisture during proofing, cover the dough with a damp cloth or plastic wrap.
Allow the dough to rise until it has doubled in size, typically taking 1-2 hours. This initial rise is vital for developing texture.
Consider a second rise after shaping the dough, as it enhances the final loaf's structure and texture. However, be cautious of over-proofing; if you let it rise too long, the dough can collapse, ruining your hard work.
Using a proofing box, like a clean trash bag, can help create a controlled environment that retains warmth and humidity, further enhancing the rising process.
Regularly monitor your dough to verify it's rising properly, and when it's ready, you'll be well on your way to baking perfect gluten-free bread!
Baking and Cooling Tips

Baking gluten-free bread requires careful attention to detail for the best results. Start by preheating your oven to the correct temperature, typically between 350°F to 375°F. This guarantees even baking and ideal rise.
To enhance the crust and promote a better oven spring, place a shallow pan of water in the oven during the first few minutes of baking to create steam.
Monitor the internal temperature of your bread with an instant-read thermometer; it should reach between 200°F to 210°F to confirm it's fully cooked.
Once baked, it's essential to allow your gluten-free bread to cool completely on a wire rack for at least 30 minutes. This step prevents a gummy texture and improves sliceability.
Avoid the temptation to slice right away, as patience pays off.
If you have leftover bread, be certain to store it in an airtight container at room temperature for up to 3 days. For longer preservation, wrap slices and freeze them for up to 3 months.
Following these baking and cooling tips will help you achieve the perfect texture and enjoy your gluten-free bread to the fullest!
Storing Gluten-Free Bread
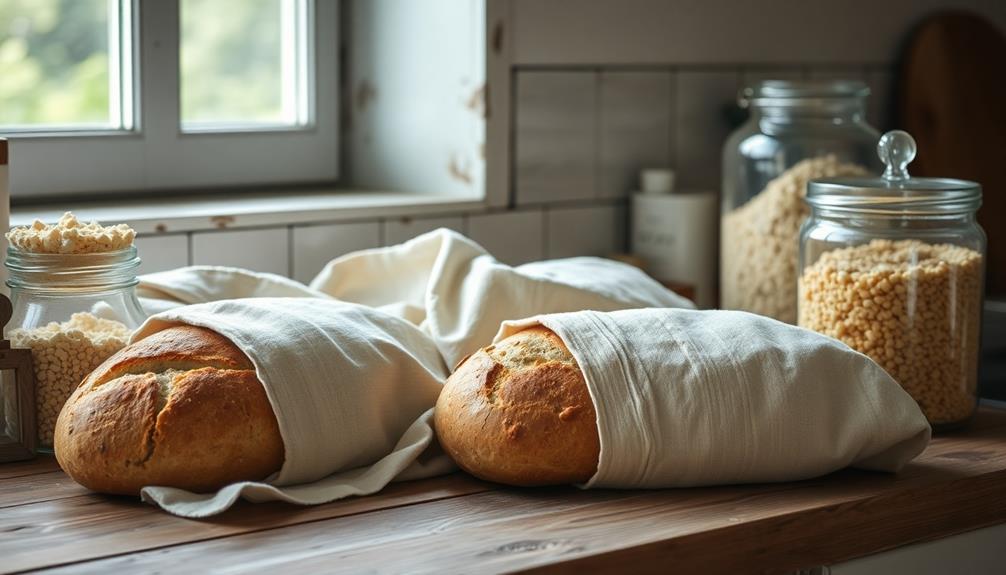
How should you store your gluten-free bread to keep it fresh? Proper storage can greatly enhance its lifespan and maintain its texture. Start by placing your gluten-free bread in an airtight container at room temperature. This method keeps it fresh for up to three days. Avoid refrigeration, as it tends to dry out the bread.
For longer storage, wrap individual slices in plastic wrap and then place them in a freezer bag. This way, you can freeze the bread for up to three months without losing quality. Remember to label your frozen bread with the date to track its freshness.
To help you remember these tips, take a look at the table below:
| Storage Method | Duration |
|---|---|
| Room Temperature | Up to 3 days |
| Airtight Container | Prevents moisture |
| Freeze (wrapped) | Up to 3 months |
| Avoid Humidity | Reduces mold growth |
| Revitalizing Stale Bread | Toast or warm up |
Frequently Asked Questions
How Can You Improve the Texture of Gluten Free Baked Goods?
To improve the texture of gluten-free baked goods, blend various gluten-free flours, add binders like xanthan gum, increase hydration with extra liquids, and experiment with steaming during baking for a better crust and structure. Another way to improve the texture of gluten-free baked goods is to incorporate more advanced glutenfree baking techniques, such as the use of gelatin or psyllium husk to improve the elasticity and structure of the dough. Additionally, experimenting with different leavening agents, like baking powder or yeast, can also help to achieve a lighter and fluffier texture in gluten-free baked goods. By combining a variety of techniques and ingredients, it is possible to create gluten-free baked goods that are just as delicious and satisfying as their traditional counterparts.
What Is the Trick to Making Good Gluten-Free Bread?
Ever wondered why gluten-free bread often falls flat? The trick's in using a blend of flours, adding binders, letting the dough rest, and proofing in a warm environment. You'll achieve a satisfying texture!
What Texture Should Gluten-Free Bread Dough Be?
Gluten-free bread dough should feel cohesive and slightly sticky, resembling thick pancake batter. It needs enough hydration to hold its shape, so don't hesitate to adjust liquids based on your flour blend for ideal results.
What Is the Texture Analysis of Gluten-Free Bread?
Think of gluten-free bread as a dance without a partner; it needs specific ingredients to hold together. You'll find it's denser and requires binders and proper hydration for an enjoyable texture.
Conclusion
By mastering these techniques, you're not just baking bread; you're conjuring a loaf of gluten-free perfection that rivals the finest artisan creations! With a few simple tricks, you'll transform your kitchen into a bakery where every slice is a heavenly experience. Imagine the aroma wafting through your home, drawing friends and family like moths to a flame. So, roll up your sleeves and embrace the magic of gluten-free baking—your taste buds will thank you for it!