If digestive discomfort has kept you from enjoying sweet treats, low-FODMAP baking is the solution you need. This specialized approach uses carefully selected ingredients like lactose-free dairy and gluten-free flours to create delectable desserts that won't upset your stomach. Experiment with low-FODMAP sweeteners like coconut sugar and maple syrup to enhance the flavors. Baking techniques like precise measurements and monitoring cooking times are key to achieving the perfect texture. With a bit of practice, you'll be whipping up tasty low-FODMAP treats that allow you to indulge your sweet tooth without any unpleasant side effects. Continue reading to discover more tips for successful low-FODMAP baking.
Key Takeaways
- Utilize alternative flours like almond or gluten-free blends to create low-FODMAP baked goods with desirable textures.
- Incorporate low-FODMAP sweeteners such as coconut sugar, maple syrup, and stevia to enhance flavor without triggering digestive issues.
- Follow precise baking techniques like thorough mixing, careful monitoring of baking times, and proper cooling to ensure successful low-FODMAP treats.
- Choose lactose-free dairy products and low-FODMAP fruits like bananas and strawberries to enjoy creamy and fruity low-FODMAP desserts.
- Experiment with recipes, keep records of successful adjustments, and engage with the low-FODMAP baking community to continually improve your skills.
History
The origins of low-FODMAP baking can be traced back to the early 2000s, when researchers in Australia began investigating the effects of fermentable carbohydrates on digestive health.
They discovered that certain sugars and fibers, known as FODMAPs (Fermentable Oligo-, Di-, Mono-saccharides, and Polyols), could trigger unpleasant gastrointestinal symptoms in people with conditions like irritable bowel syndrome (IBS).
This groundbreaking research paved the way for the development of the low-FODMAP diet, a dietary approach that limits these problematic carbohydrates.
As the low-FODMAP diet gained popularity, bakers and chefs recognized the need for delicious, FODMAP-friendly recipes.
They began experimenting with alternative flours, sweeteners, and techniques to create baked goods that weren't only gentle on the gut but also appealing to the senses.
Over time, the low-FODMAP baking movement has evolved, with more and more people discovering the joy of indulging in sweet treats without the discomfort.
Recipe
Baking can be a challenge for those following a low-FODMAP diet, as many traditional baked goods contain high-FODMAP ingredients. However, with a few simple substitutions, it's possible to create delicious low-FODMAP baked treats that everyone can enjoy.
This recipe for a classic low-FODMAP vanilla cake is a great starting point for those new to low-FODMAP baking. The use of lactose-free milk and gluten-free flour ensures that the cake is gentle on the digestive system, while still delivering a moist and flavorful result.
Ingredients:
- 1 1/2 cups gluten-free flour blend
- 1 teaspoon baking powder
- 1/4 teaspoon baking soda
- 1/4 teaspoon salt
- 1/2 cup unsalted butter, softened
- 3/4 cup granulated sugar
- 2 large eggs
- 1 teaspoon vanilla extract
- 3/4 cup lactose-free milk
To make the cake, preheat the oven to 350°F (175°C) and grease an 8-inch round baking pan. In a medium bowl, whisk together the gluten-free flour, baking powder, baking soda, and salt.
In a separate large bowl, beat the butter and sugar until light and fluffy, then beat in the eggs one at a time, followed by the vanilla. Alternate adding the flour mixture and milk to the butter mixture, mixing just until combined.
Pour the batter into the prepared pan and bake for 30-35 minutes, or until a toothpick inserted into the center comes out clean. Allow the cake to cool completely before serving.
When baking low-FODMAP treats, it's important to be mindful of portion sizes, as even low-FODMAP ingredients can cause digestive distress in large quantities.
Additionally, be sure to use high-quality, lactose-free dairy products to ensure the recipe is truly low-FODMAP. With a little creativity and attention to detail, you can enjoy delicious baked goods that won't upset your stomach.
Cooking Steps
Preheat your oven to 350°F.
Next, mix up the dry ingredients in a bowl.
Finally, add the wet ingredients and combine everything before baking for 20-25 minutes.
Let the baked goods cool completely before enjoying.
Step 1. Preheat Oven to 350°F
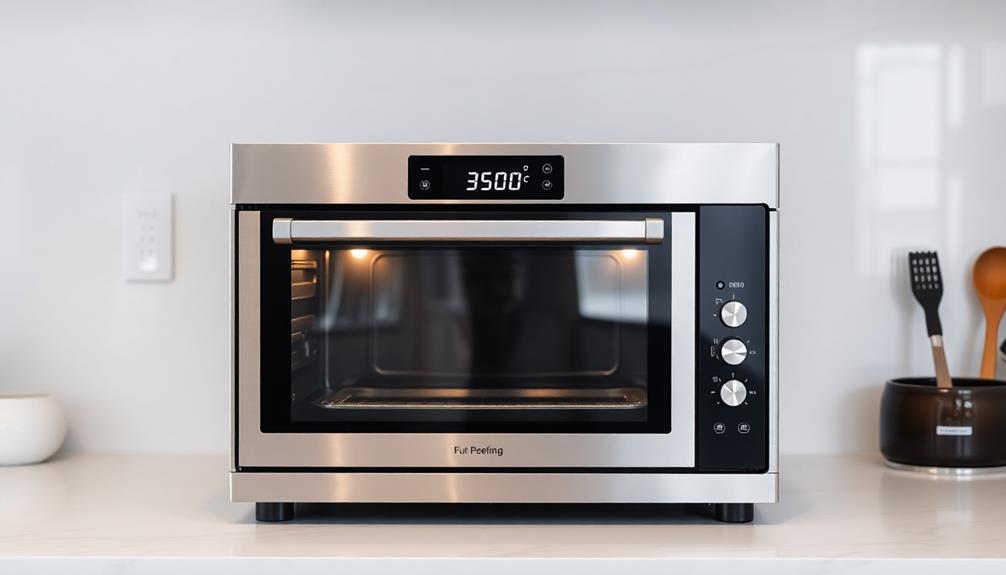
Before you begin mixing the ingredients, ensure your oven is preheated to 350°F. This crucial step helps create the perfect baking environment for your low-FODMAP treats.
It's important to give your oven sufficient time to reach the target temperature, around 15-20 minutes. Once it's reached 350°F, you can confidently start assembling your recipe.
Proper oven preheating allows the interior to evenly distribute heat. This ensures your baked goods cook through thoroughly without burning the outside.
It also helps achieve the desired texture, whether you're aiming for a soft and fluffy cake or a crisp cookie. Keep a close eye on the oven temperature, adjusting as needed to maintain the 350°F setting.
This attention to detail will pay off in the final result – delicious low-FODMAP baked goods that are a delight to eat. With the oven ready, you can now move on to mixing the low-FODMAP ingredients and shaping your creation.
Step 2. Mix Dry Ingredients
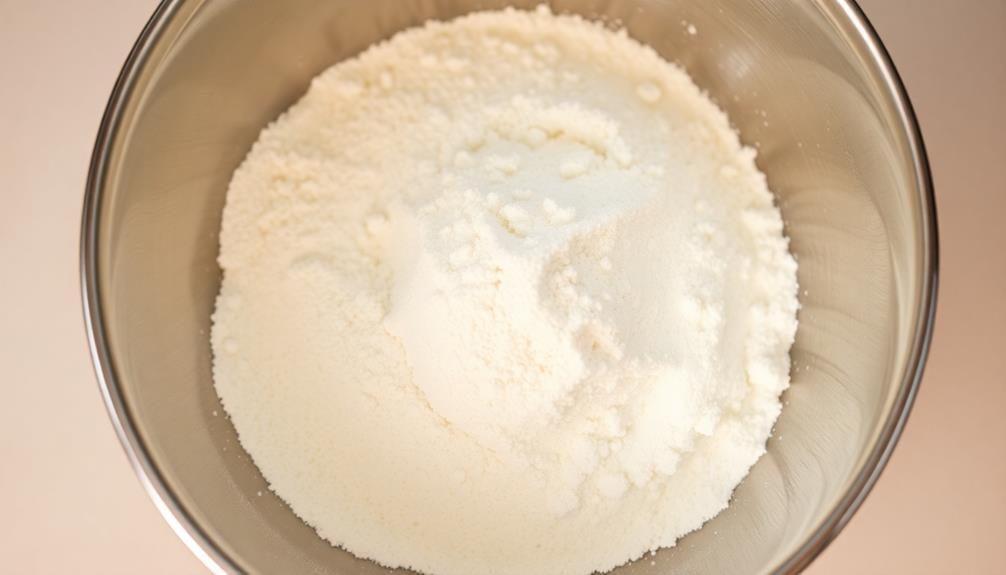
With your oven preheated, it's time to start mixing the dry ingredients for your low-FODMAP baked goods. In a large mixing bowl, whisk together the all-purpose gluten-free flour, baking soda, and salt. These dry ingredients form the foundation of your recipe, so it's important to ensure they're evenly distributed.
Next, you'll want to add any other dry ingredients your recipe calls for, such as xanthan gum or sugar. Xanthan gum helps bind the gluten-free flour, giving your baked goods a better texture. As for the sugar, you can use a low-FODMAP sweetener like coconut sugar or maple sugar. Finally, for almond flour baking recipes, you may also want to add in some almond meal for added texture and flavor. Additionally, if your recipe calls for any additional flavorings or spices, go ahead and incorporate those as well. Once all the dry ingredients are combined, you can start adding in the wet ingredients to complete your gluten-free almond flour baking mix.
Give the bowl another good whisk to incorporate all the dry components. Once your dry mixture is ready, you can move on to the wet ingredients. This step-by-step approach ensures your low-FODMAP baking comes together seamlessly.
Step 3. Add Wet Ingredients

Now that you've thoroughly combined the dry ingredients, it's time to add the wet components. In a separate bowl, whisk together the milk, melted butter, and vanilla extract until well-blended.
If your recipe calls for eggs, crack them into the bowl and lightly beat them before incorporating into the wet mixture.
Slowly pour the wet ingredients into the bowl with the dry ingredients, gently folding them together with a spatula or wooden spoon. Mix just until the batter is combined – don't overmix, or your baked goods will become tough and dense.
The batter should have a smooth, pourable consistency. If it seems too thick, add a splash more milk. Conversely, if it's too thin, you can stir in a bit more flour.
Once the wet and dry ingredients are perfectly combined, your low-FODMAP batter is ready to be portioned into your prepared pan or baking dish.
Get ready for delicious, digestive-friendly treats!
Step 4. Bake for 20-25 Minutes
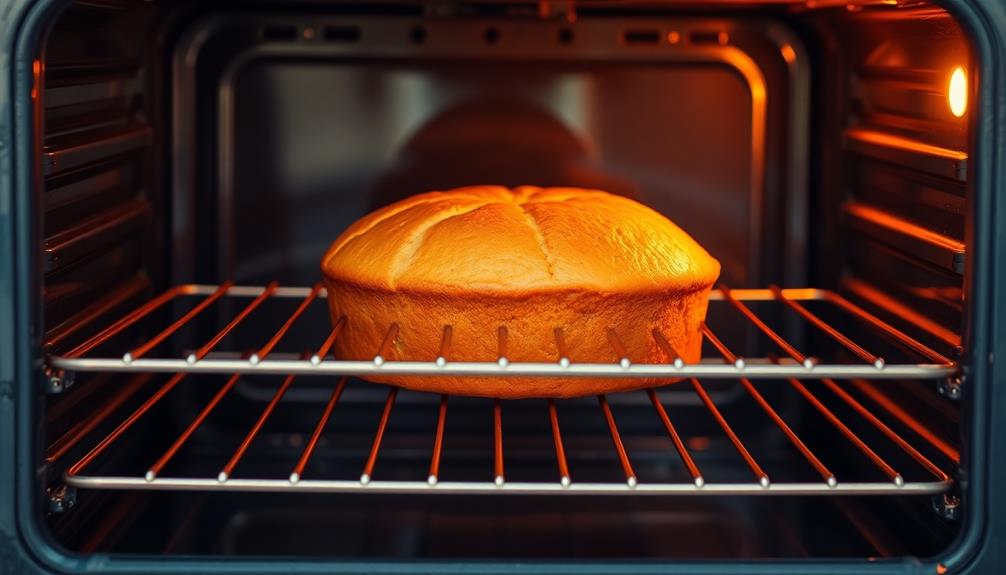
Once your low-FODMAP batter is ready, it's time to bake. Preheat your oven to the temperature specified in the recipe, usually around 350°F (175°C). Grease your baking pan or line it with parchment paper to prevent sticking.
Gently pour or spoon the batter into the prepared pan, making sure to spread it evenly.
Bake your low-FODMAP treats for 20 to 25 minutes, or until a toothpick inserted into the center comes out clean. Keep an eye on them, as ovens can vary in temperature. The baking time may need to be adjusted slightly depending on your oven.
Once the timer goes off, carefully remove the pan from the oven, being mindful of any hot surfaces. Allow the baked goods to cool completely before handling or serving. This will help them maintain their delicate texture.
With these simple steps, you'll have delicious, low-FODMAP baked goods ready to enjoy without any discomfort.
Step 5. Allow to Cool Completely
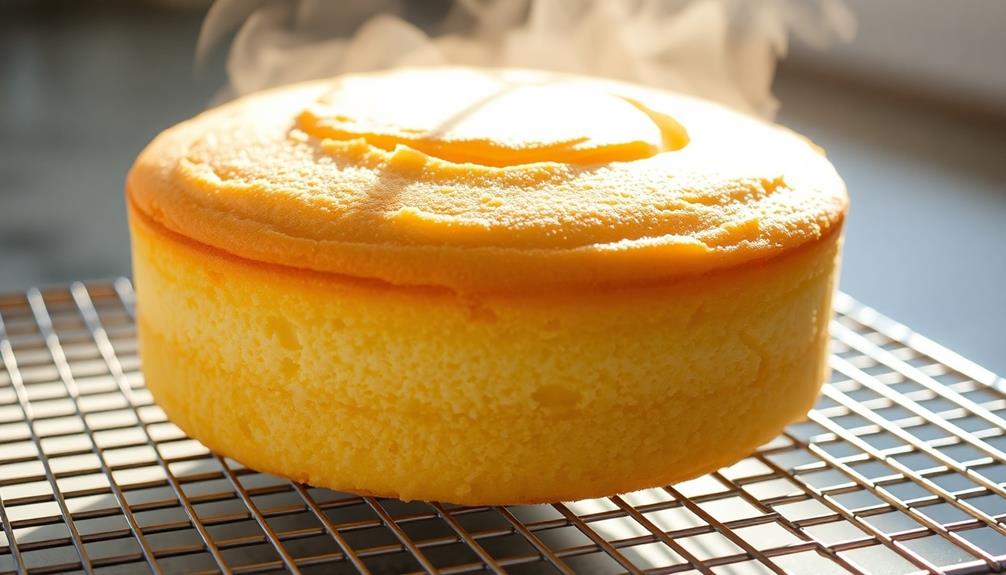
After removing the baked goods from the oven, let them cool completely on a wire rack or flat surface. This step is crucial for achieving the perfect texture and consistency.
As the treats cool, the internal structure solidifies, and any remaining moisture evaporates. Rushing this process can result in a soggy or undercooked center, so be patient and let nature take its course.
Once the items have reached room temperature, you can begin to handle them more easily. This is the ideal time to transfer them to a serving plate or container for storage.
Carefully slide a spatula or knife under each piece to lift and move them without damaging the delicate crumb. If you're stacking layers, be sure to place a piece of parchment or wax paper between them to prevent sticking.
Final Thoughts
Ultimately, low-FODMAP baking requires a bit more planning and attention to detail, but the payoff is well worth it.
You'll be able to enjoy sweet treats without the discomfort of digestive issues. While it may take some trial and error to find the right substitutions and techniques, the recipes in this article are a great starting point.
Don't be afraid to experiment and find what works best for your taste buds and tummy.
Frequently Asked Questions
What Is the Purpose of a Low-Fodmap Diet?
A low-FODMAP diet aims to reduce symptoms of irritable bowel syndrome (IBS) by avoiding certain carbohydrates that can trigger digestive discomfort. It helps you identify and manage your individual triggers, allowing you to enjoy your favorite foods without pain or discomfort.
Are Low-Fodmap Baked Goods Suitable for Everyone?
Low-FODMAP baked goods aren't necessarily suitable for everyone. While they may benefit those with digestive issues, others without such concerns can enjoy them too. However, it's best to consider your individual dietary needs and preferences.
How Long Do Low-Fodmap Baked Goods Last?
Low-FODMAP baked goods generally last 3-4 days at room temperature, but you can extend their shelf life by storing them in the refrigerator or freezer. The exact storage time depends on the ingredients and preparation method used.
Can I Substitute Ingredients in Low-Fodmap Recipes?
You can absolutely substitute ingredients in low-FODMAP recipes, but you'll need to ensure the replacements are also low-FODMAP. Be mindful of ingredient ratios and avoid high-FODMAP swaps to maintain the recipe's integrity.
How Do I Properly Store Low-Fodmap Baked Goods?
To properly store your low-FODMAP baked goods, keep them in an airtight container at room temperature. Refrigerate or freeze if you need to extend their shelf life. Label and date the containers for easy tracking.