Are you craving sweet treats without the digestive distress? Dive into the world of low-FODMAP baking! This evidence-based approach, developed by researchers, helps manage conditions like irritable bowel syndrome. The key? Using gluten-free flours, lactose-free milk, and maple syrup as a sweetener. Whip up a fluffy vanilla cake with these thoughtful substitutions. Preheat, mix, bake, and cool – each step is crucial for the perfect texture. With patience and practice, you'll master low-FODMAP baking and enjoy satisfying desserts that won't leave you feeling uncomfortable. Curious to learn more tasty tips? Keep exploring this comprehensive guide. Discover the endless possibilities of low-FODMAP baking by experimenting with different flavor combinations and unique ingredients. From lemon poppy seed muffins to rich chocolate brownies, there are endless delicious lowFODMAP dessert recipes waiting to be explored. With a little creativity and the right ingredients, you can indulge in sweet treats without the digestive distress. So, why wait? Start your low-FODMAP baking journey today and satisfy your sweet tooth without sacrificing your digestive comfort.
Key Takeaways
- Low-FODMAP baking utilizes gluten-free flours, lactose-free milk, and maple syrup to create delicious desserts suitable for those with digestive sensitivities.
- Careful ingredient selection and proper baking techniques, such as gradual cooling, are crucial for achieving the desired texture and consistency in low-FODMAP baked goods.
- Practicing patience during the baking process, from preheating the oven to allowing full cooling, is essential for the success of low-FODMAP recipes.
- Low-FODMAP baking encourages experimentation with new ingredients and recipes, fostering creativity and satisfying the desire for sweet indulgences without digestive discomfort.
- Mastering low-FODMAP baking through continuous practice and following trusted recipes can result in rewarding, delectable treats that can be enjoyed by individuals with sensitive stomachs.
Top picks for "fodmap sweet treat"
Open Amazon search results for this keyword.
As an affiliate, we earn on qualifying purchases.
History
The low-FODMAP diet has gained significant popularity in recent years as a way to manage digestive issues, particularly for individuals with irritable bowel syndrome (IBS).
The term "FODMAP" stands for Fermentable Oligosaccharides, Disaccharides, Monosaccharides, and Polyols, which are types of carbohydrates that can trigger gastrointestinal symptoms in some people.
This dietary approach was developed in the early 2000s by researchers at Monash University in Australia, who discovered that limiting these specific carbohydrates could effectively alleviate IBS symptoms.
The low-FODMAP diet has since become a well-recognized and evidence-based treatment option for managing IBS and other functional gastrointestinal disorders.
It's based on the principle of temporarily eliminating high-FODMAP foods, then gradually reintroducing them to identify individual tolerance levels.
This approach has empowered many individuals to take control of their digestive health and find relief from uncomfortable symptoms.
Recipe
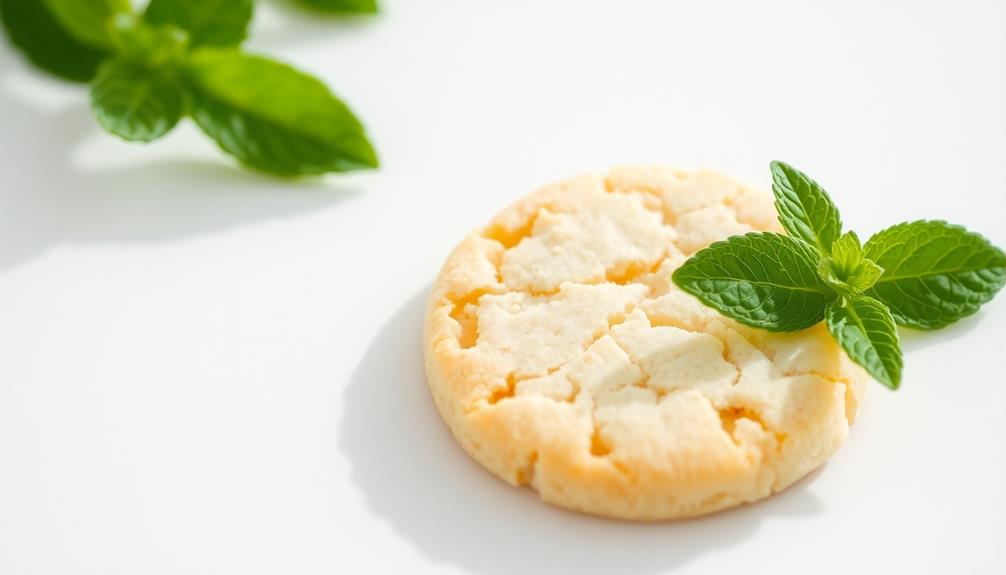
Low-Fodmap Baking: Recipe
Following a low-FODMAP diet can be challenging, especially when it comes to baking. However, with the right ingredients and techniques, it's possible to create delicious and satisfying low-FODMAP baked goods. This recipe for a classic vanilla cake is a great starting point for those looking to explore low-FODMAP baking. Incorporating ingredients that are gentle on digestion can help alleviate discomfort while still enjoying sweet treats, making it essential to choose healthier alternatives whenever possible.
The key to this recipe is the use of low-FODMAP flours, such as gluten-free all-purpose flour or a blend of rice flour, tapioca flour, and xanthan gum. Additionally, the recipe relies on lactose-free milk and a small amount of maple syrup as a sweetener, making it suitable for those with lactose intolerance or those avoiding high-FODMAP sweeteners.
Ingredients:
- 1 3/4 cups gluten-free all-purpose flour
- 1 teaspoon baking powder
- 1/2 teaspoon baking soda
- 1/4 teaspoon salt
- 1/2 cup unsalted butter, at room temperature
- 3/4 cup maple syrup
- 2 large eggs
- 1 teaspoon vanilla extract
- 1 cup lactose-free milk
Instructions:
Preheat your oven to 350°F (175°C). Grease and flour a 9-inch round cake pan.
In a medium bowl, whisk together the gluten-free all-purpose flour, baking powder, baking soda, and salt.
In a separate large bowl, beat the butter and maple syrup until light and fluffy. Add the eggs one at a time, beating well after each addition, then stir in the vanilla extract.
Alternately add the flour mixture and lactose-free milk to the butter mixture, mixing just until combined.
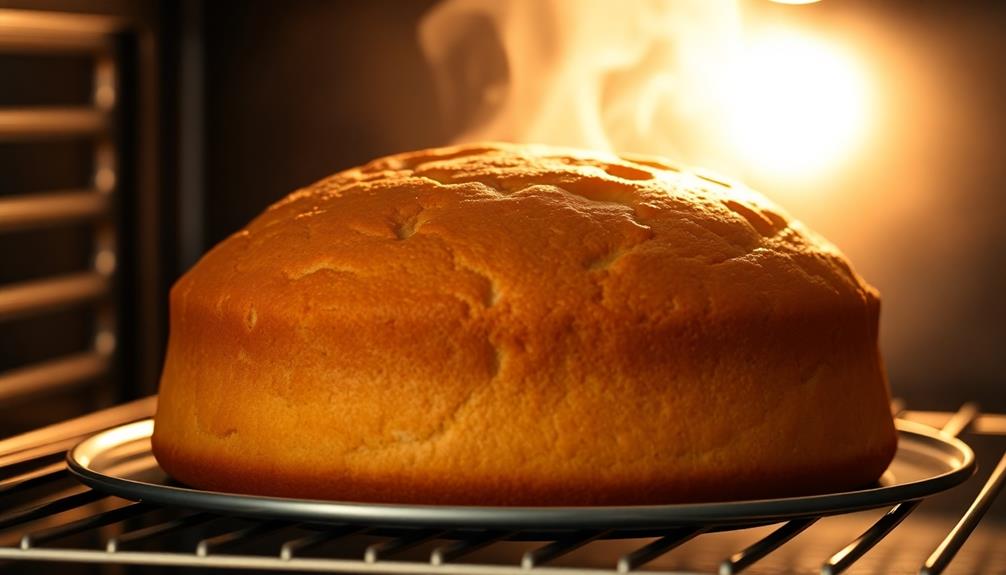
Pour the batter into the prepared pan and bake for 30-35 minutes, or until a toothpick inserted into the center comes out clean.
Allow the cake to cool in the pan for 10 minutes before transferring it to a wire rack to cool completely.
When baking low-FODMAP, it's important to use high-quality ingredients and follow the recipe closely. Additionally, be mindful of portion sizes, as even low-FODMAP foods can be problematic in large quantities.
Enjoy your delicious and guilt-free low-FODMAP vanilla cake!
Cooking Steps
First, preheat your oven to 350°F.
Next, mix the dry ingredients in one bowl.
Then, add the wet ingredients and stir until well combined.
Bake for 25-30 minutes, and let the baked goods cool completely before serving.
Step 1. Preheat Oven to 350°F
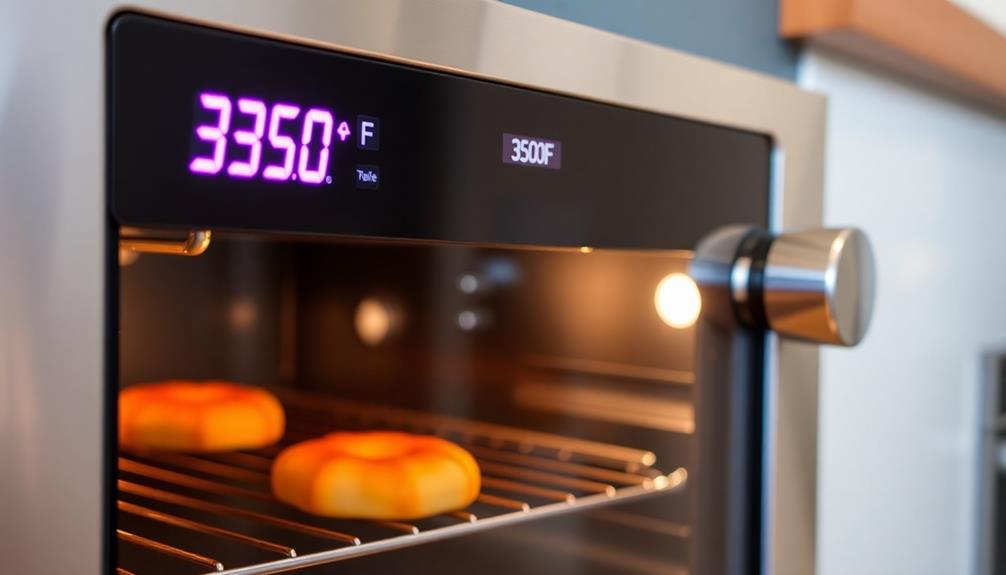
Preheating the oven to 350°F is a crucial step in ensuring your low-FODMAP baked goods turn out perfectly. This temperature is a sweet spot that allows for even baking and a golden-brown crust on your treats. Don't skip this step – it's essential for achieving the right texture and doneness.
Once your oven's reached temperature, you'll want to give it a few minutes to stabilize before popping in your creation. This helps prevent your baked goods from under or overcooking. Proper oven temperature is key for low-FODMAP recipes, as the balance of ingredients is delicate.
If the oven's too hot, your baked goods may brown too quickly on the outside while remaining undercooked inside. Too cool, and you'll end up with dense, gummy results.
Invest in an oven thermometer if you find your oven runs hot or cold. This way, you can ensure the temperature is spot-on every time.
With your oven preheated to 350°F, you're all set to bake up low-FODMAP deliciousness!
Step 2. Mix Dry Ingredients
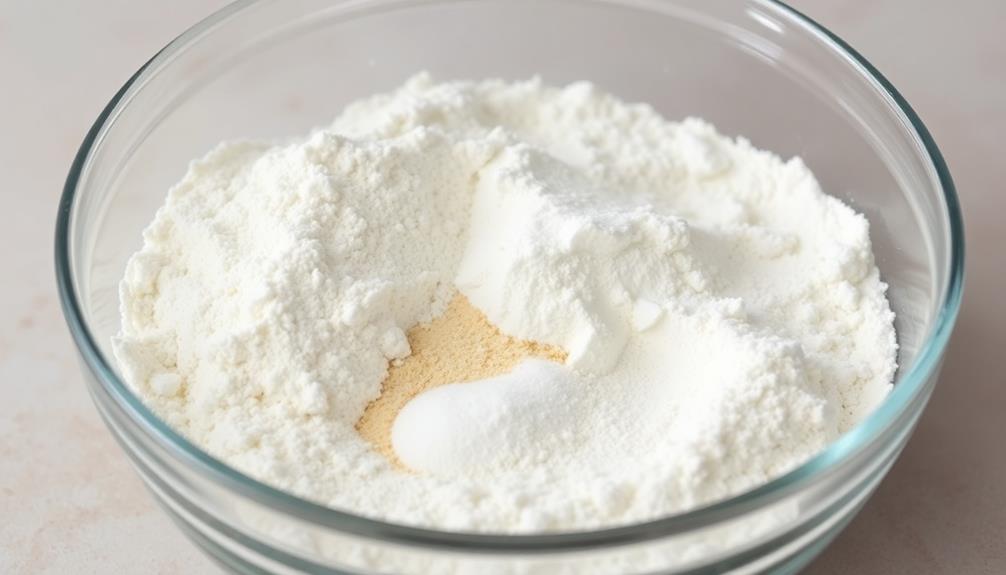
With your oven preheated, it's time to tackle the dry ingredients. In a large bowl, whisk together the gluten-free flour, baking soda, and a pinch of salt. This step ensures the leavening agent and seasoning are evenly distributed throughout the batter.
Next, grab your low-FODMAP sweetener of choice – whether that's coconut sugar, maple syrup, or your preferred alternative. Carefully measure the correct amount and add it to the bowl. Whisk again to incorporate the sweetener into the dry mix. This helps create a cohesive, well-blended foundation for your baked goods.
Don't forget to include any other dry spices or flavors you'd like to infuse, such as cinnamon, vanilla powder, or citrus zest. A little goes a long way, so start with small amounts and adjust to your taste preferences.
Once everything is thoroughly combined, you're ready to move on to the wet ingredients. This methodical approach sets you up for low-FODMAP baking success!
Step 3. Add Wet Ingredients
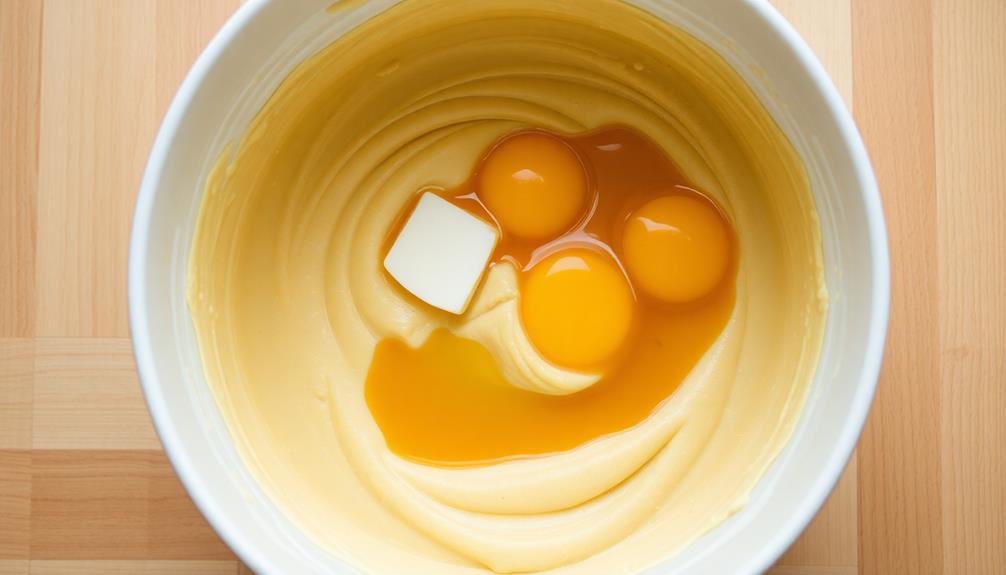
Now that the dry ingredients are ready, you can begin adding the wet components. In a separate bowl, combine the low-FODMAP milk, melted butter or oil, and any other liquids the recipe calls for, like vanilla extract.
Whisk these together until they're well-blended.
Slowly pour the wet mixture into the bowl with the dry ingredients. Use a spatula to gently fold the ingredients together, being careful not to overmix. The batter should come together easily without becoming tough or dense.
If the batter seems too thick, you can add a bit more milk, a tablespoon at a time, until it reaches the desired consistency.
Once the wet and dry ingredients are just combined, your low-FODMAP batter is ready to be portioned into the prepared pan or baking dish.
Remember to avoid over-mixing, as this can result in a tough, dense texture in your final baked goods.
Step 4. Bake for 25-30 Minutes
Preheat your oven to 375°F (190°C). Once your oven's ready, it's time to pop those low-FODMAP treats in!
Carefully transfer the prepared dough or batter into your greased baking pan or onto a parchment-lined baking sheet. Be gentle to avoid deflating all that lovely air you've whipped in.
Now, slide the pan into the preheated oven and let the magic happen. Set a timer for 25-30 minutes. During this time, the batter will rise and develop that perfect golden-brown crust.
Resist the temptation to open the oven door too often, as this can cause your baked goods to fall flat.
Check on your creation around the 25-minute mark. Insert a toothpick or cake tester into the center – if it comes out clean, your treats are ready! If not, give them a few more minutes.
Once done, carefully remove the pan from the oven using oven mitts. Allow the baked goods to cool slightly before slicing or serving. Enjoy your delicious low-FODMAP creation!
Step 5. Allow to Cool Completely

Once your low-FODMAP treats have finished baking, it's important to let them cool completely before slicing or serving. This step allows the baked goods to fully set and develop their texture.
If you try to cut into them too soon, they may crumble or fall apart. Be patient and give them ample time to cool – around 30 minutes on the baking sheet, then transfer to a wire rack to finish cooling.
This gradual cooling process helps the structure solidify, preventing a gooey or undercooked interior. Once completely cooled, you can then slice or portion the low-FODMAP baked goods as desired.
This extra bit of wait time is essential for achieving the perfect consistency and preventing a disappointingly messy result. Allowing your treats to cool fully before handling them is a simple but crucial step for low-FODMAP baking success.
Final Thoughts
Ultimately, low-FODMAP baking takes some practice, but the results are well worth the effort. You'll enjoy the satisfaction of whipping up delectable treats that won't upset your stomach.
And your friends and family won't even realize they're eating a special diet version – they'll just be blown away by the deliciousness.
As you continue experimenting with low-FODMAP ingredients and recipes, don't be afraid to get creative. Swap in almond flour for traditional wheat flour, or use maple syrup instead of sugar.
The possibilities are endless, and you might just discover your new favorite baked goods. With a little patience and the right recipes, you can master low-FODMAP baking and enjoy sweet indulgences without the discomfort.
Frequently Asked Questions
How Do I Substitute Low-Fodmap Flours in Traditional Recipes?
To substitute low-FODMAP flours in traditional recipes, you'll need to consider the properties of each flour. Start by swapping them cup-for-cup, then adjust the liquid and baking time as needed to achieve the desired texture and rise.
What Are the Best Low-Fodmap Sweeteners to Use in Baking?
The best low-FODMAP sweeteners for baking are maple syrup, honey, agave nectar, and granulated sugar. They add sweetness without triggering digestive issues associated with high-FODMAP sweeteners like high fructose corn syrup or regular table sugar.
Can I Make Low-Fodmap Baked Goods Without Sacrificing Taste and Texture?
Absolutely! You can create delectable low-FODMAP baked goods without sacrificing taste or texture. By using the right sweeteners and ingredients, you can indulge in your favorite treats without the uncomfortable side effects.
How Do I Adjust Recipes to Accommodate Lactose-Free or Dairy-Free Ingredients?
You can adjust recipes to accommodate lactose-free or dairy-free ingredients by substituting alternatives like almond milk, coconut milk, or lactose-free butter or cheese. Experiment with these substitutions to maintain the desired taste and texture in your baked goods.
Are There Any Tips for Preventing Bloating or Digestive Issues With Low-Fodmap Baking?
To prevent bloating or digestive issues with low-FODMAP baking, use lactose-free or dairy-free ingredients, avoid high-FODMAP foods, and opt for small portion sizes. Experiment to find the right balance for your individual needs.