
Whether you're craving a rich chocolate cake or a tantalizing tart, the world of keto baking has you covered. By using low-carb flours like almond and coconut, plus sugar substitutes like erythritol, you can satisfy your sweet tooth without sabotaging your dietary goals. Fiber-packed ingredients like chia seeds and avocado also boost the nutritional value of these indulgent treats. With a bit of practice, you'll master the art of keto baking and discover a whole new realm of delectable, guilt-free desserts that'll keep you coming back for more. Let's dive deeper into the secrets of crafting mouthwatering low-carb creations.
Key Takeaways
- Keto baking provides a way to satisfy sweet cravings while adhering to a low-carb lifestyle, offering nourishing and indulgent dessert options.
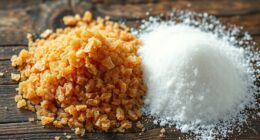
- Common keto-friendly ingredients like almond flour, coconut flour, and sugar substitutes enable the creation of low-carb baked goods with reduced carbohydrate content.
- Precise baking techniques, such as proper preheating, mixing dry and wet ingredients, and careful monitoring during baking, are crucial for successful keto dessert preparation.
- Proper cooling and presentation of keto baked goods are essential to achieve the desired texture and appearance, enhancing the overall enjoyment.
- Keto baking encourages creativity, personal expression, and a continuous learning process, as experimentation with new ingredients and methods can lead to personalized and satisfying low-carb treats.
History
The history of keto baking can be traced back to the early 20th century when the ketogenic diet was first developed as a treatment for epilepsy. This low-carb, high-fat eating plan gained popularity over the decades as people realized its potential benefits, including weight loss and improved blood sugar control.
As the keto diet became more mainstream, bakers and chefs began experimenting with recipes that fit within the diet's guidelines. They discovered that by using alternative sweeteners and low-carb flours, they could create delicious desserts and baked goods that satisfied cravings without the blood sugar spike.
Incorporating fiber-rich ingredients such as chia seeds and avocados has also enhanced the nutritional profile of these treats.
Today, keto baking has evolved into a thriving niche, with countless recipes and resources available for home cooks looking to indulge their sweet tooth while staying true to their low-carb lifestyle. For those who crave the warmth and nostalgia of classic baked goods, lowcarb keto comfort foods offer a satisfying solution. From fluffy cloud bread to decadent brownies made with almond flour and stevia, there are endless options for those following a ketogenic diet. Home cooks can now enjoy their favorite treats without the guilt or carb overload, thanks to the innovative and creative recipes that have emerged in the keto baking community. These lowcarb keto comfort foods not only satisfy cravings but also provide a sense of inclusion for individuals following a low-carb lifestyle. Whether it’s a special occasion or just a regular day, there’s always a lowcarb keto comfort food recipe to suit any need. And with the growing popularity of the ketogenic diet, the range of options for lowcarb keto comfort foods continues to expand, making it easier for people to stick to their dietary goals without feeling deprived.
Whether you're new to keto or a seasoned pro, the history of this innovative approach to baking is sure to inspire your next culinary adventure.
Recipe
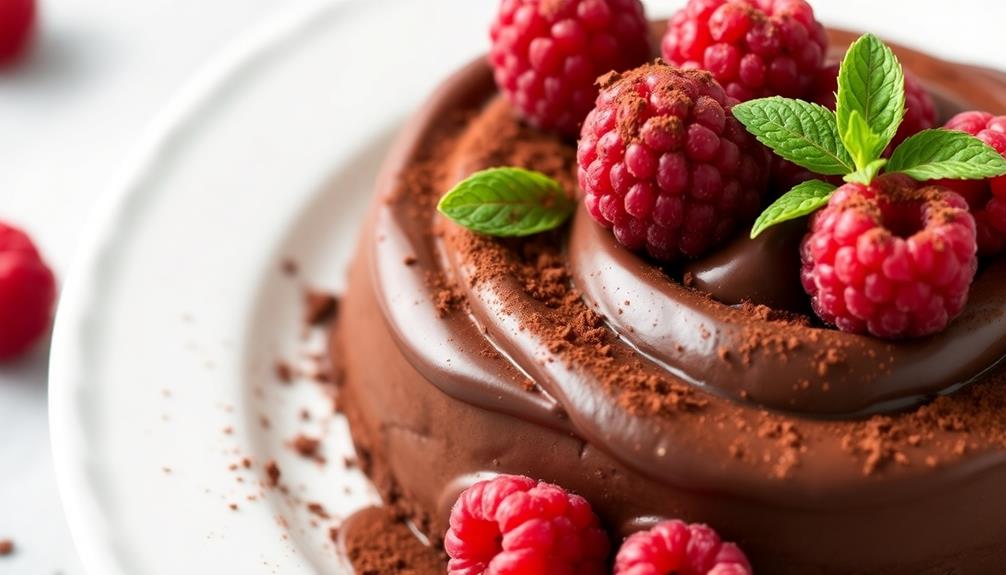
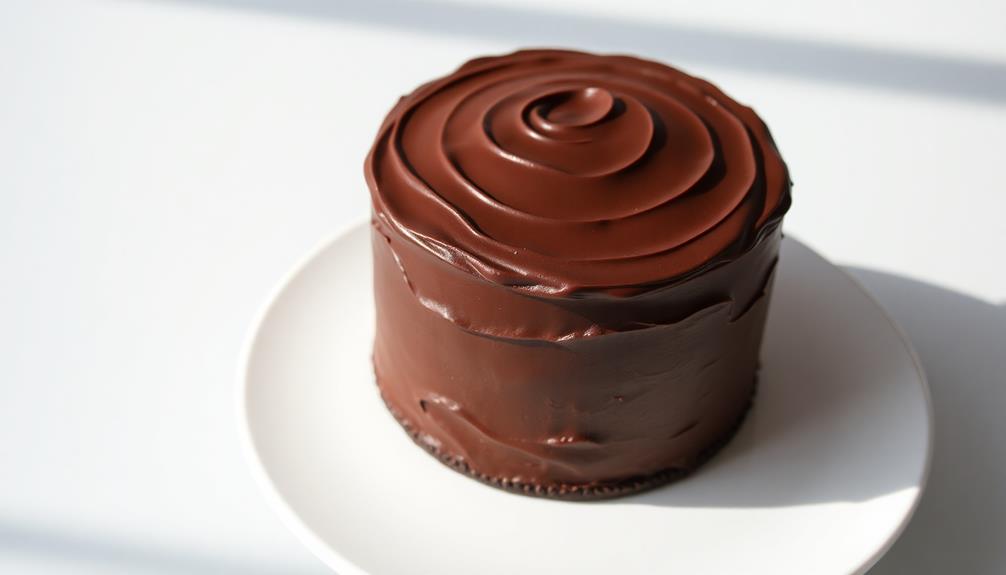
Keto baking allows you to indulge in delectable desserts without the guilt of high carbohydrate content. This recipe for low-carb chocolate cake is a decadent treat that satisfies your sweet tooth while keeping your macros in check.
The use of almond flour and erythritol as substitutes for traditional wheat flour and sugar ensures a rich, moist crumb that rivals any standard cake. The addition of unsweetened cocoa powder and a sugar-free chocolate frosting provides a deep, chocolatey flavor that will have your taste buds dancing.
Ingredients:
- 2 cups almond flour
- 1/2 cup unsweetened cocoa powder
- 1 1/2 teaspoons baking powder
- 1/4 teaspoon salt
- 1/2 cup unsalted butter, softened
- 3/4 cup erythritol
- 3 large eggs
- 1 teaspoon vanilla extract
- 1/2 cup unsweetened almond milk
For the Frosting:
- 1/2 cup unsalted butter, softened
- 1/2 cup powdered erythritol
- 1/4 cup unsweetened cocoa powder
- 1/4 teaspoon vanilla extract
- 2-3 tablespoons unsweetened almond milk
To prepare the cake, preheat your oven to 350°F (175°C). Grease a 9-inch round baking pan and line the bottom with parchment paper.
In a medium bowl, whisk together the almond flour, cocoa powder, baking powder, and salt. In a large bowl, cream the butter and erythritol until light and fluffy. Beat in the eggs one at a time, then stir in the vanilla.
Alternate adding the dry ingredients and almond milk, mixing just until incorporated. Pour the batter into the prepared pan and bake for 25-30 minutes, or until a toothpick inserted into the center comes out clean. Allow the cake to cool completely before frosting.
For the frosting, beat the butter in a medium bowl until smooth. Gradually add the powdered erythritol and cocoa powder, mixing until well combined. Stir in the vanilla and enough almond milk to achieve a creamy, spreadable consistency.
Spread the frosting over the top and sides of the cooled cake. Refrigerate the cake for at least 30 minutes before serving to allow the frosting to set.
Cooking Steps
Preheat your oven to the specified temperature.
To create delicious low-carb desserts, it's essential to select the right ingredients that align with the keto diet principles, such as using almond flour instead of regular flour and incorporating sugar substitutes.
Next, mix the dry ingredients in a bowl. Then, add the wet ingredients and stir until well combined.
Bake the mixture for the recommended duration, and let it cool before serving.
Consider experimenting with healthy fats for added richness, as key benefits of the keto diet include stabilizing blood sugar levels and enhancing mental clarity.
Step 1. Preheat Oven to Specified Temperature

First, be sure to preheat your oven to the temperature specified in the recipe. This is a crucial step that ensures your keto baked goods cook evenly and turn out perfectly.
Set your oven to the right temperature and let it fully heat up before you begin assembling your ingredients. This might take 10-15 minutes, so plan accordingly.
Once the oven is preheated, you can start mixing your dry and wet ingredients. Many keto recipes call for a lower baking temperature, often around 325-350°F, to prevent over-browning of the delicate almond or coconut flour used.
Pay close attention to the time recommendations too, as keto baked goods can dry out quickly at high temps. Checking on your creation periodically is key.
With the oven preheated and your ingredients ready to go, you're one step closer to enjoying a delicious low-carb treat!
Step 2. Mix Dry Ingredients

Now that the oven is preheated, let's mix the dry ingredients. In a medium-sized bowl, combine the almond flour, coconut flour, granulated sweetener, baking powder, and salt.
These best keto-friendly ingredients not only keep the carb count low but also provide a delicious base for your desserts. Using a whisk, gently stir the ingredients until they're well incorporated.
It's important to ensure the dry mix is evenly blended before adding the wet ingredients. This step helps create a consistent texture throughout your keto baked goods.
Be mindful not to overmix, as that can result in a tough or dense final product. Once the dry ingredients are mixed, set the bowl aside for now.
You'll need to have your wet ingredients ready to go, as keto baking often works best when you work quickly. The next step is to prepare the wet ingredients, which will bring everything together into a smooth, pliable dough or batter.
This careful process of mixing the dry and wet components is key to achieving delicious, low-carb desserts that satisfy your sweet tooth while keeping you in ketosis.
Step 3. Add Wet Ingredients

Next, grab the wet ingredients you've prepared. This typically includes eggs, melted butter or oil, and any liquid sweeteners or extracts you're using.
Crack the eggs into a small bowl, being careful not to get any shells in the mixture. Measure out the melted butter or oil and add it to the eggs. If you're using liquid sweeteners like stevia or erythritol, measure those out and pour them in too.
Finally, stir in any vanilla, almond, or other extracts to enhance the flavor. Whisk all the wet ingredients together until they're fully combined and smooth. This wet mixture will add moisture, richness, and sweetness to your keto baked goods.
Slowly pour the wet ingredients into the bowl with the dry ingredients and use a rubber spatula to gently fold everything together until just combined. Be careful not to overmix, as that can make your baked goods tough.
Now you're ready to transfer the batter to your prepared pan and bake!
Step 4. Bake for Specified Duration

Once the batter is in the prepared pan, it's time to bake your keto dessert. Preheat your oven to the temperature specified in the recipe, usually between 325°F and 350°F. This ensures the oven is at the right temperature when you're ready to pop that pan in.
Baking time can vary depending on the recipe, but you'll generally want to bake your keto treat for 20 to 30 minutes. Keep a close eye on it, checking for doneness by inserting a toothpick into the center. If it comes out clean, your dessert is ready! You can also gently press the top – it should spring back when done.
Once baked, let your keto creation cool completely before removing it from the pan. This prevents it from falling apart.
When it's cooled, you can slice, frost, or top it as desired. Baking keto desserts takes a little extra care, but the results are worth it – moist, delicious low-carb treats you can feel good about enjoying.
Step 5. Allow to Cool Before Serving
Allow the baked keto treat to cool completely before removing it from the pan. This step is crucial to prevent the dessert from falling apart or becoming misshapen. As it cools, the fats and proteins in the recipe will set, creating a firm, stable structure. Depending on the size and thickness of your baked good, this could take anywhere from 30 minutes to an hour.
Be patient and resist the temptation to dig in right away. Once cooled, the keto treat will slice or scoop much more cleanly, allowing you to serve it with ease.
If you try to handle the dessert while it's still warm, you'll likely end up with a crumbly, messy presentation. Give it time to reach room temperature, then carefully transfer it to a serving plate or platter.
This ensures the keto baked good keeps its shape and looks as appetizing as it tastes. Allowing proper cooling time is the final step to creating a picture-perfect low-carb dessert that your guests will love.
Final Thoughts
Keto baking can be a rewarding and delicious way to satisfy your sweet tooth while staying true to your low-carb lifestyle. With the right recipes and techniques, you can create indulgent desserts that won't derail your progress.
Remember, baking is a science, so be patient and precise with your measurements. Don't be afraid to experiment and find variations that suit your taste buds.
As you continue on your keto journey, keep an open mind and try new ingredients. Almond flour, coconut flour, and sugar-free sweeteners can open up a world of possibilities.
With a little practice, you'll become a keto baking pro, impressing your friends and family with your creations.
Ultimately, keto baking is about finding balance and enjoyment. Savor every bite of your low-carb treats, knowing you're nourishing your body and satisfying your cravings in a healthy way.
Embrace the process, and let your creativity shine through in the kitchen.
Frequently Asked Questions
How Long Can Keto-Friendly Baked Goods Be Stored?
Keto-friendly baked goods can typically be stored for 3-5 days at room temperature or up to a week in the refrigerator. However, you'll want to check the specific recipe and storage instructions, as some ingredients may affect the shelf life.
Can I Substitute Regular Flour for Almond Flour in Keto Recipes?
You can substitute almond flour for regular flour in keto recipes, but the results may vary. Almond flour is lower in carbs and higher in fat, so the texture and baking properties won't be exactly the same.
What Are the Best Low-Carb Sweeteners for Keto Baking?
For low-carb baking, you'll want to use sweeteners like erythritol, monk fruit, or stevia. They're keto-friendly and won't spike your blood sugar. Experiment to find your favorite, as they can have different tastes and textures in recipes.
How Do I Ensure My Keto Baked Goods Have the Right Texture?
To ensure the right texture in your keto baked goods, use the right low-carb sweeteners and flours, and pay close attention to baking time and temperature. Experiment with ingredients and methods to achieve your desired texture.
Can I Freeze Keto Desserts for Later Consumption?
Yes, you can freeze keto desserts for later enjoyment. The key is to properly wrap and store them to prevent freezer burn. When you're ready to indulge, simply thaw them at room temperature or in the refrigerator before serving.