
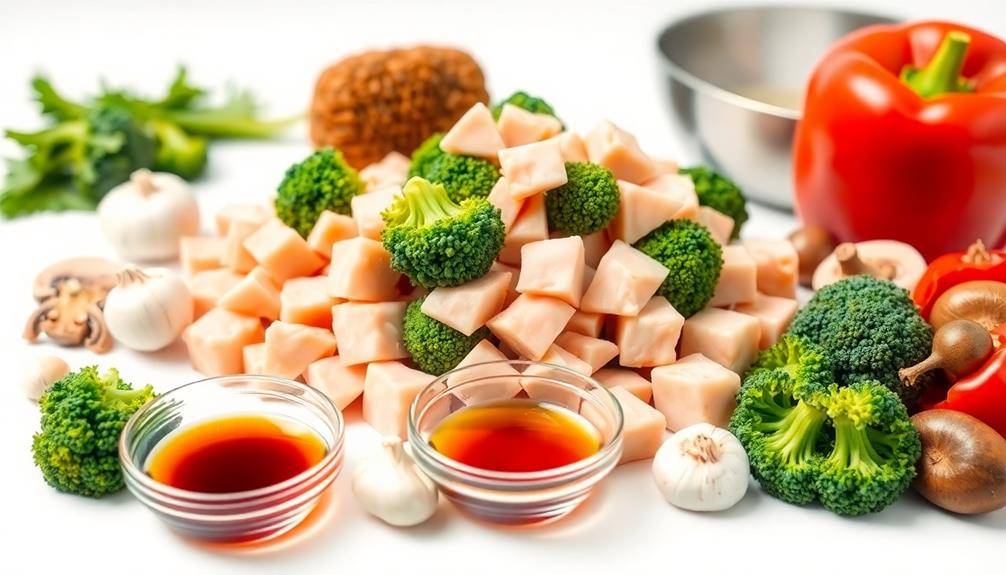
Gluten-free living can be fun and delicious for kids! You'll find a wide variety of tasty, child-friendly recipes that nourish growing bodies. Start by sautéing chicken, broccoli, peppers, and mushrooms in gluten-free soy sauce and honey for a balanced, flavorful meal. When baking, measure ingredients precisely, avoid overmixing, and let baked goods cool completely. Maintain a positive attitude, get the kids involved in cooking, and connect with other gluten-free families for support. Explore new ingredients and recipes regularly to keep mealtimes exciting – you'll discover a whole world of gluten-free possibilities that will delight the whole family.
Key Takeaways
- Emphasize the importance of nutrient-dense, gluten-free ingredients to support children's growth and development, such as fresh vegetables, lean proteins, and balanced meals.
- Provide step-by-step cooking and baking tips for gluten-free meals, including precise measurements, proper mixing techniques, and monitoring baking times to ensure optimal texture and flavor.
- Encourage involving children in the cooking process to enhance their life skills and foster a positive environment around dietary restrictions.
- Recommend exploring new gluten-free recipes, ingredients, and resources to maintain a positive outlook and celebrate small victories in gluten-free living.
- Highlight the value of connecting with other gluten-free families, seeking support from healthcare professionals, and participating in online communities to share experiences and gain insights.
History
Gluten-free diets have been around for centuries, though their prevalence has increased dramatically in recent decades. The earliest known uses of gluten-free diets date back to ancient Greece, where physicians prescribed them to treat various health conditions.
In the early 20th century, the link between gluten and celiac disease was discovered, leading to the development of specialized gluten-free products.
The popularity of gluten-free eating has skyrocketed in the past few decades, with many people adopting the diet for a variety of reasons. Some do it to manage medical conditions like celiac disease or gluten sensitivity, while others believe it provides health benefits even without a diagnosed issue.
This surge in demand has driven the food industry to create a wide range of gluten-free options, making it easier than ever for families to find suitable products for their children.
Recipe
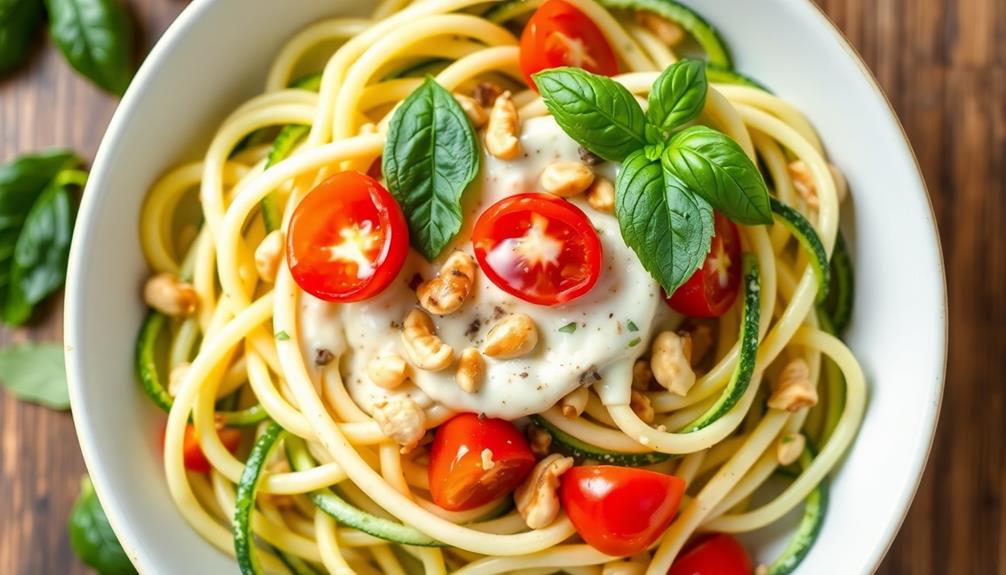
Growing up gluten-free can be challenging, but it doesn't have to mean sacrificing delicious, wholesome meals. This gluten-free recipe is a perfect example of how to create a tasty dish that the whole family will enjoy.
It's important to ensure that your kids aren't only eating gluten-free but also getting the nutrition they need to thrive, just like with newborn feeding options. Packed with fresh vegetables and lean protein, this recipe isn't only gluten-free but also nutrient-dense.
It's a great way to introduce your kids to new flavors and textures while ensuring they're getting the nutrition they need to thrive.
- 1 pound boneless, skinless chicken breasts, diced
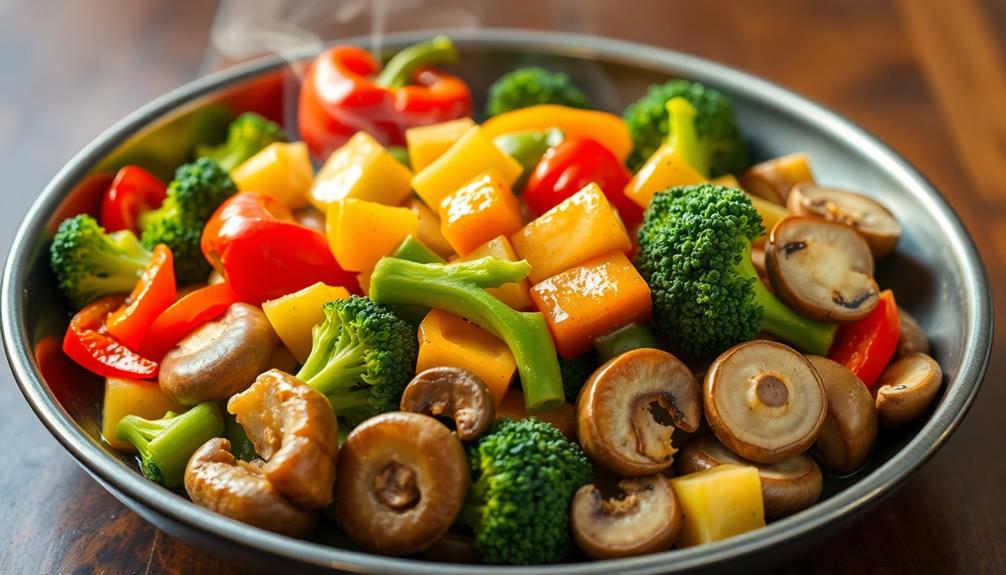
- 2 cups fresh broccoli florets
- 1 red bell pepper, diced
- 1 cup sliced mushrooms
- 2 cloves garlic, minced
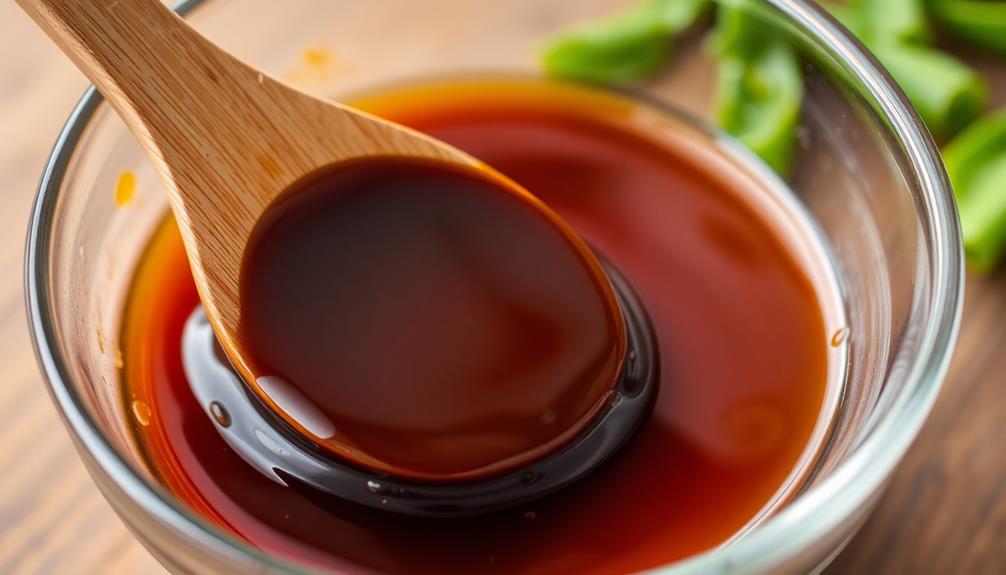
- 2 tablespoons gluten-free soy sauce
- 1 tablespoon honey
- 1 teaspoon sesame oil
- Salt and pepper to taste
In a large skillet or wok, heat a tablespoon of oil over medium-high heat. Add the diced chicken and cook until lightly browned, about 5-7 minutes. Remove the chicken from the pan and set aside.
In the same pan, sauté the broccoli, bell pepper, and mushrooms until tender-crisp, about 5 minutes. Add the garlic and cook for an additional minute.
Return the cooked chicken to the pan and stir in the gluten-free soy sauce, honey, and sesame oil. Season with salt and pepper to taste. Serve immediately over a bed of cooked gluten-free rice or quinoa.
Cooking Steps
First, gather all the ingredients and utensils you'll need. Be sure to measure each ingredient precisely to ensure your gluten-free recipe turns out perfectly.
Incorporating fresh vegetables can enhance flavor and provide added nutrients, such as the vitamins and minerals found in baked kale nutrition in baked kale.
Next, mix all the wet ingredients together until they're well-combined.
Step 1. Gather All Ingredients and Utensils
To prepare your gluten-free meal, you'll need to gather all the necessary ingredients and utensils. Start by checking your recipe and making sure you have everything you need.
Gather the gluten-free flours, starches, leavening agents, and any other dry ingredients the recipe calls for. Don't forget the wet ingredients like eggs, milk, or oil.
Make sure you have all the right tools, too – a mixing bowl, whisk, measuring cups and spoons, and any baking pans or dishes.
Double-check that everything is gluten-free, as even a small amount of regular flour or breadcrumbs can ruin a recipe.
Once you have all your ingredients and equipment ready, you can begin mixing and assembling your dish. Taking the time to get organized will help the cooking process go smoothly and ensure your gluten-free meal turns out perfectly.
With all the right items on hand, you'll be ready to create a delicious and safe meal for your child. If you’re looking for inspiration, consider exploring lowfodmap meal ideas for kids. These meals are designed to be easy on a child’s digestive system, making them a safe and enjoyable choice for young eaters. With a little creativity and some careful ingredient selection, you can create a variety of dishes that your child will love.
Step 2. Measure All Ingredients Precisely

With all your ingredients and tools ready, you can now focus on precisely measuring each one. Gluten-free baking requires exact measurements to ensure the recipe turns out just right. Don't wing it – use proper measuring cups and spoons for dry ingredients and a liquid measuring cup for wet ones.
Carefully pour or scoop ingredients into the correct vessel, leveling off the top. This attention to detail makes all the difference in achieving the right texture and rise in your gluten-free treats.
Be especially mindful when measuring flour alternatives like rice, almond, or coconut flour. These can be denser than traditional wheat flour, so packing them into the cup can lead to using too much. Lightly spoon the flour into the cup and level it off gently with a knife.
For wet ingredients like milk or oil, bend down to eye level with the liquid line to ensure you've reached the exact measurement. Taking these extra steps now will save you from disappointment later when your baked goods don't turn out as expected.
Step 3. Mix All Wet Ingredients
Next, combine all the wet ingredients in a separate bowl. This includes any liquids, such as milk, oil, or eggs, that your recipe calls for. Use a whisk or fork to fully incorporate the wet components. Make sure there are no lumps or unmixed pockets. This helps create a smooth, even texture in your batter or dough.
For example, if your recipe requires 1 cup of milk, 1/4 cup of vegetable oil, and 2 large eggs, you'd whisk those together until fully blended.
Once the wet ingredients are well-mixed, you're ready to gradually add them to your dry ingredients. Slowly pour the wet mixture into your bowl of flour, baking soda, salt, and any other powdery elements.
Gently fold the wet and dry components together with a spatula until just combined. Be careful not to overmix, which can lead to tough, dense results. Your goal is a soft, pliable dough or batter that's ready for the next steps. Mixing the wet and dry elements thoroughly but lightly is the key to success.
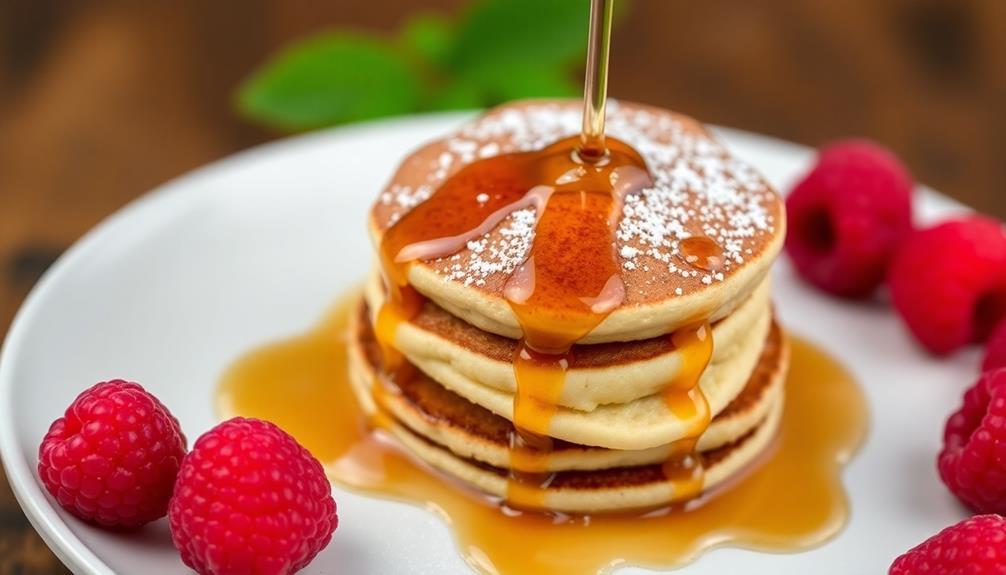
Step 4. Bake in Preheated Oven
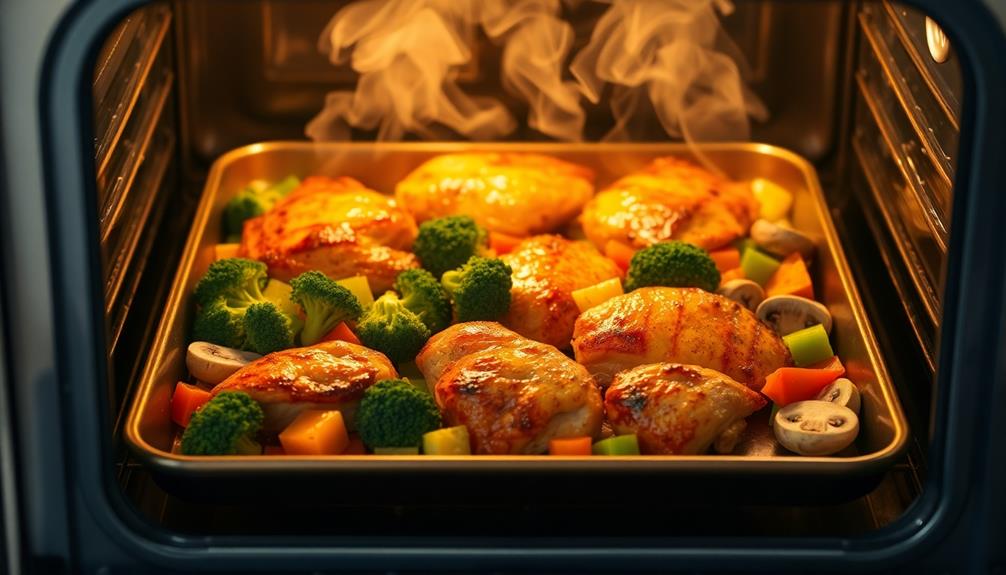
Preheat your oven to the temperature specified in the recipe. This is a crucial first step, as having your oven ready to go ensures your baked goods will turn out just right.
Once the oven is preheated, carefully place your prepared baking dish or tray on the middle rack. Keep in mind that oven temperatures can vary, so it's a good idea to check on your treats a few minutes before the suggested baking time.
You'll know they're done when a toothpick inserted into the center comes out clean. Remember to use oven mitts when handling hot items.
Let your baked creation cool for a bit before digging in – this allows the flavors to set and the texture to firm up. Soon, you'll have a delicious gluten-free snack or treat to enjoy! If you’re feeling inspired, why not experiment with more glutenfree holiday baking? There are so many wonderful recipes out there that cater to different dietary needs and restrictions. Whether it’s cookies, pies, or cakes, you’ll find that glutenfree holiday baking can be just as delicious and satisfying as traditional baking. So go ahead and explore the world of glutenfree holiday treats – you might just discover a new favorite! And don’t forget about savory options when it comes to gluten-free baking! Have you tried making your own glutenfree pizza crust? It’s a great way to enjoy a classic dish without worrying about gluten. With the right combination of flours and ingredients, you can create a delicious crust that will hold all of your favorite toppings. So whether you’re in the mood for something sweet or savory, gluten-free holiday baking has something for everyone to enjoy.
Just be sure to store any leftovers properly so they stay fresh.
Step 5. Allow to Cool Completely
Once your delicious gluten-free baked goods have finished in the oven, it's crucial to allow them to cool completely before serving or storing. Rushing to dig in might result in a crumbly, falling-apart mess. Instead, let your treats sit on the baking sheet or cooling rack for at least 15 minutes. This gives the structure time to set and the flavors to develop fully.
If you're baking muffins or cupcakes, remove them from the pan after about 5 minutes and place them on a wire rack. This prevents soggy bottoms and allows air to circulate around the entire item.
Cakes and loaves should cool in the pan for 10-15 minutes before inverting onto a rack. Cookies need at least 5 minutes on the baking sheet before transferring to a wire rack or plate.
Patience is key! Letting your gluten-free creations cool thoroughly ensures they'll hold their shape, taste amazing, and stay fresh for longer. Trust the process – your efforts will be rewarded with perfectly baked, delectable results.
Final Thoughts
Considering the complexities of raising gluten-free children, it's crucial to maintain a positive outlook. Remember, you're not alone in this journey, and with the right strategies, your family can thrive.
Experiment with new recipes, explore exciting gluten-free ingredients, and involve your kids in the process. They'll not only learn valuable life skills but also develop a deeper appreciation for their dietary needs.
As you navigate this path, don't be afraid to seek support from online communities, healthcare professionals, or other gluten-free families. Their insights and experiences can provide invaluable guidance.
Stay informed about the latest research, regulations, and product innovations to ensure your child's nutritional needs are met.
Most importantly, celebrate the small victories and cherish the moments when your child enjoys a delicious, gluten-free treat.
With patience, creativity, and a positive mindset, you can create a nurturing and fulfilling gluten-free lifestyle for your family.
Frequently Asked Questions
How Can I Get My Child to Enjoy Gluten-Free Foods?
To get your child to enjoy gluten-free foods, get them involved in the cooking process. Let them pick out new recipes and ingredients to try. Offer tasty, kid-friendly options that don't feel like they're missing out on anything.
What Are the Nutritional Benefits of a Gluten-Free Diet for Children?
A gluten-free diet can provide your child with essential nutrients like fiber, vitamins, and minerals. It may also help manage certain health conditions, such as celiac disease or gluten intolerance. Consult your pediatrician to ensure your child's dietary needs are met.
How Can I Ensure My Child's Gluten-Free Diet Is Balanced?
To ensure your child's gluten-free diet is balanced, focus on including a variety of nutrient-dense foods like fruits, vegetables, lean proteins, and gluten-free whole grains. Consult a dietitian to create a well-rounded meal plan that meets their nutritional needs.
Are There Any Challenges With Transitioning a Child to a Gluten-Free Diet?
Transitioning your child to a gluten-free diet can be challenging. You'll need to avoid cross-contamination, find suitable replacements, and ensure your child's diet remains balanced. It may take time for them to adjust, but with patience, it can become a healthy lifestyle.
How Can I Make Gluten-Free Meals That My Child Will Actually Eat?
To make gluten-free meals your child will enjoy, involve them in the cooking process, offer familiar flavors, and experiment with fun, colorful presentations. Don't be afraid to get creative and cater to their preferences.