You'll love the rich, creamy indulgence of dairy-free ice cream – a delightful frozen treat that satisfies cravings without the milk. Whether you're lactose-intolerant, vegan, or simply seeking a guilt-free dessert, these innovative plant-based ice creams offer a world of flavors and textures to explore. From blending the dairy-free base to churning and freezing the mixture, you'll discover the ease of whipping up homemade batches. And the possibilities for toppings are endless – from fresh berries to decadent chocolate sauces. Keep reading to uncover the history, benefits, and expert tips for creating your own dairy-free ice cream masterpieces.
Key Takeaways
- Dairy-free ice cream has a history dating back to the early 20th century, offering lactose-free and vegan-friendly frozen treat options.
- Dairy-free ice cream provides benefits like being suitable for lactose-intolerant individuals, supporting vegan diets, and offering a satisfying indulgence.
- Homemade dairy-free ice cream allows control over ingredients and flavors, often being lower in sugar and fat compared to traditional ice cream.
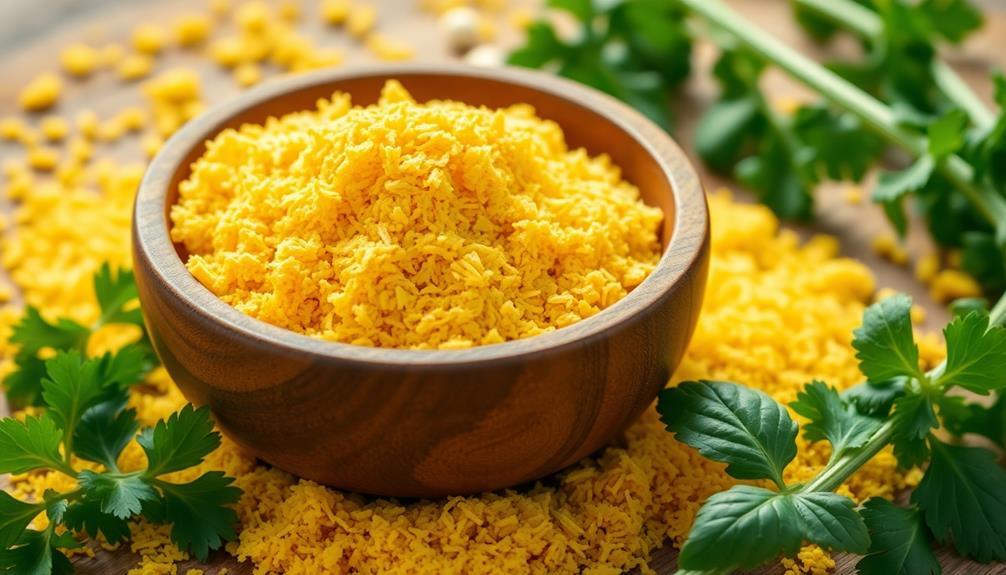
- The key ingredients in dairy-free ice cream include almond milk, coconut milk, and cashew/oat cream, with a process of blending, churning, and freezing.
- Advancements in dairy-free ice cream include improvements in plant-based ingredients, enhanced production methods, and a growing market reflecting rising demand for dairy alternatives.

Ninja Slushi Frozen Drink and Slushie Machine, Rapid Chill Technology, 88 Oz Easy Fill Vessel, Dishwasher Safe Parts, Black, 1 Count
- No Ice Needed: RapidChill technology freezes liquids evenly
- Versatile Frozen Drinks: Turns wine, coffee, soda, juice, and more
- One-Touch Operation: Simple controls for smooth frozen drinks
As an affiliate, we earn on qualifying purchases.
History
The origins of dairy-free ice cream can be traced back to the early 20th century, when lactose intolerance became more widely recognized. As people sought alternatives to traditional dairy-based treats, innovators began experimenting with plant-based ingredients like nuts, grains, and fruits to create creamy, frozen desserts.
In the 1920s, soy-based ice creams gained popularity, offering a lactose-free option for those with dietary restrictions. Later, almond and coconut milk-based varieties emerged, catering to the growing demand for dairy-free choices.
Throughout the mid-to-late 1900s, the selection of non-dairy ice creams steadily expanded, with flavors ranging from classic vanilla to exotic fruit and nut combinations.
Today, the dairy-free ice cream market continues to evolve, with innovative techniques and ingredients pushing the boundaries of what's possible. Whether you're lactose intolerant, vegan, or simply seeking a delicious, plant-based frozen treat, the history of dairy-free ice cream is one of adaptability, creativity, and a commitment to satisfying diverse palates.
Recipe
Dairy-free ice cream is a delicious and versatile dessert option for those who are lactose-intolerant or prefer a plant-based diet. Making it at home allows you to control the ingredients and create unique flavors that cater to your preferences.
Additionally, homemade dairy-free ice cream can be a healthier alternative, as it typically contains less sugar and fat than traditional ice cream, which is important for those mindful of health considerations.
This recipe yields a creamy, scoopable ice cream that's free from dairy products. The key is using a blend of plant-based milks and creams to achieve the desired texture and richness. For this recipe, I recommend using a combination of coconut milk, almond milk, and cashew cream to create a luscious and creamy base. The result is a decadent ice cream that’s perfect for vegans or those who are lactose intolerant. You can also use this technique to make creamy vegan soups, such as a velvety butternut squash or a rich potato leek soup.
Ingredients:
- 1 cup unsweetened almond milk
- 1 cup full-fat coconut milk
- 1/2 cup cashew cream or oat cream
- 3/4 cup granulated sugar
- 1 teaspoon vanilla extract
- 1/4 teaspoon salt
Instructions:
In a medium saucepan, combine the almond milk, coconut milk, and cashew/oat cream. Heat the mixture over medium, stirring occasionally, until it begins to steam and small bubbles appear around the edges.
Remove from heat and stir in the sugar, vanilla, and salt until the sugar has dissolved completely. Allow the mixture to cool to room temperature, then transfer it to a bowl and refrigerate for at least 2 hours, or until completely chilled.
Once chilled, pour the mixture into an ice cream maker and churn according to the manufacturer's instructions, usually 20-30 minutes. Transfer the churned ice cream to an airtight container and freeze for at least 2 hours before serving. Enjoy your homemade dairy-free ice cream!
Tips:
- For a richer, creamier texture, substitute 1/4 cup of the almond milk with full-fat coconut milk.
- Experiment with different flavors by adding purees, extracts, or chopped nuts and chocolate.
- Store the ice cream in the freezer for up to 2 months, but allow it to sit at room temperature for 5-10 minutes before scooping to soften it.
Cooking Steps
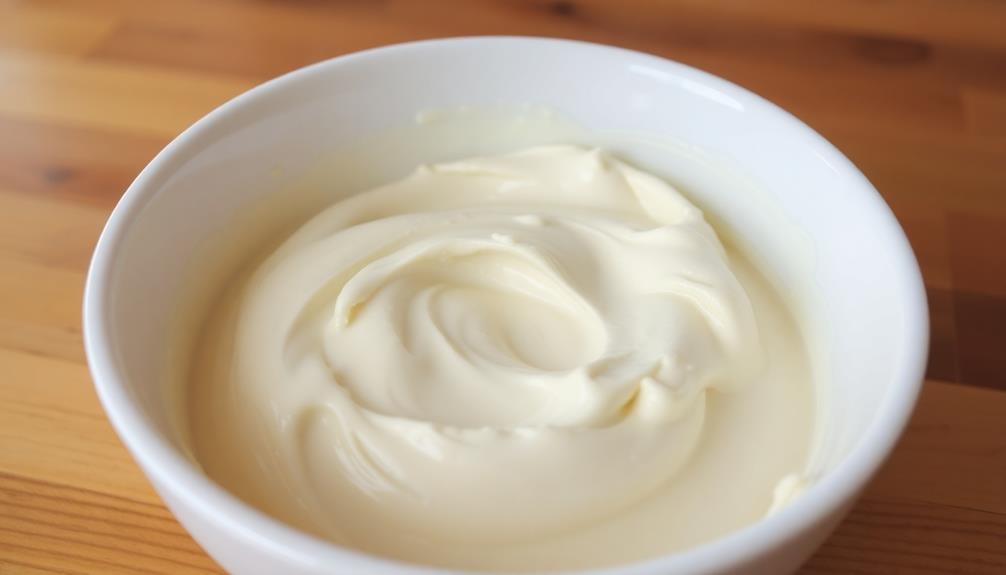
First, blend the dairy-free milk and other ingredients in a blender until smooth.
Then, pour the mixture into an ice cream maker and churn it until it reaches your desired consistency.
Finally, transfer the churned ice cream to a freezer-safe container and freeze it until firm, about 2-4 hours.
Scoop and serve, garnishing with your favorite toppings if you'd like.
Step 1. Blend Dairy-Free Milk and Ingredients

To begin, gather your dairy-free milk of choice and any additional ingredients you'll be using, such as sweeteners, vanilla extract, or thickening agents.
In a blender, combine the dairy-free milk and your selected ingredients. Blend the mixture on high speed until it's smooth and well-incorporated. Depending on the recipe, you may need to add more or less of certain ingredients to achieve the desired flavor and texture.
Once the base is blended, you can begin adding any mix-ins you'd like, such as chopped nuts, chocolate chips, or fresh fruit.
Pulse the blender a few times to incorporate the mix-ins without over-blending. If the mixture seems too thin, you can add a thickening agent like xanthan gum or cornstarch and blend again until it reaches the right consistency.
Remember to taste and adjust the sweetness or other flavors as needed. With your dairy-free ice cream base ready, you can now pour it into your ice cream maker and churn it according to the manufacturer's instructions.
Step 2. Churn Mixture in Ice Cream Maker

Churning the dairy-free ice cream mixture in your ice cream maker is the next crucial step.
Once you've blended the dairy-free milk, sweetener, and any other ingredients, it's time to get that mixture into the ice cream maker. Turn on the machine and let it churn for 20-30 minutes, or until the mixture has thickened and reached your desired consistency.
As it churns, the motion of the blades will incorporate air into the mixture, creating that smooth, creamy texture you expect from ice cream. Keep an eye on it and stop the machine once the ice cream has reached the right thickness.
If you let it go too long, it can become too hard and icy.
When the churning is done, you can transfer the dairy-free ice cream to an airtight container and pop it in the freezer for a few hours to firm it up even more.
Then scoop, serve, and enjoy your delicious homemade frozen treat!
Step 3. Freeze Mixture Until Firm
After churning the dairy-free ice cream mixture in your ice cream maker, you'll want to transfer it to an airtight container and place it in the freezer. This is a crucial step to ensure your ice cream reaches the perfect frozen consistency.
As the mixture freezes, the water molecules will form ice crystals, creating that delightfully creamy texture you crave.
Be sure to stir the mixture every 30 minutes or so during the first hour of freezing. This will help prevent large ice crystals from forming and keep the texture smooth and scoopable.
Once the mixture has been in the freezer for about an hour, you can let it freeze undisturbed until it's firm, which should take 2-3 hours total.
When the ice cream is ready, you'll know it by its solid, scoop-able consistency. Grab your favorite ice cream scoop and start scooping!
Serve immediately for the best texture, or store in the freezer for up to 2 months.
Step 4. Scoop and Serve Ice Cream
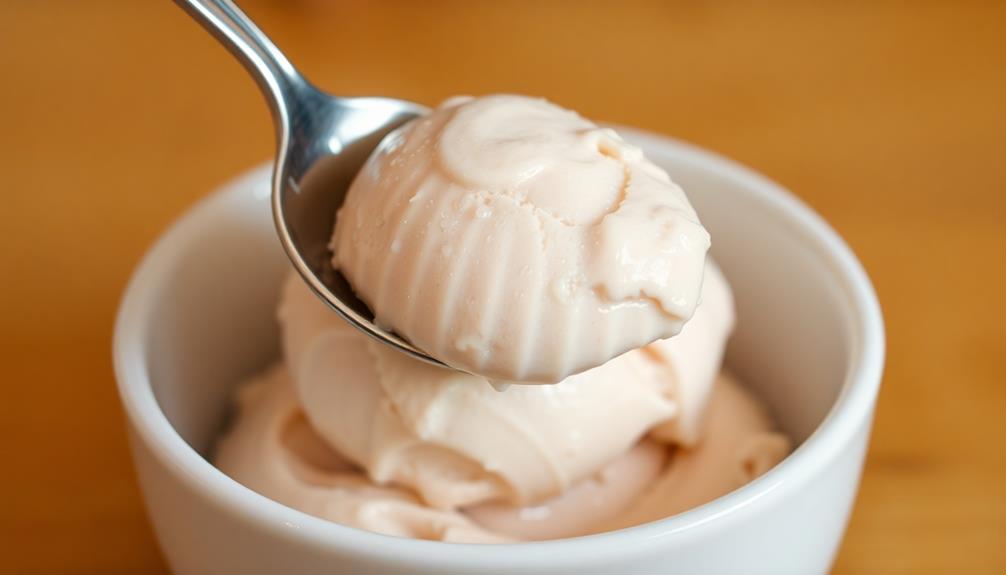
Once the dairy-free ice cream has reached its ideal frozen consistency, you can effortlessly scoop and serve it.
Dip your ice cream scoop in warm water before digging into the frozen treat to make scooping a breeze. This helps the scoop slide through the ice cream smoothly, creating beautiful, uniform scoops.
Enjoy the dairy-free ice cream immediately, or store it in an airtight container in the freezer for up to 2 weeks.
If it gets a bit icy, simply let it sit at room temperature for 5-10 minutes before scooping. This will soften it to the perfect, creamy texture.
Serve the scoops in cones, cups, or bowls, and top with your favorite dairy-free toppings like chopped nuts, fresh berries, or a drizzle of caramel or chocolate sauce.
The possibilities are endless! With these simple steps, you'll be enjoying delicious, dairy-free ice cream in no time.
Step 5. Garnish With Toppings if Desired
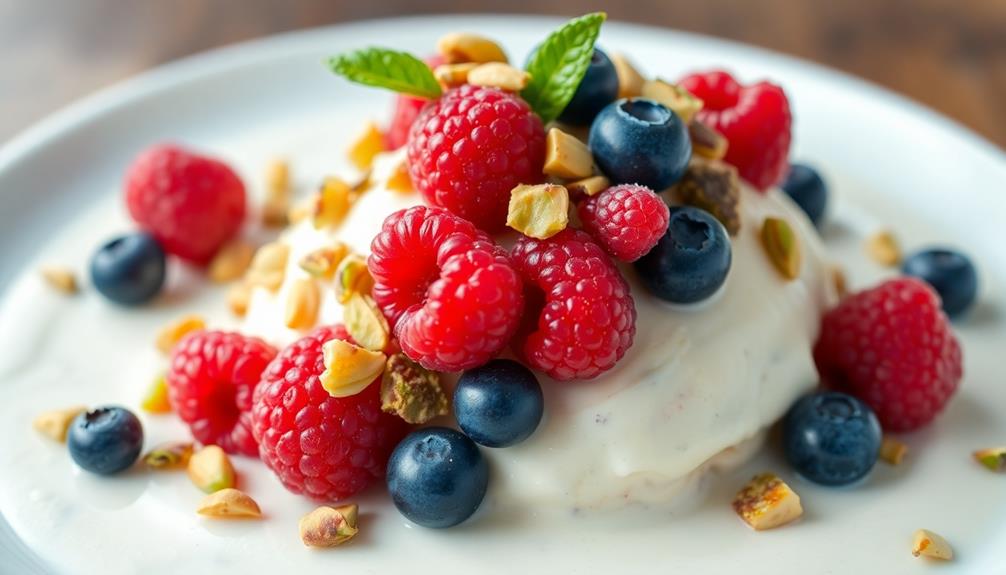
With your dairy-free ice cream now perfectly scooped, it's time to consider garnishing it with a variety of toppings to enhance the flavor and visual appeal.
Chopped nuts, like almonds or pecans, can add a delightful crunch and nutty flavor. Drizzle on some melted chocolate or caramel sauce for a decadent touch.
Fresh berries, like raspberries or blueberries, provide a burst of sweetness and vibrant color. For a tropical twist, try topping your ice cream with shredded coconut or a sprinkle of chopped mango.
If you're feeling extra indulgent, a dollop of dairy-free whipped cream can add a light and fluffy finishing touch.
Don't be afraid to get creative! The possibilities are endless when it comes to dressing up your dairy-free frozen treat. Experiment with different combinations of toppings to find your personal favorite.
Final Thoughts
Dairy-free ice cream has become a game-changing alternative for those seeking a lactose-free, animal-free frozen treat. With so many delicious options, from creamy cashew-based to refreshing fruit-forward sorbets, there's truly something for everyone.
Whether you're dairy-free by choice or necessity, these sweet treats offer a satisfying indulgence without the guilt.
The best part? Dairy-free ice cream is incredibly versatile. Top it with your favorite toppings, blend it into milkshakes, or even use it as a base for pies and cakes. The possibilities are endless.
And with continued advancements in plant-based ingredients and production methods, the quality and variety of dairy-free ice cream keep improving.
Frequently Asked Questions
How Long Does Dairy-Free Ice Cream Last in the Freezer?
Properly stored, your dairy-free ice cream can last 2-3 months in the freezer. Be sure to keep it tightly sealed and avoid frequent temperature fluctuations for optimal freshness and flavor.
Can Dairy-Free Ice Cream Be Refrozen After Thawing?
Yes, you can refreeze dairy-free ice cream after it's thawed. Just be sure to refreeze it as soon as possible, and remember that the texture may change slightly with each refreeze.
Do Dairy-Free Ice Creams Have the Same Texture as Traditional Ones?
You'll find that dairy-free ice creams often have a slightly different texture compared to traditional ones. They may be a bit softer or more icy, but they can still be creamy and delicious in their own way.
Are There Any Health Benefits of Dairy-Free Ice Cream?
You might enjoy some health benefits from dairy-free ice cream, as it's often lower in saturated fat and cholesterol compared to traditional varieties. Plus, it can be a great option for those with lactose intolerance or dairy allergies.
Can Dairy-Free Ice Cream Be Used in Recipes That Call for Regular Ice Cream?
You can absolutely use dairy-free ice cream in recipes that call for regular ice cream. The substitution works seamlessly, and you'll enjoy the same delicious results without the dairy.