Whether you're lactose-intolerant, vegan, or simply seeking a healthier cheese alternative, you'll be delighted to discover the abundance of flavorful dairy-free cheese substitutes now available – from innovative store-bought options to easy-to-make homemade varieties that can elevate your culinary creations. These plant-based cheeses provide a suitable option for those with dietary restrictions, offering customizable flavors and textures that cater to diverse preferences. While store-bought choices range from sliceable blocks to creamy spreads, you can also explore homemade recipes featuring simple ingredients like nuts, seeds, and nutritional yeast. And if you're curious to dive deeper, there's more to uncover about the history and benefits of dairy-free cheese.
Key Takeaways
- The dairy-free cheese market has experienced rapid growth due to increasing demand for plant-based alternatives driven by health and environmental concerns.
- Dairy-free cheese provides benefits for those with lactose intolerance or dairy allergies, and offers versatility in cooking and baking for diverse dietary preferences.
- Store-bought dairy-free cheese options include sliceable blocks, creamy spreads, and shredded toppings, with a focus on taste and texture to mimic traditional cheese.
- Homemade dairy-free cheese allows for customization of flavors and textures, typically using ingredients like nuts, seeds, nutritional yeast, and plant-based milks.
- The process for making homemade dairy-free cheese involves soaking and blending nuts, then incorporating desired seasonings, and chilling the mixture to set.
History
Dairy-based cheeses have long been a staple in many culinary traditions, but as concerns over lactose intolerance and dietary preferences have risen, the demand for dairy-free cheese substitutes has grown exponentially.
The history of these alternatives can be traced back to ancient civilizations, where people experimented with plant-based ingredients to create cheese-like products. In the 20th century, advancements in food science and technology led to the development of more sophisticated dairy-free options, from soy-based to nut-based cheeses.
As the popularity of veganism and vegetarianism has increased, so too has the variety and quality of dairy-free cheeses available on the market.
Today, you can find a wide range of substitutes, from spreadable cashew-based options to firm, sliceable blocks made from coconut or almond milk. These innovations have allowed those with dietary restrictions or personal preferences to enjoy the flavors and textures of traditional cheese without the animal-derived ingredients. Many people are also choosing these plant-based alternatives for their health benefits, as they are often lower in cholesterol and saturated fat than dairy cheese. In addition, the versatility of coconut milk recipes and other dairy-free options makes it easy to incorporate these substitutes into a wide variety of dishes, from savory appetizers to sweet desserts. Whether you’re making a classic grilled cheese sandwich or experimenting with a new cheesecake recipe, there is a plant-based cheese option to suit your needs.
Recipe
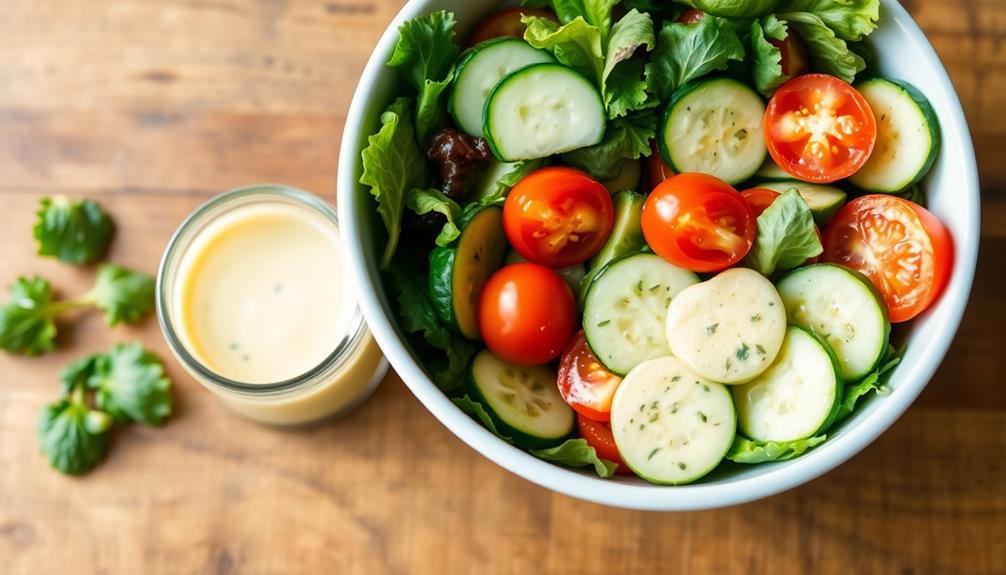
Dairy-free cheese can be a versatile and delicious alternative for those looking to reduce their dairy intake or explore new culinary possibilities. With the right recipe, you can create a creamy, flavorful cheese substitute that can be used in a variety of dishes.
This recipe for a dairy-free cheese substitute is easy to make and can be customized to suit your preferences. Whether you're looking to top a pizza, create a grilled cheese sandwich, or simply enjoy a satisfying snack, this recipe is a great option to have in your repertoire.
- 1 cup raw cashews, soaked in water for at least 4 hours (or overnight)
- 1/4 cup unsweetened almond milk
- 2 tablespoons lemon juice
- 1 teaspoon nutritional yeast
- 1/2 teaspoon salt
- 1/4 teaspoon garlic powder
- 1/4 teaspoon onion powder
Drain and rinse the soaked cashews. Add all the ingredients to a high-speed blender and blend until smooth and creamy, scraping down the sides as needed. Adjust seasoning to taste. The cheese substitute can be used immediately or refrigerated for up to 1 week.
When cooking with this dairy-free cheese substitute, keep in mind that it may not melt or behave exactly like traditional cheese. However, it can be a great replacement in many recipes. Experiment with different flavors and uses to find what works best for your needs.
Cooking Steps
First, you'll need to soak your cashews overnight.
Once they've had a good soak, toss them in a blender with some water and blend until smooth.
Next, add in your desired spices and seasonings, then pour the mixture into a mold and pop it in the fridge to set.
When you're ready to serve, just slice it up and enjoy your homemade dairy-free cheese!
Step 1. Soak Cashews Overnight
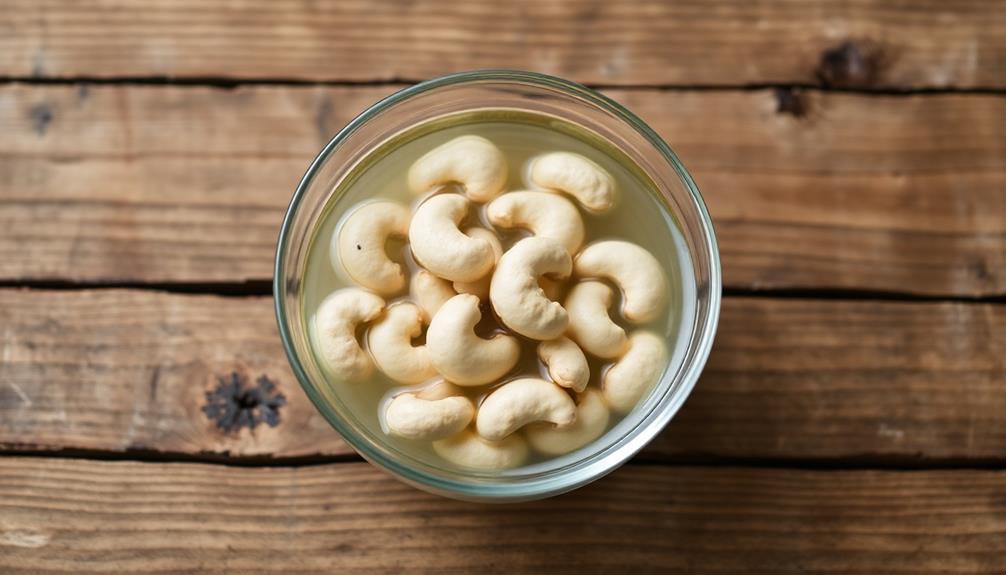
Soaking the cashews overnight is a simple yet crucial step in creating a creamy, dairy-free cheese substitute. This process softens the nuts, making them easier to blend into a smooth, spreadable consistency.
It's best to start with raw, unsalted cashews and let them soak in water for at least 8 hours, or overnight. This gives the cashews time to fully hydrate and become plump and tender.
Once the cashews have soaked, drain and rinse them thoroughly. This removes any excess water and impurities.
Then, you're ready to blend the cashews with other ingredients like lemon juice, nutritional yeast, and seasonings to create your desired cheese-like flavor and texture.
The soaked cashews will result in a rich, creamy base that can be used to make everything from sliceable blocks to spreadable dips.
With this simple prep work, you're on your way to crafting delicious, dairy-free cheese alternatives right at home.
Step 2. Blend Soaked Cashews With Water

With the cashews soaked and drained, you're ready to blend them into a smooth, creamy base.
Grab your high-powered blender and add the soaked cashews, along with some fresh water. Start by adding just a 1/2 cup of water and blend on high speed until the mixture is silky smooth. If it's too thick, add a little more water, a tablespoon at a time, until you reach your desired consistency.
The key is to blend the cashews thoroughly, ensuring there are no visible bits or grittiness. This creamy cashew base will be the foundation for your dairy-free cheese.
Feel free to experiment with the water amount to get the texture you like best – some prefer it thicker, while others enjoy a slightly thinner consistency.
Once blended, you can use this cashew cream in a variety of recipes, from cheese sauces to dips and spreads. Get ready to dive into the world of dairy-free deliciousness!
Step 3. Add Spices and Seasonings
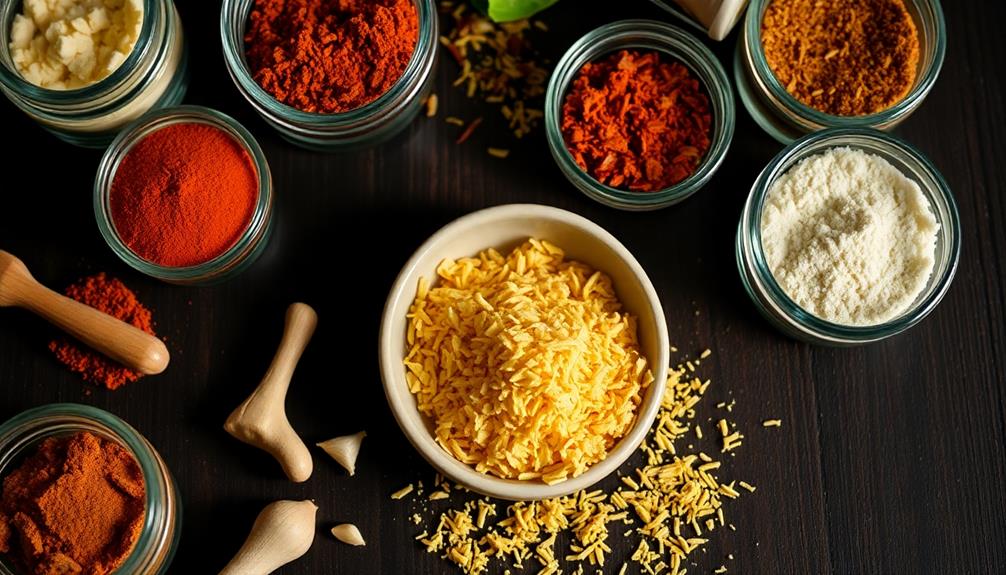
Next, add your desired spices and seasonings to the creamy cashew base. This is where you can really get creative and customize the flavor profile.
Try adding a pinch of garlic powder, onion powder, or dried herbs like thyme, rosemary, or basil. A dash of smoked paprika or cayenne pepper can also lend a nice kick.
Don't be afraid to experiment until you find the perfect blend that suits your taste buds. The great thing about making your own dairy-free cheese is that you can adjust the seasonings to your liking.
Maybe you prefer a tangier flavor, so you'll want to incorporate more lemon juice or apple cider vinegar. Or perhaps you're in the mood for a cheesier taste, in which case you can amp up the nutritional yeast.
Just keep tasting and adjusting the seasonings until you achieve the desired flavor. This step is all about personal preference, so have fun with it!
Step 4. Pour Into Mold and Refrigerate
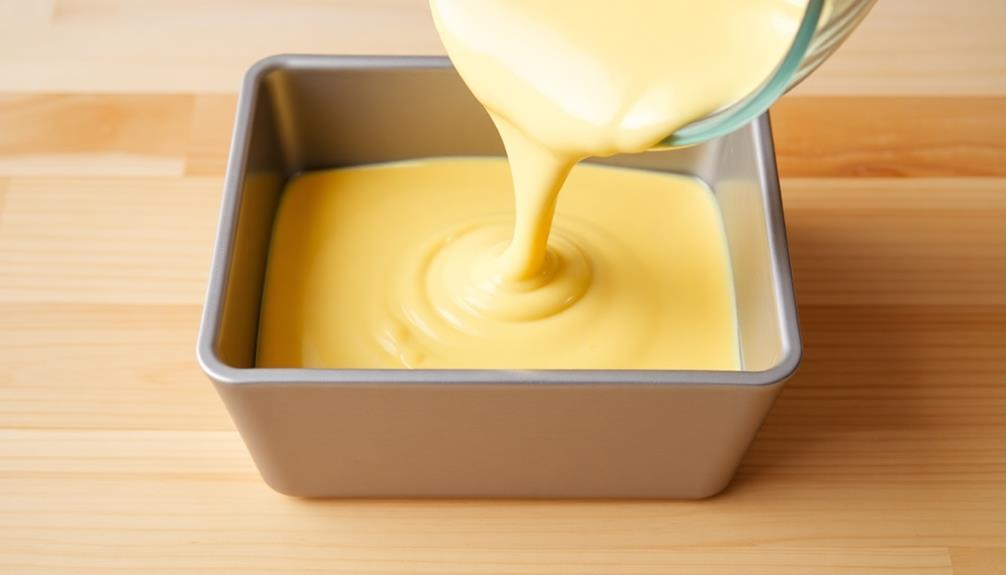
Once the cashew mixture is fully blended and seasoned to your liking, you'll need to pour it into a mold or container of your choice. This could be a simple square or round baking dish, or you might opt for a cheese mold with intricate designs.
Whichever you select, make sure it's lined with parchment paper or a silicone mat to prevent sticking. Gently pour the creamy cheese substitute into the mold, smoothing the top with a spatula.
Cover the mold and pop it into the refrigerator for at least 4 hours, or until the "cheese" has completely set. This chilling step is crucial, as it allows the cashew base to firm up and take on a cheese-like texture.
Once fully set, you can carefully remove the cheese from the mold. It's now ready to slice, grate, or crumble onto all your favorite dishes!
Just keep in mind that homemade dairy-free cheese is best enjoyed within 3-5 days for optimal freshness.
Step 5. Slice and Serve Chilled

After the cashew-based cheese has chilled and set, it's time to slice and serve it. Use a sharp knife to carefully cut the cheese into even slices or cubes. Be gentle to avoid crumbling the cheese.
Arrange the slices or cubes attractively on a serving platter or board. You can garnish the cheese with fresh herbs, nuts, or a drizzle of olive oil for a nice presentation.
Now that your dairy-free cheese is ready, feel free to enjoy it on its own, with crackers, or as part of a cheese board. It pairs well with fruit, nuts, and chutneys.
The firm texture and rich, creamy flavor make it a satisfying cheese alternative. Store any leftover cheese in an airtight container in the refrigerator for up to a week. When ready to serve again, simply slice and enjoy.
With this easy method, you can impress your guests with a delicious dairy-free cheese platter anytime.
Final Thoughts
Considering the dairy-free cheese market's rapid growth and the increasing demand for plant-based alternatives, it's clear that the future holds exciting possibilities for those seeking dairy-free cheese substitutes.
As more consumers seek out healthier, more sustainable options, manufacturers will continue to innovate and refine their products, offering an ever-expanding array of delicious and versatile dairy-free cheeses.
Whether you're looking for sliceable blocks, creamy spreads, or shredded toppings, there's sure to be a dairy-free cheese that fits your needs and taste preferences.
And with the rise of homemade options, you can even experiment with crafting your own unique blends and flavors.
As the dairy-free cheese revolution continues, the possibilities are endless.
Frequently Asked Questions
How Long Do Dairy-Free Cheese Substitutes Last in the Refrigerator?
Well, the shelf life of dairy-free cheese substitutes varies, but generally, they'll last 3-5 days in the fridge. Check the expiration date and look for any signs of spoilage before consuming. Proper storage helps extend their freshness.
Can Dairy-Free Cheese Substitutes Be Used in Cooking and Baking?
Yes, you can use dairy-free cheese substitutes in cooking and baking. They melt and perform similarly to traditional cheese, making them a great option for recipes that call for cheese.
Are There Any Health Benefits to Using Dairy-Free Cheese Substitutes?
You may find health benefits in using dairy-free cheese substitutes, as they can be lower in saturated fat and cholesterol compared to traditional cheese. Additionally, they may be suitable for those with lactose intolerance or dairy allergies.
What Are the Common Ingredients in Store-Bought Dairy-Free Cheese Substitutes?
Common ingredients in store-bought dairy-free cheese substitutes often include plant-based proteins like soy, nuts, or seeds, along with thickeners, emulsifiers, and flavorings to mimic the texture and taste of traditional cheese.
Can Homemade Dairy-Free Cheese Substitutes Be Frozen for Later Use?
Yes, you can freeze homemade dairy-free cheese substitutes for later use. They'll keep for several months in the freezer, and you can thaw them as needed to enjoy their creamy, flavorful goodness whenever you want.