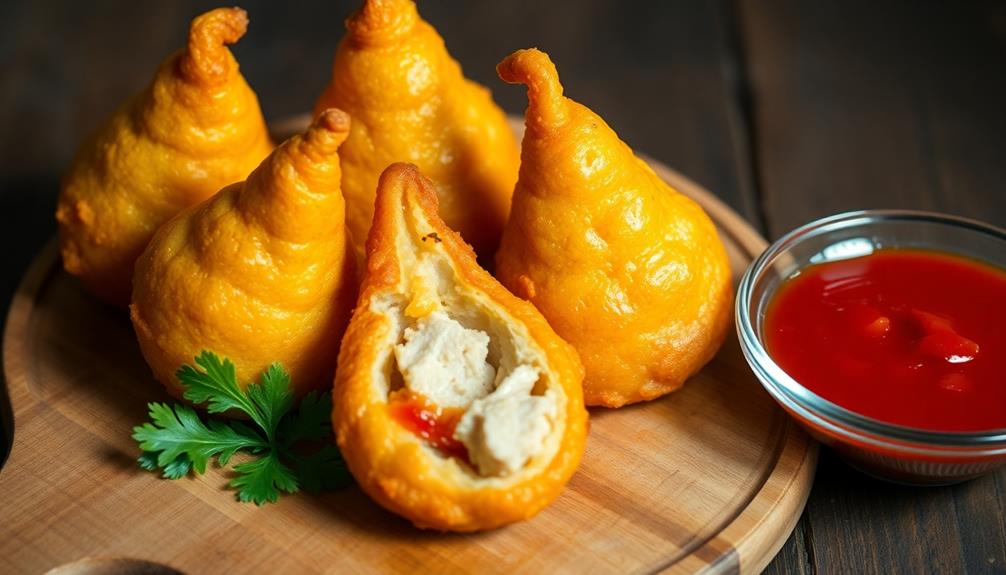
Coxinha is a popular Brazilian street food that you'll love! It's a crispy, golden, teardrop-shaped snack filled with creamy chicken. Originating in São Paulo in the late 19th century, coxinha quickly spread across Brazil. To make it, you'll shape dough into cones, stuff them with seasoned shredded chicken, and deep-fry until golden brown. The result? A crunchy exterior with a mouth-watering, soft center. Coxinha is perfect for parties, quick meals, or as a tasty snack. You can even try different fillings like cheese or beef. Ready to explore this delicious Brazilian treat? There's so much more to discover about coxinha's rich history and preparation!
Key Takeaways
- Coxinha is a popular Brazilian street food with a crispy exterior and creamy chicken filling.
- It originated in São Paulo in the late 19th century, created for a governor's son who preferred chicken thighs.
- The dish has a distinctive teardrop shape, resembling a chicken thigh.
- Coxinha consists of shredded chicken encased in soft dough, breaded, and deep-fried until golden brown.
- It's widely available at parties, cafes, and street corners across Brazil, often served with hot sauce.
History
The origins of coxinha can be traced back to São Paulo, Brazil, in the late 19th century. You'll love learning about this tasty treat's history!
It's said that a cook at the governor's mansion created coxinha to please the governor's son, who only liked chicken thighs. When they ran out of thighs one day, the clever cook shaped chicken and dough into a teardrop shape to look like a thigh. The boy loved it, and soon everyone wanted to try this new snack!
As word spread, coxinha became popular all over Brazil. People started making them in street carts and small shops, and they quickly became a favorite snack for workers and students.
You'd often see people enjoying coxinhas during their coffee breaks or as a quick lunch. Over time, different regions added their own twists to the recipe. Some folks started adding cheese, while others experimented with different fillings.
Today, you can find coxinha all over Brazil and even in other countries where Brazilian immigrants have shared their love for this delicious snack! In addition to coxinha, Brazilian cuisine has also gained popularity around the world. One iconic Brazilian dish that has made its way into international markets is the feijoada, a hearty bean stew typically served with rice and orange slices. Another beloved Brazilian export is the traditional caipirinha recipe, made with cachaca, sugar, and lime, which has become a favorite cocktail in bars and restaurants across the globe. The influence of Brazilian cuisine continues to grow, thanks to the efforts of passionate chefs and food enthusiasts who are eager to share the flavors of Brazil with the world.
Recipe
Coxinha is a popular Brazilian street food that has gained international recognition for its delicious flavor and unique shape. Resembling a teardrop or chicken drumstick, this savory snack consists of shredded chicken encased in a soft dough made from wheat flour and chicken broth, then breaded and deep-fried to golden perfection.
While traditionally filled with chicken, modern variations of coxinha can include different fillings such as cheese, beef, or vegetarian options. The crispy exterior and flavorful interior make coxinha an irresistible treat that's perfect for parties, gatherings, or as a satisfying snack any time of day.
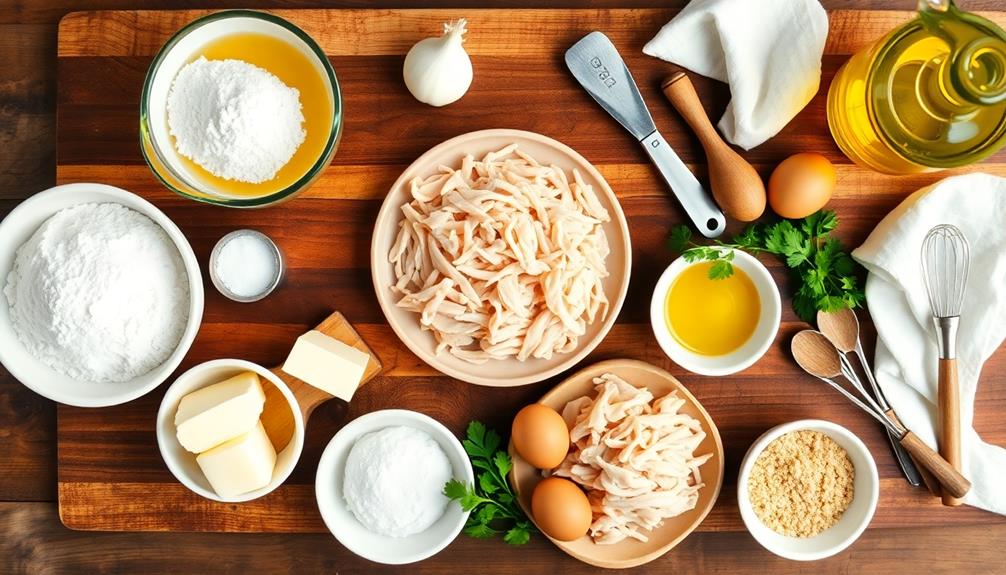
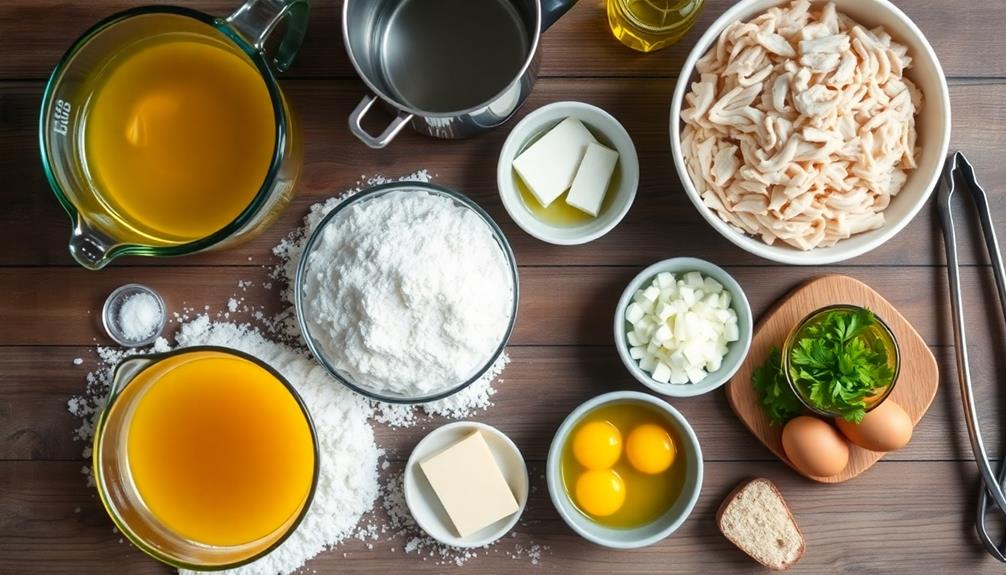
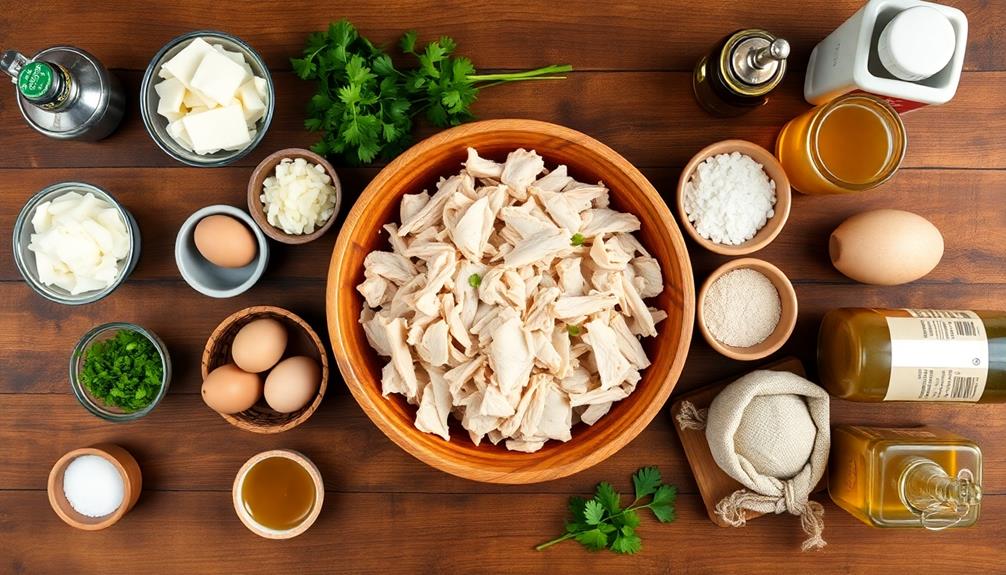
Ingredients:
- 2 cups all-purpose flour
- 2 cups chicken broth
- 2 tablespoons butter
- 1/2 teaspoon salt
- 2 cups cooked, shredded chicken
- 1/2 cup cream cheese, softened
- 1/4 cup chopped onion
- 2 cloves garlic, minced
- 1/4 cup chopped fresh parsley
- Salt and pepper to taste
- 2 beaten eggs
- 1 cup breadcrumbs
- Vegetable oil for frying
To prepare coxinha, start by making the dough. In a saucepan, bring the chicken broth to a boil and add butter and salt. Gradually stir in the flour until a smooth dough forms. Knead the dough until it's smooth and elastic.
For the filling, mix shredded chicken, cream cheese, onion, garlic, parsley, salt, and pepper. Shape the dough into small balls, flatten them, and place a spoonful of filling in the center. Carefully shape the dough around the filling to form a teardrop shape.
Dip each coxinha in beaten eggs, then coat with breadcrumbs. Deep-fry in hot oil until golden brown and crispy.
For best results, ensure the oil is at the right temperature (around 350°F or 175°C) before frying. This will help achieve a crispy exterior without making the coxinha greasy. Allow the fried coxinhas to drain on paper towels to remove excess oil.
These can be served immediately or reheated in an oven. If you want to prepare in advance, you can freeze the shaped coxinhas before frying and cook them straight from frozen when needed.
Cooking Steps
Ready to make some delicious coxinhas?
You'll start by preparing the shredded chicken filling and the dough for coating, then shape the dough into cones and fill them with the tasty chicken mixture.
Once you've got your coxinhas assembled, it's time for the most exciting part – frying them until they're perfectly golden brown and crispy!
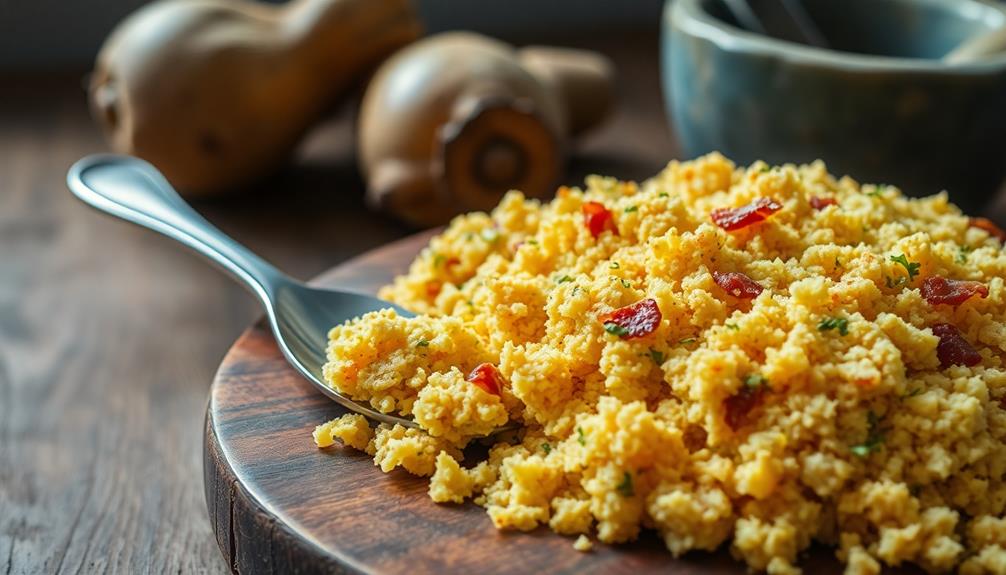
Step 1. Prepare Shredded Chicken Filling
To prepare the shredded chicken filling, start by cooking boneless chicken breasts in a large pot of boiling water until they're tender and fully cooked.
Once done, remove the chicken from the pot and let it cool for a few minutes. Now comes the fun part – shredding time! Using two forks, pull the chicken apart into small, stringy pieces. You'll feel like a culinary artist as you watch the meat transform!
Next, grab a skillet and heat some oil over medium heat. Toss in some finely chopped onions and let them sizzle until they're golden and fragrant.
Add minced garlic for an extra burst of flavor. Now, it's time to reunite the shredded chicken with its aromatic friends! Mix everything together in the skillet, stirring occasionally to ensure even cooking.
Season your filling with salt, pepper, and any other spices you love. Don't forget to taste as you go – your taste buds are your best cooking buddies!
Let the mixture simmer for a few minutes, allowing all the flavors to mingle and dance together. Your delicious chicken filling is now ready to stuff those coxinhas!
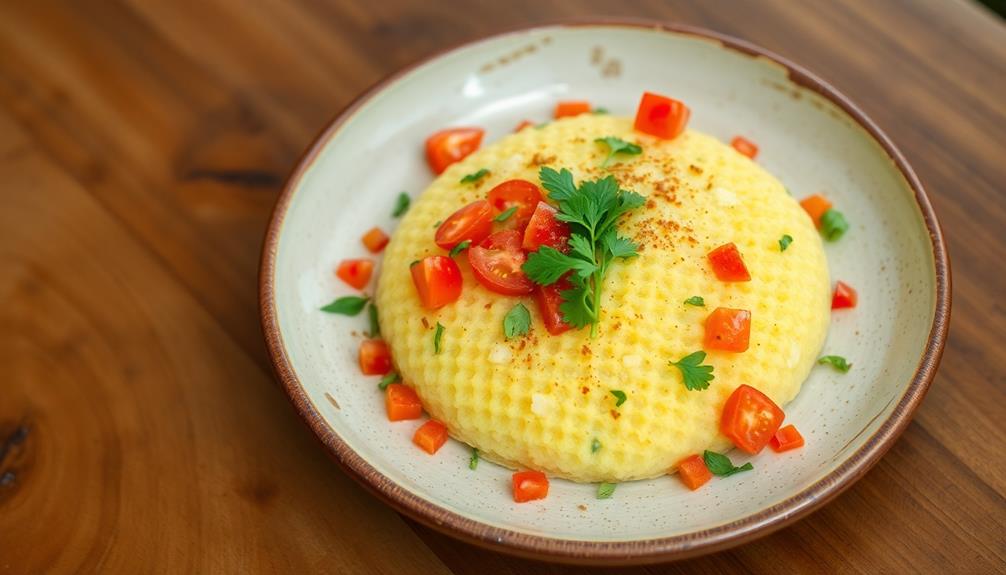
Step 2. Prepare Dough for Coating

Now that you've prepared the savory chicken filling, it's time to create the dough that'll encase it. This part is super fun and easy! Start by grabbing a medium-sized pot and pouring in some milk, water, and a dash of salt.
Place it on the stove and turn up the heat to medium. As the mixture starts to warm up, add a dollop of butter and let it melt completely.
Once everything's nice and hot, it's time for the flour party! Slowly pour in the flour, stirring constantly with a wooden spoon. You'll notice the mixture getting thicker and forming a dough. Keep stirring and mashing until it becomes smooth and pulls away from the sides of the pot. This is your cue to take it off the heat!
Let the dough cool for a bit until it's safe to handle. Now comes the fun part – kneading! Use your hands to work the dough until it's soft and pliable. If it feels too sticky, just sprinkle in a little more flour.
Your coxinha coating is now ready for the next exciting step!
Step 3. Shape Dough Into Cones

Let's dive into shaping the dough into cones! This is where your coxinhas really start to take shape, and it's a fun part of the process.
First, take a small portion of the dough you've prepared and roll it into a ball about the size of a golf ball. Then, using your thumbs, press the center of the ball to create a hollow.
Now comes the tricky part, but don't worry – you've got this! Gently work the dough with your fingers to form a cone shape. It's like making a little cup, but with a pointy bottom.
As you shape it, make sure the walls are even and not too thick. You want enough room inside for the yummy filling!
If the dough feels sticky, you can dust your hands with a little flour. Keep practicing, and soon you'll be a pro at making perfect cones.
Remember, it's okay if they're not all identical – that's part of the charm of homemade coxinhas!
Once you've shaped all your cones, you're ready for the next exciting step in creating these delicious Brazilian treats.
Step 4. Fill Cones With Chicken
Every coxinha cone is eagerly waiting to be filled with delicious chicken mixture.
Now it's time to grab your spoon and get ready for the fun part! Take a generous scoop of the prepared chicken filling and carefully place it into the center of each cone. You'll want to fill it about two-thirds of the way up, leaving some space at the top.
As you're filling, gently press the mixture down to ensure it's evenly distributed and there aren't any air pockets. This will help your coxinha stay together when you're frying it later.
Once you've added enough filling, pinch the top of the cone closed, sealing in all that yummy goodness. It's like giving your coxinha a little hug!
Don't worry if your first few aren't perfect – you'll get the hang of it quickly. Remember, practice makes perfect, and even imperfect coxinhas taste amazing!
As you work your way through the batch, you'll see your cones transform into plump, chicken-filled treats that are just begging to be cooked and devoured.
Step 5. Fry Until Golden Brown
The sizzling oil awaits your filled coxinhas. It's time to give these little chicken cones their golden-brown jackets!
First, make sure your oil is hot enough by dropping in a small piece of dough. If it bubbles and rises to the surface, you're good to go. Carefully lower a few coxinhas into the oil using a slotted spoon. Don't overcrowd the pot, or they won't cook evenly.
Watch as your coxinhas dance in the oil, turning a beautiful golden color. You'll need to flip them gently to ensure they're evenly cooked on all sides. This usually takes about 3-5 minutes, but keep an eye on them.
When they're a rich, golden-brown color, they're ready to come out. Use your slotted spoon to lift them from the oil and place them on a paper towel-lined plate. This will help soak up any extra oil.
Let your coxinhas cool for a few minutes before you bite into them. The crispy outside and warm, gooey inside will be worth the wait!
Final Thoughts
Undoubtedly, coxinha has secured its place as a beloved Brazilian street food and cultural icon. You'll find these delicious treats at parties, cafes, and street corners across Brazil. They're perfect for snacking or as a quick meal on the go.
Remember, the key to a great coxinha is in the details: a crispy golden exterior, a creamy chicken filling, and that distinctive teardrop shape.
As you've learned, making coxinha takes time and patience, but the results are worth it. You can experiment with different fillings, like cheese or beef, to create your own unique versions.
Don't forget to serve them with a side of hot sauce or chimichurri for an extra kick of flavor!
Whether you're enjoying coxinha in Brazil or making them at home, you're participating in a cherished culinary tradition. So gather your friends and family, whip up a batch of these tasty treats, and share in the joy of Brazilian cuisine.
Who knows? You might just start a new coxinha craze in your neighborhood!
Frequently Asked Questions
Can Coxinha Be Frozen for Later Consumption?
Yes, you can freeze coxinha for later consumption. It's a convenient way to preserve them. Simply wrap each one individually in plastic wrap or foil, place in a freezer bag, and store for up to 3 months.
Are There Vegetarian or Vegan Versions of Coxinha Available?
You'll find vegetarian and vegan versions available. They're often made with jackfruit, hearts of palm, or mushrooms instead of chicken. Some recipes use plant-based dough. You can easily make these at home or find them in restaurants.
What Are Common Side Dishes or Sauces Served With Coxinha?
You'll often find coxinha paired with tangy sauces like hot sauce or chimichurri. Popular sides include vinagrete (tomato salsa), farofa (toasted manioc flour), or a simple green salad. Don't forget to try it with a cold beer! If you enjoy coxinha, you may also want to try other international variations of fried balls, such as sicilian rice balls or arancini. These Italian snacks are made with risotto and often filled with cheese, peas, and sometimes even meat. They are a delicious alternative to coxinha and are often served with marinara sauce for dipping. So, next time you’re in the mood for a tasty fried appetizer, consider trying some sicilian rice balls for a change of pace.
How Long Does Coxinha Stay Fresh After Cooking?
You'll find they're best eaten fresh, but you can store them for 2-3 days in the fridge. For longer freshness, freeze them for up to 3 months. Just reheat before serving to enjoy their crispy texture.
Are There Regional Variations of Coxinha Across Different Parts of Brazil?
You'll find regional variations across Brazil. In the Northeast, you might encounter spicier fillings. São Paulo's version often includes catupiry cheese. Some areas use different flours or add unique ingredients to their dough and fillings.