Codfish cakes are a tasty treat with a rich history dating back to 15th century Portugal. You'll love these crispy, golden patties made from salt-cured cod and mashed potatoes, mixed with herbs and spices. They're perfect as appetizers, snacks, or even main courses! To make them, you'll soak the cod overnight, flake it, mix it with potatoes, form balls, and fry until golden brown. Serve them hot with a salad or rice for a complete meal. Don't forget to experiment with different dipping sauces for extra flavor! There's so much more to discover about this delicious dish.
Key Takeaways
- Codfish cakes are a traditional dish originating from Portugal, made with salt-cured cod and potatoes.
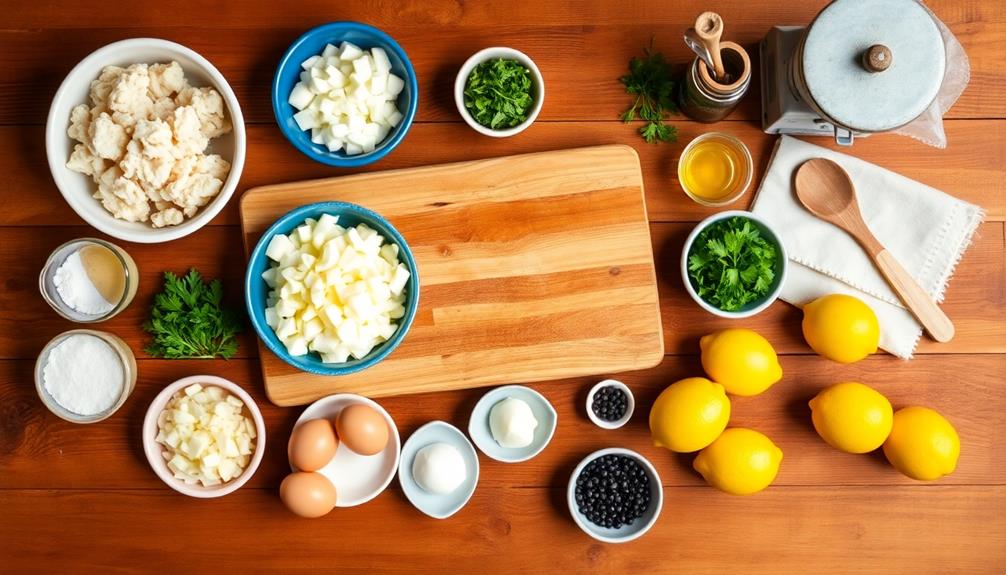
- The main ingredients include soaked and flaked salt cod, mashed potatoes, herbs, and spices.
- Preparation involves soaking the cod, mixing it with potatoes and seasonings, shaping into cakes, and frying until golden brown.
- They can be served as appetizers, snacks, or main courses, often paired with salads or rice.
- Codfish cakes can be made ahead, stored in the refrigerator or freezer, and reheated for convenience.
Top picks for "codfish cake"
Open Amazon search results for this keyword.
As an affiliate, we earn on qualifying purchases.
History
When did codfish cakes first appear on dinner tables? You might be surprised to learn that these tasty treats have been around for centuries! Codfish cakes, also known as "bolinho de bacalhau" in Portuguese, have their roots in the seafaring traditions of Portugal.
Back in the 15th century, Portuguese sailors discovered that salting and drying cod made it last much longer on their long voyages. This preserved fish became a staple food, and creative cooks started experimenting with different ways to prepare it. That's when codfish cakes were born!
As Portuguese explorers traveled the world, they brought their love for codfish with them. The recipe spread to Brazil, where it became a popular snack and appetizer. Over time, each region added its own twist to the recipe, creating unique variations.
Today, you'll find codfish cakes enjoyed in many countries, from Portugal and Brazil to Norway and England. They've become a beloved part of many cultures' cuisines, and you can even find them in fancy restaurants and street food markets alike!
Recipe
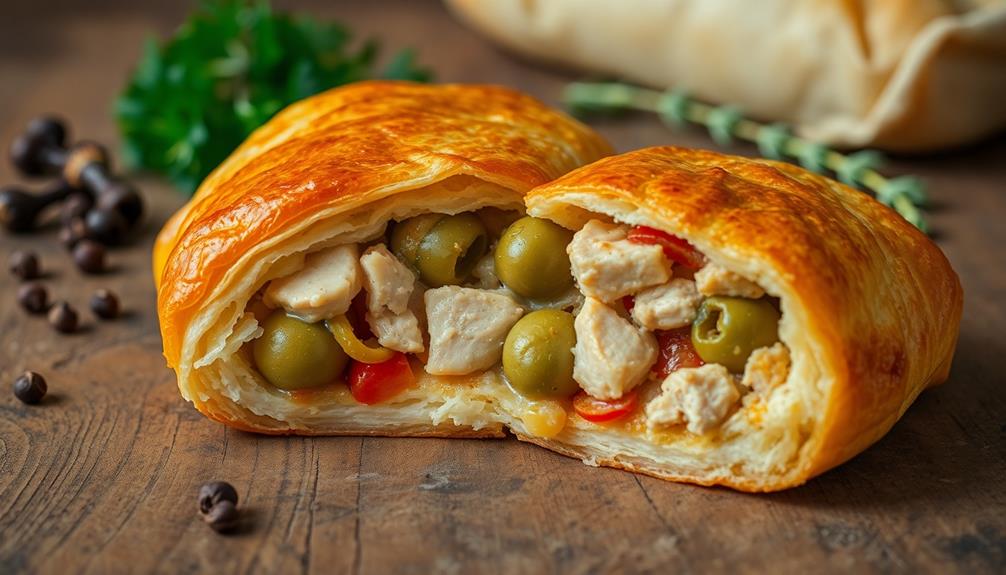
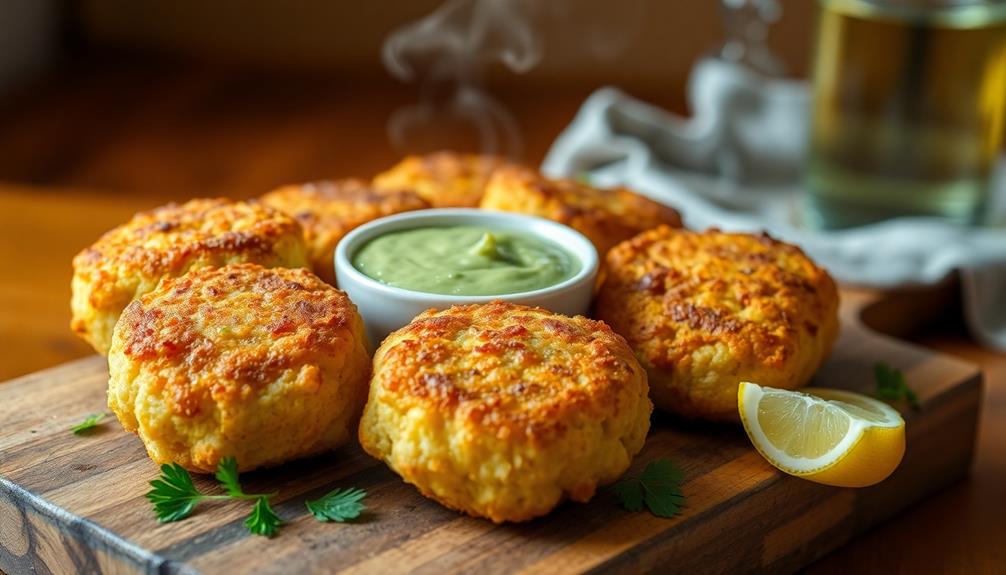
Codfish cakes are a beloved dish in many coastal regions, particularly in New England and parts of Europe. These savory patties combine flaky, salt-cured cod with potatoes, herbs, and spices to create a delightful blend of flavors and textures. Perfect for a light lunch or dinner, codfish cakes can be served on their own, with a side salad, or as part of a larger seafood feast. For an extra touch of decadence, some cooks add a dollop of tangy tartar sauce or a squeeze of lemon juice on top of their codfish cakes. The salt-cured cod brings a unique depth of flavor to the dish, while the potatoes help hold the patties together and provide a comforting, starchy element. Some chefs even use a bit of crab shell in the mixture to impart a subtle seafood essence, harnessing the natural properties of crab shell to elevate the overall taste of the codfish cakes.
This recipe yields approximately 8-10 codfish cakes, enough to serve 4-5 people as a main course. The preparation involves soaking the salt cod to remove excess salt, then combining it with mashed potatoes and other ingredients before shaping and frying the cakes to golden perfection. While traditionally pan-fried, these cakes can also be baked for a healthier option.
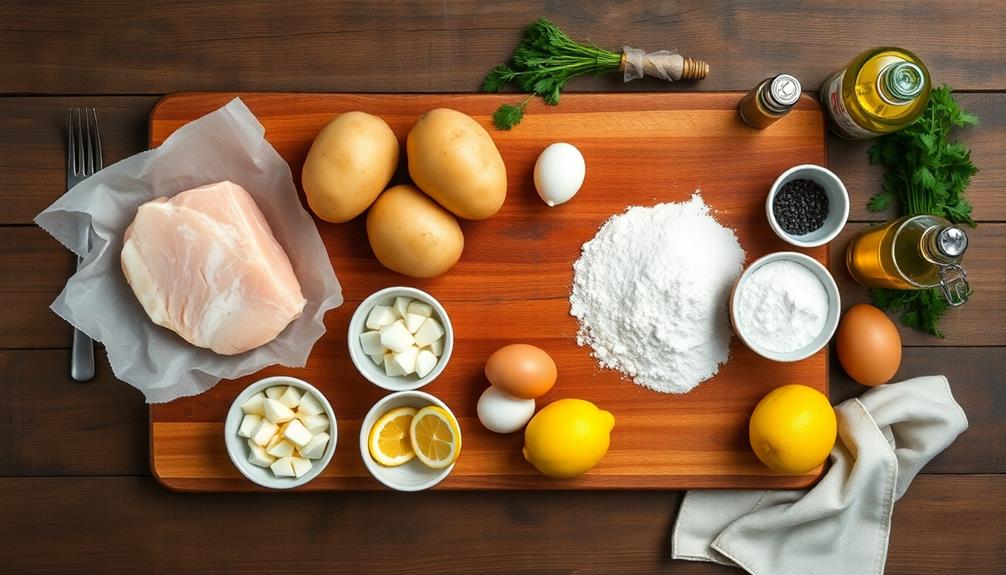
- 1 pound salt cod, soaked and flaked
- 2 large potatoes, peeled and quartered
- 1 small onion, finely diced
- 2 cloves garlic, minced
- 2 large eggs, beaten
- 1/4 cup chopped fresh parsley
- 1/4 teaspoon black pepper
- 1/4 cup all-purpose flour
- 1/4 cup vegetable oil for frying
- Lemon wedges for serving
Boil the potatoes until tender, then mash them in a large bowl. Add the flaked cod, onion, garlic, eggs, parsley, and pepper, mixing well to combine. Form the mixture into patties about 3 inches in diameter and 1/2 inch thick. Lightly coat each patty in flour.
Heat the oil in a large skillet over medium heat and fry the cakes for 3-4 minutes on each side until golden brown and crispy. Drain on paper towels and serve hot with lemon wedges.
For best results, soak the salt cod for at least 24 hours, changing the water several times to remove excess salt. If you prefer a crunchier exterior, you can coat the cakes in breadcrumbs instead of flour before frying.
These cakes can be made ahead and refrigerated for up to a day before cooking, or frozen for up to a month. To reheat, simply bake in a 350°F oven for 10-15 minutes until heated through.
Cooking Steps
Let's get started on making your delicious codfish cakes!
First, you'll need to soak the dried cod overnight and then flake and shred the meat.
Next, mix the cod with mashed potatoes, form the mixture into small balls, and fry them until they're golden brown and crispy.
You'll end up with tasty, crispy cakes that are perfect for a quick meal or appetizer!
Step 1. Soak Dried Cod Overnight
Ever wondered why soaking dried cod is crucial? It's a game-changer for your codfish cakes! When you buy dried cod, it's super salty and tough. Soaking it overnight helps to bring back its natural texture and remove excess salt.
Here's what you need to do: First, grab a large bowl and fill it with cold water. Next, place your dried cod pieces in the water, making sure they're fully submerged. You'll want to leave them there for at least 12 hours, but 24 is even better.
During this time, the cod will absorb water and slowly release its salt. Remember to change the water a few times during the soaking process. This helps remove even more salt and keeps the water fresh.
When you're ready to use the cod, take it out of the water and give it a gentle pat with paper towels to dry it off. Now your cod is perfectly prepped and ready to be turned into delicious codfish cakes!
Isn't it amazing how a simple step like soaking can make such a big difference in your cooking?
Step 2. Flake and Shred Cod Meat

Once you've soaked your cod, it's time to prepare it for your codfish cakes. First, drain the fish and pat it dry with paper towels. You'll want to remove any excess moisture, as this will help your cakes hold together better later on.
Next, place the cod on a cutting board and start flaking it with your fingers or a fork. You're looking for small, even pieces that'll mix well with the other ingredients. Don't worry if some pieces are larger than others – that's part of the charm!
As you flake, keep an eye out for any bones that might've snuck in. If you find any, remove them right away.
Once you've flaked all the cod, give it a quick taste. It should be pleasantly salty, but not overwhelming. If it's too salty, you can rinse it briefly under cold water and pat it dry again.
Now your cod is ready to become the star of your delicious codfish cakes! The flaky texture you've created will help the fish blend perfectly with potatoes and herbs in the next steps.
Step 3. Mix Cod With Potatoes

Now that you've flaked your cod, it's time to mix it with potatoes. This step is crucial for creating the perfect texture in your codfish cakes. Start by boiling some potatoes until they're tender. Once they're cooked, mash them up until they're nice and smooth. You don't want any lumps in your mixture!
Next, combine your flaked cod with the mashed potatoes in a large bowl. Use your hands or a spoon to mix everything together thoroughly. As you're mixing, add some finely chopped parsley and minced garlic for extra flavor. Don't forget to season with salt and pepper to taste!
Keep mixing until all the ingredients are evenly distributed. The mixture should be slightly sticky but still hold its shape when you form it into small patties.
If it's too dry, you can add a beaten egg to help bind everything together. If it's too wet, try adding a bit of breadcrumbs to absorb the excess moisture. Remember, the perfect consistency will make your codfish cakes crispy on the outside and soft on the inside!
Step 4. Form Mixture Into Balls

After thoroughly mixing your cod and potato mixture, it's time to shape it into balls. This is where the fun really begins!
Grab a small handful of the mixture, about the size of a golf ball, and gently roll it between your palms. You'll want to apply just enough pressure to form a compact ball, but be careful not to squeeze too hard. As you roll, you'll feel the mixture become smoother and more uniform.
Once you've shaped your first ball, place it on a clean plate or baking sheet. Then, repeat the process with the rest of the mixture. You'll end up with a bunch of delicious little cod balls ready for the next step!
If you find that the mixture is sticking to your hands, try wetting them slightly with cool water. This will help the balls form more easily and keep their shape.
Step 5. Fry Until Golden Brown
The sizzle of hot oil signals the start of the final cooking stage. It's time to fry your codfish cakes to perfection!
Heat your oil to about 350°F (175°C) in a deep pan or fryer. Carefully lower a few balls into the hot oil using a slotted spoon. Don't overcrowd the pan, as this will lower the oil's temperature and make your cakes greasy.
Watch as the cakes bob and dance in the bubbling oil, turning a beautiful golden brown. After about 2-3 minutes, gently flip them over to ensure even cooking. Your kitchen will fill with the mouthwatering aroma of crispy, seasoned fish.
Keep a close eye on the cakes, as they can quickly go from perfect to burnt!
Once they're evenly golden and crispy all over, it's time to remove them. Scoop them out with your slotted spoon and place them on a paper towel-lined plate to drain excess oil.
Let them cool for a minute or two before serving. Your crispy, golden codfish cakes are now ready to enjoy!
Final Thoughts
With these delicious codfish cakes, you've got a versatile dish that's perfect for any occasion. They're great as appetizers, snacks, or even as a main course when paired with a salad or rice.
You can serve them hot or at room temperature, making them ideal for parties or picnics. Don't forget to experiment with different dipping sauces to add extra flavor!
Remember, practice makes perfect. The more you make these codfish cakes, the better you'll get at shaping them and achieving that perfect golden-brown crust.
If you have leftovers, store them in an airtight container in the fridge for up to three days. To reheat, just pop them in the oven for a few minutes to crisp them up again.
Lastly, don't be afraid to put your own spin on the recipe. Try adding different herbs or spices to the mix, or even incorporate other types of fish.
The possibilities are endless! So go ahead, give these codfish cakes a try, and enjoy the delicious results of your culinary adventure.
Frequently Asked Questions
Can Bolinho De Bacalhau Be Frozen for Later Consumption?
Yes, you can freeze bolinho de bacalhau for later consumption. It's a convenient way to store them. Simply place the cooled, cooked fritters in an airtight container or freezer bag. They'll keep well for up to three months.
What Are the Best Side Dishes to Serve With Bolinho De Bacalhau?
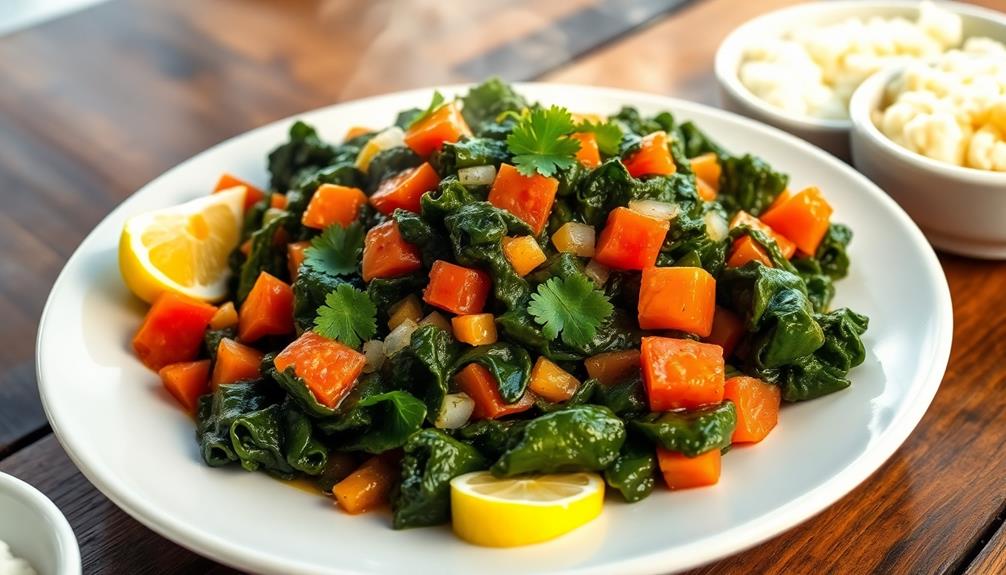
You'll love pairing these savory treats with fresh salads, roasted vegetables, or rice. Don't forget to serve them with a zesty dipping sauce! They're also great alongside grilled seafood or as part of a tapas-style spread.
How Long Do Bolinho De Bacalhau Stay Fresh After Cooking?
You'll want to eat your cooked bolinhos within 2-3 days for best freshness. Store them in an airtight container in the fridge. You can reheat them in the oven or air fryer to restore crispiness.
Are There Any Vegetarian Alternatives to Traditional Bolinho De Bacalhau?
You'll find several vegetarian alternatives for this dish. Try using jackfruit, hearts of palm, or artichoke hearts instead of cod. You can also make them with mashed potatoes and vegetables like carrots or zucchini.
What Wine Pairs Well With Bolinho De Bacalhau?
You'll love pairing white wines with this dish. Try a crisp Vinho Verde or Alvarinho from Portugal. If you prefer red, a light Pinot Noir works well. Don't forget sparkling options like Cava or Champagne!