
Choux pastry's captivating history stretches back centuries, with its origins tracing to 16th-century Italy and later thriving in the French culinary tradition. This versatile dough's remarkable ability to puff up and hold its shape has made it a staple for beloved treats like éclairs and profiteroles. With a simple blend of flour, eggs, butter, and water, choux pastry transforms into a crisp exterior and soft interior through a stovetop cooking technique before baking. Mastering this art allows you to create impressive desserts that delight the senses – and if you continue exploring, you'll discover choux pastry's endless flavor possibilities.
Key Takeaways
- Choux pastry, or pâte à choux, is a versatile dough used to make various desserts like éclairs, profiteroles, and cream puffs.
- The key characteristics of choux pastry are its ability to puff up and hold its shape during baking.
- Mastering the cooking technique, which involves stovetop preparation and gradual egg incorporation, is crucial for achieving the desired light and airy texture.
- Choux pastry has a rich history, dating back to the 16th century, and has become a symbol of French culinary excellence.
- Choux pastry can be filled or topped with a variety of creams, custards, or savory fillings, allowing for endless flavor combinations and presentations.
Top picks for "choux pastry clair"
Open Amazon search results for this keyword.
As an affiliate, we earn on qualifying purchases.
History
Choux pastry, also known as pâte à choux, has a rich history dating back to the 16th century. It was originally created by the Italian chef Pantaleone de' Conti di Conversan, who served it at the court of Catherine de' Medici in France.
This light, airy pastry soon became a staple in French cuisine, with bakers perfecting the technique over the centuries.
In the 17th century, the famous French chef Antonin Carême further popularized choux pastry, using it to create iconic desserts like éclairs and profiteroles.
These delicate, bite-sized treats became a symbol of French culinary excellence, gracing the tables of the aristocracy and eventually finding their way into the hearts and kitchens of the common people.
Today, choux pastry remains a beloved and versatile ingredient, used to create a wide range of sweet and savory delights. One of the most popular uses of choux pastry is in the creation of cream puffs and éclairs, which are enjoyed by people of all ages. It is also a key component in the making of traditional French desserts such as profiteroles and croquembouche. Additionally, choux pastry can be used in savory dishes, such as cheesy gougères or even as the base for a baklava recipe.
From the classic cream-filled éclairs to the whimsical croquembouche, this unique pastry continues to captivate bakers and diners alike, a testament to its enduring legacy and the rich history of French gastronomy.
Recipe
Choux pastry, also known as pâte à choux, is a delicate and versatile dough that forms the foundation for many classic French desserts, such as éclairs, profiteroles, and cream puffs.
This light and airy pastry is surprisingly simple to make, with just a few basic ingredients.
The key to successful choux pastry lies in the technique of cooking the dough on the stovetop before baking. This process of cooking the flour and eggs together creates a dough that puffs up beautifully in the oven, resulting in a crisp, golden exterior and a soft, pillowy interior.
- Flour
- Eggs
- Butter
- Water
- Salt
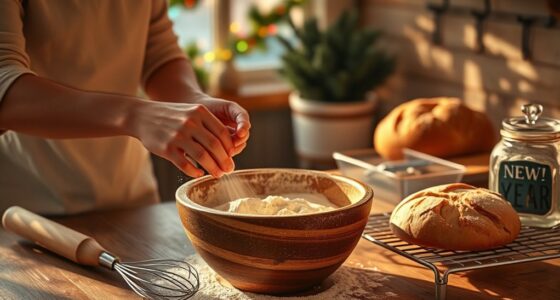
To make the choux pastry, first bring the water, butter, and salt to a boil in a saucepan. Once the butter has melted, remove the pan from the heat and quickly stir in the flour all at once.
Return the pan to the heat and cook the dough, stirring constantly, until it forms a smooth, cohesive ball that pulls away from the sides of the pan.
Transfer the dough to a bowl and allow it to cool slightly. Then, add the eggs one at a time, beating well after each addition, until the dough is smooth and glossy. The dough should be thick enough to hold its shape when piped or scooped.
Once the choux pastry is ready, you can use it to create a variety of delectable desserts.
Be sure to bake the pastries at a high temperature to ensure a crisp, well-risen result. Additionally, avoid opening the oven door during baking, as this can cause the pastries to collapse.
With a bit of practice, you'll be whipping up perfect choux pastry in no time.
Cooking Steps
Preheat your oven to 400°F.
In a saucepan, bring the water and butter to a boil.
One by one, add the eggs and mix well.
Pipe the dough onto a baking sheet and bake until golden brown.
Step 1. Preheat Oven to 400°F
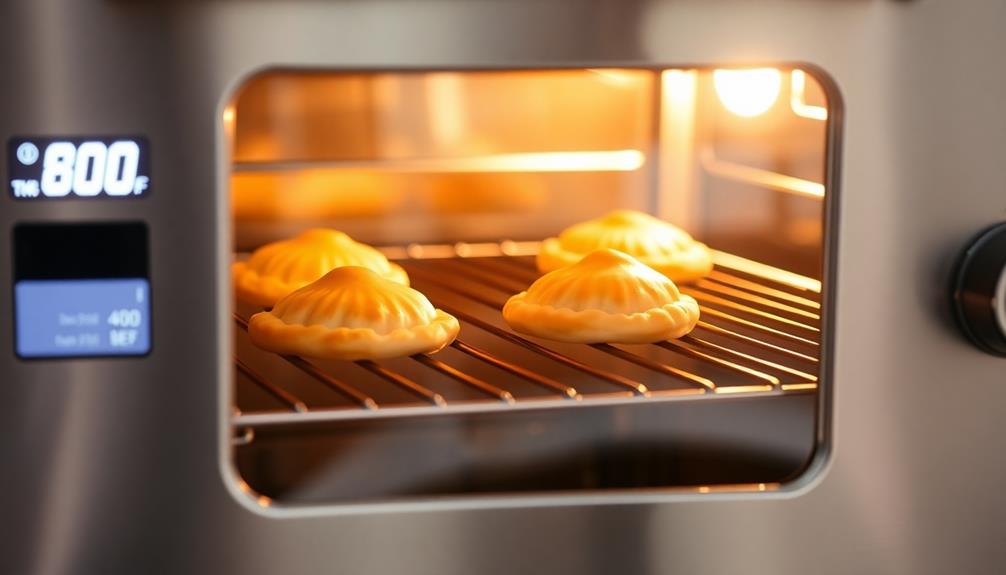
Before you can begin baking your choux pastry, you'll need to preheat your oven to 400°F. This crucial step ensures your oven is at the perfect temperature to achieve the light, airy texture that's the hallmark of choux pastry.
Once you've set your oven, let it heat up fully. It's important to wait until the temperature reaches 400°F before you start baking. This way, your pastry will rise and bake evenly, creating those signature crisp golden-brown shells.
Now, while your oven is preheating, you can start preparing the rest of your ingredients. This is a great time to measure out your flour, eggs, and any other components you'll need. Being organized and ready to go will make the baking process smoother.
Once your oven is preheated, you can confidently begin piping or scooping your choux pastry dough onto your baking sheets. With the oven at the right temperature, you're one step closer to enjoying delectable pastries.
Step 2. In a Saucepan, Bring Water and Butter to a Boil
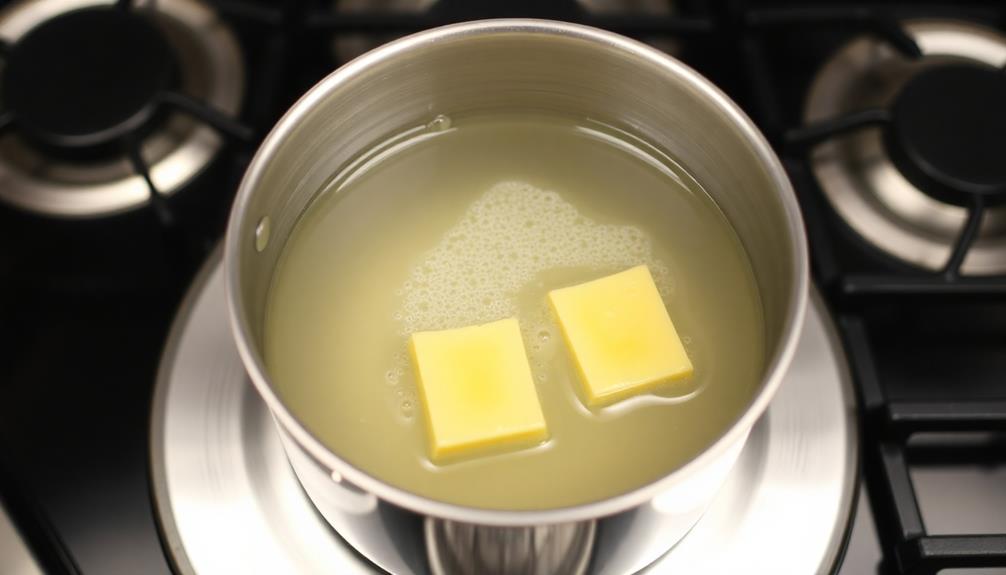
Bringing the water and butter to a boil in a saucepan is the next crucial step in crafting your choux pastry.
Start by grabbing a medium-sized saucepan and placing it on your stovetop over medium-high heat. Pour in the measured amount of water and add the cubed butter. Keep a close eye on the pan, as you'll want to bring this mixture to a full, rolling boil.
Once the water and butter start bubbling vigorously, remove the pan from the heat.
Now, it's time to stir in the flour all at once. Use a wooden spoon to quickly incorporate the flour, creating a thick, smooth dough.
Return the pan to the heat and continue stirring for about a minute, allowing the dough to cook and pull away from the sides of the pan. This step helps develop the gluten, which gives choux pastry its signature light and airy texture.
With the dough ready, you can now transfer it to a mixing bowl, setting the stage for the next phase of your choux pastry adventure.
Step 3. Add the Eggs, One at a Time
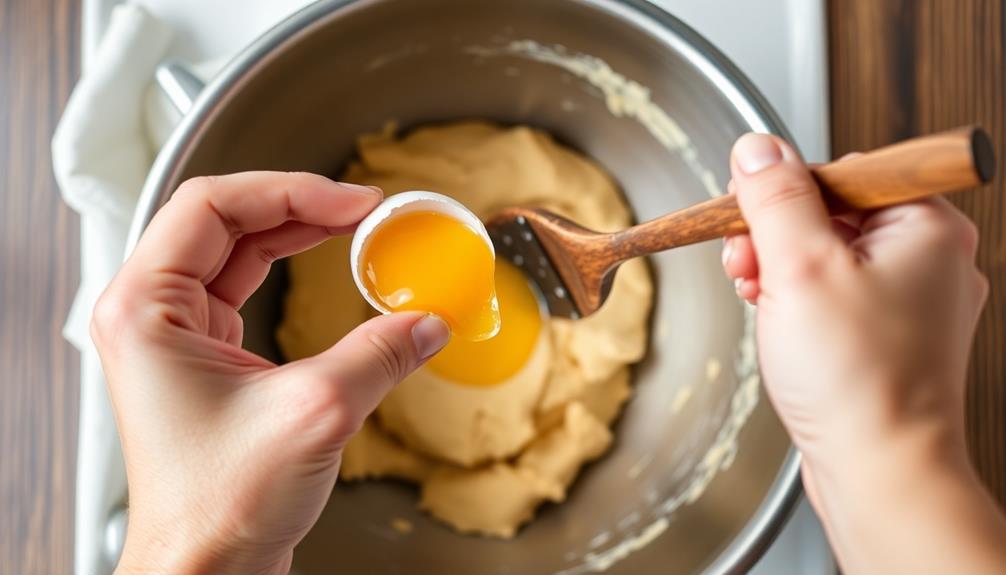
Having prepared the dough, you can now begin adding the eggs, one at a time. This is a crucial step in creating the perfect choux pastry. Crack the first egg into a small bowl, then gently pour it into the dough, stirring continuously with a wooden spoon.
Watch as the egg becomes fully incorporated, creating a smooth and glossy texture. Repeat this process with the remaining eggs, adding them one by one and mixing thoroughly after each addition.
It's important to take your time and ensure the eggs are well-blended before moving on to the next one. The dough should become thick and shiny, with a consistency that's not too wet or too dry. If the dough seems too thick, you can add a small amount of water to thin it out.
Conversely, if it's too loose, you can continue mixing in the remaining eggs.
Once all the eggs have been added and the dough is just right, you're ready to pipe or spoon it onto your baking sheet. Get ready for the next step in creating your delicious choux pastry!
Step 4. Pipe the Dough Onto Baking Sheet
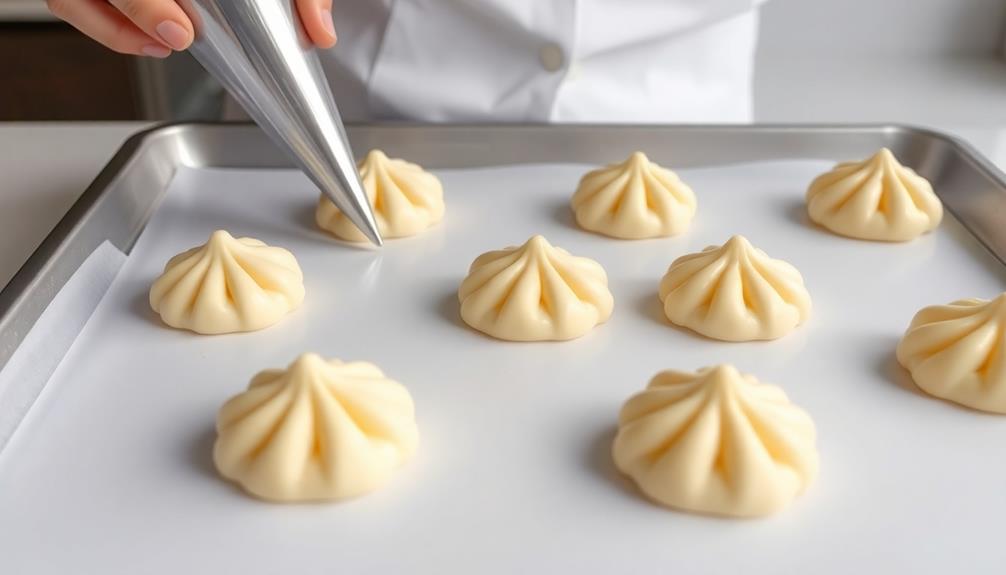
With the dough prepared, you can now pipe it onto your baking sheet. Take your pastry bag and fit it with a large round piping tip. Gently scoop the choux dough into the bag, being careful not to overfill it.
Position the tip of the bag about an inch above the baking sheet and pipe the dough into mounds, making them roughly 1 to 1 1/2 inches wide and 3/4 inch tall. Space the mounds about 2 inches apart to allow for expansion.
Work quickly, as the dough will start to stiffen as it sits. If the dough becomes too difficult to pipe, you can give it a quick stir to loosen it up again.
Once the sheet is filled, use a damp finger to gently smooth any peaks or bumps on the top of the dough mounds. This will help them bake into smooth, round shapes.
With the dough piped, your choux pastry is now ready for the oven!
Step 5. Bake Until Golden Brown
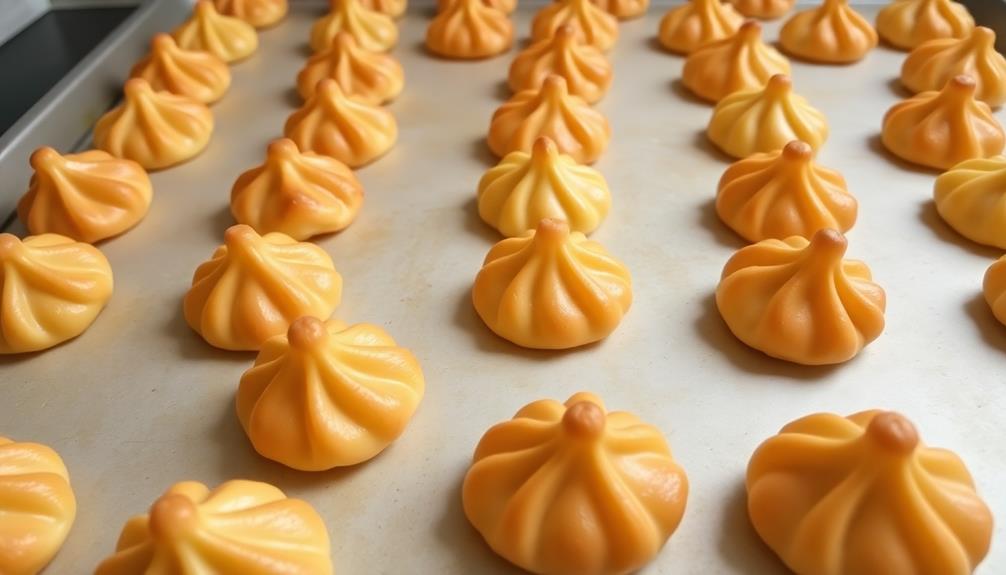
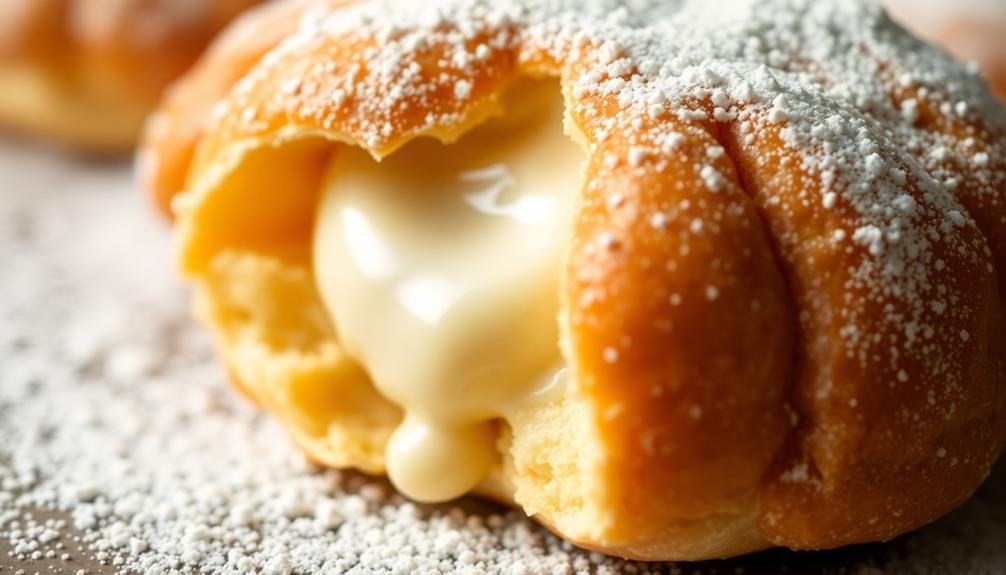
The oven's warmth envelops the piped choux dough, transforming it into a golden-brown masterpiece. As the pastry bakes, the magic happens. You'll watch in awe as the dough puffs up, creating light and airy shells. The high heat helps the dough rise, resulting in those signature choux pastry shapes you love – be it éclairs, profiteroles, or cream puffs. Once out of the oven, the delicate shells are ready to be filled with rich creams or indulgent custards, making each bite a delightful experience. Whether you’re hosting a special occasion or simply elevating a cozy evening with dessert, these treats pair perfectly with a whimsical unicorn hot chocolate recipe, adding a touch of magic to your table. Together, they create an irresistibly sweet and festive combination sure to impress both kids and adults alike.
To complement your choux creations, consider pairing them with a delightful beverage, such as a trendy fall cocktail that combines seasonal flavors and coffee.
Keep a close eye on the oven, peeking in occasionally. You'll know it's ready when the pastries have a rich, golden hue. The tops should be crisp and firm to the touch. Resist the urge to open the oven too often, as this can cause the pastries to collapse.
Once baked to perfection, remove the tray from the oven. Let the choux pastries cool completely before handling. This allows the insides to set and the outsides to crisp up even more. Voilà! You're one step closer to enjoying delectable choux creations.
Final Thoughts
Choux pastry, the elegant and versatile dough, has been the subject of our exploration. From the delicate éclair to the decadent profiterole, this unique pastry has captivated bakers and dessert enthusiasts alike.
Its ability to puff up and hold its shape is truly remarkable, making it a versatile canvas for endless culinary creations.
As you've learned, the key to mastering choux pastry lies in the precision of your technique. By carefully following the steps we've outlined, you can achieve light and airy pastries that will impress your family and friends.
Frequently Asked Questions
How Long Can Choux Pastry Be Stored?
Choux pastry can be stored for a few days, but it's best enjoyed fresh. You can keep it in an airtight container in the fridge, but it'll start to lose its crisp texture over time. For the best results, bake and serve it the same day.
Can Choux Pastry Be Frozen?
Yes, you can freeze choux pastry! Simply pipe or scoop the dough onto a baking sheet, freeze until solid, then transfer to an airtight container. It'll keep for up to 3 months.
What Are the Common Fillings for Choux Pastry?
Choux pastry can be filled with a variety of sweet and savory ingredients. Common fillings include whipped cream, custard, ice cream, cheese, and even savory options like chicken salad or ham and cheese. The possibilities are endless!
How Can I Prevent My Choux Pastry From Collapsing?
To prevent your choux pastry from collapsing, you should make sure to bake it at the right temperature, avoid overfilling, and let it cool completely before piping or filling it. Proper technique and patience are key.
Is Choux Pastry Suitable for People With Dietary Restrictions?
Yes, choux pastry can be suitable for people with dietary restrictions. You can adapt the recipe to accommodate gluten-free, dairy-free, or vegan diets by using alternative ingredients. With some creativity, you can enjoy choux-based treats even with dietary limitations.