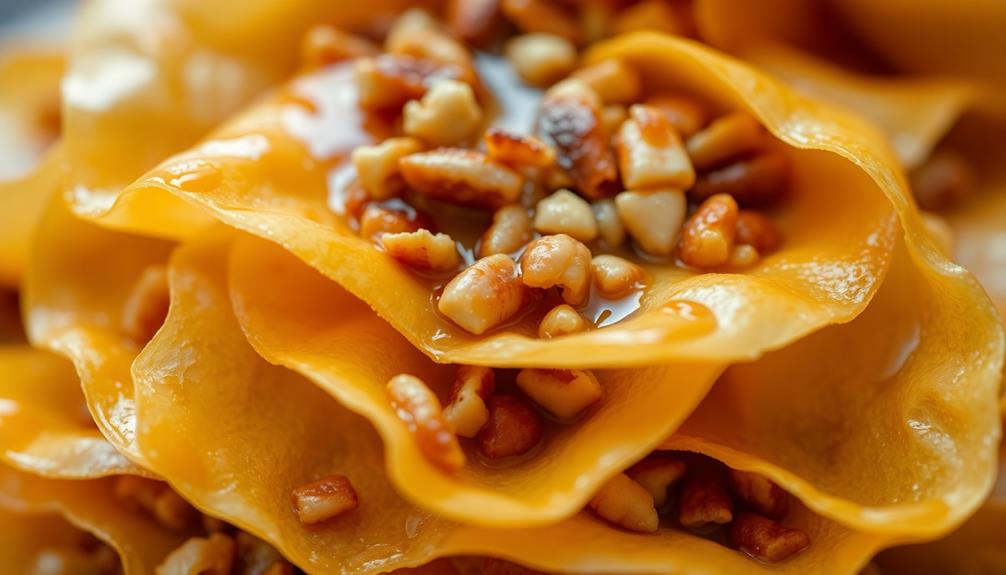
Imagine layers of delicate, buttery phyllo dough intertwined with the satisfying crunch of finely chopped walnuts or pistachios, all drizzled with a fragrant honey syrup. That's the essence of baklava, a beloved Middle Eastern pastry that's been delighting taste buds for centuries. Its origins trace back to ancient empires, where skilled bakers perfected the art of layering and soaking this decadent treat. Whether served warm or at room temperature, baklava is a true delight – and there's more to discover about its rich history and mouthwatering preparation. In fact, the process of making baklava is often passed down through generations, with each family adding their own unique twist to the recipe. Some bakers take pride in cultivating wild yeast to create the perfect flaky layers, while others swear by using a specific blend of spices to elevate the flavor profile. No matter the method, the result is always a delectable dessert that brings people together to savor its irresistible taste.
Key Takeaways
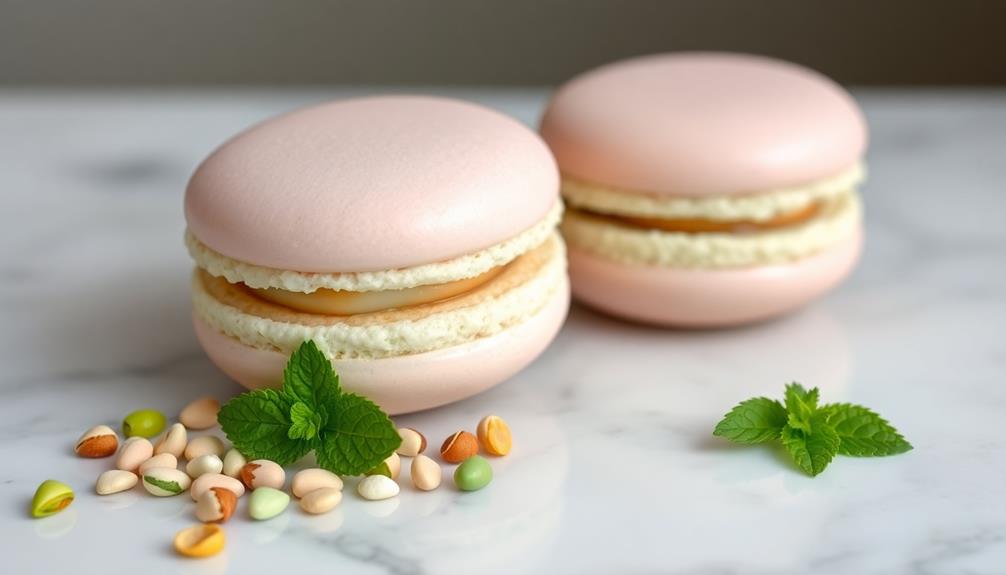
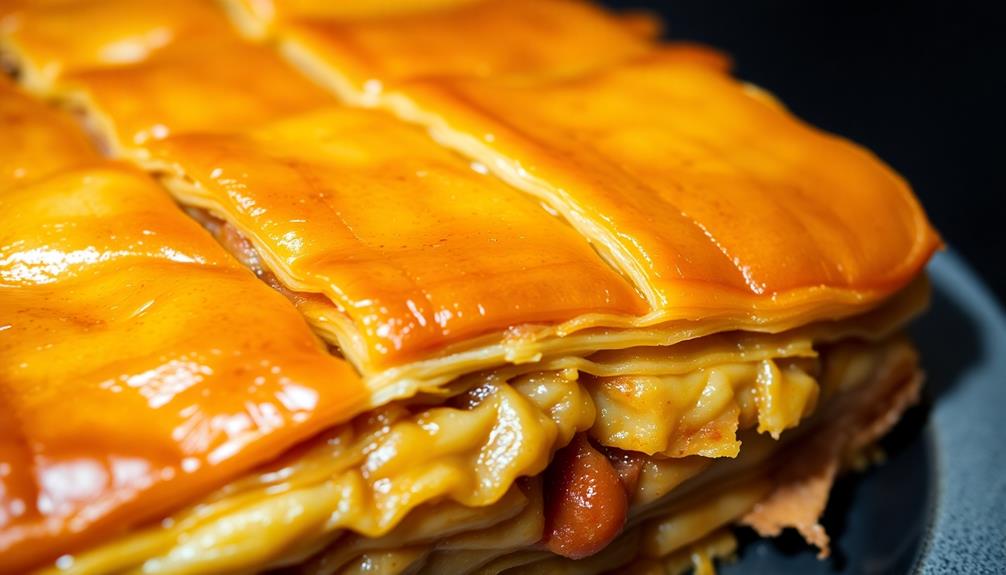
- Baklava is a traditional Middle Eastern pastry composed of layers of flaky phyllo dough and a crunchy nut filling, typically walnuts or pistachios.
- The sweet baklava is enhanced by a fragrant syrup made from honey and sugar, which soaks into the layers after baking.
- Careful preparation is required, including brushing each phyllo sheet with melted butter and precisely layering the nut filling between the dough.
- Baklava has a rich, decadent flavor and a crisp, flaky texture that has made it a cultural icon in the Middle East and Mediterranean regions.
- Baklava is often served during special occasions and celebrations, representing hospitality and generosity in many cultures, and can be enjoyed year-round.
Top picks for "baklava layer phyllo"
As an affiliate, we earn on qualifying purchases.
History
Originating in the Middle East, baklava's history can be traced back thousands of years. This delectable treat has been a beloved dessert for generations, with its layers of flaky phyllo dough and crunchy nuts drizzled in a fragrant, sweet syrup.
Baklava's roots can be found in the ancient empires of the Middle East, where skilled bakers perfected the art of layering and baking these flaky pastries. As trade routes expanded, the recipe for baklava spread throughout the region, evolving with local ingredients and influences.
From the Ottoman Empire to the bustling markets of Greece and Turkey, baklava has become a cultural icon, a sweet symbol of hospitality and celebration. Today, this rich, indulgent dessert continues to delight and inspire bakers and dessert enthusiasts around the world, bringing the flavors of the past into the present.
Whether enjoying a bite at a local bakery or trying your hand at making it at home, baklava is a true taste of history, wrapped in layers of deliciousness.
Recipe
Baklava is a rich and decadent pastry that originated in the Middle East. It consists of layers of crisp phyllo dough interspersed with a sweet nut filling, typically made with walnuts or pistachios, and drenched in a fragrant syrup.
The combination of flaky pastry, crunchy nuts, and sticky sweetness creates a truly indulgent experience. Baklava is a laborious dish to prepare, but the effort is well worth it for the incredible flavors and textures it delivers.
Ingredients:
- 1 pound phyllo dough, thawed if frozen
- 1 cup unsalted butter, melted
- 4 cups finely chopped walnuts or pistachios
- 1 cup white sugar
- 1 teaspoon ground cinnamon
- 1/4 teaspoon ground cloves
- 1 cup honey
- 1/2 cup water
- 1/4 cup white sugar
Cooking Instructions:
Preheat the oven to 350°F. Grease a 9×13 inch baking pan. Unroll the phyllo dough and cover with a damp towel to prevent it from drying out. Place one sheet of phyllo in the prepared pan and brush with melted butter. Repeat this process with 7 more sheets of phyllo.
Sprinkle 1 cup of the chopped nuts over the phyllo. Top with another 8 sheets of phyllo, brushing each with butter. Repeat the nut layer, then top with the remaining phyllo sheets, brushing each with butter. Using a sharp knife, cut the unbaked baklava into squares or diamonds. Bake for 50 to 60 minutes, until the phyllo is golden brown.
While the baklava is baking, prepare the syrup. In a saucepan, combine the honey, water, and 1/4 cup sugar. Bring to a boil, then reduce heat and simmer for 20 minutes. Pour the hot syrup over the freshly baked baklava. Allow to cool completely before serving.
Tips:
- Be sure to work quickly when assembling the baklava to prevent the phyllo from drying out.
- Use a sharp knife to cut the baklava, as the layers can be delicate.
- Baklava can be made in advance and stored at room temperature for up to 1 week, or frozen for longer storage.
Cooking Steps
Brush the phyllo dough with melted butter, then layer the chopped nuts between each sheet.
Bake the baklava until it's nice and golden brown.
Once it's out of the oven, drizzle that sweet honey all over the top and let it cool completely before digging in.
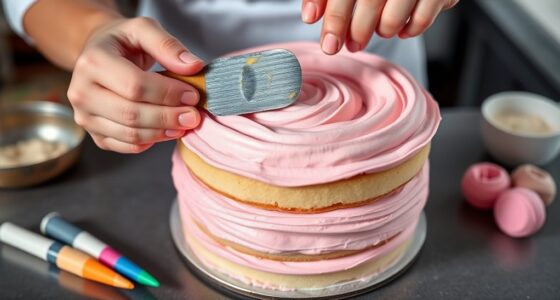
Step 1. Brush Phyllo With Melted Butter
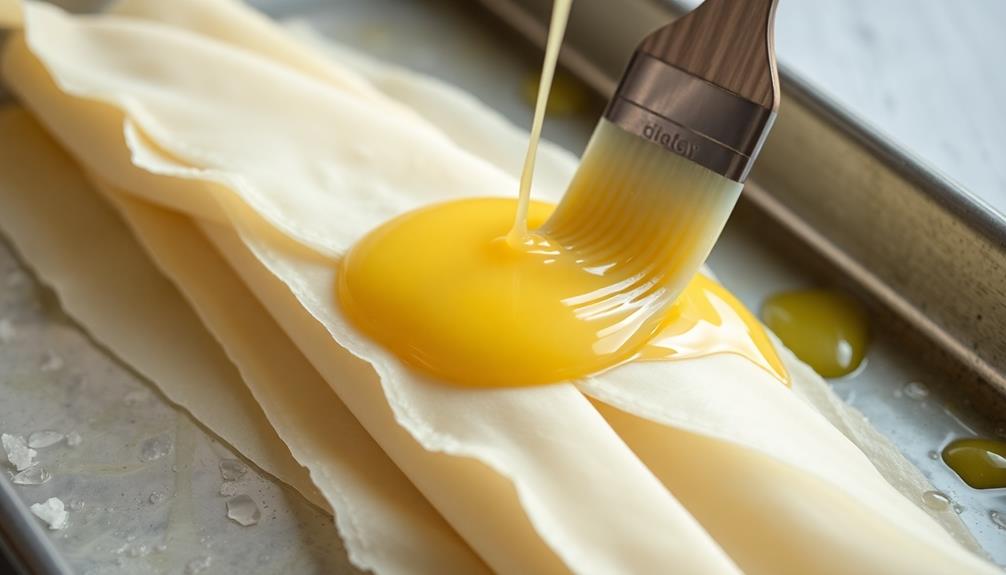
The delicate layers of phyllo dough need a generous brushing of melted butter to achieve the signature flaky texture of baklava. Grab your pastry brush and get ready to coat each sheet with a glistening layer of butter.
Don't be shy – make sure every inch is covered! This will help the phyllo dough crisp up beautifully in the oven. As you brush, you'll love the inviting aroma of the warm, buttery scent that fills the air. It's almost like you can already taste the sweet, nutty goodness of the final baklava.
Keep brushing with care, making sure not to tear the delicate layers. With each pass of the brush, you're one step closer to creating a truly decadent and authentic Greek dessert. The butter will help the phyllo sheets stick together, creating those heavenly, flaky bites you simply can't resist.
Step 2. Add Chopped Nuts Between Layers
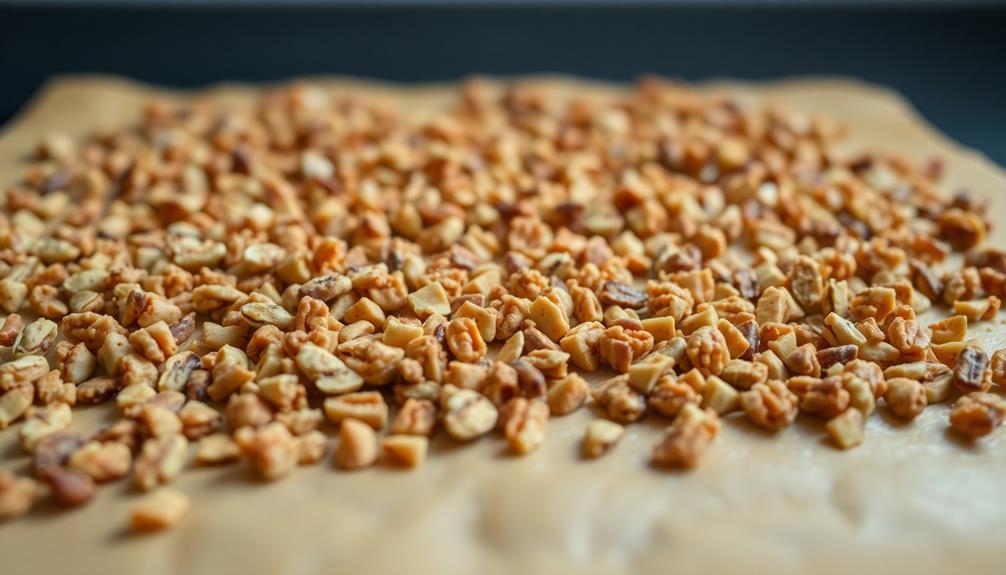
Layering the chopped nuts between the sheets of phyllo dough is a crucial step in crafting the classic baklava. You'll need to chop up your favorite nuts, like walnuts, pistachios, or almonds, into small, bite-sized pieces.
Then, as you carefully layer the delicate phyllo sheets, be sure to sprinkle a generous amount of the chopped nuts between each layer. The nuts add a delightful crunch and rich, nutty flavor that complements the buttery phyllo.
Don't be shy – use plenty of nuts to ensure every bite is bursting with texture and taste! Gently press down on the layers to help the nuts adhere.
Keep going, layer after layer, until you've built up that beautiful, towering baklava. Soon, you'll have a mouthwatering masterpiece, ready to be drenched in the sweet syrup that makes baklava so irresistible.
Step 3. Bake Until Golden Brown
Baking the baklava until it reaches a golden-brown hue is the next critical step. This is when the incredible flavors of the crisp phyllo dough and rich, buttery nuts come together in perfect harmony.
You'll want to keep a close eye on the oven, as the baklava can go from perfectly baked to burnt in the blink of an eye. The delightful aroma of cinnamon and nutmeg will start to waft through your kitchen, making your mouth water in anticipation.
As the minutes tick by, you'll see the edges of the baklava turn a lovely golden brown. Once the entire surface has reached that beautiful color, you'll know it's ready to come out of the oven.
Be careful not to let it bake too long, or the phyllo will become dry and brittle. Just the right amount of time in the oven will result in a baklava that's crisp on the outside and tender on the inside – a true delight for the senses!
Step 4. Drizzle Honey Over Baked Baklava
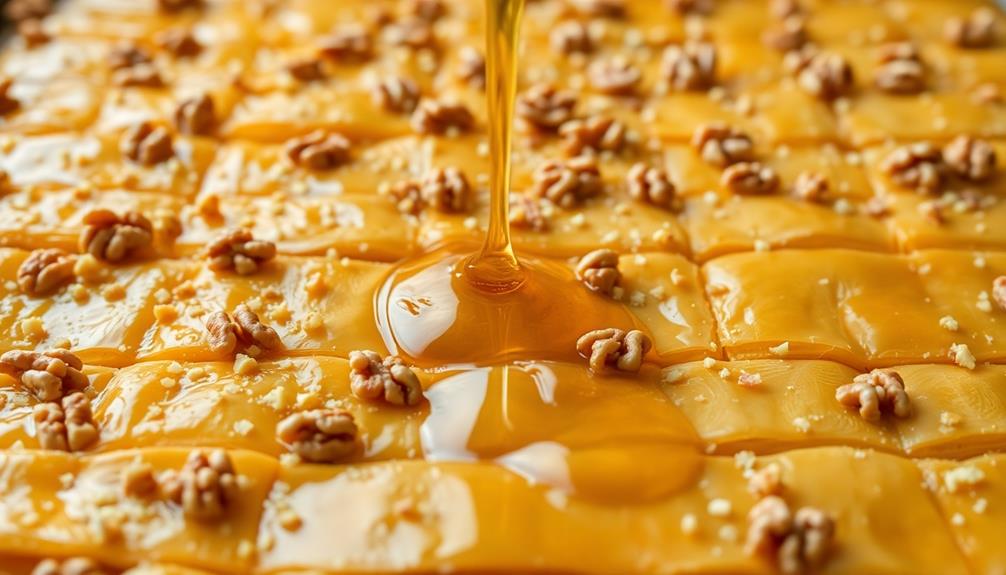
Once the baklava has reached that lovely golden-brown hue, it's time to drizzle the warm, golden honey over the top.
Can't you just picture the glistening syrup cascading down the layers of crisp, flaky phyllo dough and crunchy nuts? Mmm, the sweet, fragrant aroma is already making your mouth water!
Grab your spoon and get ready to dig in. Slowly and carefully, drizzle the honey in a zigzag pattern all over the surface of the baklava.
Make sure to get into all the nooks and crannies so every bite is bursting with that irresistible honey flavor. The heat from the just-baked pastry will help the honey soak in and create a delectable, sticky-sweet glaze.
As the honey cools, it will become thicker and more syrupy, adding an extra layer of decadence to this classic Greek dessert.
Get ready for pure bliss in every heavenly, honey-drenched mouthful!
Step 5. Allow to Cool Completely
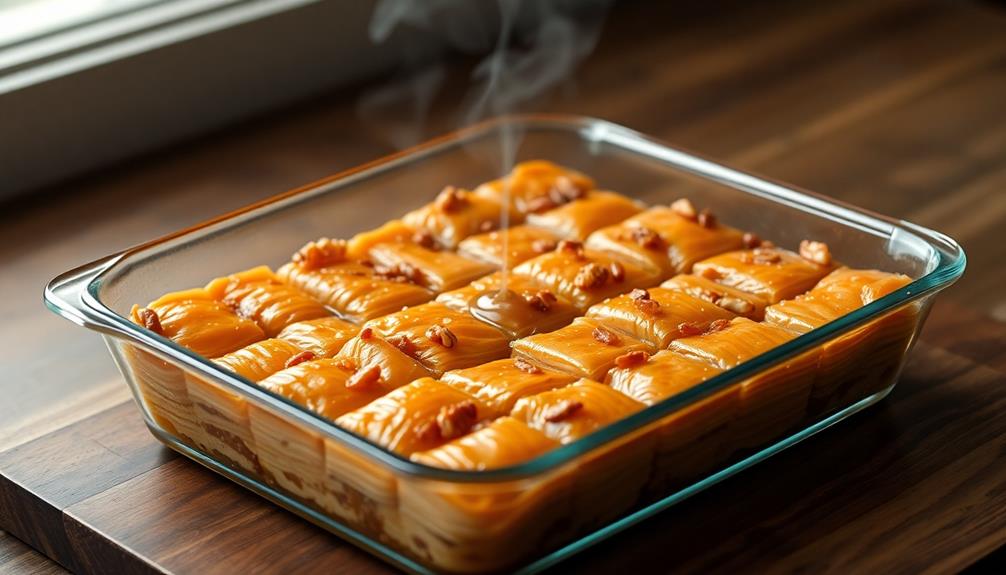
After drizzling the honey over the freshly baked baklava, it's crucial to let the pastry cool completely. This step is essential to ensure the layers of paper-thin phyllo dough and the nutty filling set properly.
As the baklava cools, the honey will slowly seep into the layers, creating a delightful sticky-sweet texture. You'll know the baklava is ready when it's no longer piping hot to the touch and has a nice shine on the surface.
Be patient – the wait will be worth it! Once fully cooled, the baklava will be easy to slice into those iconic diamond shapes. Each bite will offer a satisfying crunch from the nuts and a burst of honey-kissed flavor.
Letting the baklava cool is the final step before you can dig in and savor every morsel of this beloved Greek dessert. Mmm, can you already smell the nutty aroma wafting through the air?
Final Thoughts
While baklava may seem like a labor-intensive dessert, you'll find that the end result is well worth the effort. The rich, buttery layers of flaky phyllo dough, combined with the crunchy, nutty filling, create a truly irresistible treat.
Imagine the satisfying crunch as you take that first bite, followed by the sweet, syrupy goodness that melts in your mouth.
What's even better is that you can enjoy this delightful dessert all year round. Whether you're hosting a special event or simply craving a sweet snack, baklava is the perfect choice.
It's a dessert that's sure to impress your friends and family with its elegant presentation and incredible flavor.
Frequently Asked Questions
What Are the Different Types of Nuts Used in Baklava?
You'll find that the most common nuts used in traditional baklava are walnuts, pistachios, and almonds. These nutty ingredients add a delightful crunch and rich flavor to the flaky phyllo dough layers.
How Can I Adjust the Sweetness Level of Baklava?
You can adjust the sweetness level of baklava by varying the amount of honey or syrup used. Reduce the sweetener for a less sweet version, or add more for a sweeter treat. Experiment to find your perfect balance.
Can Baklava Be Frozen and Reheated?
Yes, you can freeze and reheat baklava. Simply wrap the pieces tightly in plastic wrap or foil, and they'll stay fresh for up to 3 months in the freezer. When ready to serve, just thaw and reheat in the oven.
What Is the Difference Between Greek and Turkish Baklava?
The main difference between Greek and Turkish baklava lies in their flavor profiles. Greek baklava often features cinnamon and lemon, while Turkish baklava has a richer, more pronounced sweetness from its rose water and pistachio flavors.
How Long Does It Take to Assemble a Baklava?
Assembling a baklava takes some time and effort. Depending on your experience, it can take anywhere from 30 minutes to an hour to carefully layer the phyllo dough and nuts. Don't rush – take your time for the best results.