
To create beautiful homemade pie crust decorations, try making lattice patterns by weaving evenly cut strips over your filling or add charming cut-outs like flowers or holiday symbols at the edges or center for visual interest. You can also enhance borders with twisted or scalloped edges, brushing with egg wash for a shiny finish. Combining these techniques allows you to craft stunning pies that showcase your baking skills—explore more ideas as you continue your decorating journey.
Key Takeaways
- Create intricate patterns like leaves, flowers, or holiday symbols from dough cuts to add visual interest.
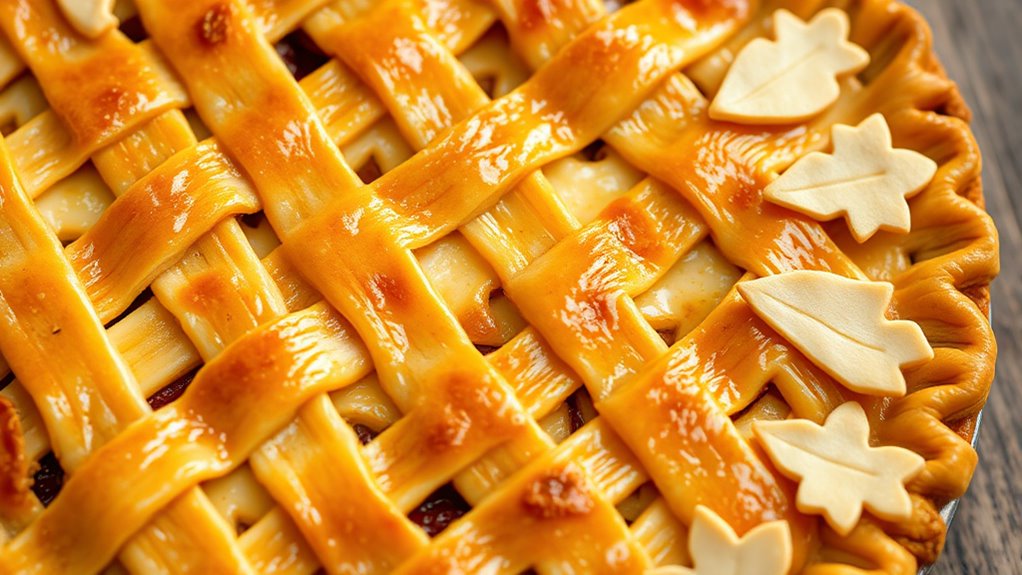
- Use a pastry wheel or knife to cut even lattice strips, then weave over the filling for a classic look.
- Incorporate decorative edges such as crimped, fluted, or braided borders for a polished finish.
- Brush the crust with egg wash before baking to enhance shine and highlight detailed decorations.
- Combine lattice tops with cut-out shapes or layered patterns for a unique, artistic pie presentation.
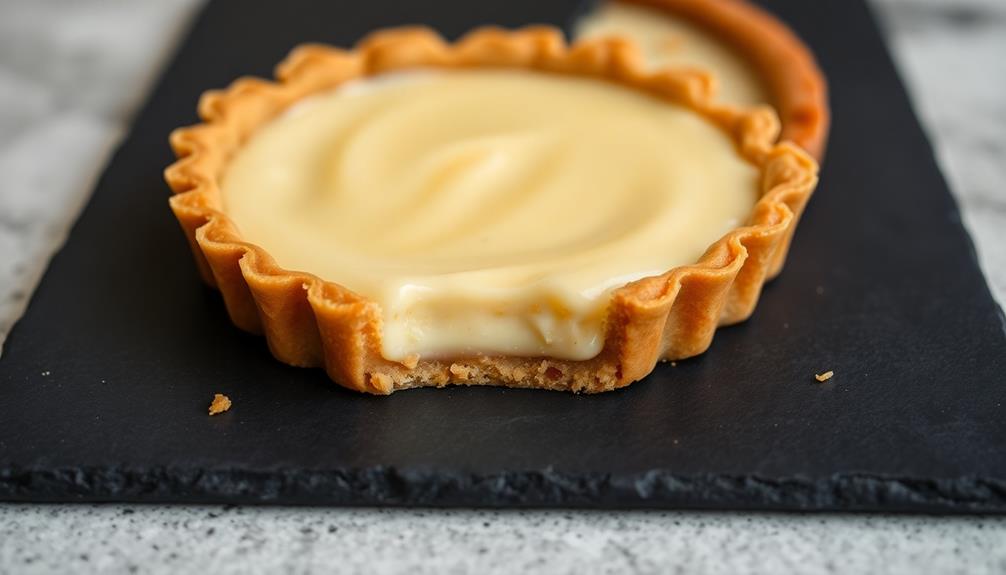
Decorating a homemade pie crust is a simple way to elevate your dessert and showcase your creativity. Whether you’re making a classic apple pie or a berry-filled tart, adding decorative touches can make your pie look as good as it tastes. One of the most effective ways to do this is through fruit patterns and decorative edges, which instantly add visual interest and a professional touch. These details transform an ordinary pie into a stunning centerpiece that’s sure to impress family and friends alike.
Decorative touches like fruit patterns and edging transform simple pies into stunning showpieces.
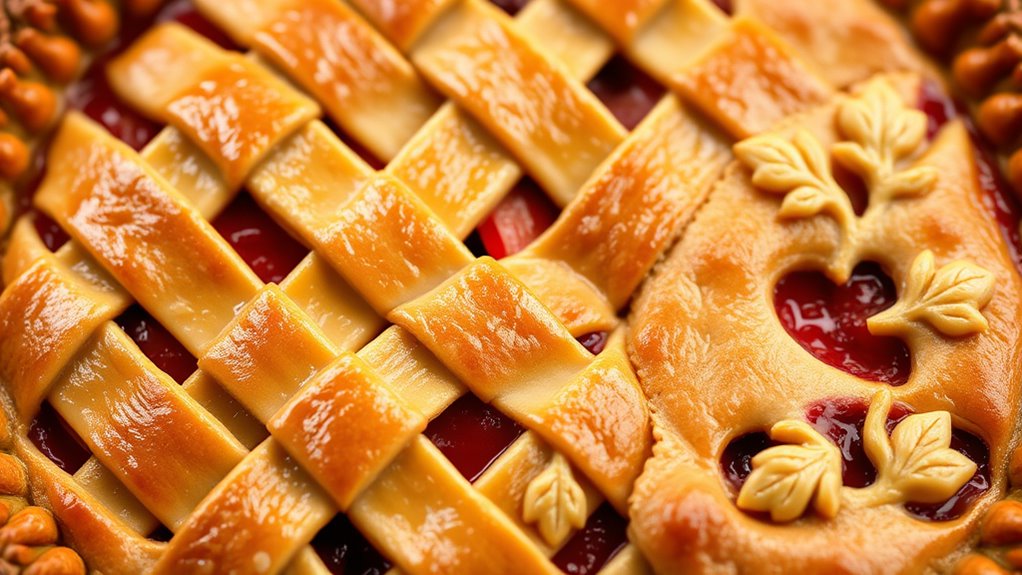
When it comes to fruit patterns, the possibilities are endless. You can carve out intricate shapes like leaves, flowers, or even holiday symbols from rolled-out dough, then place them on top of your filling. For example, a star or heart pattern made from cut-out dough can be positioned at the center of a fruit-filled pie. Another popular approach is to create a lattice pattern, weaving strips of dough over your filling. This not only looks beautiful but also allows the filling to peek through, showcasing the vibrant colors of your fruit. To make your fruit pattern stand out, consider brushing the dough with an egg wash before baking, giving it a shiny, golden finish.
Decorative edges also add a polished look to your pie. Instead of simply pinching the crust, try using a fork to create a fluted edge, or use your fingers to make a crimped border for a textured effect. For a more elaborate finish, you can pinch and twist small strips of dough all around the edge, creating a rope-like border that adds dimension. If you want to go beyond basic crimping, try scalloped or ruffled edges, which lend a delicate, ornate appearance. These decorative edges serve not only as aesthetic enhancements but also help seal the filling securely inside, ensuring your pie stays intact during baking.
Incorporating fruit patterns and decorative edges into your pie crust decorating routine is also a fun way to experiment with different textures and styles. You can combine a lattice top with cut-out shapes or add a braided border around the crust for extra flair. Remember, the key is to be precise and patient—using sharp cookie cutters for your fruit shapes, or a good pastry wheel to cut even strips for lattice work, makes all the difference. With a little practice, your homemade pies will look as beautiful as they taste, turning baking into a creative art form you’ll look forward to every time.
Frequently Asked Questions
What Tools Are Best for Detailed Pie Crust Decorations?
You should use pastry cutters for creating intricate shapes and patterns on your pie crust. Fine-tipped brushes are perfect for adding detailed touches like egg wash or decorative accents. These tools help you achieve precise, professional-looking decorations, whether you want delicate lattice work or elaborate cut-outs. With pastry cutters and fine-tipped brushes, you can easily elevate your pie crust decorations to the next level, making your pie both beautiful and delicious.
How Do I Prevent Pie Crust From Tearing During Decorating?
To prevent your pie crust from tearing during decorating, focus on maintaining dough elasticity by handling it gently. Use a light rolling technique, applying even pressure and turning the dough frequently. Chill the dough before working to keep it firm, making it easier to work with. Avoid overworking the dough, as this reduces elasticity and increases tearing risk. With patience and careful handling, you’ll achieve beautiful, tear-free decorations.
Can I Use Gluten-Free Dough for Decorative Pie Crusts?
Ever wonder if you can make stunning decorative pie crusts with gluten-free dough? Yes, you can! Gluten-free substitutions like rice flour or almond flour work well, but they may lack dough elasticity, making intricate designs trickier. To improve flexibility, add a little xanthan gum or guar gum. With patience and a gentle touch, your gluten-free dough can become just as beautiful for lattice or cut-out decorations.
How Long Does Decorative Pie Crust Typically Stay Crisp?
Decorative pie crust typically stays crisp for about 1 to 2 hours if kept at room temperature. To enhance pie crust preservation and extend decorative crust longevity, avoid exposing it to moisture or humidity, as these can cause sogginess. If you want the crust to stay crisp longer, consider brushing it with a light egg wash or sugar glaze before baking, which helps seal the surface and maintain its decorative appeal.
Are There Vegan Options for Decorative Pie Crusts?
Imagine your pie as a garden where every plant needs nourishing soil. Yes, you can craft vegan decorative pie crusts using vegan butter alternatives, which serve as the fertile ground for creativity. For added shine, brush with fruit-based glazes instead of egg washes. These options let you create charming lattice or cut-out designs that are both beautiful and compassionate, ensuring your pie’s appearance matches your values.
Conclusion
With these homemade pie crust decorating ideas, you can turn a simple dessert into a work of art. Think of your pie as a canvas, and each cut-out or lattice as a brushstroke that adds personality and charm. Don’t be afraid to get creative—it’s your masterpiece in the making. Remember, the more effort you put in, the more delicious and beautiful your pie becomes, like a diamond shining brighter with every careful touch.