At high altitudes, you’ll need to tweak your baking by increasing oven temperature slightly, reducing leavening agents, and adding a bit more liquid to combat faster moisture loss. Keep an eye on your baked goods to prevent over-baking and adjust measurements as needed. Experimentation helps you find the perfect balance for moist, well-structured results. Want to master these tips? There’s more to discover that can improve your baking outcomes.
Key Takeaways
- Increase oven temperature by 15–25°F to help set baked goods faster and prevent collapse.
- Reduce leavening agents by about 1/3 to 1/2 to avoid over-expansion and coarse textures.
- Slightly increase liquids in recipes to compensate for faster moisture loss and maintain moistness.
- Monitor baking closely and make notes to refine adjustments with each attempt.
- Understand atmospheric pressure’s impact and experiment to achieve well-structured, tender results.
Ever wondered why your baked goods often turn out differently when you’re baking at high altitudes? The answer lies in the way the environment affects your recipes. At higher elevations, the air is thinner, which causes water to boil faster and gases to expand more quickly. These changes influence how your baked goods rise, set, and develop their texture. To get consistent results, you need to make specific adjustments, especially concerning oven temperature and leavening agents.
Baking at high altitudes requires adjusting for thinner air and faster gas expansion to ensure perfect results.
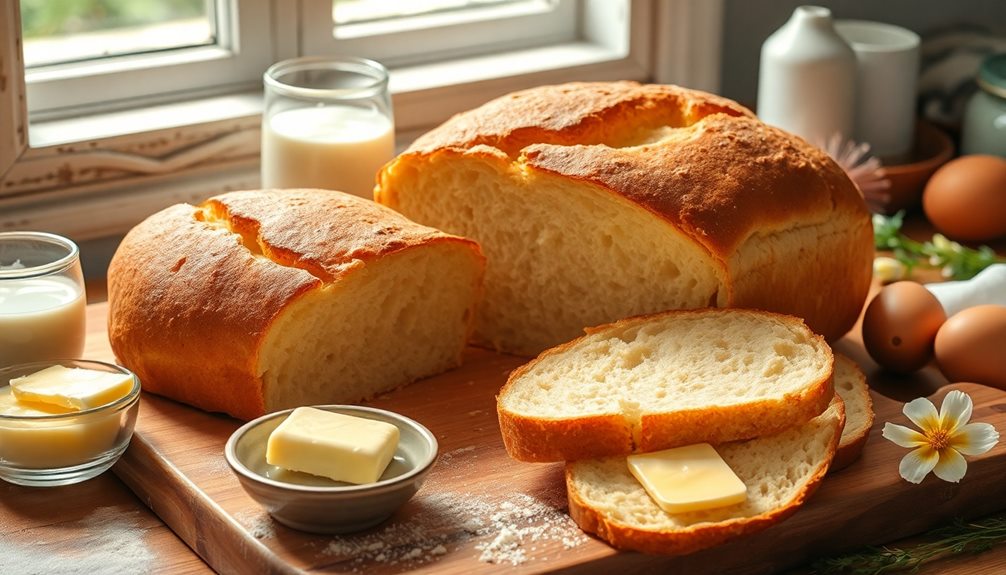
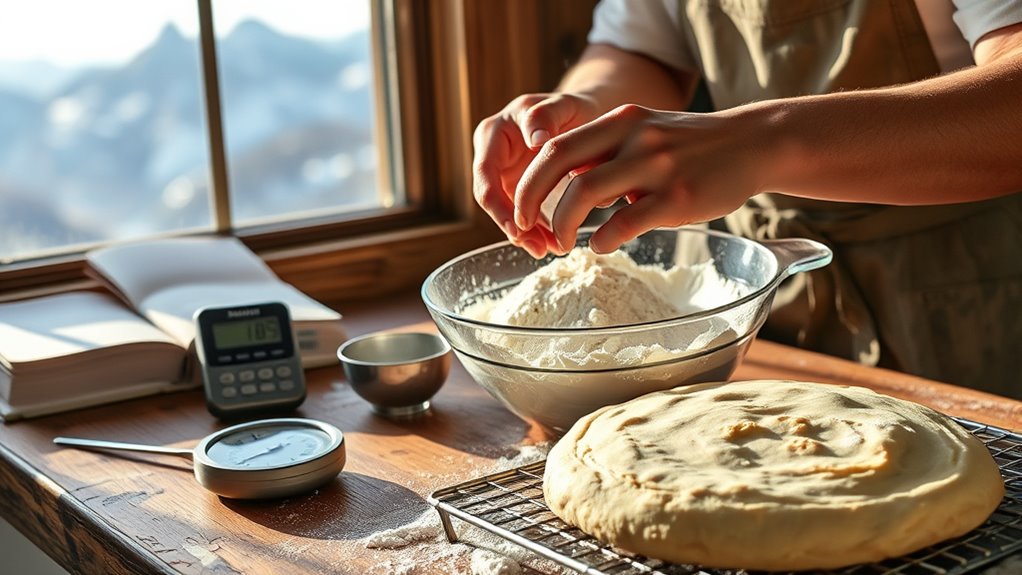
One of the most critical adjustments involves the oven temperature. When baking at high altitudes, you should increase your oven temperature slightly—usually by about 15 to 25 degrees Fahrenheit. Raising the oven temperature helps set the structure of baked goods faster, preventing them from over-expanding and collapsing. It also helps counteract the rapid evaporation of moisture, which can cause baked items to be dry or crumbly. Remember, every oven is different, so it might take some trial and error to find the perfect temperature adjustment for your specific location and recipes. Always monitor your baked goods carefully to avoid over-baking.
Leavening adjustments are just as important. Because gases expand more quickly at high altitudes, your recipes can over-leaven, leading to a coarse texture or a dome-shape that’s too tall and unstable. To prevent this, you should reduce the amount of leavening agents such as baking powder, baking soda, or yeast. A common guideline is to cut back by about one-third to one-half of the original amount. For example, if a recipe calls for a teaspoon of baking powder, try using around 2/3 teaspoon or slightly less. This helps control the rise, resulting in a more balanced and stable crumb structure. Additionally, you might want to increase the amount of liquid in your recipes slightly, as moisture evaporates more quickly at high elevations. This keeps the batter moist and improves the overall texture. Understanding atmospheric pressure is essential for mastering high-altitude baking.
Adjusting oven temperature and leavening isn’t complicated once you understand the principles behind it. With a little experimentation, you’ll learn how your specific altitude influences your baking, and you’ll develop a set of reliable tweaks to produce perfect baked goods every time. Keep notes on your modifications and results, so you can refine your approach with each new recipe. Baking at high altitudes may require more attention, but the reward is delicious, well-structured treats that rise just right and stay moist and tender.
Frequently Asked Questions
How Does Altitude Affect Yeast Activity in Baking?
At high altitudes, the lower air pressure speeds up yeast fermentation, causing dough rising dynamics to accelerate. You might notice your dough rises faster than usual, which can lead to over-proofing if not adjusted. To manage this, you should reduce yeast amounts and shorten rising times, ensuring your bread maintains the right texture and flavor. Monitoring dough closely helps you achieve perfect results despite the altitude’s effects on yeast activity.
What Are the Best Types of Flour for High-Altitude Baking?
Imagine your dough as a sturdy bridge, needing the right materials to hold strong. For high-altitude baking, opt for bread flour or unbleached all-purpose flour. These flours develop better gluten, creating resilient structures that withstand thinner air. Store your flour in a cool, dry place to keep it fresh. Using the right flour guarantees your baked goods rise perfectly, offering the stability your recipe needs to succeed at high elevations.
How Can I Prevent My Baked Goods From Collapsing at High Altitudes?
To prevent your baked goods from collapsing at high altitudes, focus on moisture retention by adding a bit more liquid or fat to your recipe. Choose the right baking pan—preferably a lighter, shallower one—to allow even heat distribution. You should also avoid overmixing batter, which can weaken structure. These tips help maintain stability, ensuring your baked goods stay lofty and delicious.
Are There Specific Ingredients to Adjust for High-Altitude Baking?
Think of your ingredients as the building blocks of a sturdy tower. At high altitudes, you should adjust ingredient substitutions like reducing sugar and increasing flour, which helps prevent collapse. You might also tweak flavor adjustments by adding a touch of extra vanilla or spices to keep your baked goods tasting rich. These small changes strengthen your baked creations, ensuring they rise beautifully and hold their shape despite the thin mountain air.
How Do Baking Times Change at Higher Elevations?
At higher elevations, baking times typically decrease because oven temperature adjustments help your baked goods cook faster. You should monitor your baked items closely and start checking for doneness a few minutes earlier than usual. Batter consistency changes, often thinner, can affect baking time, so make sure your batter isn’t too runny. Adjust oven temperature and keep an eye on your baked goods to prevent overbaking or underbaking.
Conclusion
Now that you know the key adjustments for high-altitude baking, you’re ready to conquer new recipes. But remember, every oven and altitude can surprise you, so don’t be discouraged if your first attempt isn’t perfect. Keep experimenting with these tips, and soon you’ll master the art of high-altitude baking. The next perfect loaf or cake could be just one adjustment away—are you ready to discover what works best for you?