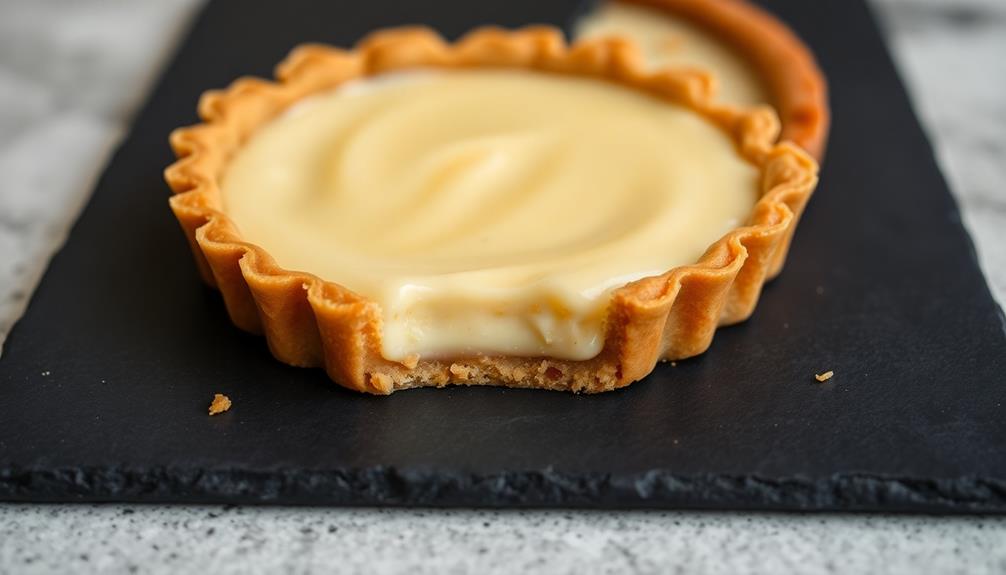

Baked cheese tart is a creamy dessert that everyone loves! It comes from Japan and mixes delicious cheese with a crunchy tart crust. You're going to combine cream cheese, sugar, and eggs for that smooth filling. Baking it until golden brown makes it extra tasty! You can top it with fresh fruit or chocolate for even more flavor. Plus, it's perfect for parties or a family gathering. The best part? It's quick to make, and the sweet smell wafting through your kitchen will make everyone excited. Stick around to discover some simple steps to create your own delightful tart!
Key Takeaways
- Baked cheese tart originated in Hokkaido, Japan, and blends Japanese and Western dessert influences.
- Key ingredients include cream cheese, eggs, sugar, and a tart crust, with many customizable variations.
- The baking process involves mixing ingredients until smooth, pouring into a crust, and baking until golden brown.
- Serve chilled or at room temperature, often paired with fresh fruit or chocolate for added flavor.
- This dessert is ideal for gatherings and represents joy through shared enjoyment and creamy goodness.
Top picks for "cheese tart creamy"
Open Amazon search results for this keyword.
As an affiliate, we earn on qualifying purchases.
History
The baked cheese tart has a rich history that traces back to the streets of Japan, where it gained immense popularity. You might be surprised to learn that this delightful dessert originally hails from Hokkaido, a beautiful island known for its dairy products. People in Japan fell in love with the creamy, cheesy filling and the flaky crust, making it a favorite treat for many.
As you explore its journey, you'll find that the tart became a symbol of Japanese dessert culture, blending Western influences with local flavors. In the early 2000s, these tarts took off in popularity, not just in Japan but around the world. You could say they became a delicious ambassador of Japanese sweets, inspiring many bakers to create their unique versions.
Over time, the baked cheese tart has made its way into cafes and bakeries everywhere, often enjoyed as a special treat. With each bite, you can taste the passion and history behind this scrumptious dessert.
Whether you're enjoying one for yourself or sharing it with friends, the baked cheese tart connects everyone through its tasty, cheesy goodness!
Cooking Steps
Creating a delicious baked cheese tart involves a series of straightforward steps that ensure your dessert turns out perfectly. First, gather your ingredients: cream cheese, eggs, sugar, and a buttery tart crust. Preheat your oven to 320°F (160°C) while you prepare the filling.
Next, beat the cream cheese until it's smooth and creamy. Add in the eggs one at a time, mixing well after each addition. Then, stir in the sugar until it's fully dissolved. This mixture should be velvety and delightful!
Pour the creamy filling into your prepared tart crust, making sure it's evenly spread. Place the tart in the preheated oven and bake for about 30 to 35 minutes. You'll know it's ready when the edges are set but the center still has a slight jiggle.
Once it's done, let the tart cool in the pan for about 15 minutes, then transfer it to a wire rack. This step helps prevent sogginess.
After it's completely cooled, you can chill it in the fridge for a couple of hours. Your baked cheese tart is now ready to be sliced and enjoyed!
Step 1. Preheat Oven to 350°F
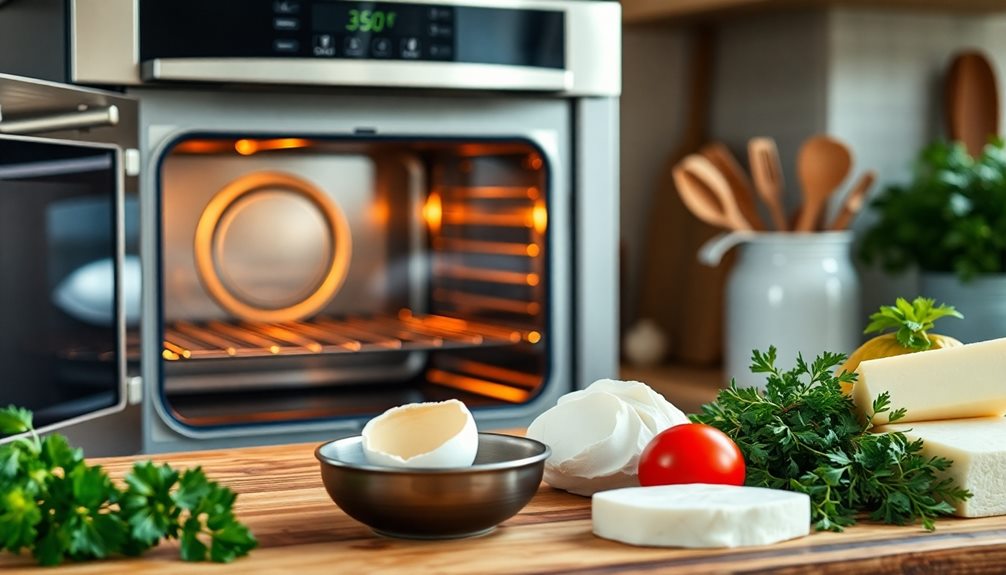
Before diving into the delicious process of making a baked cheese tart, you'll want to ensure your oven is preheated to 350°F. This step is super important because it helps your tart cook evenly and come out perfectly creamy. So, let's get started!
First, find your oven's temperature dial or digital setting. If you're using a dial, turn it to 350°F and wait for the little light to come on. This means your oven is heating up! If you have a digital oven, simply press the buttons until you see 350°F displayed. Easy peasy!
Now, while your oven warms up, you can gather all the ingredients and tools you'll need for your tart. It's a great time to measure out the cream cheese, sugar, and anything else you'll use later. Don't forget to check if you have your baking dish ready too!
Once the oven reaches the right temperature, you'll hear a beep or see the light change. Now you're ready to move on to the next steps of making your mouthwatering baked cheese tart. Just imagine how tasty it's going to be! Happy baking!
Step 2. Mix Cream Cheese and Sugar
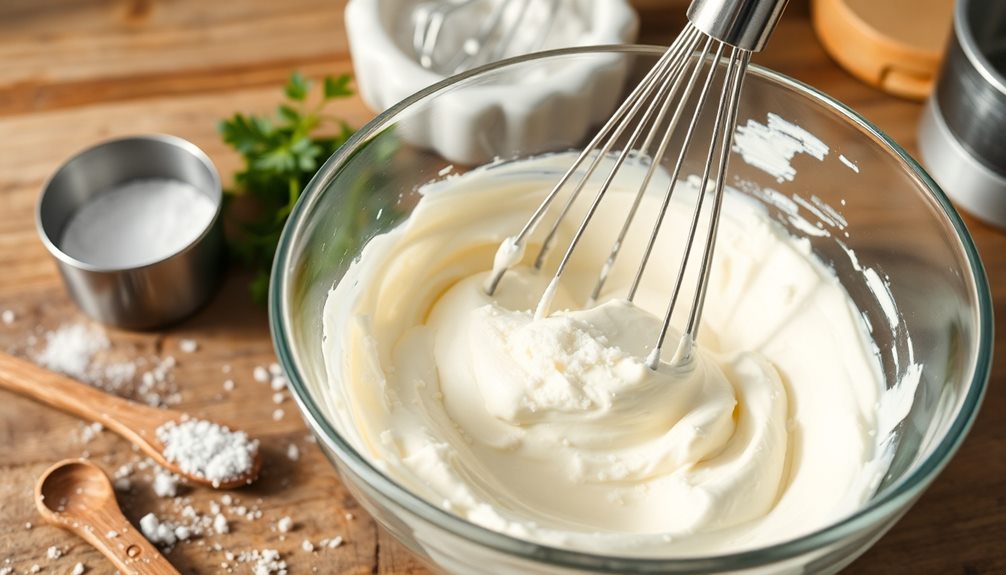
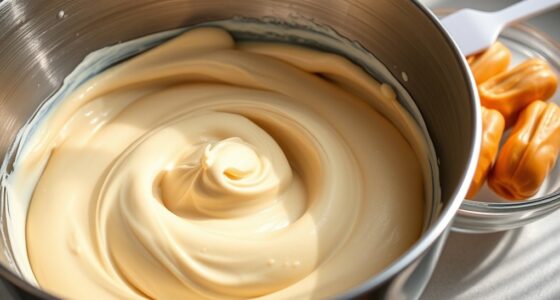
To achieve that creamy texture for your baked cheese tart, you'll want to mix the cream cheese and sugar together until smooth and well combined. Start by taking your cream cheese out of the refrigerator. If it's too cold, it won't blend smoothly, so let it sit for about 10 minutes.
Then, place the cream cheese in a large mixing bowl. Next, add the granulated sugar to the bowl. You can use a hand mixer or a whisk to combine them. If you're using a hand mixer, start on low speed to avoid sugar flying everywhere. Gradually increase to medium speed as the mixture begins to blend.
Mix until you see a nice, creamy texture—this usually takes about 2 to 3 minutes. If you're using a whisk, it might take a bit longer, but don't worry! Just keep mixing until there are no lumps and everything looks smooth. You want it to feel soft and fluffy.
This step is super important because it sets the base for that delicious tart you're making. Once you're done, you'll be ready for the next steps in creating your yummy baked cheese tart!
Step 3. Add Eggs and Vanilla
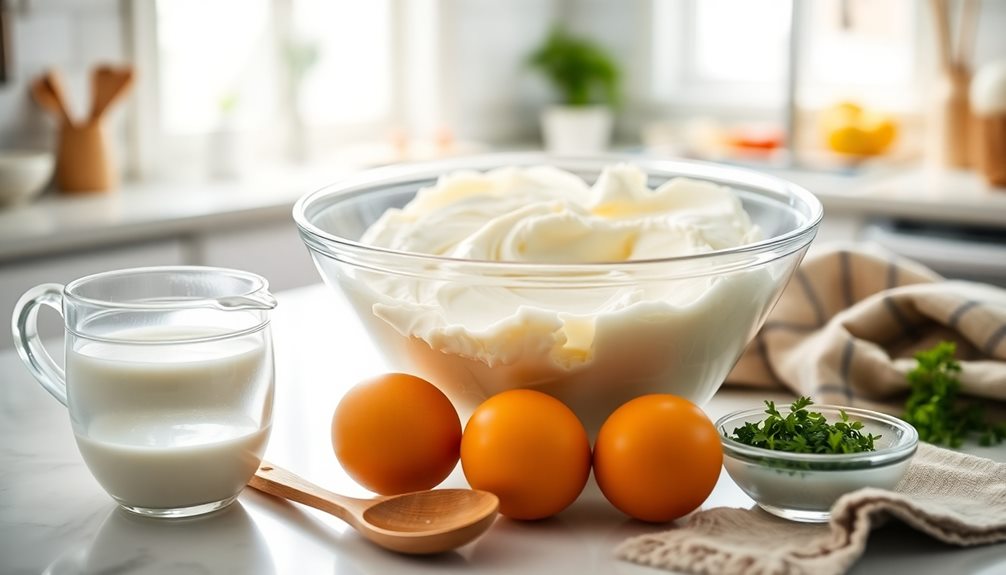
Now that your cream cheese and sugar mixture is smooth and creamy, it's time to incorporate the eggs and vanilla for added richness and flavor. Crack those eggs right into your bowl, one at a time. This way, you can make sure the first egg is well blended before adding the next. As you mix, you'll notice the texture changing, becoming even creamier and more delightful.
Next, grab your bottle of vanilla extract. Just a splash or two will do! This little addition will make your tart taste even more amazing. Pour it in, and then stir everything together until it's completely combined. Make sure there are no lumps left, as you want your mixture to be super smooth.
As you mix, you'll probably catch a whiff of the sweet, creamy aroma filling your kitchen. Isn't it wonderful? This is the magic of baking!
Once you're satisfied with the consistency, you'll be ready for the next exciting step in creating your baked cheese tart. Remember, each step you take gets you closer to that delicious dessert everyone loves! Enjoy the process; you're doing great!
Step 4. Pour Mixture Into Crust

With your creamy mixture ready, it's time to pour it into the prepared crust. Carefully lift your bowl of deliciousness and position it above the crust. You want to ensure that all that creamy goodness makes its way in without spilling over the sides.
Start pouring slowly, letting the mixture flow gently into the crust. It's like a warm hug for that crust!
As the mixture fills the crust, watch how it settles. You might want to give the bowl a little tilt to get every last drop out. No one likes to waste that yummy filling!
If you notice any bubbles popping up, don't worry—this is normal. Just give the bowl a little shake or tap to help them escape.
Once you've poured the mixture, take a moment to admire your work. It looks so inviting, doesn't it? You've done an amazing job so far!
Now, it's ready for the next step, which is to bake it to perfection. But for now, you can feel proud of what you've created. Your baked cheese tart is on its way to becoming a delightful dessert!
Step 5. Bake for 30 Minutes
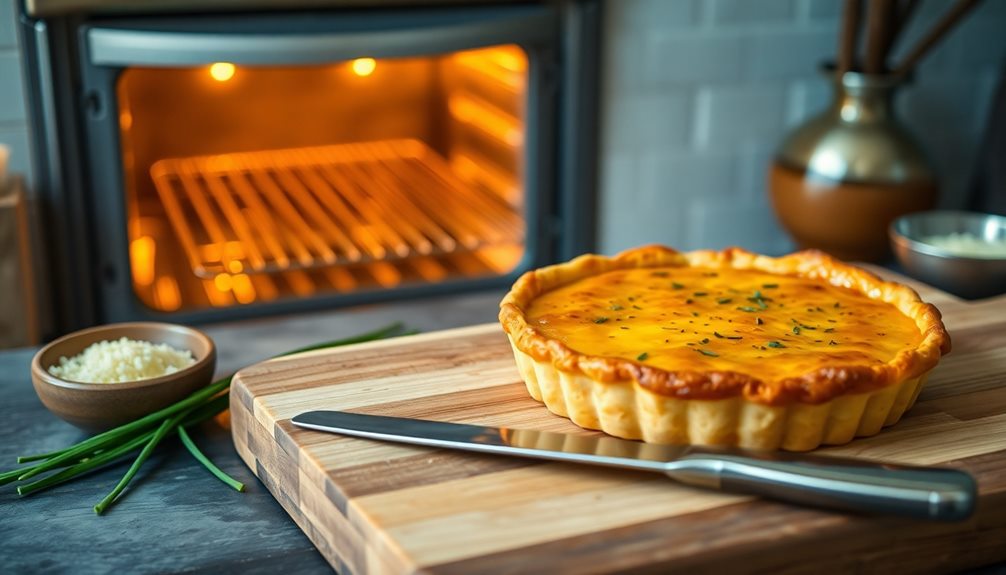
Set your oven to 350°F (175°C) and place the tart in for 30 minutes. As you slide the tart into the oven, you might hear a little sizzle. That's the sound of magic happening! The heat will work its wonders, transforming your creamy mixture into a deliciously baked cheese tart.
While it bakes, the wonderful aroma will fill your kitchen, making everyone eager to taste it. You can set a timer for 30 minutes, giving you just enough time to clean up your workspace or maybe even prepare a little topping.
When the timer goes off, carefully check your tart. It should be golden brown on top, and the edges will be slightly puffed.
But be careful! The tart will be hot, so use oven mitts to take it out. Let it cool for a few minutes before slicing.
Final Thoughts
Baked cheese tarts aren't just a delightful treat; they're a testament to the beauty of simplicity in baking. When you take a bite of a warm, creamy cheese tart, you're not just tasting deliciousness; you're experiencing joy!
This dessert brings people together, making it perfect for parties, family gatherings, or just a cozy evening at home.
You don't need fancy ingredients or complicated steps to make this scrumptious dessert. Just a few simple items, some mixing, and a little time in the oven can create something that feels special. Whether you’re a seasoned baker or just starting out, a straightforward approach can yield impressive results. For an extra touch of elegance, you can even try decorating your creation using a Korean buttercream recipe, which is known for its smooth, glossy texture and intricate floral designs. With minimal fuss and a little creativity, this dessert will leave everyone asking for seconds.
Plus, the smell that fills your kitchen while it bakes is simply irresistible!
As you enjoy your baked cheese tart, think about how fun it's to share food with friends and family. You can even get creative by adding toppings like fresh fruit or a drizzle of chocolate.
Frequently Asked Questions
Can I Use Non-Dairy Alternatives for the Cheese?
Yes, you can definitely use non-dairy alternatives for the cheese. Look for options like cashew, almond, or soy-based cheeses that mimic the texture and flavor. Just ensure they're suitable for baking to achieve the right consistency.
How Should I Store Leftover Baked Cheese Tarts?
To store leftover baked cheese tarts, wrap them tightly in plastic wrap or place them in an airtight container. Keep them in the fridge for up to three days, or freeze for longer storage.
What Types of Cheese Work Best for This Dessert?
For a creamy dessert, you'll want to use soft cheeses like cream cheese or mascarpone. Blending ricotta can add a unique texture, while aged cheeses might offer a surprising twist. Experiment to find your favorite combination!
Can I Make Baked Cheese Tart Ahead of Time?
Yes, you can absolutely make it ahead of time! Just prepare it, let it cool, then store it in the fridge. When you're ready to serve, simply reheat or enjoy it cold.
Is There a Gluten-Free Crust Option Available?
Yes, you can use a gluten-free crust option for your tart. Almond flour or a gluten-free baking mix works great. Just ensure all your other ingredients are also gluten-free to keep it safe and delicious!