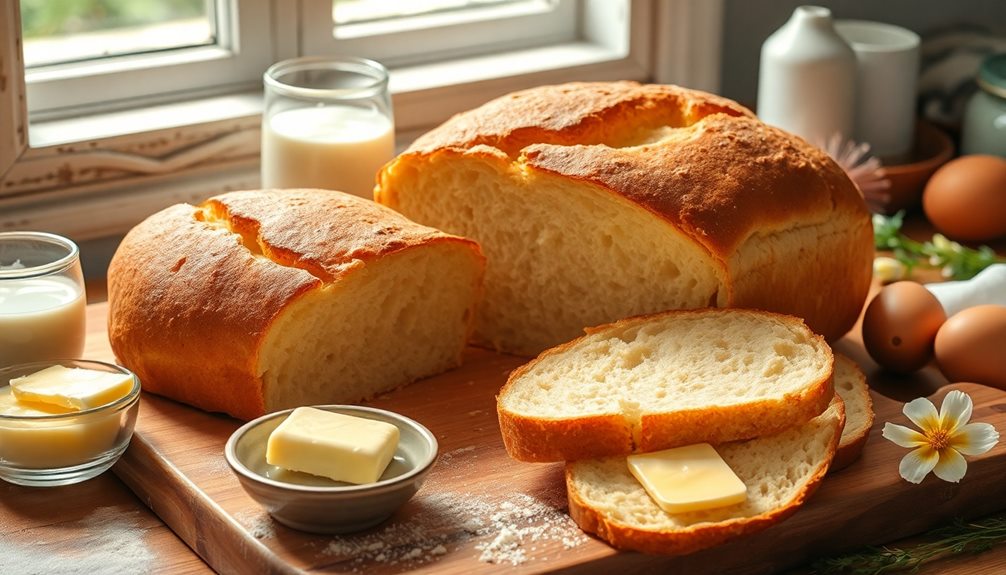
Get ready to bake a cheese tart that's creamy, dreamy, and downright delightful! You'll start with a flaky, buttery crust that melts in your mouth. Then, you'll whip up a rich, velvety filling made with cream cheese and heavy cream – the secret to that irresistible texture. Pop it in the oven, and soon, your kitchen will be filled with the most heavenly aroma. Serve it chilled for maximum flavor, and you'll have your family and friends raving. Want to learn the steps for baking perfection? Keep reading to discover the best way to create this classic, crowd-pleasing dessert.
Key Takeaways
- Ensure a flaky crust by chilling the dough and incorporating the right ratio of butter to flour.
- Create a rich and velvety filling by using softened cream cheese, heavy cream, and carefully folding in the ingredients.
- Blind bake the tart shells before adding the filling to prevent a soggy bottom and achieve a golden, crisp crust.
- Bake the tarts at the optimal temperature of 350°F (175°C) for the perfect balance of a set filling and a tender crust.
- Cool the tarts completely before slicing, allowing the flavors to meld and the texture to set for a delightful, creamy dessert.

IMPRESA Coffee Machine Descaler, 2-Pack (1-Year Supply) Universal Descaling
- Pack Size: 2 bottles, 4 uses total
- Made in: USA
- Compatibility: Universal for coffee machines
As an affiliate, we earn on qualifying purchases.
History
Cheese tarts have a rich and captivating history that stretches back centuries. The delectable treat originated in ancient Greece, where the first cheese-filled pastries were baked and enjoyed. Over time, this classic recipe made its way to other parts of the world, evolving with local ingredients and cultural influences.
In the Middle Ages, European bakers perfected the art of crafting flaky tart crusts and silky smooth cheese fillings. These decadent tarts became a staple at royal banquets and noble gatherings.
As the centuries passed, the cheese tart continued to captivate taste buds, inspiring countless variations and interpretations.
Today, cheese tarts are beloved around the globe, from the delicate custard-like tarts of Japan to the rich, creamy versions found in European cafes.
Whether enjoyed as a special treat or an everyday indulgence, the cheese tart remains a timeless and delightful culinary delight.
Recipe
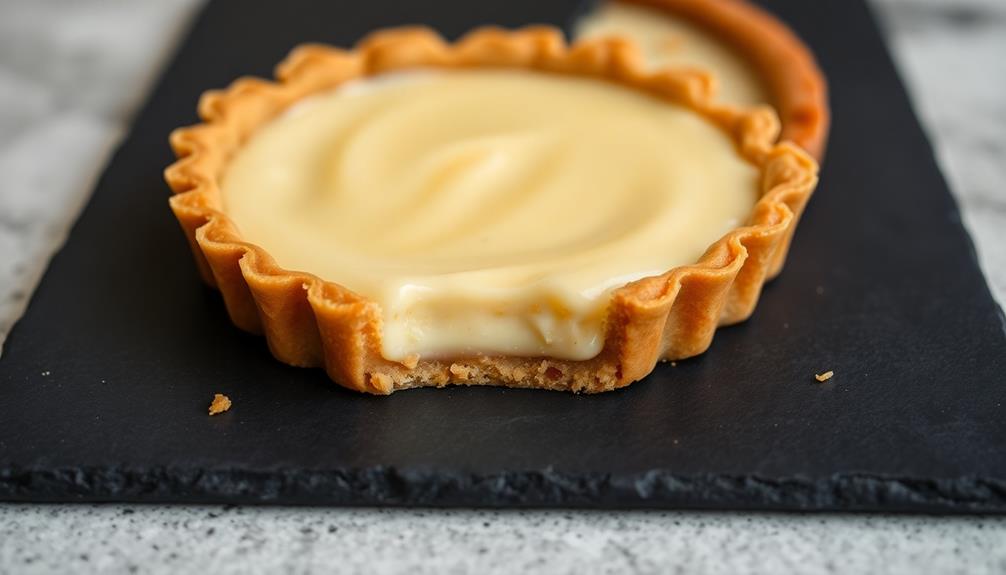
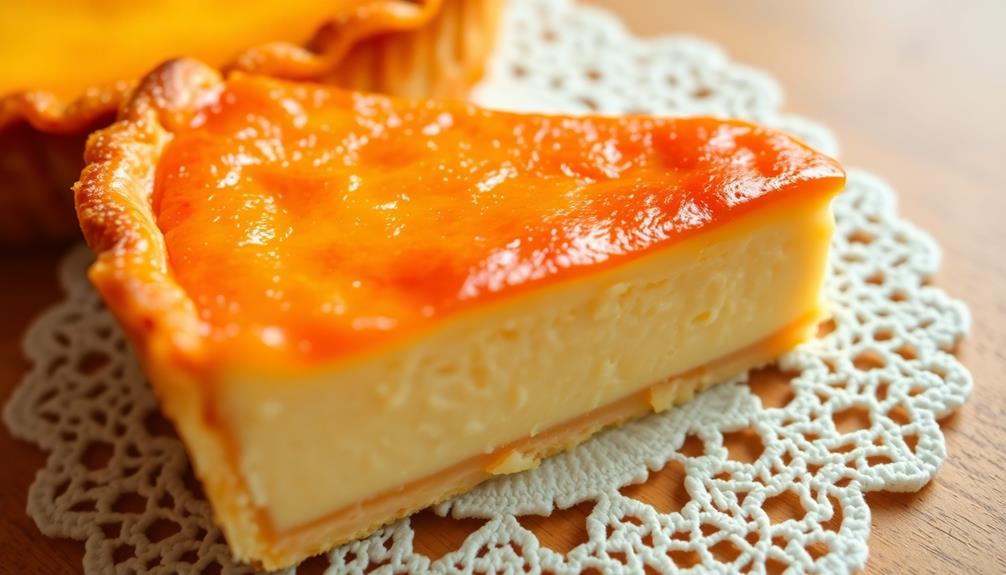
Cheese tarts are a delightful pastry treat that combine a buttery crust with a creamy, indulgent filling. Whether you're looking to impress guests or satisfy your own sweet tooth, mastering the art of cheese tart baking is a worthy endeavor.
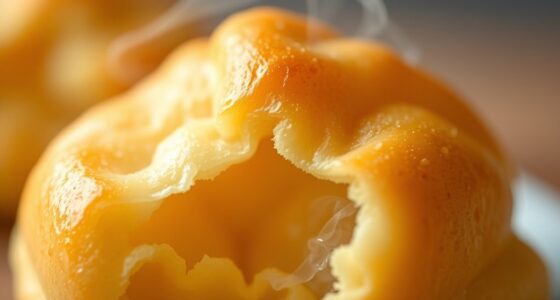
The key to creating the perfect cheese tart lies in the balance of flavors and textures. The crust should be flaky and golden, providing a sturdy foundation for the rich, velvety filling. The filling, in turn, should be smooth, with a balance of sweetness and tang that tantalizes the palate.
Ingredients:
- 1 1/2 cups all-purpose flour
- 1/2 cup unsalted butter, chilled and cubed
- 1/4 cup granulated sugar
- 1/4 teaspoon salt
- 1 egg, beaten
- 8 ounces cream cheese, softened
- 1/2 cup granulated sugar
- 1 egg
- 1 teaspoon vanilla extract
- 1/4 cup heavy cream
To make the cheese tarts, begin by preparing the crust. In a food processor, pulse the flour, butter, sugar, and salt until the mixture resembles coarse crumbs. Add the beaten egg and pulse until the dough just comes together. Wrap the dough in plastic and refrigerate for at least 30 minutes.
Once the dough has chilled, preheat your oven to 375°F (190°C). Grease a 12-cup muffin tin or use a tart pan with removable bottom. Roll out the dough and press it into the prepared cups or tart pan, ensuring an even thickness. Bake the crusts for 12-15 minutes, or until lightly golden.
While the crusts are baking, prepare the filling. In a medium bowl, beat the cream cheese until smooth. Add the sugar, egg, and vanilla, and mix until well combined. Finally, fold in the heavy cream until the mixture is creamy and uniform.
Once the crusts are baked, spoon or pipe the filling into the cups or tart pan. Return the tarts to the oven and bake for an additional 15-20 minutes, or until the filling is set. Allow the cheese tarts to cool completely before serving.
Enjoy the delightful contrast of the buttery crust and the rich, velvety filling.
Cooking Steps
Alright, let's get baking!
First, you'll need to prepare the crust base by mixing the dry ingredients.
Then, whip up the creamy filling and pour it into the baked tart shell.
Step 1. Prepare the Crust Base
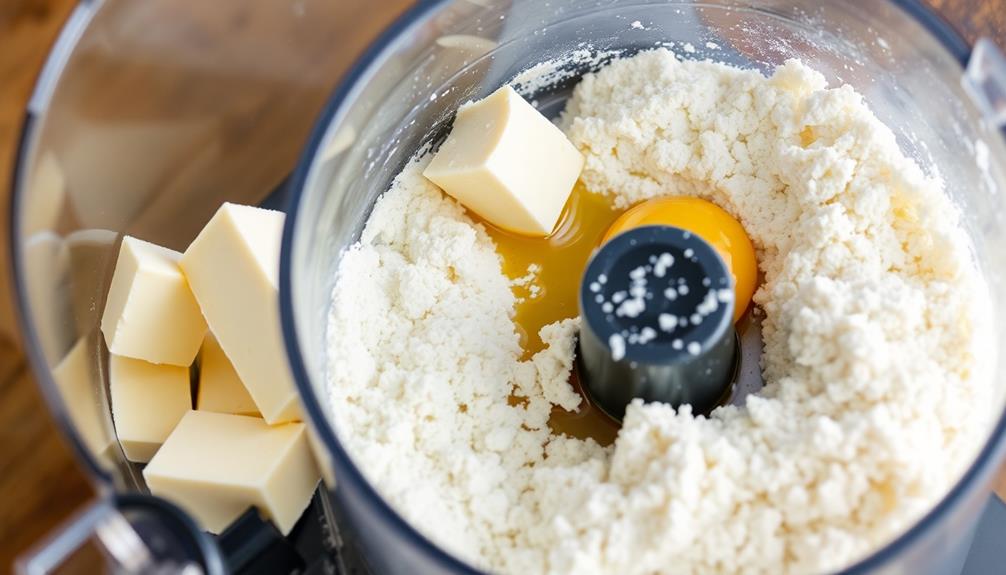
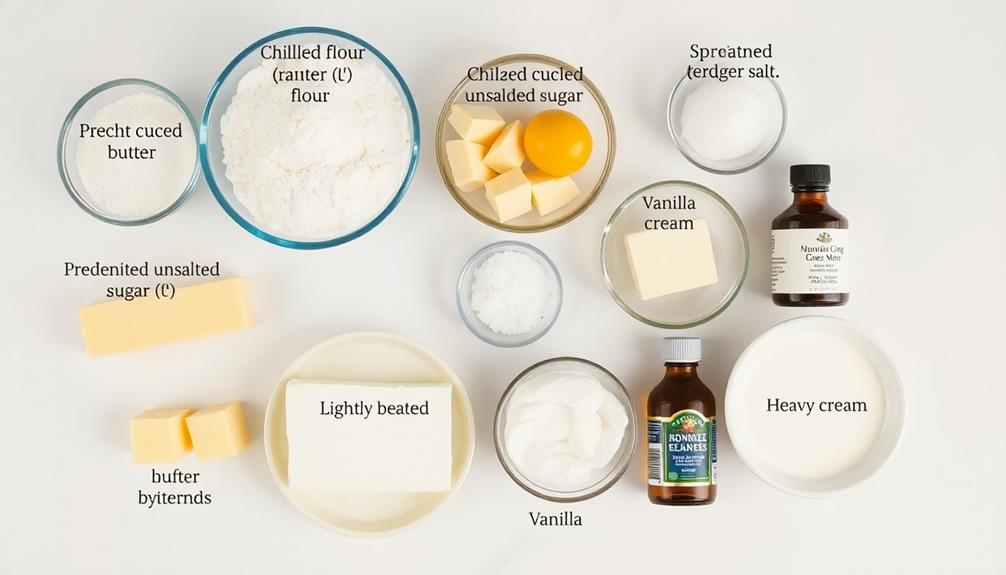
Prepare the crust base by first gathering your ingredients. You'll need all-purpose flour, granulated sugar, cold unsalted butter, and a pinch of salt.
In a large bowl, combine the flour and sugar. Cut in the cold butter using a pastry blender or your fingertips until the mixture resembles coarse crumbs.
Next, add just a touch of cold water, a tablespoon at a time, and mix gently until the dough just begins to come together. Don't overwork it!
Shape the dough into a disc, wrap in plastic, and chill for at least 30 minutes. This helps the gluten relax and the butter firm up, resulting in a flakier crust.
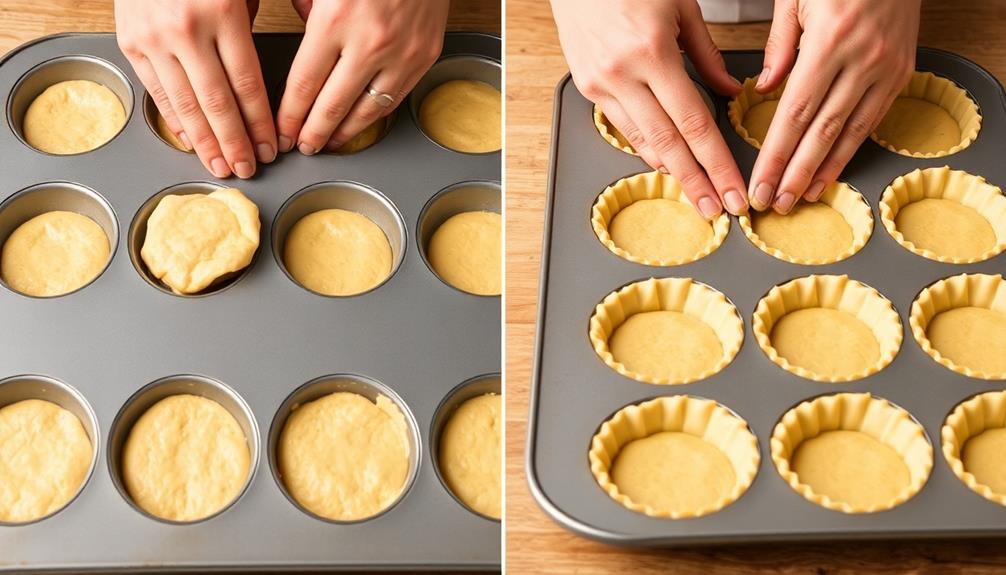
Once chilled, roll out the dough on a lightly floured surface to fit your tart pan. Gently press the dough into the pan, trimming any excess.
Prick the bottom with a fork to prevent bubbling. You're now ready to blind bake the crust before adding the filling. Isn't this exciting?
Step 2. Mix the Filling Ingredients

With the crust ready, you can now focus on the filling. In a large bowl, whisk together the cream cheese, sugar, and vanilla extract until smooth and creamy.
Can't you just imagine the irresistible aroma filling your kitchen? Next, crack in the eggs one at a time, beating well after each addition. This will help create the rich, velvety texture you're aiming for.
Now, it's time to fold in the heavy cream. Gently incorporate it until the filling is silky and unified.
Be careful not to overmix, or you might end up with an airy, souffle-like texture instead of the dense, indulgent filling you desire. Finally, pour the filling into the prepared crust, smoothing the top with a spatula.
Step 3. Bake the Tart Shell
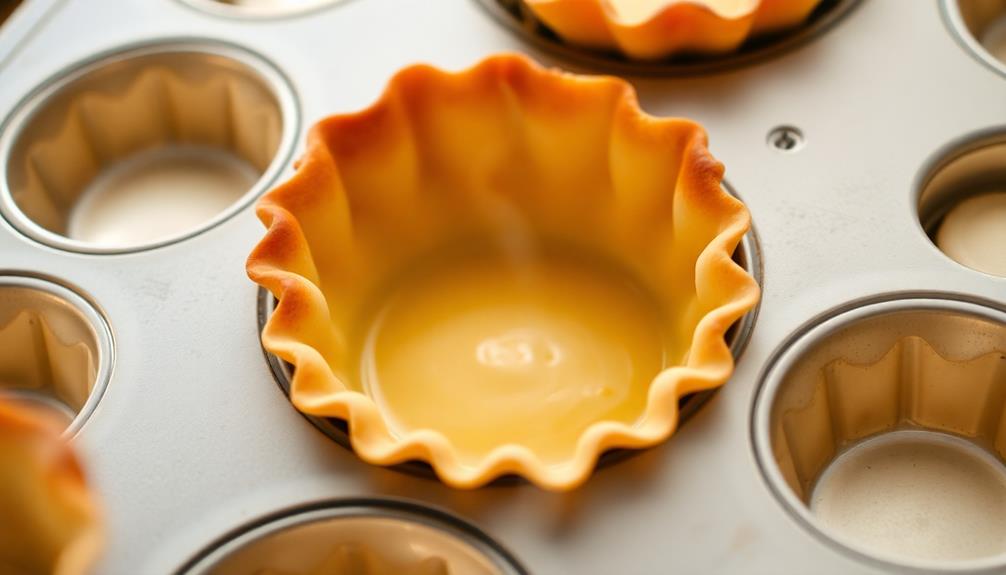
The baked tart shell is now ready to receive the luscious filling. Carefully transfer the shell to a cooling rack and let it rest until it's completely cooled. This step is crucial – you don't want the filling to melt when you pour it in!
Next, preheat your oven to 350°F (175°C). While the oven is heating up, prepare a rimmed baking sheet by lining it with parchment paper. This will catch any drips or spills during the baking process.
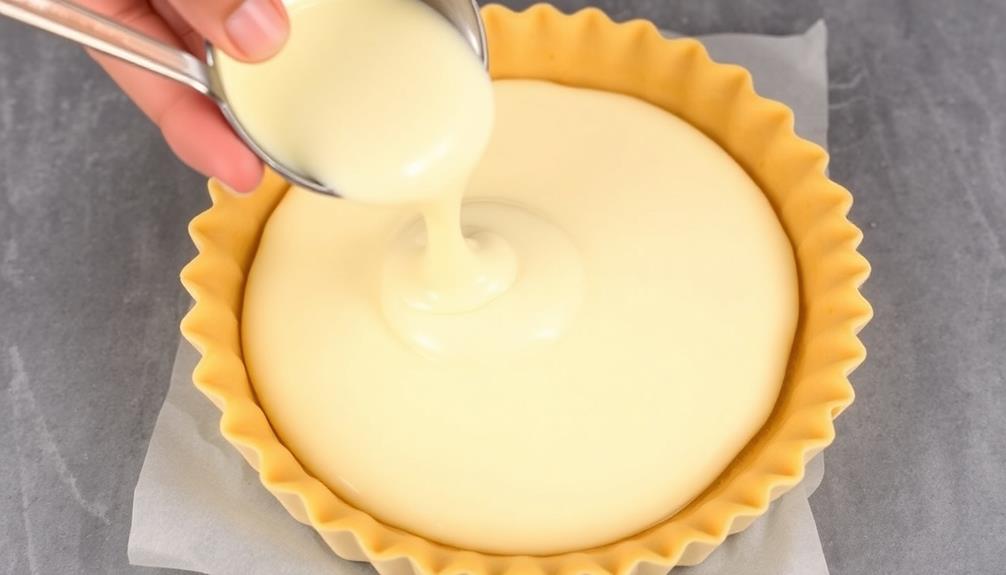
Once the oven is ready, gently place the cooled tart shell onto the prepared baking sheet. Slowly and carefully pour the creamy filling into the shell, making sure it's evenly distributed. Try not to overfill it – leave about a 1/4-inch gap from the top.
Bake the tart for 25-30 minutes, or until the filling is set and the edges are golden brown. Keep a close eye on it to prevent over-baking.
When the time's up, remove the tart from the oven and let it cool completely before slicing and serving.
Step 4. Pour Filling Into Shell
Carefully transfer the cooled tart shell onto the prepared baking sheet. You're almost ready to fill this delicious treat!
Start by gathering your cream cheese, sugar, eggs, and a splash of vanilla extract. In a large bowl, beat the cream cheese until it's light and fluffy. Gradually add the sugar, mixing well after each addition.
Next, crack the eggs into the bowl one at a time, blending thoroughly after each one. Finally, stir in the vanilla. Your filling is now ready!
Gently pour the creamy mixture into the tart shell, smoothing the top with a spatula. Be careful not to overfill – you want just enough to create a lovely, even layer.
Once it's all set, pop the tart into the oven and bake until the filling is set and the edges are lightly golden. Your kitchen will be filled with the most mouthwatering aroma.
Get ready for rave reviews when you serve up this cheesy delight!
Step 5. Chill the Baked Tart Before Serving
Once the tart has finished baking, remove it from the oven and let it cool completely on a wire rack. This step is crucial, as you don't want to dig into a hot tart and risk burning your mouth!
As the tart cools, the filling will set up and become nice and firm.
Once the tart has reached room temperature, you'll want to pop it into the fridge for at least 2 hours, or up to 24 hours. This chilling time allows the flavors to meld and the texture to become wonderfully creamy.
When you're ready to serve, take the tart out of the fridge and let it sit for about 10 minutes. This gives it a chance to warm up just a bit, making it extra smooth and velvety.
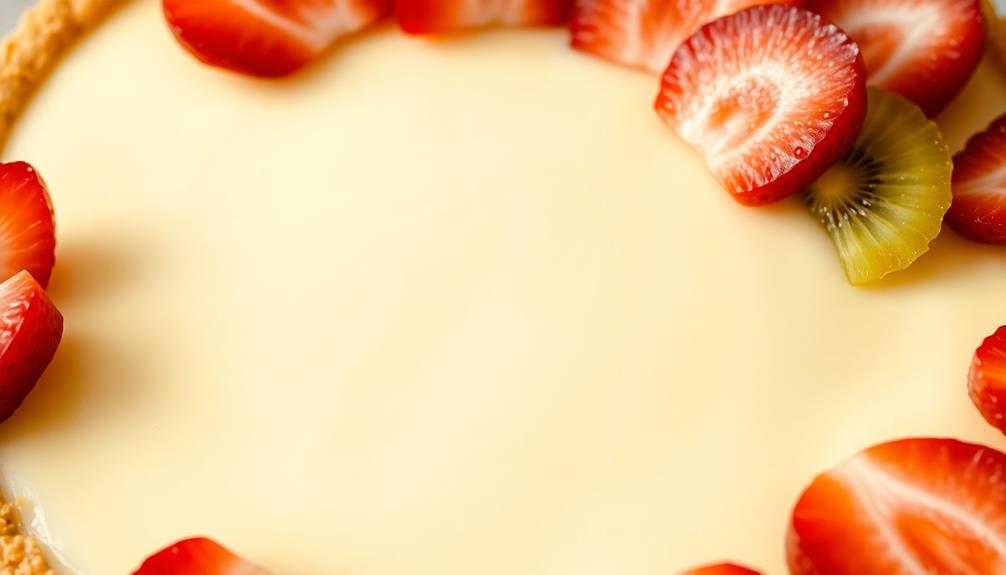
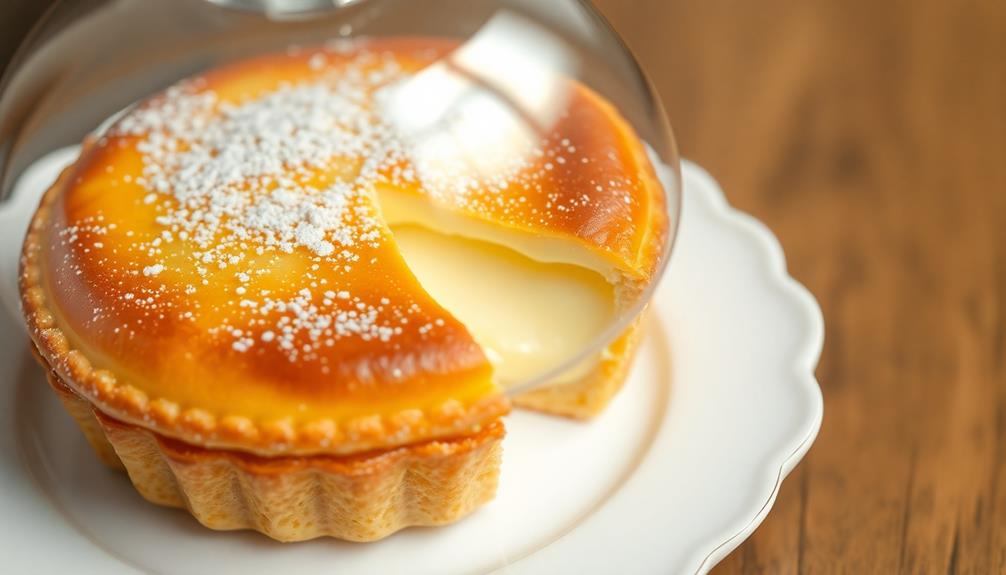
Slice into the chilled tart and enjoy every last bite of this dreamy, creamy dessert! The perfect balance of sweet and tangy is sure to have your family and friends asking for seconds.
Final Thoughts
Crafting the perfect cheese tart requires patience, precision, and a touch of creativity.
You've followed the recipe to a tee, chilled the baked tart, and now it's time to savor your delicious creation.
As you take that first heavenly bite, let the rich, creamy flavors melt in your mouth.
This tart is sure to impress your family and friends, who'll be delighted by its irresistible texture and taste.
Frequently Asked Questions
Can I Use a Store-Bought Pie Crust for the Tart?
You can certainly use a store-bought pie crust for your tart. It'll save you time and effort, and the result will still be delicious. Just be sure to follow the instructions on the packaging for best results.
How Do I Prevent the Tart From Sticking to the Pan?
To prevent the tart from sticking to the pan, you should grease the pan with butter or line it with parchment paper. This will create a non-stick surface and ensure the tart releases easily once baked.
Can I Substitute Cream Cheese for Ricotta in the Filling?
You can substitute cream cheese for ricotta in the filling, but the texture and flavor will be different. Cream cheese is thicker and has a more pronounced tang compared to the milder, creamier ricotta.
How Do I Get the Perfect Golden-Brown Top on the Tart?
To get that perfect golden-brown top on your tart, brush the surface with a beaten egg or milk before baking. This will create a lovely, glossy crust that'll impress your guests.
Can I Make the Tart Ahead of Time and Refrigerate It?
Yes, you can make the tart ahead of time and refrigerate it. Just be sure to let it cool completely before covering and refrigerating. This will help maintain the texture and prevent the crust from getting soggy.