Milkshakes – the ultimate frozen indulgence! Whether you crave the rich, chocolatey goodness, the classic vanilla creaminess, or the bright, fruity allure of strawberry, these beloved treats have delighted taste buds for generations. Whip up your own masterpiece by blending smooth milk, creamy ice cream, and tantalizing flavors in a blender. Adjust the consistency to your liking, then pour into a tall glass and top it off with a dollop of whipped cream for the perfect finishing touch. Savor the comforting nostalgia and delightful textures of this quintessential American delight. There's more to discover about these timeless treats!
Key Takeaways
- Milkshakes originated in the late 19th century as a frothy mixture of milk, ice cream, and flavored syrups, and have since become a beloved American treat.
- The classic milkshake flavors include chocolate, vanilla, and strawberry, which can be customized by using corresponding ice cream flavors.
- To make a milkshake, blend milk and 2-3 scoops of ice cream until smooth and creamy, adjusting the thickness as needed.
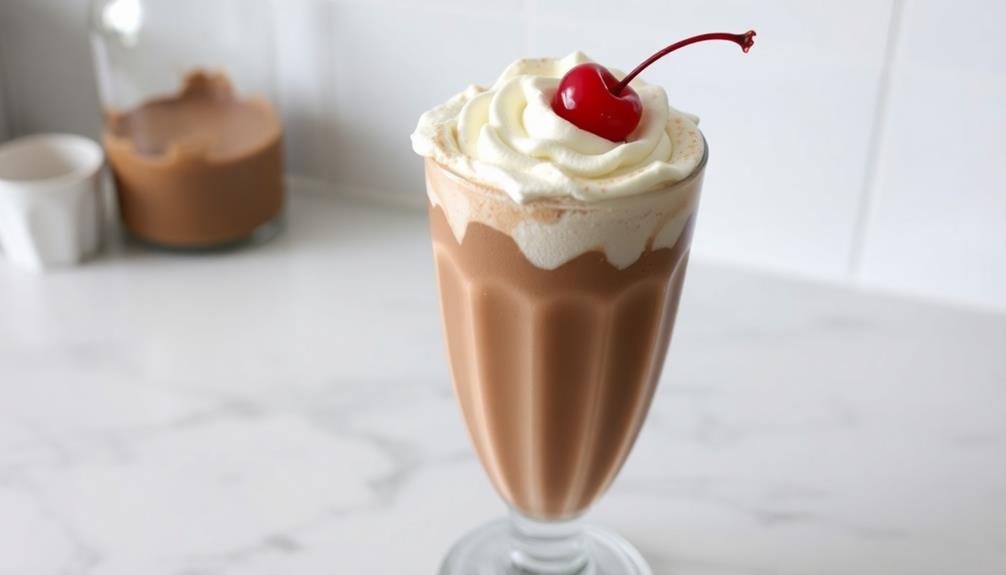
- Pour the milkshake into a tall, chilled glass and top it with whipped cream, sprinkles, or a cherry for a visually appealing presentation.
- Milkshakes provide a comforting and nostalgic experience, with a smooth and velvety texture that can be enjoyed by people of all ages.
History
Milkshakes trace their origins back to the late 19th century, when soda fountain shops began offering a frothy, hand-blended mixture of milk, ice cream, and flavored syrups.
These delightful concoctions quickly became a beloved treat, with folks lining up to enjoy the creamy, sweet goodness.
As the decades passed, milkshake recipes evolved, introducing new flavors like chocolate, vanilla, and strawberry.
Soda jerks, the skilled operators of the soda fountains, took pride in crafting the perfect milkshake, blending the ingredients with a flourish and topping it with a generous dollop of whipped cream.
Today, milkshakes remain a classic American indulgence, enjoyed by young and old alike.
Whether you prefer a classic vanilla or a decadent chocolate, the humble milkshake continues to delight taste buds and bring a smile to faces across the country.
Cooking Steps
To begin, gather your ingredients and utensils. You'll need a blender, milk, ice cream, and your favorite flavoring. For chocolate, add cocoa powder or chocolate syrup. Vanilla? Just a splash of vanilla extract. Strawberry? Grab some fresh or frozen berries.
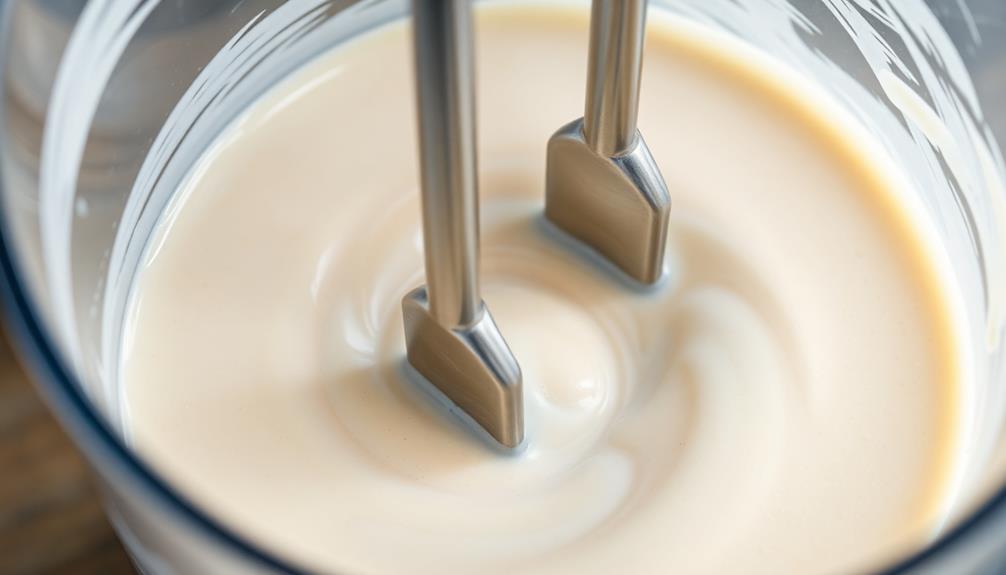
Now, add the milk to the blender first, about 1 cup. Toss in a couple scoops of ice cream – around 2 or 3 should do the trick. If you want it thicker, add a bit more ice cream. For the flavoring, start with a small amount, like a tablespoon, then blend. Taste and add more if needed.
Blend everything together until it's smooth and creamy. Don't over-blend, or it'll get watery.
Pour the milkshake into a tall glass and enjoy with a spoon and straw. Feel free to top it with whipped cream, sprinkles, or a cherry for an extra special treat. Sip and savor your delicious homemade milkshake! If you’re feeling adventurous, you can also experiment with different flavors by adding in chocolate syrup, fruit purees, or peanut butter. The possibilities are endless when it comes to customizing your milkshake. And for those who may be wondering, what is a malted milkshake? A malted milkshake is made by adding malted milk powder to the milkshake mixture for a unique and slightly nutty flavor. It’s a classic option for those who enjoy a bit of nostalgia with their sweet treats.
Step 1. Add Ice Cream
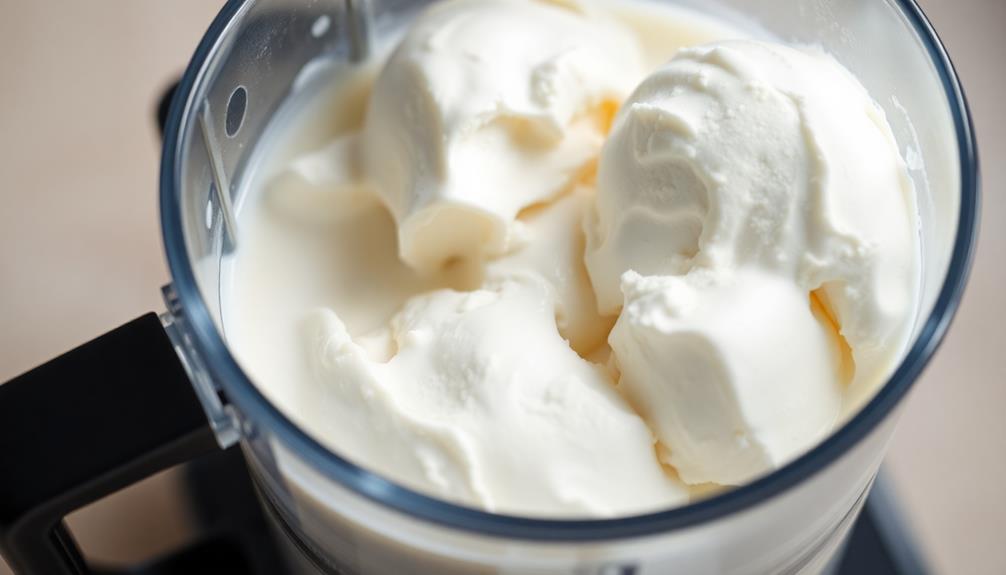
Next, add a scoop or two of your favorite ice cream to the blender. The ice cream is what gives your milkshake that thick, creamy texture you love.
For an exciting twist, consider using a flavor like Birthday Cake Ice Cream to elevate your drink, or stick with classic options like chocolate or vanilla. Choose a flavor that complements the syrup you're using, like chocolate ice cream for a chocolate milkshake or vanilla ice cream for a strawberry milkshake.
Gently spoon the ice cream into the blender, being careful not to splash any out. Once you've added the ice cream, it's time to blend everything together.
Blend the mixture on high speed until it's smooth and creamy, about 30 seconds to a minute. Make sure to scrape down the sides of the blender with a spatula to incorporate all the ingredients.
The blended ice cream will create a rich, thick milkshake with the perfect texture. If it's not blended enough, add a splash of milk and blend again until you reach your desired consistency.
Now your milkshake is ready to enjoy!
Step 2. Add Milk
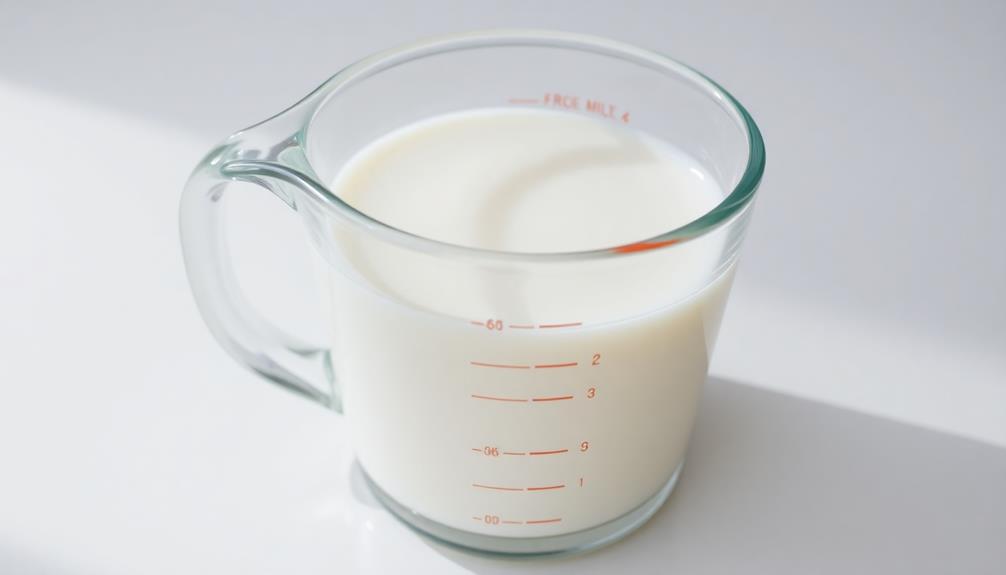
After blending the ice cream, it's time to add milk to your milkshake. The amount of milk you'll need will depend on how thick or thin you want your shake to be. Start with about 1/2 cup of milk and give it a good stir.
If it's still too thick, add a little more milk, a tablespoon at a time, until you reach your desired consistency.
Be sure to use cold milk for the best results. Warm milk won't blend as well and may make your shake watery.
Once you've added the milk, give it another quick blend to incorporate everything together. You're looking for a smooth, creamy texture that's not too runny.
Adjust the amount of milk as needed until you've got the perfect milkshake consistency. Now you're ready to pour it into a tall glass and enjoy your homemade treat!
Step 3. Blend Until Smooth Consistency
With your milk now added, it's time to blend the milkshake until it reaches a smooth, creamy consistency.
Grab your blender and add the milk, ice cream, and any other flavors you desire. Turn the blender on to a medium-high speed and let it run for about 30 seconds to a minute, making sure to scrape down the sides occasionally with a spoon.
You'll know the milkshake is ready when it has a thick, velvety texture and all the ingredients have been fully incorporated. If it's still a bit too thick, add a splash of extra milk and blend again. Conversely, if it's too thin, try adding a scoop or two of additional ice cream.
Once you've achieved the perfect consistency, give the blender a final whirl to ensure everything is well-blended.
With your milkshake now perfectly smooth, you're ready to pour it into a tall glass and enjoy its delicious creaminess.
Don't forget to add your favorite toppings like whipped cream, sprinkles, or a cherry on top!
Step 4. Pour Into Glass
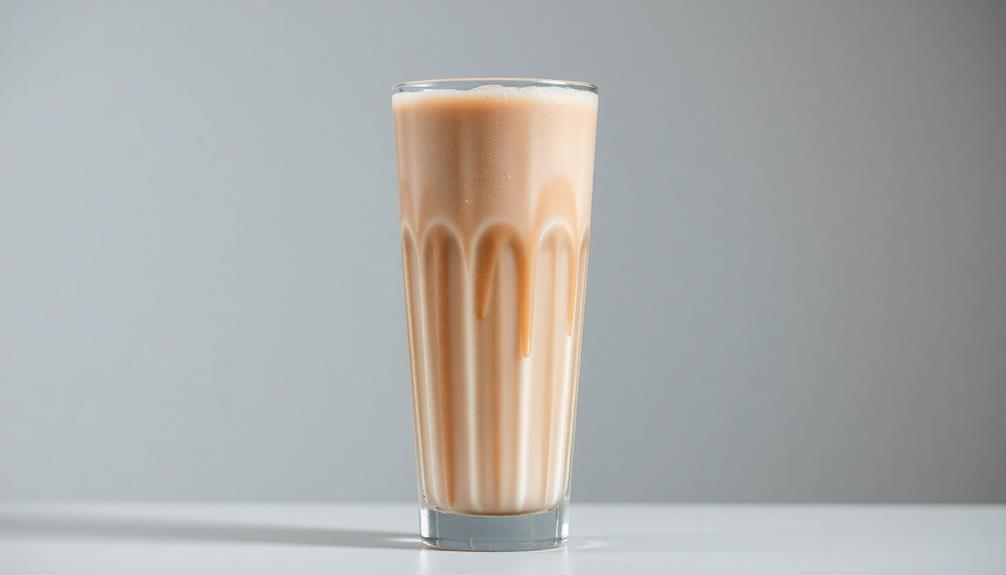
Now that your milkshake has reached the perfect consistency, it's time to pour it into a glass and enjoy. Grab a tall, chilled glass and hold it at a slight angle. Slowly and steadily, pour the thick, creamy milkshake into the glass, allowing it to glide down the side.
As the glass fills, you'll see the smooth, velvety texture of the milkshake come to life. Be careful not to pour too quickly, or you might end up with a messy spill.
Once the glass is filled to your desired level, grab a long spoon and dig in! The cold, refreshing treat will delight your taste buds. Take your time savoring each delicious sip, letting the flavors dance on your tongue.
Whether you chose chocolate, vanilla, or strawberry, this milkshake is sure to satisfy your sweet tooth and leave you feeling perfectly content. Enjoy every last drop and savor the moment – this is the perfect way to indulge in a classic, homemade milkshake.
Step 5. Top With Whipped Cream
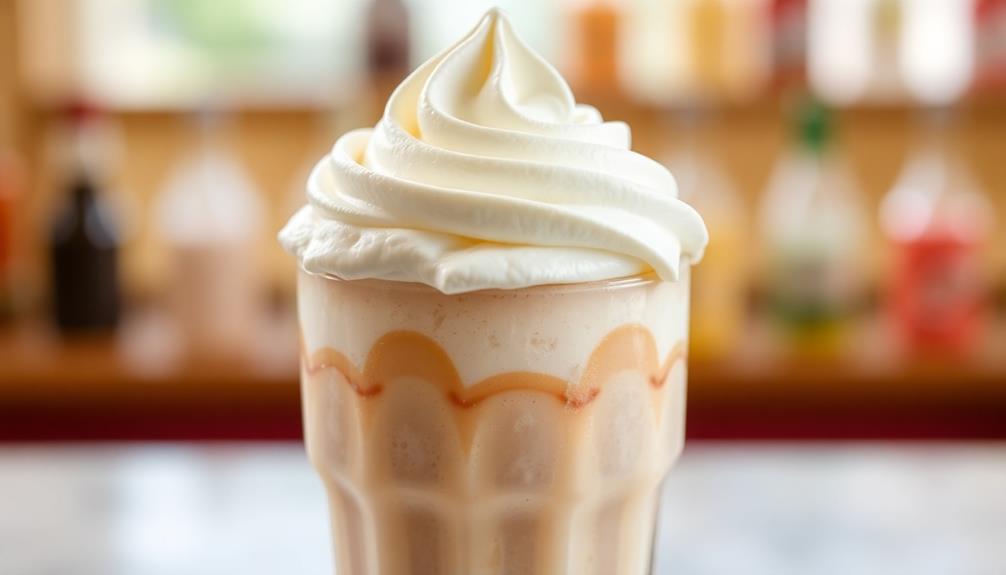
A dollop of whipped cream is the perfect finishing touch to your homemade milkshake. It adds a cloud-like texture and a luscious, creamy flavor that makes every sip a delight.
To top your milkshake, simply take a spoonful of freshly whipped cream and gently place it on top of the milkshake. You can create a tall, swirling peak or keep it simple with a smooth, even layer.
If you want to get extra fancy, you can add a sprinkle of cocoa powder, a drizzle of chocolate sauce, or a few colorful sprinkles for a delightful visual appeal. The key is to let your creativity shine and have fun with it!
Once your milkshake is crowned with the perfect dollop of whipped cream, grab a long spoon and dive in. The combination of the cold, smooth milkshake and the light, airy whipped cream is sure to satisfy your sweet tooth and leave you craving more.
Final Thoughts
Milkshakes are a classic treat that bring joy to many. Whether you prefer the rich, chocolatey goodness or the creamy sweetness of vanilla, these delightful drinks are the perfect way to indulge your sweet tooth.
And don't forget the whipped cream on top – it adds a dreamy, fluffy finishing touch that makes every sip even more delicious.
As you savor your milkshake, you can't help but smile. The familiar flavors and smooth, creamy texture transport you back to carefree childhood days, when a trip to the local diner or ice cream shop was a special treat.
Even as an adult, there's something comforting and nostalgic about sipping on a milkshake, a moment of pure happiness in a busy world.
Frequently Asked Questions
What Is the Difference Between a Milkshake and a Smoothie?
Milkshakes and smoothies may seem similar, but there's a key difference. A milkshake is made with ice cream, milk, and flavorings, while a smoothie blends fresh or frozen fruit, yogurt, and sometimes vegetables.
Milkshakes are thicker and richer, perfect for satisfying a sweet tooth. Smoothies, on the other hand, are lighter and packed with nutrients, making them a healthier option.
Whether you crave a creamy milkshake or a refreshing smoothie, there's a delicious option for every taste bud!
Can I Use Almond Milk Instead of Regular Milk?
Absolutely! You can definitely use almond milk instead of regular cow's milk to make your milkshake.
Almond milk has a deliciously nutty flavor that pairs wonderfully with the sweetness of the milkshake ingredients. Plus, it's a great dairy-free option if you're looking to avoid lactose.
Just be sure to adjust the sweetness to your liking, as almond milk can be a bit less sweet than regular milk.
Get ready to blend up a creamy, indulgent treat!
How Do I Make a Milkshake Without a Blender?
Making a milkshake without a blender is a breeze!
All you need is a bowl, a spoon, and a little elbow grease. Simply mash up your favorite ice cream in the bowl, then stir in some milk until it's the perfect consistency.
Give it a few good stirs, and voila – a homemade milkshake!
It's a fun, hands-on activity that'll have you sipping on a delicious treat in no time.
Can I Add Alcohol to My Milkshake?
Sure, you can totally add alcohol to your milkshake!
That's a great way to turn your drink into a fun, grown-up treat. Just be careful not to add too much – you want it to be a tasty, creamy milkshake, not a super-strong cocktail.
Maybe start with a shot or two of your favorite liquor and see how it turns out.
Have fun mixing it up and enjoy your boozy milkshake!
How Long Can a Milkshake Be Stored in the Fridge?
Milkshakes are a delicious treat, but you might be wondering how long they can stay fresh in the fridge.
The good news is that a milkshake can last up to 3-5 days when stored properly!
Just be sure to keep it in an airtight container and pop it back in the fridge after each serving.
With proper storage, you can enjoy your creamy, dreamy milkshake all week long!