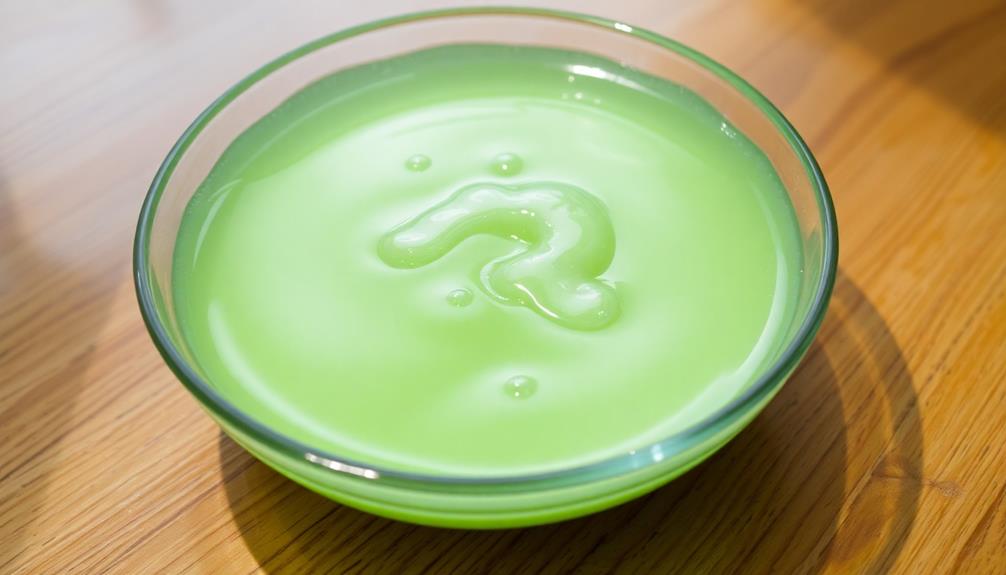
Jell-O has been a beloved American dessert for over a century! Its origins trace back to the 1800s, when early gelatin pioneers started experimenting with creating wiggly treats. In 1897, Pearl B. Wait patented the first gelatin-based dessert called "Jell-O," and by the early 1900s, it had become a staple in kitchens across the country. Today, Jell-O remains a cherished part of American culinary tradition, with a wide variety of flavors to enjoy. To make your own Jell-O, simply dissolve the powder in boiling water, add cold water, and refrigerate until set. The journey of Jell-O is one that's full of delightful surprises!
Key Takeaways
- Jell-O is a popular gelatin-based dessert that originated in the late 1800s and became a staple in American kitchens by the early 1900s.
- The key steps in making Jell-O include dissolving the gelatin powder in boiling water, adding cold water, refrigerating until partially set, and pouring into molds.
- Jell-O's versatility allows for various flavor combinations and creative presentations, making it a beloved part of American culinary tradition.
- Proper gelatin dissolution and temperature control during the setting process are crucial for achieving the desired Jell-O texture and consistency.
- Jell-O's enduring popularity and cultural significance in the United States reflect its nostalgia-inducing branding and ability to connect people to its rich history.
Top picks for "jell"
Open Amazon search results for this keyword.
As an affiliate, we earn on qualifying purchases.
History
Jell-O's origins can be traced back to the 1800s, when early inventors began experimenting with processed gelatin. These pioneers discovered that by extracting collagen from animal bones and skin, they could create a wiggly, jiggly treat.
In 1897, a carpenter named Pearl B. Wait patented the first gelatin-based dessert, calling it "Jell-O." Though Wait's original company eventually went under, a savvy salesman named Orator Woodward purchased the Jell-O brand in 1899 and set out to make it a household name.
Jell-O quickly became a sensation, with flavors like lemon, orange, strawberry, and raspberry. By the early 1900s, Jell-O was a staple in American kitchens, featured in cookbooks and magazines. Soon, Jell-O expanded its flavor offerings to include lime, cherry, and peach, further solidifying its popularity among households across the country. It became a versatile ingredient, used in both sweet and savory dishes, with popular recipes like the “Jell-O fruit mold” and the “delicious chef salad recipe” making their way into the culinary mainstream. Jell-O’s widespread appeal and ease of preparation made it a go-to dessert and side dish for generations of Americans.
Its versatility allowed home cooks to create all sorts of jiggly treats, from simple fruit molds to elaborate layered desserts. Today, Jell-O remains a beloved part of the American culinary tradition, a sweet, colorful reminder of simpler times.
Cooking Steps
How do you prepare Jell-O? It's a fun and easy process!
First, you'll need to gather your ingredients – just water and the Jell-O powder packet. Bring the water to a boil, then take it off the heat. Carefully pour the Jell-O powder into the hot water and stir for about two minutes until it's completely dissolved.
Next, you'll pour the Jell-O mixture into a mold or container. This could be a traditional Jell-O mold, or even just a regular bowl or cup.
Make sure to refrigerate the Jell-O for at least 4 hours, or until it's fully set. Once it's ready, you can top it with whipped cream, fruit, or any other delicious toppings you like.
Jell-O is a classic dessert that's perfect for any occasion. With just a few simple steps, you can create a fun and fruity treat that everyone will enjoy.
Step 1. Dissolve Gelatin in Boiling Water

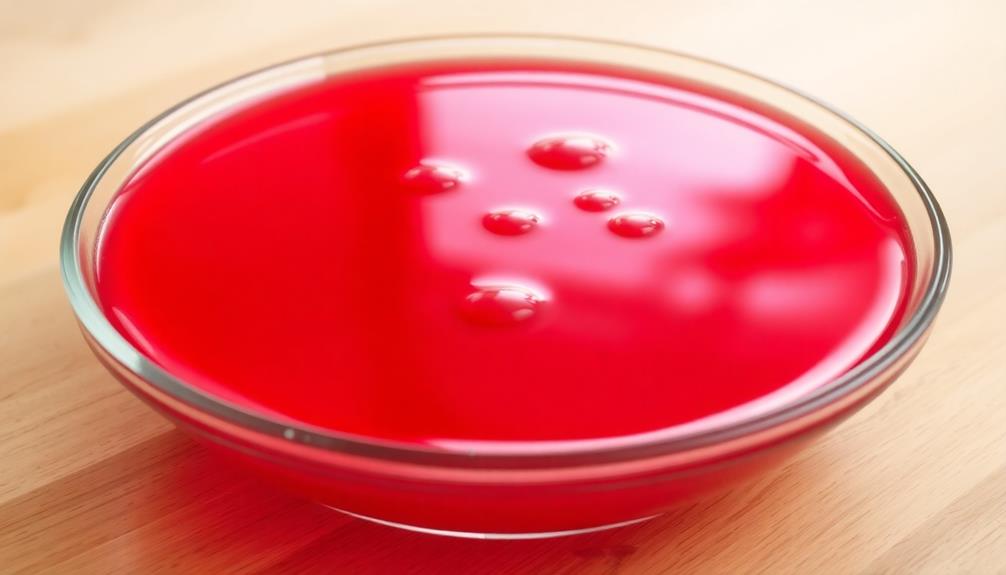
To prepare the gelatin for your Jell-O dish, you'll want to first dissolve it in boiling water. This is a crucial step that ensures the gelatin will set properly and give your Jell-O the perfect jiggly texture.
Start by pouring the required amount of boiling water into a bowl or measuring cup. The exact amount of water will depend on the recipe you're using, so be sure to follow the instructions carefully.
Once you have the hot water ready, slowly sprinkle the gelatin powder over the surface, making sure it doesn't clump together.
Stir the mixture gently until the gelatin has completely dissolved. This may take a minute or two, but be patient and keep stirring. You'll know the gelatin is fully dissolved when the liquid becomes clear and no longer appears cloudy.
Now that your gelatin is ready, you can move on to the next step in the Jell-O making process. Just follow the recipe and enjoy the delicious results!
Step 2. Add Cold Water

After dissolving the gelatin in boiling water, you'll need to add cold water to the mixture. This is an important step, as the cold water helps to cool down the hot gelatin and sets the shape of your Jell-O.
Measure out the required amount of cold water, as specified in the recipe. Slowly pour the cold water into the hot gelatin, stirring gently to combine. Be careful not to splash the mixture, as you don't want to create air bubbles that could disrupt the smooth texture of your Jell-O.
Once the cold water is fully incorporated, give the mixture a few more gentle stirs to ensure everything is evenly blended.
At this point, your Jell-O should be a smooth, uniform consistency, ready to be poured into molds or dishes. Remember to refrigerate the Jell-O for several hours, or until it's completely set, before serving and enjoying its jiggly, delicious goodness.
Step 3. Refrigerate Until Partially Set
Once you've added the cold water and thoroughly mixed the gelatin, it's time to refrigerate the mixture until it's partially set. This is an important step in making delicious Jell-O. The refrigerator's cool temperature will help the gelatin start to thicken and solidify.
Depending on the recipe, this process can take anywhere from 30 minutes to an hour. As the Jell-O chills, the molecules in the gelatin will start to bond together, creating a semi-solid consistency.
You'll know it's partially set when the mixture is thick enough to hold its shape, but still has a liquid-like texture. Once it reaches this stage, you can move on to the next step of your Jell-O creation.
Be patient and resist the urge to check on it too often, as opening the refrigerator door can slow down the setting process. With a little time and care, you'll soon have a wiggly, jiggly treat ready to enjoy.
Step 4. Pour Into Molds
With the gelatin partially set, you can now pour the mixture into molds or a serving dish. This is the fun part!
Grab your favorite Jell-O molds and give them a quick spritz of non-stick cooking spray. This will help the Jell-O slide out easily when it's time to serve.
Carefully pour the partially set Jell-O into the molds, filling them up to the top. If you're using a large serving dish, simply pour the mixture in and smooth the top with a spoon.
Be gentle to avoid creating air bubbles. Once the molds are full, place them in the refrigerator and allow the Jell-O to fully set, which usually takes about 4 hours or overnight.
When the Jell-O is ready, run a knife or small spatula around the edges of the molds and invert them onto plates or a serving platter.
Your colorful, wiggly Jell-O masterpieces are now ready to enjoy!
Step 5. Unmold and Serve Chilled
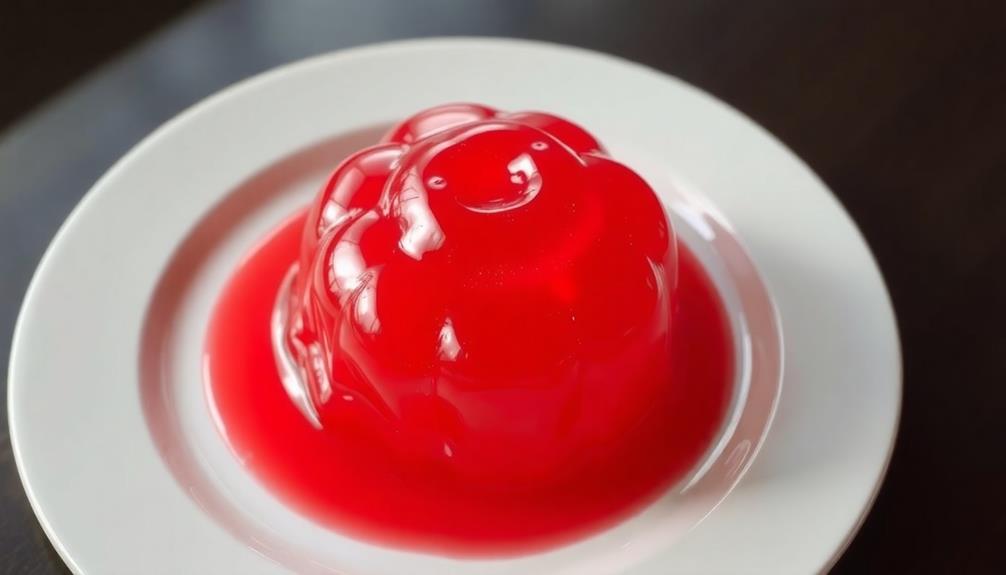
When the Jell-O has fully set, it's time to unmold and serve your chilled creation. Gently run a knife along the edges of the mold to loosen the Jell-O.
Place a plate or serving dish upside down on top of the mold, then flip them over together. Carefully lift the mold, and your Jell-O should slide right out, ready to be admired.
If the Jell-O doesn't release easily, try dipping the mold in warm water for a few seconds, then try again.
Once unmolded, you can add any desired toppings, like fresh fruit, whipped cream, or a sprinkle of nuts. Serve the chilled Jell-O immediately for the best texture and flavor.
Savor the jiggly, sweet delight as you watch your family and friends' faces light up with excitement. Enjoy your homemade Jell-O masterpiece!
Final Thoughts
Reflecting on Jell-O's enduring legacy, you can't help but marvel at its versatility and cultural significance. Whether it's a colorful centerpiece at a family gathering or a refreshing treat on a hot summer day, Jell-O has become a beloved part of our collective experience.
From its humble beginnings as a powdered gelatin dessert, Jell-O has evolved to encompass a vast array of flavors and creative applications. Delving into the world of Jell-O, you'll discover a realm of endless possibilities – from layered parfaits to whimsical Jell-O molds that captivate the imagination.
Beyond its culinary charms, Jell-O has also etched its place in popular culture, becoming an iconic symbol of American nostalgia. Its playful branding and memorable advertisements have endeared it to generations, cementing its status as a timeless treat.
As you savor the final spoonful of your Jell-O creation, you can't help but feel a sense of joy and connection to the rich history of this extraordinary dessert.
Frequently Asked Questions
What Are the Main Flavors of Jell-O?
The main Jell-O flavors are the classics that have delighted taste buds for generations – strawberry, raspberry, cherry, orange, lemon, and lime.
These bright, fruity flavors are sure to tantalize your senses and bring a smile to your face.
Whether you enjoy them on their own or as part of a delicious dessert, these timeless Jell-O flavors are a treat that never goes out of style.
How Long Does Jell-O Take to Set?
How long does Jell-O take to set? Well, that's a great question!
The time it takes for Jell-O to firm up can vary, but usually, it takes around 4 hours in the fridge.
You'll want to give it plenty of time to chill and solidify into that wiggly, jiggly treat we all love.
Just be patient, and before you know it, you'll have the perfect Jell-O snack ready to enjoy!
Can Jell-O Be Used in Baking Recipes?
Can Jell-O Be Used in Baking Recipes?
You bet it can! Jell-O is super versatile and can be used in all sorts of tasty baked goods. From cakes and pies to cookies and bars, Jell-O can add delicious fruity flavors and fun textures.
Just be sure to follow the recipe carefully, as using too much Jell-O can make your baked treat a little wobbly. But with the right amount, you'll end up with a yummy treat that's perfect for any occasion.
Is Jell-O a Vegetarian or Vegan Product?
Ah, the age-old question – is Jell-O a vegetarian or vegan treat?
Well, let me tell you, my friend, the answer might surprise you! Jell-O, the wiggly, jiggly delight, is actually not a vegetarian or vegan product.
That's because it's made with gelatin, which comes from animal byproducts. Bummer, right?
But don't worry, there are plenty of delicious plant-based options out there that can satisfy your sweet tooth without compromising your dietary preferences.
Just keep your eyes peeled for the veggie-friendly varieties!
How Should Jell-O Be Stored After Preparation?
After you prepare your favorite gelatin dessert, it's important to store it properly.
First, let your Jell-O fully set in the fridge. Once firm, cover the container tightly with plastic wrap or a lid. This keeps the Jell-O from drying out.
Store it in the refrigerator, where it'll stay fresh for 3-4 days. When you're ready for a tasty treat, just scoop and serve!
Enjoy your delicious Jell-O dessert.