Hash browns have a mouthwatering history! These crispy potato treats first appeared in the late 1800s, when clever cooks found a tasty way to use up leftover boiled potatoes. They'd shred the spuds and fry them to golden-brown perfection – yum! Soon, hash browns became a beloved breakfast favorite across America, with folks adding tasty extras like onions and peppers. To make them at home, you'll grate potatoes, squeeze out the moisture, then shape them into patties and cook until they're wonderfully crisp. Want to learn more about this comfort food classic?
Key Takeaways
- Hash browns originated in the late 19th century as a creative use for leftover boiled potatoes.
- The shredding and frying technique creates a crispy, golden-brown dish that has become a breakfast staple.
- Proper moisture removal through squeezing is crucial for achieving the desired crispy texture.
- Shaping the potatoes into patties and cooking them over medium-high heat results in a delicious, crunchy exterior.
- Hash browns can be served hot, garnished with various toppings, and enjoyed as a comforting breakfast or side dish.
History
The origins of hash browns can be traced back to the late 19th century, when resourceful cooks repurposed leftover boiled potatoes by shredding and frying them. This simple technique created a crispy, golden-brown dish that quickly gained popularity, especially in diners and breakfast joints across America.
Over time, the recipe evolved, with cooks adding onions, peppers, and other seasonings to enhance the flavor.
Today, hash browns are a breakfast staple, beloved for their ability to transform humble potatoes into a satisfying and versatile side dish.
Whether you enjoy them topped with cheese, smothered in gravy, or simply seasoned with salt and pepper, there's no denying the comforting appeal of a perfectly crispy hash brown.
Cooking Steps
Once you've grated the potatoes, it's time to start cooking. Grab a large skillet and heat it over medium-high heat. Add a generous amount of oil or butter to the pan. You want enough to coat the bottom, so the hash browns don't stick.
When the oil is hot, carefully add the grated potatoes to the pan. Use a spatula to spread them out in an even layer. Let the potatoes sizzle for a few minutes, resisting the urge to stir them. This will help them get crispy on the bottom.
After a couple of minutes, flip the hash browns over in sections. You're looking for a nice golden-brown color. Cook for another few minutes, then flip again. Repeat this process until the hash browns are evenly cooked and crispy all over.
Once they're done, season the hash browns with salt and pepper to taste. Serve them hot, and enjoy!
Step 1. Grate the Potatoes Coarsely
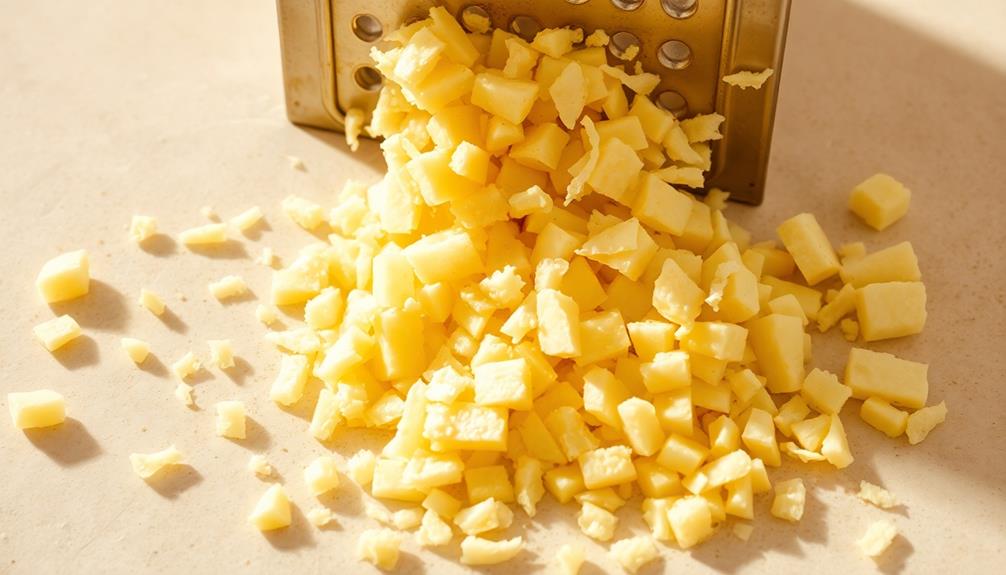
To grate the potatoes coarsely, you'll want to use a box grater or food processor with a coarse grating disc. This step is crucial for creating the perfect hash brown texture – not too fine, but with satisfying chunks of potato.
Grab a large potato and run it across the coarse side of the grater, applying gentle pressure. Work in batches to avoid overcrowding the grater. The coarse grating will create long, irregular strips of potato that will crisp up beautifully when cooked.
If using a food processor, simply attach the coarse grating disc and feed the potato pieces through the chute. Be careful to avoid grating your knuckles! Hold the potato firmly, and use the flat of your hand or a potato holder to guide it across the grater.
Once all the potatoes are grated, you'll have a fluffy pile of shredded potato ready for the next step. Get excited, because you're well on your way to hash brown perfection!
Step 2. Squeeze Excess Moisture From Potatoes

Excess moisture in the grated potatoes can prevent them from crisping up properly. That's why it's important to squeeze out as much liquid as possible before cooking.
Start by placing the grated potatoes in a clean kitchen towel or cheesecloth. Gather the edges of the cloth and twist and squeeze the potatoes firmly over the sink. Keep squeezing until you've removed as much moisture as you can. This step is crucial for achieving those perfectly crispy hash browns.
Next, transfer the squeezed potatoes to a clean bowl. You may need to do this in batches, depending on the amount of potatoes you're working with.
Be careful not to pack the potatoes too tightly, as they need room to breathe and crisp up. With the excess moisture gone, the potatoes are now ready to be cooked into delicious, golden-brown hash browns.
Get ready for a tasty breakfast or side dish!
Step 3. Form Into Patties
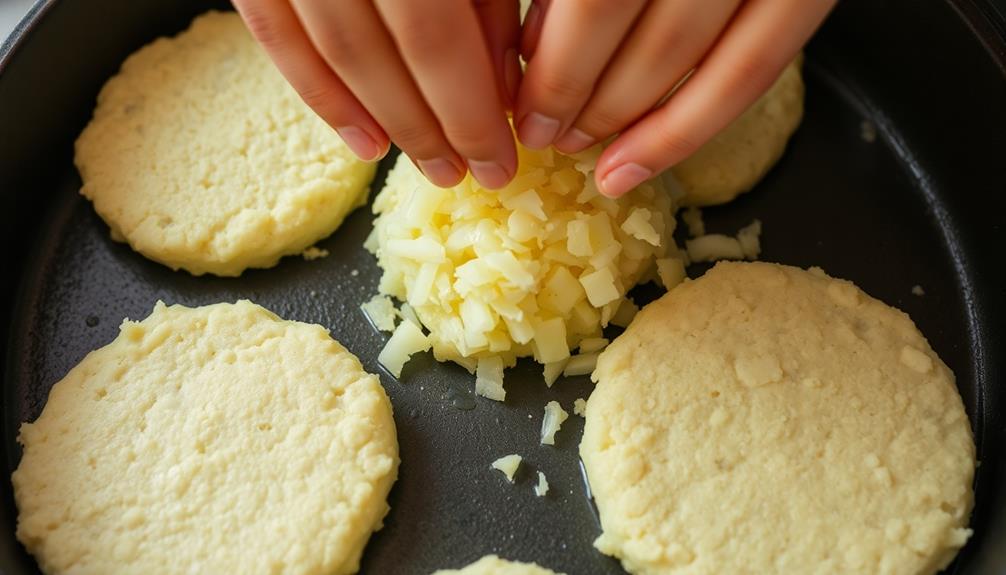
Next, form the squeezed potatoes into patties. Take a handful of the potatoes and gently press them into a round, flat shape. Be sure to make the patties about 1/2 inch thick – not too thin or they'll fall apart. You can use your hands or a spatula to shape them.
Once you've made a few patties, it's time to get cooking! Heat up a skillet or griddle over medium-high heat. Add a little oil or butter to the pan.
Carefully place the potato patties in the hot pan. Cook for 3-4 minutes per side, or until they're golden brown and crispy on the outside.
Keep an eye on them as they cook so they don't burn. Flip the patties gently with a spatula to avoid breaking them.
When they're done, transfer the hash browns to a plate lined with paper towels to soak up any extra oil. Serve hot and enjoy your perfectly crispy homemade hash browns!
Step 4. Cook Until Golden Brown
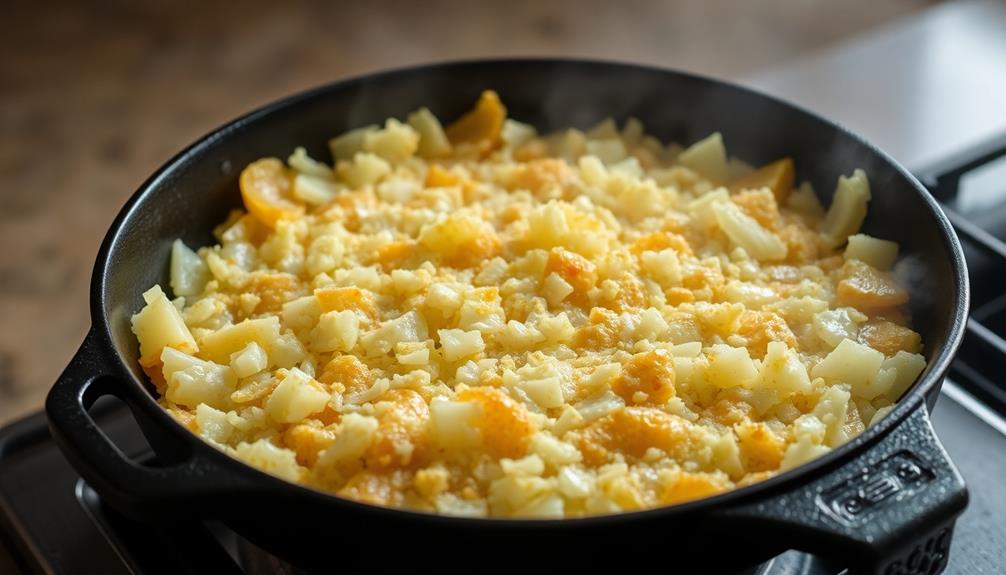
Once you've formed the potato patties, it's time to cook them until they're golden brown and crispy.
Heat a large skillet or griddle over medium-high heat and add a tablespoon or two of oil or butter. When the oil is hot, carefully place the potato patties in the pan, making sure not to overcrowd them.
Cook the patties for 3-5 minutes per side, or until they're beautifully browned on the outside. You'll know they're ready to flip when you can easily slide a spatula under them.
Be patient and let them cook – resist the urge to move them around too much, as this can prevent them from getting that delightful crunch.
Once the first side is cooked, flip the patties and cook the other side until it's equally golden. If the patties are browning too quickly, reduce the heat slightly.
The key is to cook them slowly and evenly, so they become crispy on the outside while remaining tender on the inside. Serve your hash browns hot, garnished with your favorite toppings.
Step 5. Plate and Serve Hot Hash Browns
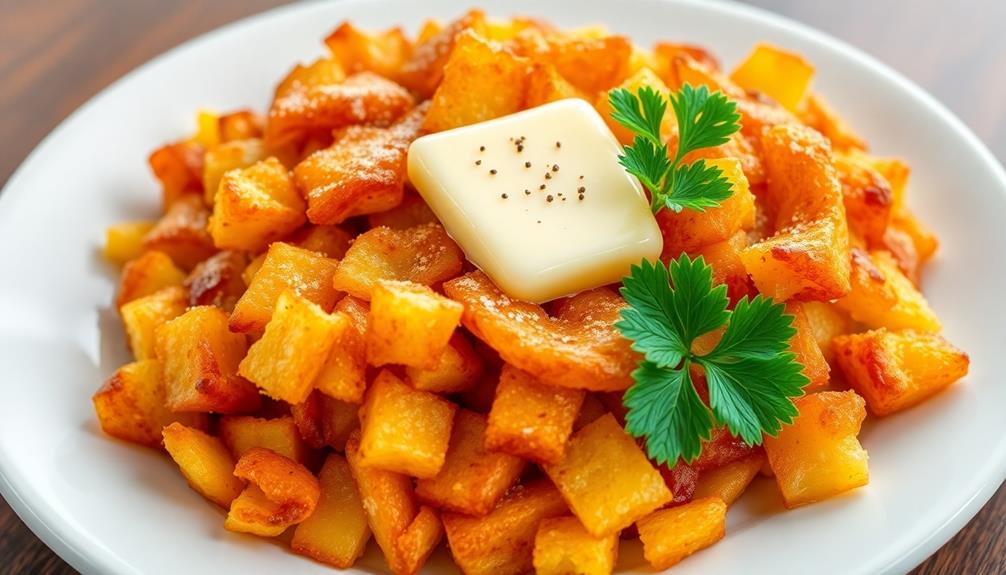
With your golden-brown hash browns now cooked to perfection, it's time to plate and serve them hot. Carefully transfer the crispy, sizzling hash browns from the skillet onto a serving plate or platter.
Don't be afraid to stack them high – these delicious potato bites deserve center stage!
Next, you'll want to add any desired toppings. A sprinkle of salt and pepper is a classic choice, but you could also try shredded cheese, chopped chives, or a dollop of sour cream.
Get creative and make them your own!
Serve the hot hash browns immediately, while they're still piping hot and crispy. The aroma will fill the air, making your mouth water in anticipation.
Invite your family or guests to dig in and enjoy this satisfying breakfast or side dish. With their golden exterior and fluffy interior, these hash browns are sure to be a hit.
Don't be surprised if they disappear from the plate in no time!
Final Thoughts
As you've reached the end of your journey through the world of hash browns, let's take a moment to reflect on the key insights you've gained.
You now understand the importance of getting the perfect potato texture and the best way to cook them to crispy perfection.
Mastering the art of flipping and seasoning has unlocked a whole new level of hash brown deliciousness. Once you have perfected the technique of flipping and seasoning your hash browns, you can elevate your breakfast game by adding other ingredients like onions, bell peppers, and even corned beef to create a mouthwatering corned beef hash. If you’re wondering how to make corned beef hash, it’s as simple as mixing together diced corned beef, cooked potatoes, and your favorite seasonings in a hot skillet until crispy and golden brown. The addition of corned beef adds a savory and slightly salty flavor to your hash browns, making it a hearty and satisfying breakfast option.
Whether you prefer them as a breakfast side or a crunchy snack, you know the secret to making them irresistible.
With this newfound knowledge, you're ready to wow your family and friends with your hash brown prowess.
Go forth and create hash brown masterpieces that will have everyone asking for seconds.
Remember, the journey doesn't end here – keep experimenting and perfecting your technique.
The world of hash browns is your oyster, so dive in and enjoy every bite!
Frequently Asked Questions
Can Hash Browns Be Made With Sweet Potatoes Instead of Regular Potatoes?
Absolutely! You can make delicious hash browns using sweet potatoes instead of regular potatoes.
Sweet potatoes have a natural sweetness that adds a unique flavor to these crispy, golden-brown treats. All you need to do is grate or shred the sweet potatoes, mix them with a little oil or butter, and then fry them up until they're perfectly crispy.
Give it a try – you'll be amazed at how tasty sweet potato hash browns can be!
How Long Do Hash Browns Stay Fresh in the Refrigerator?
How long do hash browns stay fresh in the refrigerator? Well, that's a great question!
You'll be pleased to know that these tasty potato bites can actually last up to 4 days in the fridge.
Just be sure to store them in an airtight container or resealable bag. This way, they'll stay nice and crisp, ready for you to enjoy whenever a hash brown craving strikes.
Isn't that convenient?
Are There Any Gluten-Free or Vegan Options for Hash Browns?
Absolutely! There are plenty of tasty gluten-free and vegan options for hash browns.
You can find versions made with potatoes, vegetables, or even cauliflower. These healthier alternatives are perfect for folks looking to avoid gluten or animal products.
They're just as crispy and delicious as the classic recipe, but with a twist that caters to your dietary needs.
Why not give them a try? You might be surprised by how satisfying they can be.
Can Hash Browns Be Cooked in an Air Fryer?
Can hash browns be cooked in an air fryer? You bet!
Air fryers are a fantastic way to cook up crispy hash browns with less oil. Just chop up your potatoes, toss 'em in the air fryer, and let the magic happen.
In no time, you'll have delicious, golden-brown hash browns that are perfect for breakfast or any time of day. The air fryer makes it easy to get that delicious crunch without all the grease.
Give it a try – you'll be amazed at how well it works!
Do Hash Browns Contain Any Artificial Preservatives or Additives?
Typically, hash browns don't contain any artificial preservatives or additives.
They're usually made from just a few simple ingredients: potatoes, oil, and sometimes salt.
That's it! No tricky chemicals or strange-sounding additives.
The potatoes are just shredded or grated, then fried up into those crispy, golden-brown hash browns you know and love.
So you can enjoy them without worrying about what's in them.
Sounds pretty straightforward, doesn't it?