Ambasha is a cherished Ethiopian celebratory bread that's been delighting locals for generations. With its distinctive braided appearance and subtly sweet flavor, it's a true reflection of the country's rich culinary heritage. The recipe calls for simple ingredients like flour, yeast, and a touch of honey, which are combined through an intricate kneading and rising process. Baked to perfection, the result is a fluffy, aromatic loaf with a crisp crust. Ambasha is often served during weddings, holidays, and family gatherings, symbolizing joy and unity. There's more to discover about this captivating cultural bread if you continue exploring.
Key Takeaways
- Ambasha is a traditional Ethiopian bread commonly served during special occasions and celebrations, reflecting the cultural heritage and communal bonding of the Ethiopian people.
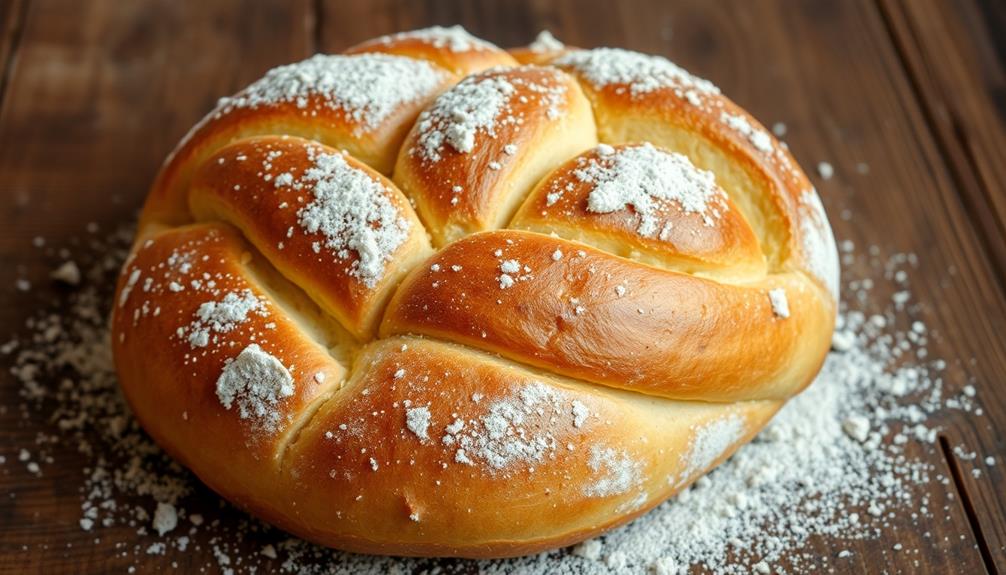
- The bread has a distinctive braided appearance, a slightly sweet flavor, and a fluffy texture with a crisp crust, enhanced by the use of traditional ingredients and baking techniques.
- The origins of Ambasha can be traced back to East Africa, particularly Ethiopia and Eritrea, where it has held a significant role in culinary traditions for generations.
- The preparation of Ambasha often involves a unique fermentation process that enhances the flavor and texture, with the kneading and scoring of the dough playing a crucial role in the final product.
- In recent times, Ambasha has gained popularity in international cuisine, as part of a growing appreciation for traditional cultural foods and their significant role in shaping identities and communities.
History
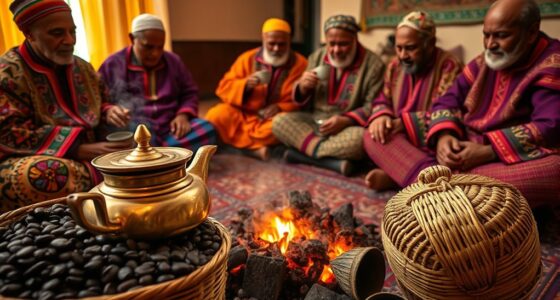
Originating centuries ago, ambasha bread holds a rich cultural heritage within the diverse culinary traditions of East Africa. This celebratory loaf, often baked for special occasions, has been a staple in the diets of communities across the region for generations.
The name "ambasha" itself is derived from the Amharic language, reflecting the bread's deep roots in Ethiopian and Eritrean cuisines.
Traditionally, ambasha is made from a simple dough of flour, water, and a touch of salt. The dough is then shaped into a round, flattened loaf and allowed to rise before being baked to a golden perfection.
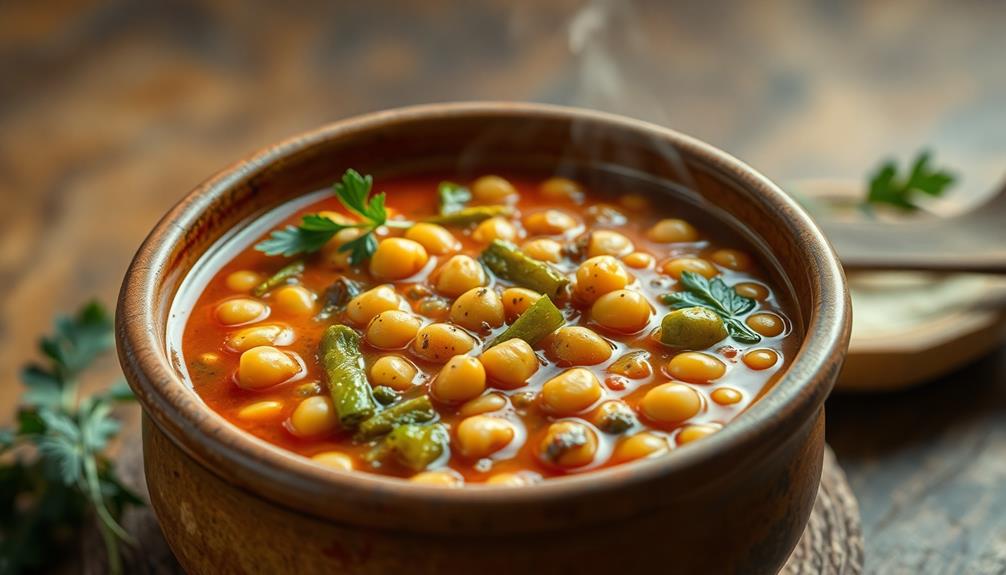
The result is a slightly sweet, fluffy bread with a distinctive crumb and a delightfully crisp crust. Ambasha is often served alongside stews, curries, or as a standalone snack, making it a beloved part of celebrations and gatherings across the region.
Recipe
Ambasha is a traditional Ethiopian flatbread that's enjoyed as a staple food. It's a slightly sweet and soft bread that can be served on its own or used as a base for various dishes.
The process of making Ambasha involves a unique fermentation technique that allows the dough to develop a distinct flavor and texture. This recipe will guide you through the steps to create this delightful bread in your own kitchen.
Ingredients:
- 3 cups all-purpose flour
- 1 teaspoon active dry yeast
- 1 teaspoon salt
- 1 cup warm water
- 2 tablespoons honey
- 2 tablespoons vegetable oil
Cooking Instructions:
In a large bowl, combine the flour, yeast, and salt. Create a well in the center and pour in the warm water, honey, and vegetable oil. Mix the ingredients until a shaggy dough forms.
Turn the dough out onto a lightly floured surface and knead for about 10 minutes until the dough becomes smooth and elastic. Place the dough in a lightly greased bowl, cover with a damp cloth, and let it rise for 1-2 hours, or until doubled in size.
Punch down the dough to release any air bubbles, then divide it into 8 equal pieces. Roll each piece into a ball and place them on a greased baking sheet, spacing them apart. Cover the dough balls with a damp cloth and let them rise for another 30 minutes.
Preheat your oven to 375°F (190°C). Once the dough has risen, use your fingers to gently flatten each ball into a round flatbread, about 1/2 inch thick. Bake the Ambasha for 15-20 minutes, or until the tops are golden brown.
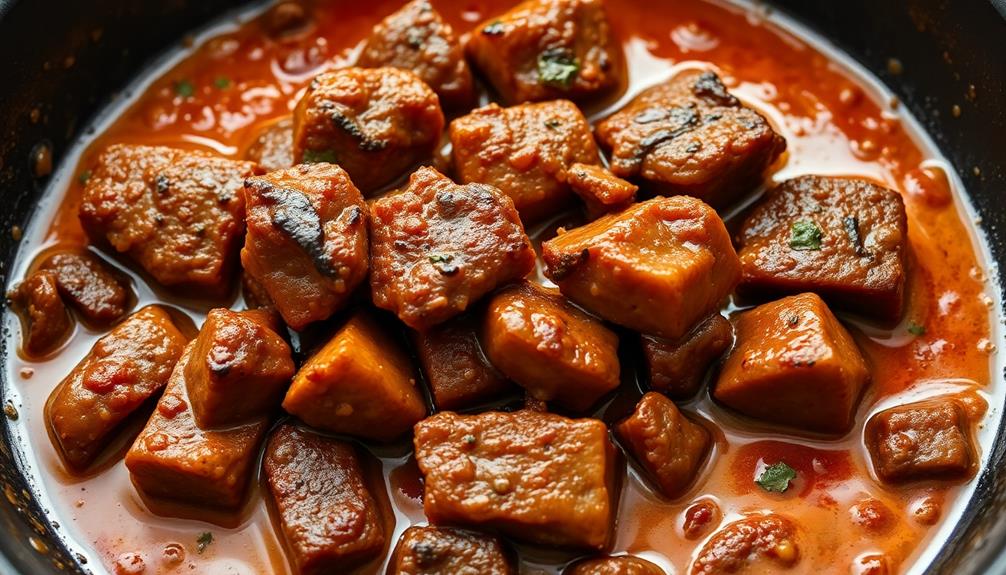
It's important to note that Ambasha can be enjoyed warm or at room temperature. For best results, serve the bread with traditional Ethiopian accompaniments, such as spiced butter, honey, or a variety of stews and dishes. Another popular way to enjoy Ambasha is to pair it with injera, a spongy Ethiopian flatbread, and doro wat, a spicy chicken stew. The combination of the slightly sweet and savory flavors of Ambasha with the tangy and spicy flavors of injera with doro wat creates a delightful and satisfying meal. Whether served as a side dish or as part of a larger meal, Ambasha is a versatile and delicious bread that complements many Ethiopian dishes.
Cooking Steps
Knead the dough vigorously to develop the gluten and create a smooth, elastic texture.
Once the dough has risen, cover it and let it proof until it's doubled in size.
Before popping the dough in the oven, score the top to allow for even expansion during baking.
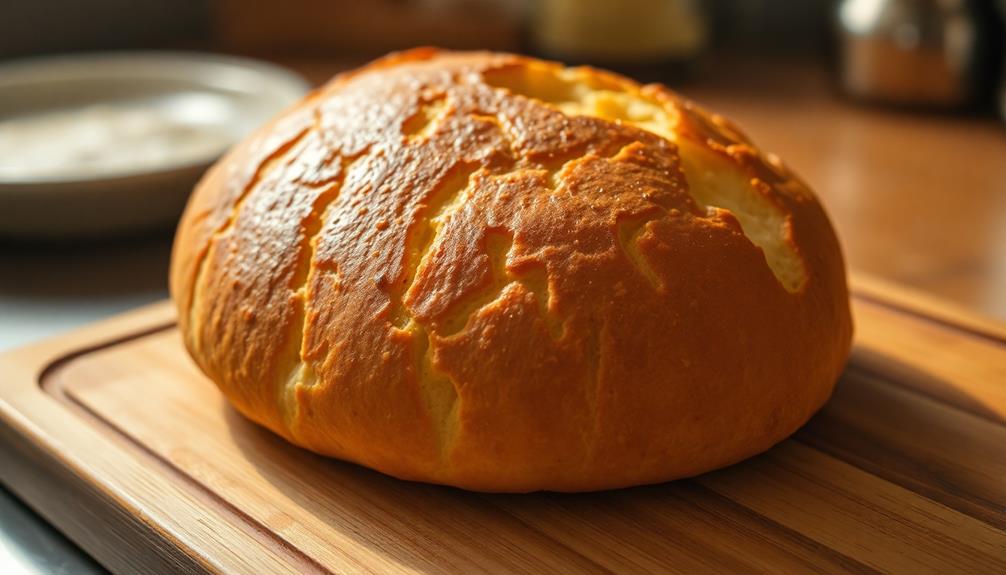
Bake until the crust is a gorgeous golden brown, then let the bread cool completely before slicing into it.
Step 1. Knead the Dough Vigorously
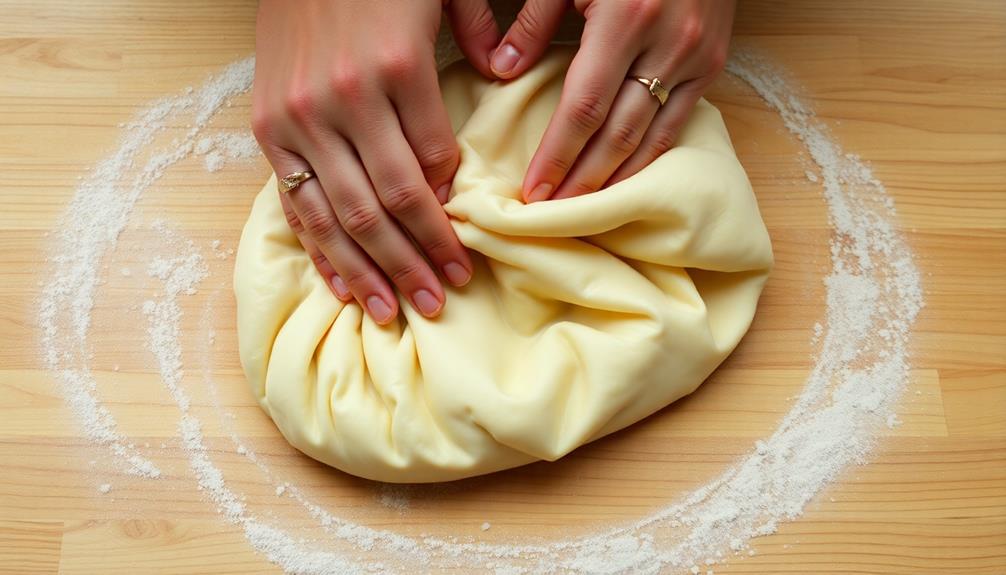
Kneading the dough vigorously is a crucial step in crafting the perfect Ambasha bread. This process helps develop the gluten, trapping air bubbles and creating a light, airy texture.
Begin by placing the dough on a lightly floured surface. Using the heel of your hand, push and fold the dough, then turn it and repeat. Continue this vigorous kneading for about 10 minutes, or until the dough becomes smooth, elastic, and no longer sticks to the surface.
Proper kneading technique is key. Push the dough away from you, then fold it back towards you. Rotate the dough a quarter turn and repeat. Apply firm, even pressure, using the weight of your body to help knead.
As the dough comes together, you may need to add a bit more flour to prevent sticking. Once the dough is smooth and supple, it's ready for the next step. Kneading with care and attention will result in a beautifully crafted Ambasha bread.
Step 2. Let Dough Rise Covered

After kneading the dough to perfection, it's time to let it rise. Place the dough in a lightly greased bowl, turning it to coat all sides. Cover the bowl with a damp towel or plastic wrap, and let it sit in a warm, draft-free area. This cozy environment will allow the dough to double in size, usually taking around 1-2 hours.
As the dough rises, the yeast will produce CO2, causing the dough to expand and become light and airy. Resist the urge to peek – opening the cover will release the precious warmth and moisture, slowing the rising process.
Once the dough has doubled, it's ready for the next step. Gently punch down the dough to release any trapped air bubbles, then shape it into your desired form. Cover and let it rise again briefly before baking.
This second rise will help the bread achieve its signature fluffy texture. Keep a watchful eye, and soon you'll be enjoying the delicious results of your labor.
Step 3. Score the Top of the Dough

Once the dough has completed its second rise, it's time to score the top. Scoring the dough creates a decorative pattern and helps the bread rise evenly. Grab a sharp knife or lame (a special bread-scoring tool) and gently cut a design into the surface of the dough.
Start by making a few shallow, parallel slashes across the top. Try spacing them about an inch apart. This will allow the dough to expand and create those signature ridges on the baked bread.
You can also try a more intricate pattern, like a tic-tac-toe grid or even a flower shape. Just be careful not to cut too deeply, as that can compromise the structure of the dough.
After scoring, lightly dust the top with flour. This will help the design stand out once the bread is baked.
Now your dough is ready for the oven! The scoring will help the Ambasha rise beautifully and develop that classic celebratory look.
Step 4. Bake Until Golden Brown

With the dough now scored, it's time to transfer it to the preheated oven. Carefully slide the dough onto the prepared baking sheet or into a preheated baking dish.
Make sure the oven is hot, around 375°F (190°C), to ensure the bread bakes evenly and develops a beautiful golden-brown crust.
Bake the Ambasha for 20-25 minutes, keeping a close eye on it. The bread is ready when the top is a deep, rich golden brown and the crust is firm to the touch.
If the bread is browning too quickly, you can loosely cover it with foil to prevent over-browning.
Once the Ambasha is baked to perfection, remove it from the oven and let it cool on a wire rack. This allows the interior to finish cooking and the crust to set.
Serve the fragrant, freshly baked Ambasha bread warm, alongside your favorite accompaniments, and enjoy the celebration!
Step 5. Cool the Baked Bread
The bread's baking is complete, and it's now time to allow it to cool. Remove the ambasha from the oven and place it on a wire rack or a clean, dry surface. This will allow air to circulate around the entire loaf, helping it to cool evenly.
As the bread cools, you may notice a subtle crackling sound. This is the crust contracting, a sign that the baking process is coming to an end. Resist the temptation to slice into the bread immediately, as it needs time to fully set and cool.
Depending on the size of your ambasha, the cooling process can take anywhere from 30 minutes to an hour.
During this time, you can admire the beautiful golden-brown crust that has developed. Once the bread has reached room temperature, it's ready to be sliced and served.
Final Thoughts
Upon reflecting on this delectable Ambasha bread, you can't help but feel a sense of appreciation for the rich cultural heritage and time-honored traditions that have given rise to this remarkable culinary creation.
From its distinctive braided appearance to its subtly sweet and aromatic flavor, every aspect of Ambasha bread is a testament to the skill and ingenuity of the Ethiopian bakers who've perfected this beloved recipe over generations.
As you savor each bite, you're reminded of the joy and celebration that this bread brings to special occasions.
Whether it's a joyous wedding, a festive holiday, or a simple family gathering, Ambasha bread has a way of uniting people, transcending cultural boundaries and creating a shared sense of community.
Its ability to bring people together, to nourish both body and spirit, is truly what makes this bread so special and worthy of both admiration and appreciation.
Frequently Asked Questions
How Long Can Ambasha Bread Be Stored?
Typically, homemade bread can be stored for 3-5 days at room temperature. However, the shelf life may vary depending on the recipe and storage conditions. It's best to consume the bread within a few days for maximum freshness and flavor.
What Is the Cultural Significance of Ambasha?
The cultural significance of this celebratory bread lies in its role in important events and gatherings. It's often shared to commemorate special occasions, fostering community and tradition within the culture that cherishes it.
Can Ambasha Be Made With Alternative Flours?
You can absolutely make ambasha with alternative flours. While traditional recipes call for wheat flour, you can experiment with gluten-free options like teff or even whole-grain flours to create a unique twist on this celebratory bread.
Is Ambasha Suitable for Dietary Restrictions?
Regarding dietary restrictions, ambasha can be suitable depending on the ingredients used. You can explore alternative flours like whole wheat or gluten-free options to accommodate various dietary needs and preferences.
How Does the Taste of Ambasha Differ From Other Breads?
The taste of ambasha differs from other breads in its distinctive sweetness and aroma. It's often described as more flavorful and dense compared to regular bread, with a unique texture that sets it apart.