
Akara is a tasty West African treat you'll love! It's a crispy, golden-brown fritter made from black-eyed peas, popular in Nigeria and Ghana. You'll find it sizzling at street food stalls and family gatherings. To make akara, soak the peas overnight, grind them into a smooth paste, and mix in spices like onions and peppers. Then, shape the batter into small balls and fry them until they're crispy on the outside and fluffy inside. Akara's not just delicious; it's packed with protein and history, too. There's so much more to discover about this mouthwatering snack!
History
Akara's history dates back centuries in West African cuisine. You'll find that this beloved fritter has been a staple food in countries like Nigeria and Ghana for generations. Its origins are rooted in the Yoruba culture, where it's known as "àkàrà."
As time went on, akara spread throughout West Africa, becoming a popular street food and breakfast item.
You might be surprised to learn that akara played a role in traditional ceremonies and celebrations. It wasn't just a tasty snack; it held cultural significance too! People would often prepare akara for special occasions, like weddings and naming ceremonies.
When you look at akara's journey through time, you'll see how it's adapted to different regions. In some places, it's called "koose" or "kosai." The recipe has evolved too, with various spices and ingredients added to suit local tastes.
Today, you can find akara not just in West Africa, but in many parts of the world where West African communities have settled. It's a delicious reminder of home for many and a tasty discovery for others! And while akara may be the more well-known West African dish, there are also plenty of other delicious recipes from the region that have made their way around the globe. One such dish is the kunafa dessert recipe, a sweet and gooey pastry that has gained popularity in many countries. Whether it’s akara or kunafa, these dishes serve as a way for West African communities to connect with their roots and share their rich culinary traditions with the world.
Recipe
Akara, also known as bean fritters or bean cakes, is a popular West African street food and breakfast dish. Originating from Nigeria, this savory snack has spread throughout the region and is enjoyed in countries like Ghana, Togo, and Benegal. Made primarily from black-eyed peas, Akara is crispy on the outside and fluffy on the inside, offering a delightful texture and taste.
To prepare Akara, black-eyed peas are soaked, peeled, and ground into a smooth batter. The batter is then seasoned with onions, peppers, and spices before being deep-fried in small portions. The result is a golden-brown fritter that can be eaten on its own or served with a side of spicy sauce or as part of a larger meal.
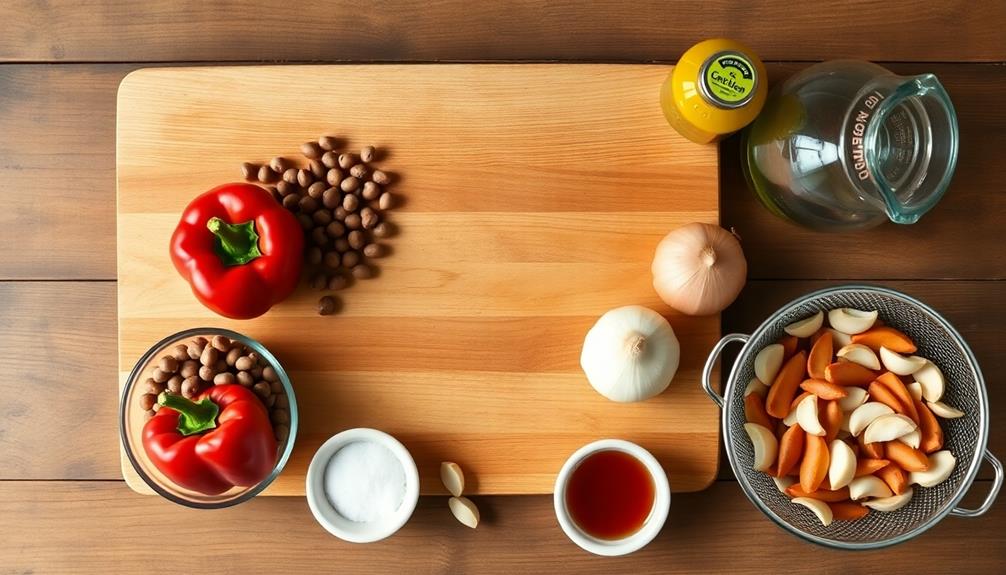
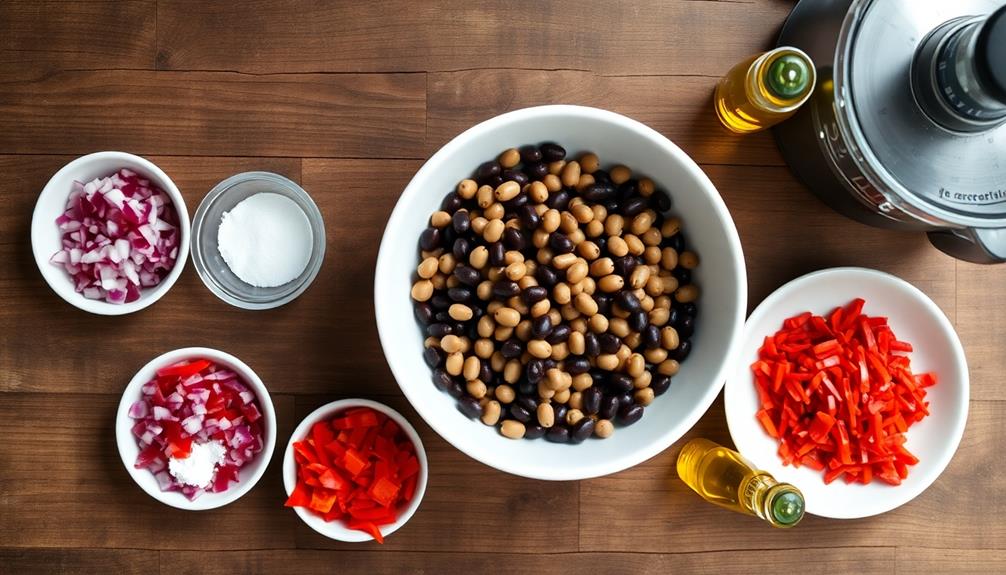
- 2 cups black-eyed peas
- 1 medium onion, finely chopped
- 1 red bell pepper, finely chopped
- 2 cloves garlic, minced
- 1 teaspoon salt
- 1/2 teaspoon cayenne pepper
- 1/4 cup water
- Vegetable oil for frying
Soak the black-eyed peas overnight, then peel off the skins. Grind the peeled peas in a food processor until smooth, adding water as needed to form a thick batter. Mix in the chopped onion, bell pepper, garlic, salt, and cayenne pepper.
Heat oil in a deep fryer or large pot to 375°F (190°C). Drop spoonfuls of the batter into the hot oil and fry until golden brown, about 2-3 minutes per side. Remove with a slotted spoon and drain on paper towels.
For best results, verify the batter is well-blended and free of lumps. The consistency should be thick enough to hold its shape when dropped into the oil. If the batter is too thin, add more ground peas; if too thick, add a little water.
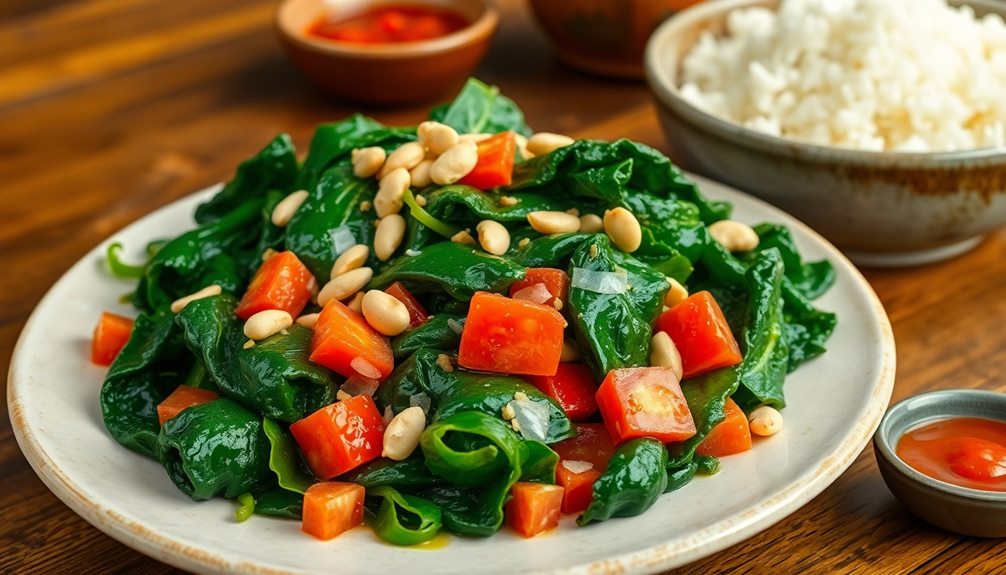
Serve Akara hot for the best taste and texture, and consider pairing it with a spicy tomato sauce or pepper sauce for added flavor.
Cooking Steps
To make delicious akara, you'll start by soaking black-eyed peas overnight and then grinding them into a smooth paste.
Next, you'll add your favorite spices and seasonings to give the paste lots of flavor.
Step 1. Soak Black-Eyed Peas Overnight

The initial step in preparing akara involves soaking black-eyed peas overnight. You'll want to start this process the evening before you plan to make your delicious akara.
First, grab a large bowl and fill it with cool, clean water. Then, pour in your black-eyed peas, making sure they're completely submerged. The peas will absorb water and expand, so be sure to use plenty of water – about three times the volume of the peas.
As the peas soak, you might notice the water becoming slightly cloudy. That's perfectly normal! The soaking process helps soften the peas, making them easier to work with later. It also helps remove some of the compounds that can cause digestive discomfort.
In the morning, you'll find your peas have plumped up nicely. Drain the soaking water and rinse the peas thoroughly under cool running water. Now they're ready for the next exciting step in your akara adventure!
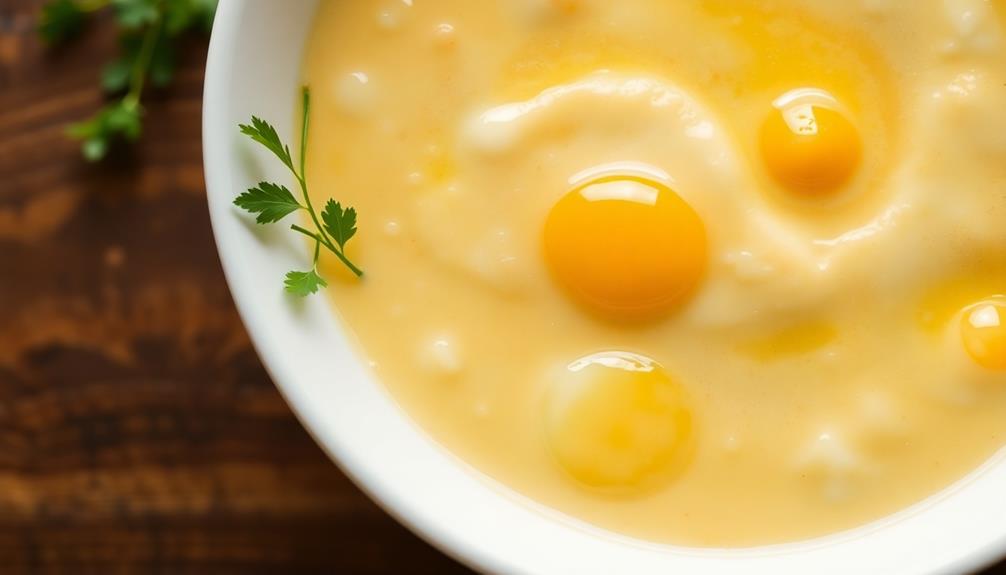
Step 2. Grind Peas Into Paste

After soaking and rinsing your black-eyed peas, you're ready to grind them into a smooth paste. This step is essential for achieving the perfect texture in your akara. You'll need a food processor or blender for this task. If you don't have one, don't worry! A traditional grinding stone will work just as well.
Add the peas to your chosen grinding tool and start blending. You'll want to pause every so often to scrape down the sides, ensuring all the peas are evenly ground. As you blend, you'll notice the paste becoming smoother and creamier. It's like watching magic happen right before your eyes!
Keep grinding until you achieve a consistency similar to thick pancake batter. This might take a few minutes, so be patient.
Once you've reached the desired smoothness, it's time to test your paste. Scoop up a small amount and rub it between your fingers. If it feels gritty, keep grinding. When it's silky smooth, you've nailed it! Your akara paste is now ready for the next exciting step in this delicious journey.
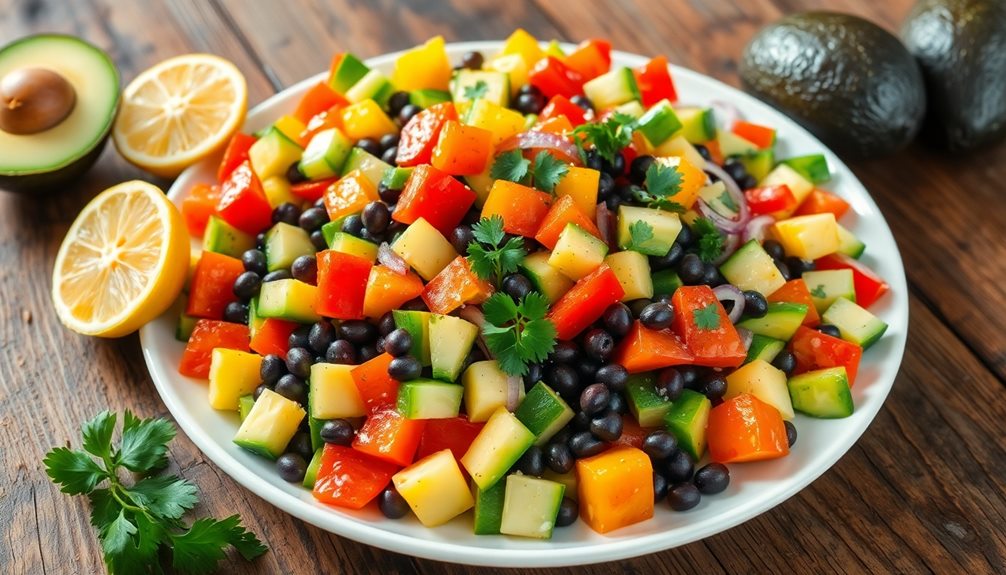
Step 3. Add Spices and Seasonings
With your smooth akara paste ready, it's time to infuse it with flavor. You'll want to add a mix of spices and seasonings to make your akara truly delicious.
Start by chopping up some onions really fine, and toss them into the paste. The onions will give your akara a sweet, savory taste that everyone loves.
Next, sprinkle in some salt to enhance all the flavors. Don't forget to add a bit of pepper for a little kick! If you like things spicy, you can also mix in some chopped hot peppers. Remember, you're in control of how spicy you want your akara to be.
Some people like to add a pinch of bouillon powder for extra depth of flavor. You can also experiment with other spices like ground coriander or cumin if you're feeling adventurous.
Once you've added all your seasonings, give the paste a good stir to make sure everything is well mixed. Take a small taste to check if it needs more of anything.
Your akara paste is now bursting with flavor and ready for the next step!
Step 4. Shape Into Small Balls
Now that your akara paste is perfectly seasoned, it's time to shape it into small balls for frying. Grab a spoon or use your hands to scoop up small portions of the mixture. You'll want to aim for balls that are about the size of a golf ball or a bit smaller.
As you shape each ball, gently roll it between your palms to create a smooth, round surface. If you're using your hands, it's a good idea to wet them slightly with water. This will help prevent the sticky batter from clinging to your fingers.
You can also use two spoons to form the balls if you prefer. Scoop up some mixture with one spoon, then use the other to shape it and slide it off. As you form each ball, place it on a clean plate or tray.
Don't worry if they're not perfectly round – that's part of the charm of homemade akara! Keep shaping until you've used up all your batter. Now you're ready for the exciting part – frying your akara balls!
Step 5. Fry in Hot Oil

The moment of truth has arrived – it's time to fry your akara balls to golden perfection.
Heat up some vegetable oil in a deep pan or pot until it's nice and hot. You'll know it's ready when a small piece of batter sizzles and floats to the surface.
Carefully drop your akara balls into the hot oil, but don't overcrowd the pan. You want them to have enough space to swim around.
As they fry, you'll see them turn a beautiful golden brown color. It's like watching little suns rise in your kitchen! Use a slotted spoon to gently turn them over, so they cook evenly on all sides.
After about 3-4 minutes, your akara should be crispy on the outside and fluffy on the inside.
Scoop them out with your slotted spoon and place them on a paper towel-lined plate to drain excess oil. They'll be piping hot, so let them cool for a minute before you dig in.
Now you've got a batch of delicious, crispy akara ready to enjoy!
Final Thoughts
Akara's humble origins belie its widespread appeal and cultural significance. This simple, yet delicious street food has won hearts across West Africa and beyond.
You'll find it's not just a snack, but a cherished part of everyday life in countries like Nigeria and Ghana.
As you bite into a crispy, golden-brown akara, you're tasting a tradition that's been passed down through generations.
It's amazing how these little bean fritters have become such a big part of West African cuisine. They're perfect for breakfast, a quick snack, or even as a side dish for dinner.
Frequently Asked Questions
Can Akara Be Frozen and Reheated Later?
Yes, you can freeze akara for later use. Simply let them cool completely, then store them in an airtight container or freezer bag. When you're ready to eat, reheat them in the oven or microwave until they're warm and crispy.
What Are Some Common Side Dishes Served With Akara?
You'll often find akara served with spicy pepper sauce or ogi (corn porridge). It's also great with bread, yam, or plantain. Don't forget to try it with garri or a side of fried plantains for a delicious meal.
Is Akara Suitable for Vegetarians or Vegans?
You'll be happy to know that akara is suitable for both vegetarians and vegans. It's made from black-eyed peas, spices, and vegetables, then deep-fried. There's no meat or animal products in traditional akara recipes.
How Long Does Akara Stay Fresh After Cooking?
You'll find that freshly cooked akara stays good for about 24 hours at room temperature. If you refrigerate it, you can extend its shelf life to 3-4 days. For longer storage, you can freeze it for up to a month.
Are There Regional Variations of Akara in Different African Countries?
You'll find regional variations of this delicious fritter across West Africa. Each country adds its own twist, using different spices, beans, or ingredients. Some versions are spicier, while others are sweeter or more savory.