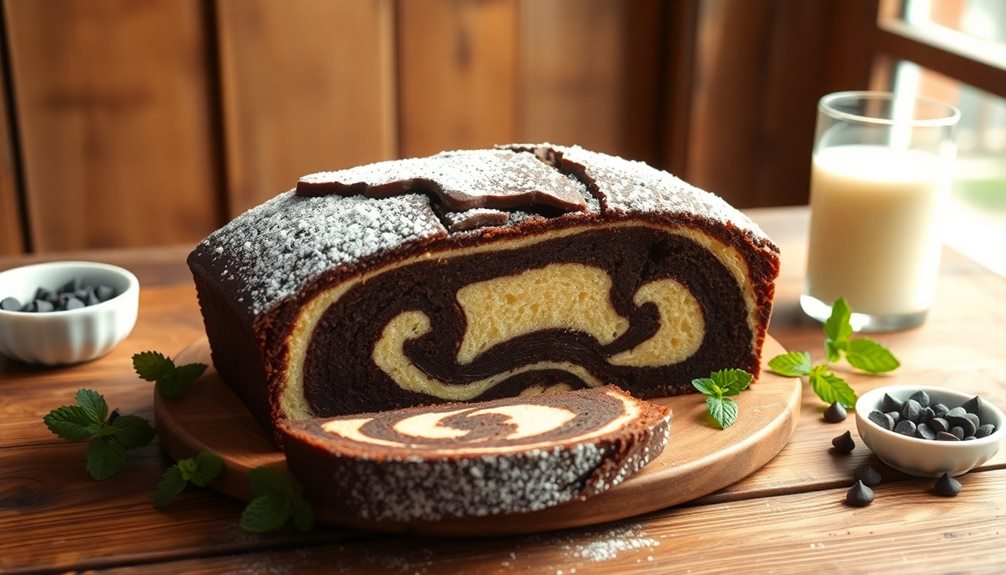
Panettone is a beloved Italian Christmas bread that'll transport you right to the festive streets of Milan! With its light, pillowy texture and mouthwatering flavors of dried fruit and citrus, this treat's been a holiday staple for centuries. Bakers meticulously craft the dough, letting it rise and rise again to achieve that iconic tall, dome-shaped look. The aroma of freshly baked panettone is simply divine – it's no wonder it's considered a symbol of generosity and togetherness in Italy. Want to learn the secrets behind this iconic holiday bread? Keep reading to discover more!
Key Takeaways
- Panettone is a traditional Italian holiday bread with a light, fluffy texture and flavors of dried fruit and citrus.
- The origins of panettone can be traced back to the 15th century in Milan, Italy, with a legend involving a nobleman named Ughetto.
- The bread requires several hours of proofing and shaping to achieve the desired airy texture, with the yeast playing a crucial role.
- Panettone is an integral part of Italian Christmas traditions, often shared among family and friends as a symbol of generosity and celebration.
- The rich, buttery flavor profile and festive aroma of freshly baked panettone contribute to the overall magical experience of indulging in this cherished Italian culinary heritage.
History
Where did the origins of panettone begin? Well, the tasty treat we now know as panettone has a long and delightful history! This fluffy, sweet bread with dried fruit can be traced back to the 15th century in Milan, Italy.
One legend says a young nobleman named Ughetto fell in love with a baker's daughter. To impress her, he created a special bread with eggs, butter, and candied fruits. The bread was a hit, and soon the "Pan del Toni" (bread of Toni) became a beloved tradition.
Over the centuries, panettone evolved, with bakers experimenting with recipes and techniques. By the 19th century, the iconic tall, dome-shaped panettone we recognize today had emerged. Families would eagerly await the arrival of panettone each Christmas, making it an integral part of the holiday season.
Today, panettone remains a cherished Italian treat, enjoyed worldwide as a symbol of festivity and togetherness. Its rich history and delicious flavor continue to delight bakers and eaters alike!
Recipe
Panettone is a traditional Italian yeast bread that's typically enjoyed around the holiday season. Its light and fluffy texture, combined with the flavors of dried fruit and citrus, make it a beloved treat. One of the most popular ways to enjoy panettone is by toasting slices and spreading them with butter or jam. The sweet and fragrant aroma of panettone baking in the oven is a comforting reminder of the joyous holiday season. For a truly indulgent experience, pairing a slice of panettone with a classic crostata recipe is a guaranteed way to satisfy any sweet cravings.
The preparation of panettone is a labor of love, as it requires several hours of proofing and shaping to achieve the perfect rise and texture. However, the end result is well worth the effort, as the aroma and taste of a freshly baked panettone are truly unparalleled.
- 500g all-purpose flour
- 50g granulated sugar
- 10g salt
- 10g active dry yeast
- 200ml warm milk
- 2 eggs
- 100g unsalted butter, softened
- 100g mixed dried fruit (such as raisins, candied citrus peel, and dried apricots)
- Zest of 1 orange and 1 lemon
To make the panettone, combine the flour, sugar, salt, and yeast in a large mixing bowl. Add the warm milk and eggs, and knead the dough until it's smooth and elastic, about 10 minutes.
Incorporate the softened butter, a little at a time, until it's fully incorporated. Gently fold in the mixed dried fruit and citrus zest. Cover the dough and let it rise in a warm place for 1 to 1.5 hours, or until it has doubled in size.
Punch down the dough to release any air bubbles, then divide it into two equal pieces. Shape each piece into a round loaf and place them in panettone molds or tall, straight-sided baking pans. Cover the loaves and let them rise for another 1 to 1.5 hours, or until they've nearly doubled in size again.
Preheat the oven to 375°F (190°C). Bake the panettone for 30 to 40 minutes, or until the tops are golden brown and a toothpick inserted into the center comes out clean. Allow the panettone to cool completely before slicing and serving.
One important tip to remember when making panettone is to be patient and allow the dough to rise slowly and thoroughly. This helps to develop the unique texture and flavor of the bread.
Additionally, be gentle when shaping and handling the dough to prevent deflating the airy structure.
Cooking Steps
Proof the yeast in warm milk, then add the butter and sugar.
Knead the dough for a solid 10 minutes until it's nice and smooth.
Let it rise for 2 hours, then punch it down and reshape the loaf.
Can't wait to see how your Panettone turns out!
Step 1. Proof Yeast in Warm Milk

To begin the proofing process, you'll want to gently warm some milk in a small saucepan. The milk should be around 110°F (43°C) – warm to the touch, but not scalding hot.
Once the milk is at the perfect temperature, you can add your active dry yeast. Stir the yeast in until it's fully dissolved, then let the mixture sit for about 10 minutes. During this time, the yeast will start to "proof," or activate, creating a bubbly, foamy surface.
This proofed yeast mixture is the foundation for your panettone dough. It helps the dough rise and develop that signature light, airy texture.
After the yeast has proofed, you can proceed with the next steps in the recipe, incorporating the milk mixture along with the other dough ingredients.
Keep a close eye on the dough as it rises, and enjoy the wonderful yeasty aroma filling your kitchen. With the yeast proofed and ready to go, you're one step closer to baking up a delicious homemade panettone!
Step 2. Add Butter and Sugar

With the yeast now proofed, you'll want to incorporate the butter and sugar into the dough. This is where the magic really starts to happen!
Gently melt the butter in the microwave or on the stove, being careful not to overheat it. Once it's nice and smooth, add it to the proofed dough, along with the sugar.
Use your hands to knead the dough, making sure the butter and sugar are evenly distributed throughout. The dough will become soft, supple, and slightly sticky – that's exactly what you want!
Don't be afraid to add a little extra flour if it gets too sticky to handle.
As you knead, you'll start to feel the dough transform, becoming richer and more decadent. The sugar will add a lovely sweetness, while the butter will make the texture irresistibly tender and flaky.
Keep at it until the dough is well-combined and has a beautiful, silky sheen.
Step 3. Knead Dough for 10 Minutes
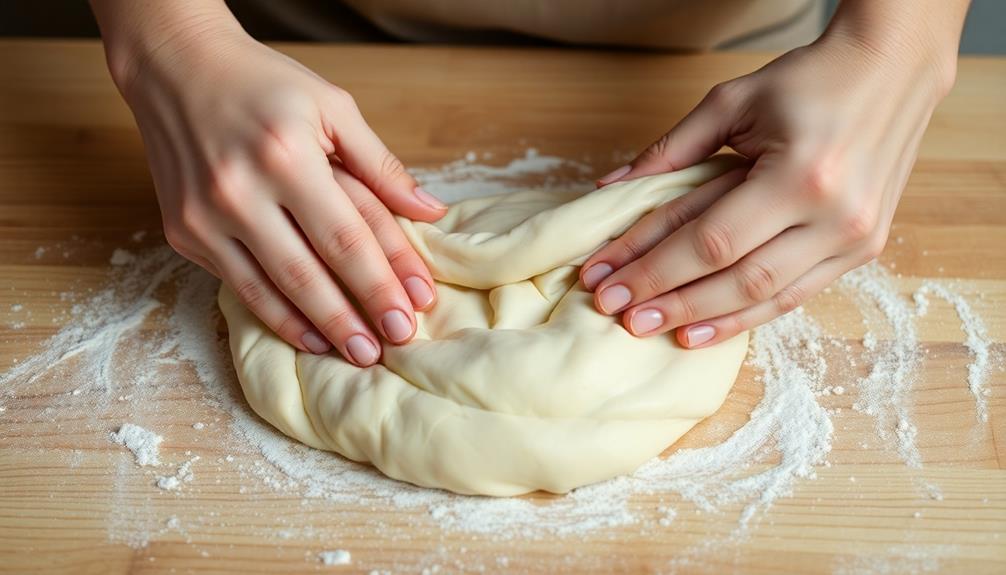
Once the butter and sugar have been incorporated, it's time to knead the dough for about 10 minutes. This important step develops the gluten, creating a soft, pillowy texture in your panettone.
Start by dusting your clean countertop with a light coating of flour. Gently turn the dough out onto the surface and begin kneading. Use the heel of your hand to push the dough away from you, then fold it back towards you. Give the dough a quarter turn and repeat.
Keep this rhythm going for around 10 minutes, until the dough becomes smooth and elastic.
During kneading, you may need to add a sprinkle of flour if the dough starts to stick. But be careful not to add too much – you want to maintain that wonderfully soft, supple texture.
When the dough passes the "windowpane test" (you can stretch a small piece thin enough to see through), it's ready for the next step. Get excited, because your panettone is really starting to take shape!
Step 4. Let Dough Rise for 2 Hours

After kneading the dough, you'll let it rise for about 2 hours. This is when the yeast gets to work, feeding on the sugars and creating pockets of air that will make your panettone nice and fluffy.
Grab a clean, oiled bowl and pop the dough inside. Cover it with a damp towel or plastic wrap, and find a warm spot in your kitchen for it to do its magic. Over the next 120 minutes, the dough will nearly double in size – peeking out from under the cover, just waiting to be shaped.
When the time is up, you'll gently punch down the dough to release any large air bubbles.
Then, it's time to form the classic panettone shape. Divide the dough into equal portions and roll each one into a smooth ball. Place them in greased panettone molds or a baking pan, cover, and let rise again for another hour.
Soon, you'll have tall, domed loaves, ready for the oven!
Step 5. Punch Down Dough, Reshape Loaf

After the dough has risen for two hours, it's time to move on to the next step. Grab that pillowy-soft dough and give it a good punch! This will release all the air bubbles and help the dough develop a nice, even texture.
Next, shape the dough into a smooth, round loaf. Gently stretch and fold the dough, tucking the edges underneath to create a tight, uniform shape. This will help the panettone bake up tall and proud.
Place the reshaped dough into a greased panettone mold or a deep, round baking pan. Cover it loosely with plastic wrap or a damp towel, and let it rise for another 1-2 hours. The dough should double in size and become light and airy.
Once it's ready, preheat your oven and get ready to bake up a delicious, golden-brown panettone! With just a few simple steps, you're well on your way to creating a showstopping holiday treat.
Final Thoughts
Panettone, the iconic Italian Christmas bread, holds a unique place in the hearts and traditions of many. This golden, dome-shaped delight is more than just a pastry – it's a symbol of the holiday season, bringing families and friends together to share in the joy of its rich, buttery goodness.
As you've carefully shaped and risen the dough, the final step is to simply enjoy the fruits of your labor.
Whether you savor a slice with a warm cup of coffee or share it with loved ones, the experience of indulging in a freshly baked panettone is truly magical.
The perfectly balanced flavors, the soft, pillowy texture, and the festive aroma will transport you to the heart of an Italian Christmas celebration.
Frequently Asked Questions
What Is the Shelf Life of a Traditional Panettone?
Typically, a traditional panettone has a shelf life of around 2-3 weeks when stored properly. You'll want to keep it in an airtight container at room temperature to maximize its freshness and enjoyment.
Can Panettone Be Frozen for Later Use?
Absolutely! You can freeze panettone for later use. Just wrap it tightly and store it in the freezer for up to 3 months. When you're ready to enjoy it, simply thaw it at room temperature.
How Do I Know if a Panettone Is Stale?
You'll know a panettone is stale if it feels dry and dense, with a crumbly texture. The aroma will be faint, and the flavor will lack the signature sweetness and richness of a fresh panettone.
What Are the Best Ways to Serve Panettone?
When serving this delightful treat, you can enjoy it in various ways. Slice it and pair it with a warm beverage, or toast it and top it with creamy mascarpone. Get creative and make French toast or bread pudding using the panettone. For a festive twist, crumble pieces of panettone over vanilla ice cream or layer it with your favorite holiday fruits for a simple yet indulgent trifle. You could even incorporate it into your holiday baking by experimenting with a cranberry white chocolate cookie recipe, adding bits of panettone for extra texture and flavor. However you choose to enjoy it, this treat is perfect for transforming everyday moments into something special.
Can Panettone Be Made With Gluten-Free Flour?
Sure, you can make gluten-free panettone, but it won't have the same texture as the traditional version. You'll need to experiment with different gluten-free flour blends to get the desired rise and crumb.

Étienne is our French cuisine specialist who is passionate about elegant, timeless dishes. From rich coq au vin to delicate pastries, Étienne brings the sophistication of French cooking to Cook if Ya, helping you recreate the essence of France in your kitchen.