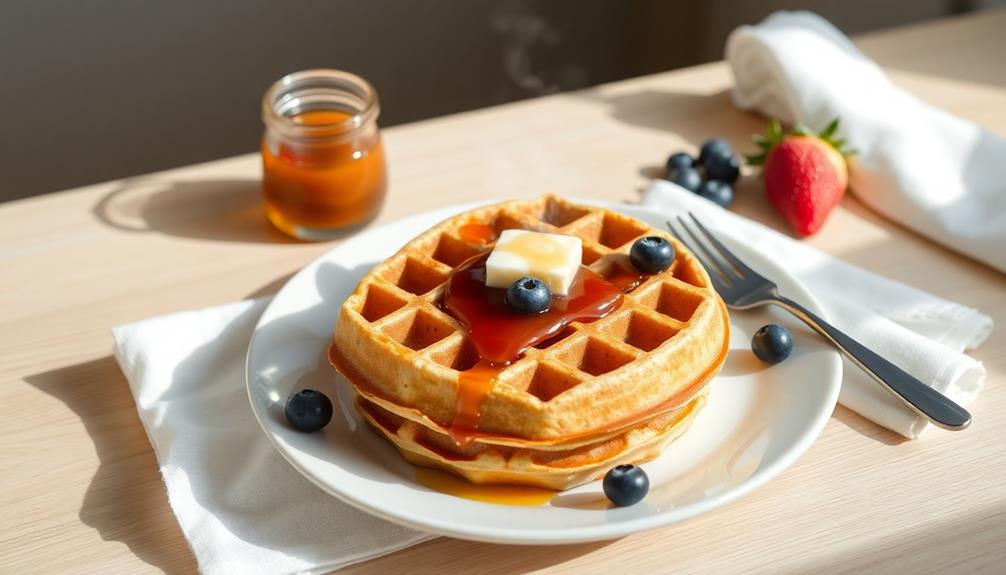
Apple pie à la mode is a classic American dessert that'll make your taste buds dance with joy! It all starts with a flaky, golden crust that cradles juicy, spiced apple slices. Once it comes out of the oven piping hot, you top it with a generous scoop of cool, creamy vanilla ice cream. The contrast of the warm pie and chilled ice cream is an absolute delight. Whether you enjoy it at a diner or make it at home, this timeless treat will transport you to a cozy, nostalgic state of bliss. And there's plenty more to discover about this beloved dessert!
Key Takeaways
- Apple pie à la mode is a classic American dessert that combines warm apple pie with a scoop of cold vanilla ice cream.
- The dish originated in the 19th century and became a staple at soda fountains and diners, gaining instant popularity.
- The combination of sweet apples, buttery crust, and creamy ice cream creates a harmonious flavor profile.
- Variations may include different apple types, spices, and ice cream flavors, but the classic version remains apple pie with vanilla ice cream.
- Baking apple pie à la mode from scratch can be a rewarding endeavor that brings joy to family gatherings.
History
Apple pie à la mode has a long and storied history that dates back centuries. The classic American dessert, with its flaky crust, sweet apple filling, and creamy ice cream topping, has captured the hearts and taste buds of people around the world.
The origins of this beloved treat can be traced to the 19th century, where it became a staple at soda fountains and diners across the United States. The combination of warm apple pie and cold, refreshing ice cream was an instant hit, and the dish quickly gained popularity as a comforting and indulgent dessert.
Over the years, apple pie à la mode has evolved, with variations featuring different types of apples, spices, and even alternative ice cream flavors.
But the classic combination of apple pie and vanilla ice cream remains the quintessential version, a timeless classic that continues to delight and satisfy generations of dessert lovers.
Cooking Steps
Preheat your oven to 425°F. Grab your favorite apples and peel, core, and slice them into 1/4-inch thick pieces.
In a large bowl, toss the apple slices with sugar, cinnamon, and a pinch of nutmeg until evenly coated.
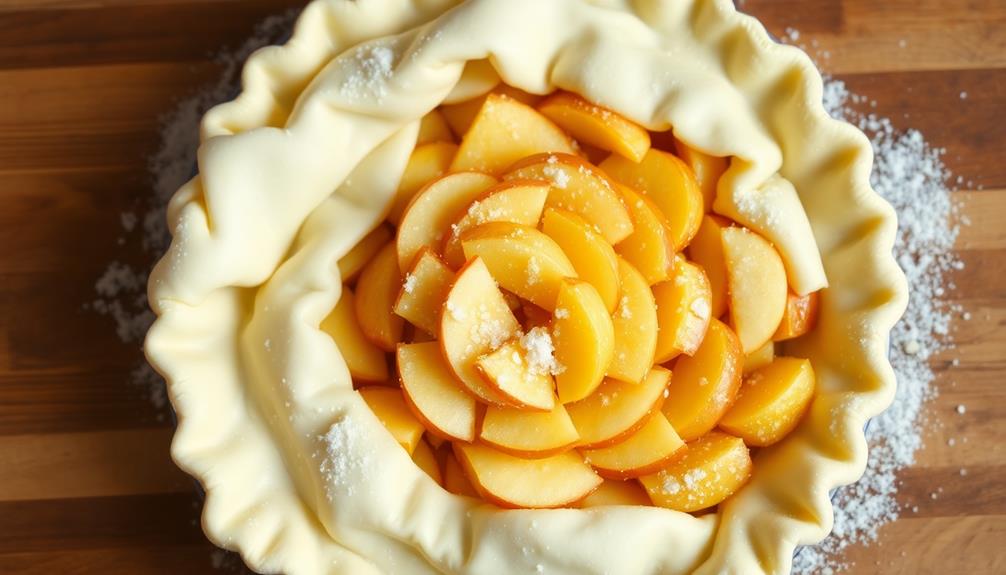
Unroll your chilled pie dough and press it into a 9-inch pie plate. Carefully spoon the apple mixture into the crust, mounding it slightly in the center.
Top with the second pie dough round, crimp the edges to seal, and cut slits in the top to allow steam to escape.
Bake for 25 minutes, then reduce the temperature to 350°F and continue baking for 30-35 minutes, until the crust is golden brown and the filling is bubbly.
Let the pie cool completely before serving with a scoop of ice cream on top. Enjoy your delicious homemade apple pie à la mode!
Step 1. Preheat Oven to 425°F
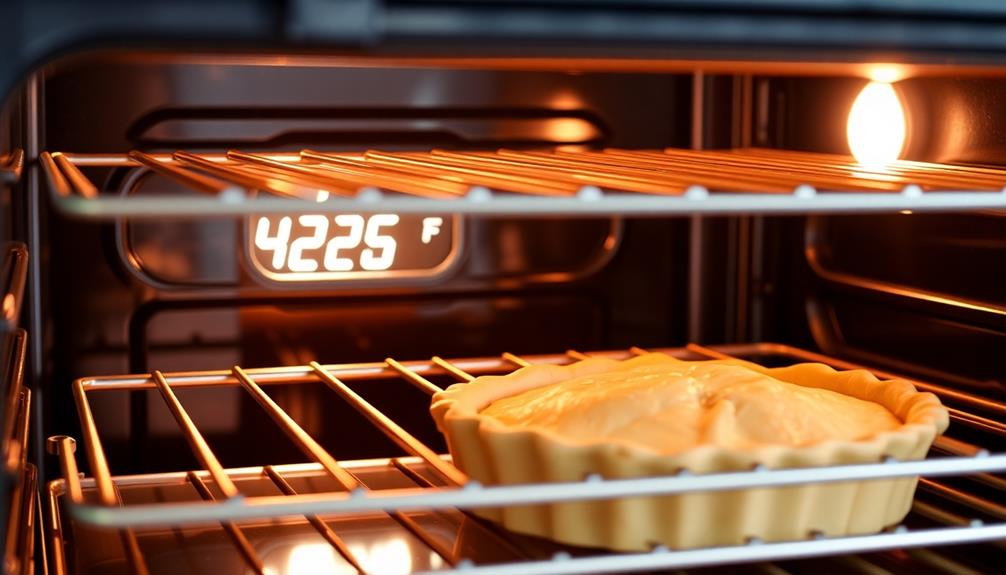
Once the ingredients are prepped, you'll want to preheat your oven to a toasty 425°F. This high temperature is crucial for getting that flaky, golden-brown crust on your delectable apple pie.
Be sure to give your oven a good 10-15 minutes to reach the desired temperature – you want it nice and hot before popping in that delicious pie.
While you're waiting, take a moment to gather your baking dishes. You'll need a deep-dish pie plate or an 8-inch square baking pan.
Grease the dish with a bit of butter or non-stick cooking spray to prevent sticking. Once the oven is ready, you can slide your prepared pie into the center rack and let the magic begin.
The high heat will work its wonders, caramelizing the apples and crisping up the crust to perfection. Get ready for your house to be filled with the mouthwatering aroma of homemade apple pie!
Step 2. Roll Out Pie Crust
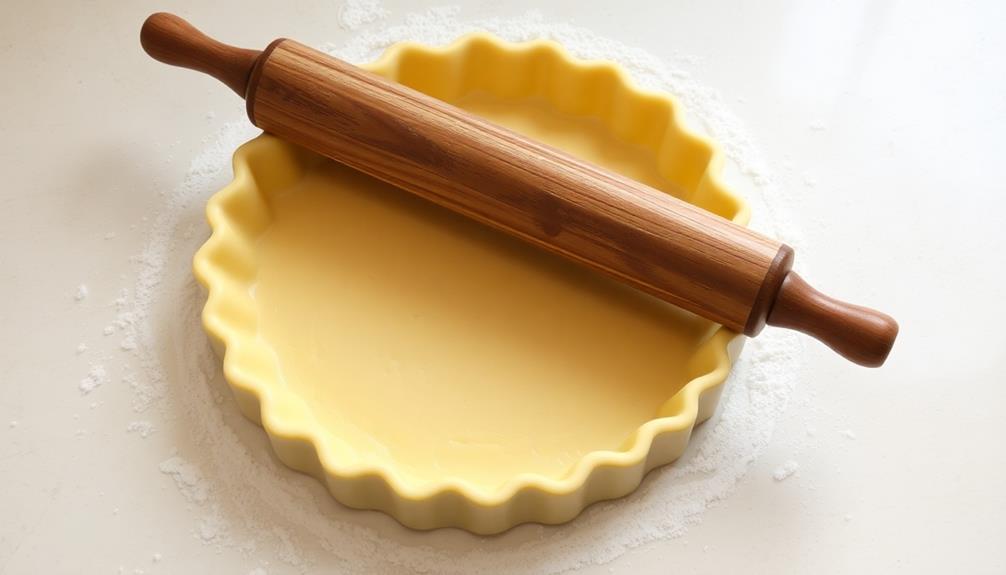
With the oven preheated, it's time to turn your attention to the pie crust. Grab your rolling pin and a clean, lightly floured surface. Gently place the dough on the surface and start rolling it out, pushing outward from the center. Keep rolling until the crust is about 12 inches wide and 1/8 inch thick. Careful not to overwork the dough – you want it to be nice and flaky.
Now, transfer the rolled-out crust to your pie plate. Gently ease it into the plate, being mindful not to stretch or tear the dough. Trim any excess crust hanging over the edge, leaving about an inch overhang.
Fold the overhang under itself, creating a nice, neat edge. Use your fingers to crimp and flute the crust, giving it a beautiful, rustic look. Prick the bottom of the crust a few times with a fork to prevent air bubbles from forming during baking.
Your pie crust is now ready to be filled and baked to perfection!
Step 3. Add Apple Slices
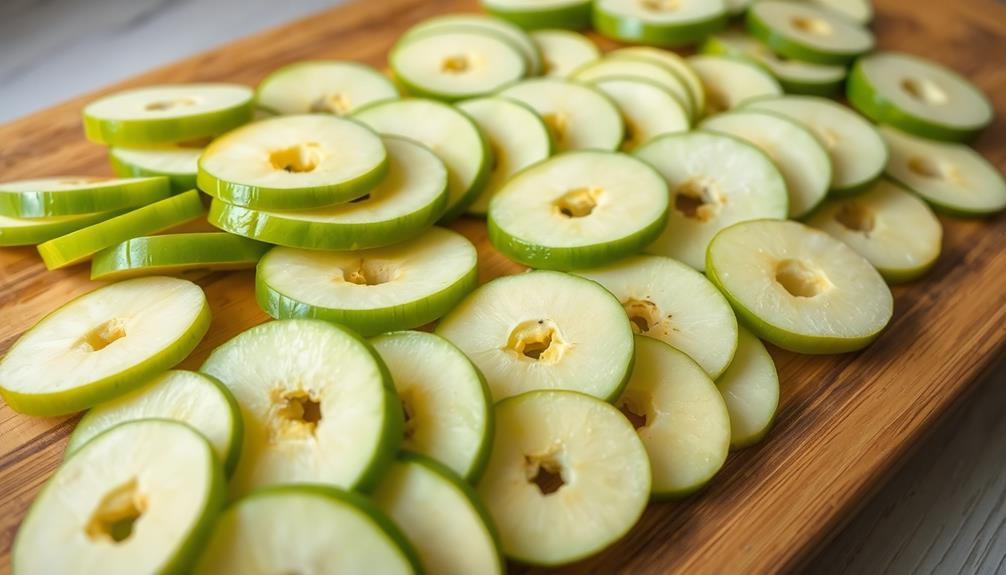
Gather your freshly peeled and sliced apples. Carefully arrange them in the prepared pie crust, creating an even layer. Be sure to leave a bit of space around the edges so the crust can rise and bake properly.
Once the apples are in place, it's time to add a touch of sweetness. Sprinkle a generous amount of white sugar over the apple slices, followed by a dusting of ground cinnamon. This combination will create a delightful flavor that will have your taste buds dancing with joy.
Gently press the apple slices down, ensuring they're evenly coated with the sugar and cinnamon mixture. Now, take a moment to admire your handiwork. The vibrant red and golden hues of the apples, contrasted by the delicate flakiness of the crust, create a truly mouthwatering sight.
With the apples now perfectly arranged, you're one step closer to enjoying a slice of warm, homemade apple pie à la mode.
Step 4. Sprinkle With Cinnamon-Sugar Mixture
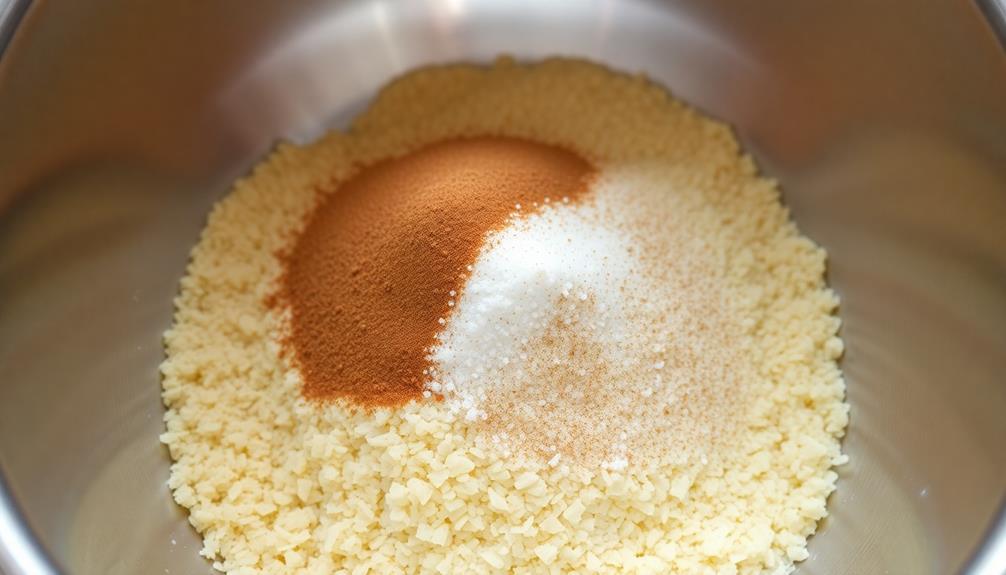
Atop the neatly arranged apple slices, generously sprinkle a mixture of white sugar and ground cinnamon. The sweet and fragrant blend will add a delightful touch to your homemade apple pie. Measure out about two tablespoons of sugar and one teaspoon of cinnamon, then use your fingers to evenly distribute the mixture over the fruit.
The warmth of the cinnamon will mingle with the tartness of the apples, creating a harmony of flavors that will have your taste buds dancing. Be sure to cover the entire surface, leaving no slice untouched.
The cinnamon-sugar topping will bake into a delectable crust, adding a delightful crunch to each bite. As the pie bakes, the aroma will fill your kitchen, tantalizing your senses and making it nearly impossible to resist a slice straight from the oven.
With this simple yet impactful step, you're well on your way to creating a truly remarkable apple pie à la mode.
Step 5. Cover With Top Crust
Once you've sprinkled the cinnamon-sugar mixture over the apple slices, it's time to cover the pie with the top crust.
Take your prepared pie dough and gently roll it out into a circle slightly larger than your pie dish. Carefully transfer the dough to the top of the filled pie, pressing it lightly to secure it in place.
Use a sharp knife to trim any excess dough from the edges, leaving about an inch hanging over the side. Now, it's time to crimp and seal the crust.
Fold the overhanging dough under itself, creating a neat, decorative edge around the pie. You can use your fingers to pinch and crimp the crust, or press it with the tines of a fork for a pretty pattern.
Final Thoughts
As you savor the last delectable bite of this homemade apple pie à la mode, let the flavors linger on your tongue. The perfect balance of sweet apples, buttery crust, and creamy vanilla ice cream is pure delight.
You can almost hear the crunch of the golden-brown top crust as you dive in for another mouthful. This dessert is a true masterpiece, the result of your hard work and attention to detail.
With each layer, you've created a harmonious symphony of flavors that dance across your palate. As you sit back and let the warmth of satisfaction wash over you, remember the joy of making this pie from scratch. You can truly taste the love and effort put into every step of the process. The smooth and creamy banana filling, the flaky and buttery crust, and the light and airy whipped cream on top all come together to form a truly unforgettable dessert. So next time you’re in the mood for something sweet, take out the old family banana cream pie recipe and let the memories of making it from scratch bring a smile to your face.
It's a labor of love that you can now proudly share with family and friends, creating cherished memories around the table. Savor this moment, for it's the perfect ending to a delicious baking adventure.
Frequently Asked Questions
What Is the Best Type of Apple to Use in Apple Pie?
When it comes to making the perfect apple pie, the choice of apple is crucial.
The best apples for this task are Granny Smiths. Their tart, crisp flavor holds up well during baking, ensuring your pie has a delightful balance of sweetness and tartness in every bite.
Plus, Granny Smiths maintain their shape, so you'll get delicious apple chunks throughout the filling.
With their reliable performance, it's no wonder Granny Smiths are the go-to pick for the ultimate apple pie.
Can I Use a Pre-Made Crust Instead of Making My Own?
You sure can use a pre-made crust for your apple pie!
That's a great shortcut that'll save you lots of time in the kitchen. While making a homemade crust is delicious, a pre-made one works just as well.
Just be sure to follow the package directions and let the crust come to room temperature before using it.
This way, you can spend more time focusing on the yummy apple filling – the real star of the show!
How Do I Avoid a Soggy Bottom Crust?
To avoid a soggy bottom crust, there are a few tricks you can try.
First, pre-bake your crust for 10-15 minutes before adding the filling. This helps it firm up and become more resistant to moisture.
You can also brush the bottom crust with a beaten egg white or melted butter before adding the filling. This creates a barrier that prevents the juices from soaking in.
Finally, be sure to use fresh, high-quality ingredients and not overfill the pie.
With a little care, you can achieve a perfectly crisp, flaky crust every time!
Can I Freeze Apple Pie for Later?
Absolutely! Freezing apple pie is a great way to enjoy its deliciousness anytime.
First, let your pie cool completely. Then, wrap it tightly in plastic wrap or aluminum foil. You can freeze the whole pie or just individual slices.
When you're ready to indulge, simply thaw it in the refrigerator overnight. The filling may be a bit juicier, but the flaky crust will still be perfect.
Enjoy your homemade apple pie whenever the craving strikes!
What Is the Best Way to Serve Apple Pie À La Mode?
Serving apple pie à la mode is a delightful experience!
Start by slicing a warm, freshly-baked pie into generous portions. Top each slice with a scoop of creamy vanilla ice cream. The contrast of the hot, flaky crust and the cool, sweet ice cream is simply heavenly.
Drizzle on some caramel sauce or sprinkle with a dusting of cinnamon for an extra special touch.
Enjoy this classic American dessert with family and friends for a truly memorable treat!