
To get the perfect texture for oven-baked Korean sweet potatoes, start by preheating your oven to 400°F (200°C). Then, wash and peel your sweet potatoes carefully. Cut them into even pieces to ensure they cook uniformly. Don't forget to season your sweet potatoes with salt and pepper for extra flavor! Next, bake them for about 30 minutes, flipping halfway to achieve that nice golden crisp on the outside. When you're done, let them cool a bit before unwrapping! You'll discover how delicious and comforting they can be. Plus, there's even more to learn about enhancing this tasty treat!
Key Takeaways
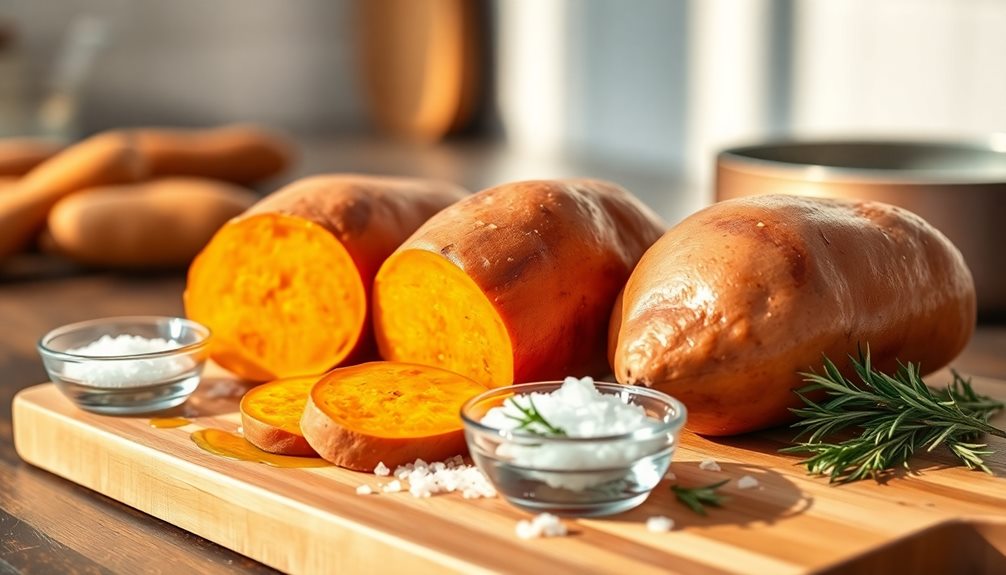
- Select fresh Korean sweet potatoes and wash them thoroughly to ensure cleanliness before baking.
- Poke holes in each sweet potato to allow steam to escape during baking, preventing sogginess.
- Wrap the sweet potatoes in foil to retain moisture and promote a soft texture while baking.
- Bake at 400°F (200°C) for 30 minutes, flipping halfway for even browning and optimal texture.
- Allow sweet potatoes to cool before unwrapping to enhance sweetness and improve overall flavor.

Instant Pot 4QT RIO Mini 7-in-1 Multi-Cooker, Pressure Cooker, Slow cook, Sauté, Steam, Rice Maker, Yogurt, & Warmer, Black, 4 Quarts
- 7-in-1 Multi-Cooker: Pressure, slow, sauté, steam, rice, yogurt, warm
- Compact and Space-Saving: Mini size with full cooking surface
- Ideal for Small Meals: 4-quart capacity for up to 4 servings
As an affiliate, we earn on qualifying purchases.
History
The history of Korean sweet potatoes dates back centuries, with their cultivation taking root during the Joseon Dynasty. These delicious tubers became a staple food for many families across Korea. People loved their naturally sweet flavor and hearty texture, making them perfect for various dishes.
You might be surprised to learn that Korean sweet potatoes were often used to feed soldiers and workers, giving them the energy they needed for their tough jobs!
As time went on, the popularity of sweet potatoes grew. In the 20th century, they became a symbol of comfort food for many Koreans. You can imagine families gathering around the table, enjoying sweet potato dishes together after a long day.
Sweet potatoes were often roasted, boiled, or even made into desserts, showcasing their versatility.
Today, Korean sweet potatoes are still cherished by many people, both in Korea and around the world. They're not just tasty; they're also packed with nutrients!
When you enjoy a warm, oven-baked sweet potato, you're not just tasting a delicious treat; you're also connecting with a rich history that has delighted countless generations. Isn't that exciting?
Cooking Steps
Before you dive into the cooking process, make sure you've gathered all your ingredients and prepped your workspace. You'll need fresh Korean sweet potatoes, a baking sheet, and some foil. Now, let's get started!
First, preheat your oven to 400°F (200°C). While that's heating up, wash your sweet potatoes thoroughly to remove any dirt. Pat them dry with a clean towel.
Next, poke a few holes in each potato with a fork. This lets steam escape while they bake.
Now, wrap each potato in foil. This helps them cook evenly and stay nice and soft inside. Place the wrapped sweet potatoes on a baking sheet and pop them into the oven. Bake for about 45 minutes to 1 hour, depending on their size. You'll know they're done when a fork easily pierces through.
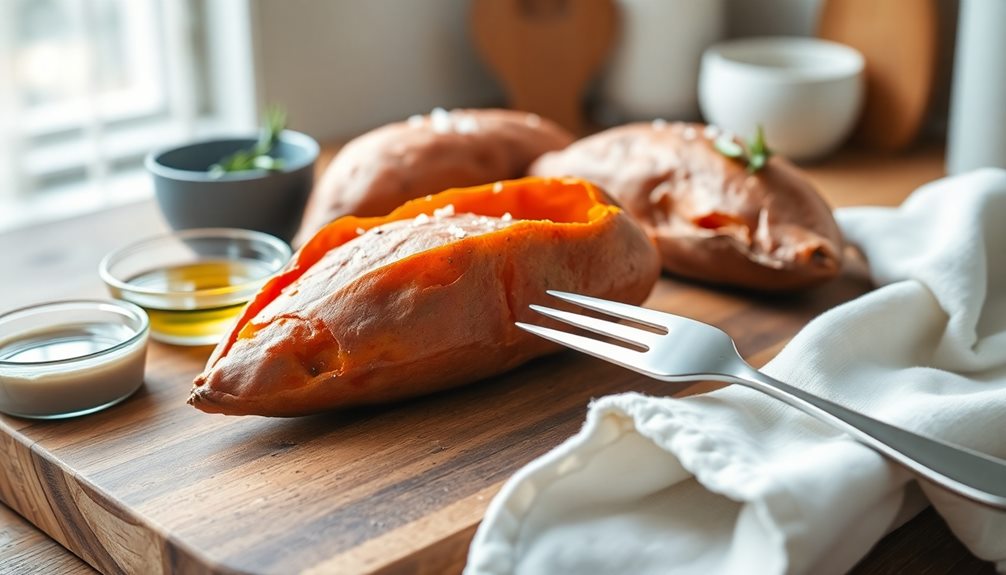
Once they're ready, take them out and let them cool for a few minutes. Carefully unwrap the foil, and enjoy the sweet, warm goodness!
You can eat them plain or add a sprinkle of salt or a drizzle of honey for extra flavor. Happy baking!
Step 1. Preheat Oven to 400°F
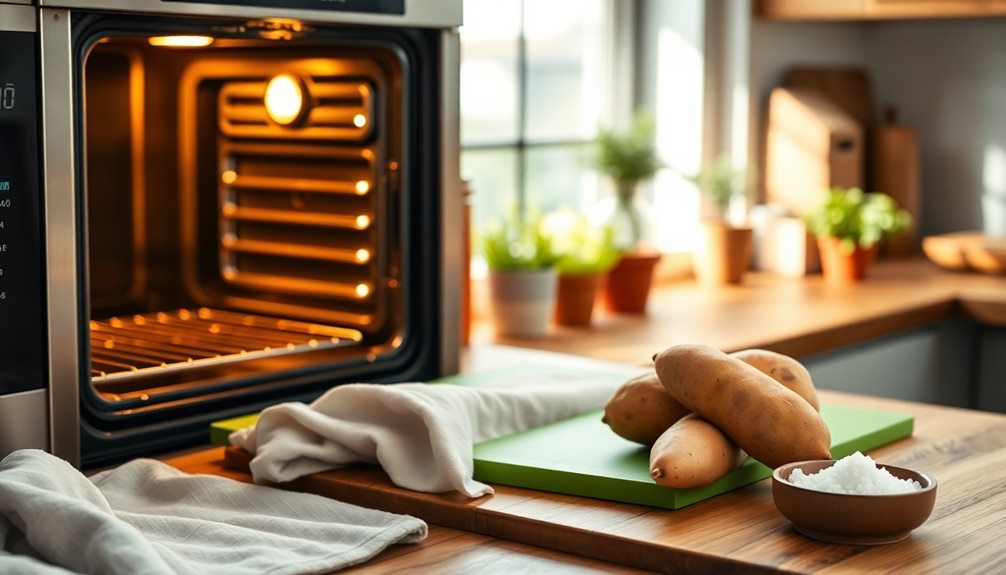
Preheating your oven to 400°F is an essential step for achieving perfectly baked Korean sweet potatoes. This temperature helps the potatoes cook evenly, giving them that delicious, fluffy texture we all love. So, let's get started!
First, make sure your oven is clean and free of any leftover food. A clean oven ensures that your sweet potatoes bake without any strange smells or flavors. Next, turn your oven dial or press the buttons to set it to 400°F. If your oven has a preheat function, use it! You'll often hear a beep or see a light change when it's ready.
While you wait, take a moment to get excited about the yummy treat you're about to make! Preheating usually takes about 10 to 15 minutes, so feel free to dance around the kitchen or think about how you'll enjoy your sweet potatoes later.
Once the oven reaches the right temperature, you'll be ready for the next steps in this delicious journey. Remember, a properly preheated oven is key to making your Korean sweet potatoes soft and sweet, just like you want them! Happy baking!
Step 2. Wash and Peel Sweet Potatoes
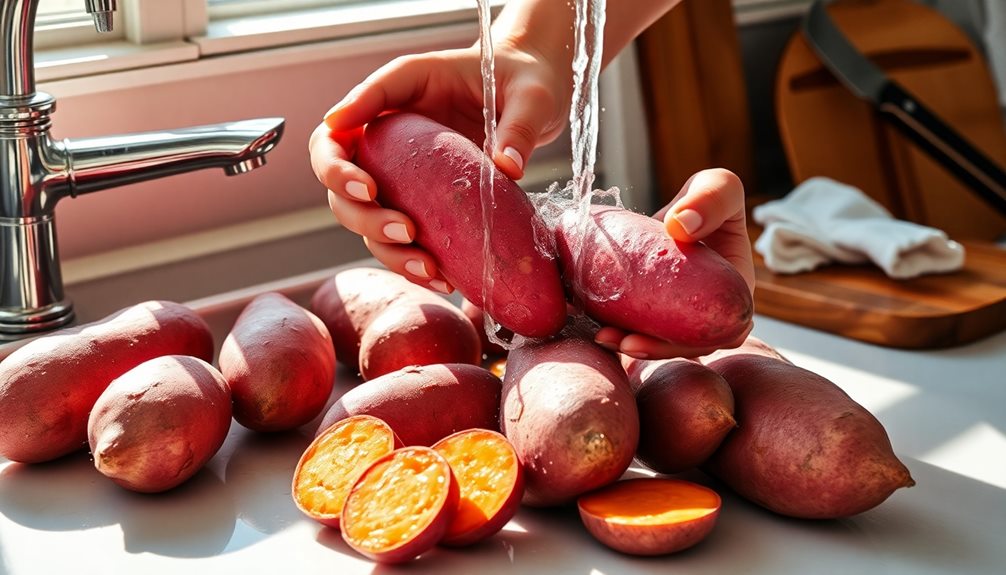
To ensure your sweet potatoes are clean and ready for baking, start by rinsing them under cool running water. This step is super important because you want to remove any dirt or grit that might be stuck to the skin.
Use your hands to gently scrub the surface, making sure to get all those nooks and crannies. Once they're clean, it's time to peel!
Grab a vegetable peeler or a sharp knife to carefully remove the skin. Peeling can be a bit tricky, so take your time. If you're using a peeler, hold the sweet potato in one hand and the peeler in the other. Start at one end and work your way to the other, making sure to remove just the skin without taking too much of the potato.
If you're using a knife, slice off the skin in thin strips, but be careful not to cut too deep.
After peeling, give the sweet potatoes one last rinse to wash away any leftover bits of skin. Now, they're all set for the next steps in your delicious baking adventure!
Enjoy the process—you're almost there!
Step 3. Cut Into Even Pieces

Once your sweet potatoes are peeled and rinsed, it's time to cut them into even pieces. This step is super important because it helps them cook evenly in the oven.
Start by placing a sweet potato on a cutting board. Use a sharp knife to slice it lengthwise, creating two long halves. Then, take each half and cut it into smaller pieces, about one inch thick.
You want all the pieces to be about the same size, so they bake perfectly together. If some pieces are bigger than others, those larger chunks might take longer to cook. You don't want that!
As you cut, be careful with your fingers. Keep them tucked in and away from the knife. This way, you'll stay safe while making your delicious sweet potato dish.
Once you've cut all your sweet potatoes, you can admire your work! Don't they look great? You're one step closer to enjoying a tasty, oven-baked treat.
Make sure to have a clean surface for the next steps. Get ready to add some flavors that will make your sweet potatoes even more delicious!
Step 4. Season With Salt and Pepper
Now that your sweet potato pieces are ready, it's time to enhance their natural flavor with some seasoning. Start by sprinkling a bit of salt over your sweet potatoes. Salt brings out the sweetness and makes the flavor pop! Don't be shy—just a light dusting will do. You can always add more later if you want.
Next, grab your pepper. A few shakes of freshly ground black pepper can give your sweet potatoes a little kick. It's like a dance party in your mouth! If you love a bit of spice, you could even try some cayenne pepper for an extra zing. Just remember, a little goes a long way!
Once you've seasoned your sweet potatoes, toss them gently in a bowl. This helps spread the salt and pepper evenly, making sure every bite is tasty. You want to see a little sparkle on the surface from the seasoning.
Now, take a moment to admire your work; those sweet potato pieces look fantastic!
With your sweet potatoes seasoned and ready, you're one step closer to enjoying a delicious dish that's sure to impress. Let's move on to the next step!
Step 5. Bake for 30 Minutes

With your beautifully seasoned sweet potatoes ready, it's time to pop them in the oven. Preheat your oven to 400°F (200°C) if you haven't done so already. This temperature is perfect for roasting and will help your sweet potatoes turn out just right.
Carefully place your sweet potatoes on a baking sheet lined with parchment paper, making sure they're spaced out. You want them to cook evenly and get that delicious, caramelized flavor.
Once they're in, set a timer for 30 minutes. As they bake, the sweet aroma will fill your kitchen, making your tummy rumble with excitement!
After 15 minutes, take a peek to see how they're doing. You might want to flip them over to ensure both sides get that lovely golden color.
When the timer goes off, use oven mitts to pull out your sweet potatoes. They should be soft inside and have a beautiful, crispy skin.
Let them cool for a few minutes, then enjoy your tasty, healthy treat! Your perfect Korean sweet potatoes are ready to be savored!
Final Thoughts
Baking Korean sweet potatoes in the oven is a simple yet rewarding experience that brings a delightful taste of comfort food to your kitchen. Once you've mastered the steps, you'll find it's easy to enjoy a delicious snack or side dish any time. The warm, sweet flavor and creamy texture will make your taste buds dance with joy!
As you bake these tasty treats, remember that patience is key. Allowing them to cool just a bit after baking will enhance their sweetness and make them even more enjoyable.
Plus, they're super versatile! You can eat them plain, pair them with your favorite toppings, or even mash them into a yummy filling.
Sharing your Korean sweet potatoes with family and friends can also create wonderful memories. Just imagine everyone gathered around, enjoying the delightful aroma wafting through your kitchen!
So, whether you're making them for yourself or to share, you're sure to impress everyone with your skills.
Now it's time to get baking! Grab those sweet potatoes and let the oven work its magic. You'll love the results, and soon, you'll want to make them again and again!
Frequently Asked Questions
Can I Use Other Types of Potatoes for This Recipe?
You can certainly use other types of potatoes for this recipe! Just keep in mind that different varieties may yield varying textures and flavors, so experiment to find which one you enjoy the most.
What Is the Best Way to Store Leftover Sweet Potatoes?
To store leftover sweet potatoes, let them cool completely, then wrap them tightly in plastic wrap or place them in an airtight container. Keep them in the fridge for up to five days for best freshness.
How Long Do Baked Sweet Potatoes Last in the Fridge?
Baked sweet potatoes last about 3 to 5 days in the fridge. Make sure you store them in an airtight container to keep them fresh, and always check for any signs of spoilage before eating.
Are Korean Sweet Potatoes Healthier Than Regular Sweet Potatoes?
Korean sweet potatoes are often considered healthier due to their higher fiber content and lower glycemic index. They provide essential nutrients and antioxidants, making them a great choice if you're looking for a nutritious option.
Can I Microwave Sweet Potatoes Instead of Baking Them?
Yes, you can microwave sweet potatoes instead of baking them. Just pierce them with a fork, wrap in a damp paper towel, and microwave for about 5-8 minutes, checking for tenderness. Enjoy your quick meal!