
You'll be amazed at how easy it is to bring the beloved Korean snack of crispy seaweed rolls, or "gimmari," to life in your own kitchen! This tasty treat has a long, rich history, originating from coastal Asian regions where seaweed is a dietary staple. With just a few simple ingredients like seaweed sheets, cooked rice, and seasoned veggies, you can create a snack that's both satisfyingly crunchy and bursting with savory umami flavors. Roll 'em up, fry 'em to perfection, and get ready to impress your friends and family. Want to dive deeper into the art of gimmari? Read on to discover the secrets to mastering this delightful Korean classic.
Key Takeaways
- Understand the historical origins and cultural significance of crispy seaweed rolls, known as "gimmari" in Korea, as a traditional and beloved snack.
- Familiarize with the essential ingredients, including seaweed sheets, cooked rice, seasoned vegetables, and various condiments for flavoring.
- Master the preparation techniques, such as soaking the seaweed, applying the rice filling, and tightly rolling the sheets to achieve the desired crispiness.
- Properly fry the rolls in hot oil until they are golden brown and crispy, ensuring even cooking and optimal texture.
- Serve the crispy seaweed rolls immediately, either as an appetizer or a snack, and consider pairing them with complementary beverages or side dishes for a complete dining experience.
Top picks for "crispy seawe roll"
Open Amazon search results for this keyword.
As an affiliate, we earn on qualifying purchases.
History

The origins of crispy seaweed rolls can be traced back to coastal regions of Asia, where coastal communities have long harvested and consumed seaweed as part of their traditional diets.
Gimmari, the Korean name for these delightful crunchy rolls, has been enjoyed for generations, passed down through family recipes and local traditions.
Over time, the preparation of gimmari evolved, with innovative chefs experimenting with different techniques to achieve the perfect balance of crispiness and flavor.
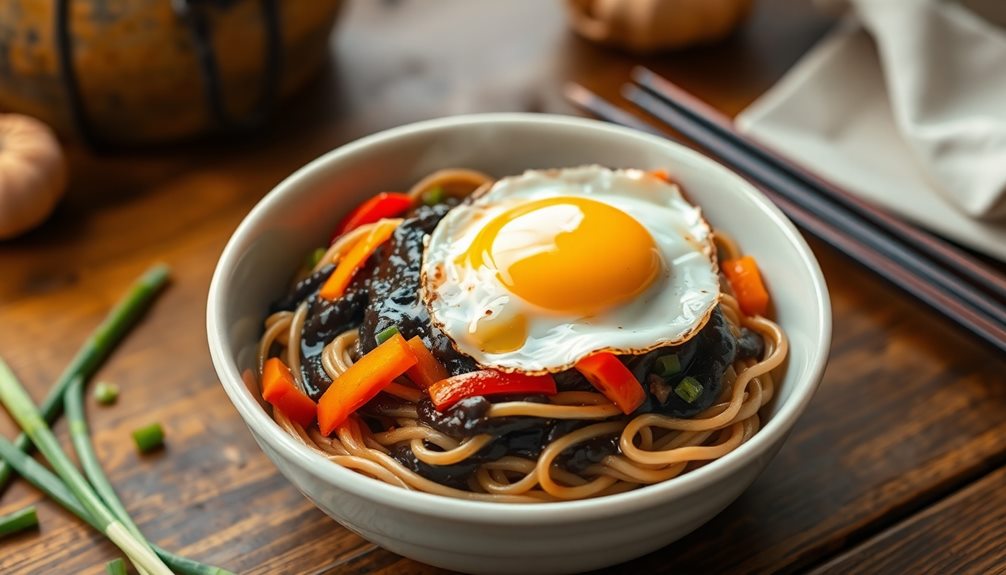
Today, these vibrant green rolls are a beloved snack, often served as an appetizer or side dish at Korean gatherings and celebrations.
The satisfying crunch and savory umami notes make gimmari an irresistible treat, delighting taste buds and creating a sense of connection to Korea's rich culinary heritage.
Recipe
Crispy Seaweed Rolls are a delightful appetizer that combines the savory flavors of seaweed with the crunch of a fried roll. These bite-sized treats are perfect for entertaining or as a snack.
The key to achieving the perfect crispy exterior is to use a thin, pliable seaweed sheet that can be easily rolled around a flavorful filling. The filling can be customized to suit your taste preferences, but a combination of vegetables and seasoned rice works beautifully.
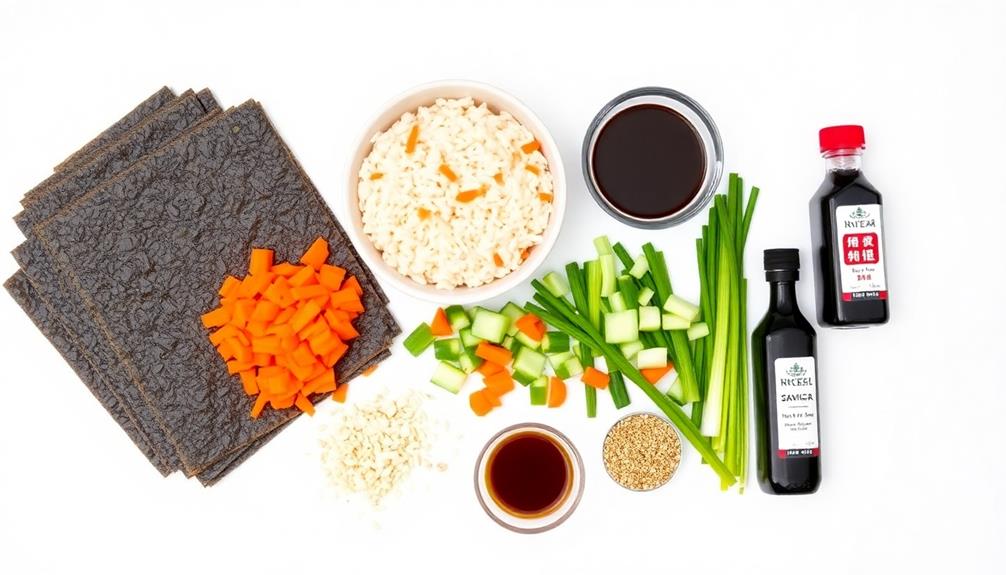
- 8 sheets of nori (dried seaweed)
- 1 cup cooked and seasoned sushi rice
- 1/2 cup finely chopped carrots
- 1/2 cup finely chopped cucumber
- 1/4 cup finely chopped green onions
- 2 tablespoons sesame seeds
- 1 tablespoon soy sauce
- 1 tablespoon rice vinegar
- Vegetable oil for frying
To prepare the Crispy Seaweed Rolls, first, lay a nori sheet on a clean, flat surface. Spread a thin layer of the cooked rice across the center of the sheet, leaving a small border on all sides.
Arrange the chopped vegetables and sesame seeds on top of the rice. Drizzle the soy sauce and rice vinegar over the filling. Carefully roll the nori sheet tightly around the filling, starting from one side and rolling towards the other. Secure the roll with a small amount of water on the edge to seal it.
When all the rolls are assembled, heat a generous amount of vegetable oil in a large skillet or Dutch oven over medium-high heat. Carefully add the seaweed rolls to the hot oil and fry for 2-3 minutes per side, or until they're crispy and golden brown.
Drain the fried rolls on a paper towel-lined plate. Serve the Crispy Seaweed Rolls warm, with a side of soy sauce or your preferred dipping sauce.
Cooking Steps
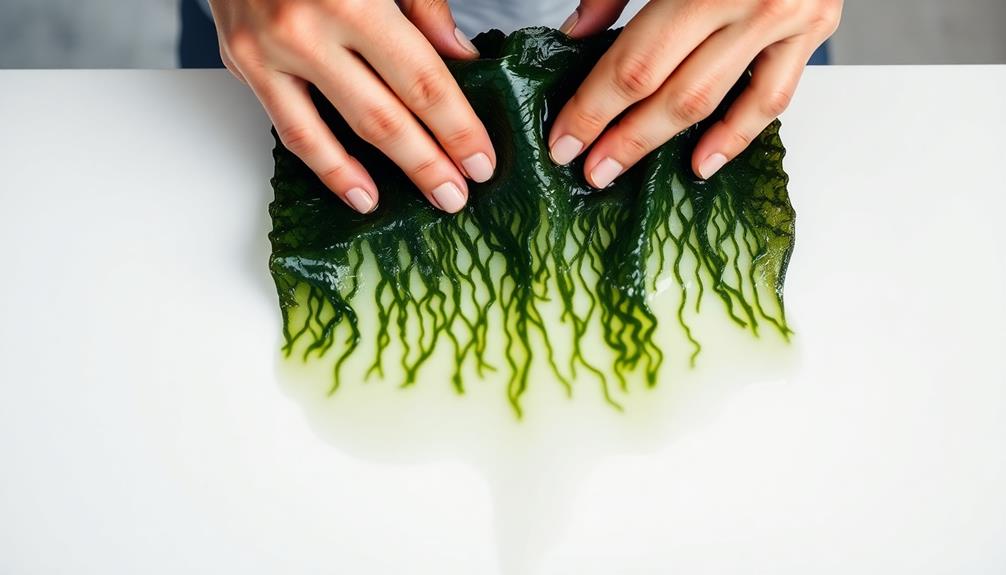
Soak the seaweed sheets in water, then squeeze out the excess moisture.
Spread your favorite filling across the sheets and roll them up tightly.
Step 1. Soak Seaweed Sheets in Water

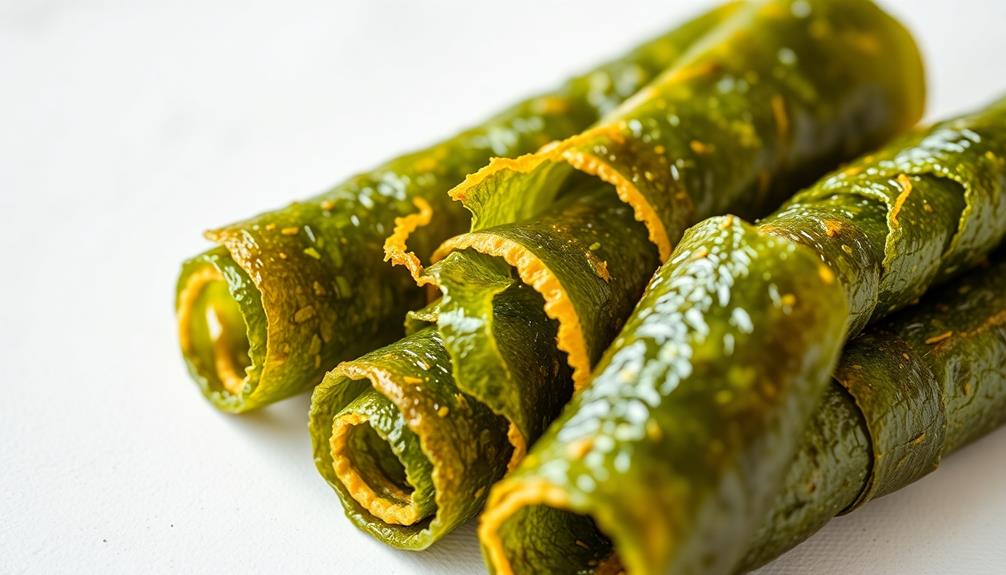
Begin by soaking the seaweed sheets in a bowl of water. You'll want to make sure they're completely submerged, so use a plate or something heavy to keep them down. Let them soak for about 10-15 minutes until they've softened up nicely.
The seaweed will turn a vibrant green color and become pliable, making it easy to work with.
Once the seaweed is ready, drain it in a colander and give it a gentle squeeze to remove any excess water. Be careful not to over-squeeze, as you don't want to damage the delicate texture.
Now your seaweed is prepped and ready for the next step – filling and rolling! Get excited, because these crispy seaweed rolls are gonna be utterly delicious.
Just wait until you bite into that perfect combination of crunchy, savory seaweed and flavorful fillings. Mmm, your taste buds are in for a real treat!
Step 2. Squeeze Excess Water From Seaweed
After draining the softened seaweed, you'll want to gently squeeze out any excess water. This helps ensure your seaweed rolls come out perfectly crispy!
Grab a handful of the rehydrated sheets and give them a gentle squeeze, pressing down to release the moisture. You'll be surprised by how much water comes out – it's important to get rid of it all for the best texture.
Next, lay the seaweed sheets flat on a clean, absorbent towel. Gently blot the tops with another towel to soak up any remaining droplets. This step is crucial for achieving that satisfying crunch in your final rolls.
Once the seaweed is nice and dry, you're ready to start assembling your tasty treats! Get excited, because the best part is yet to come. With the seaweed prepped, you can now fill and roll up those delightful crispy seaweed rolls.
Step 3. Spread Filling on Seaweed Sheets

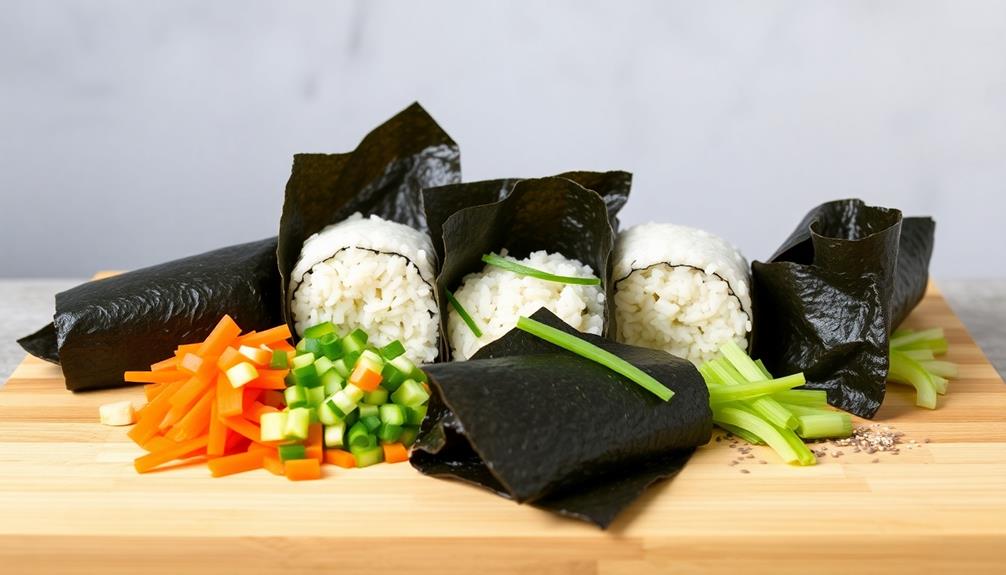
With the seaweed sheets prepped and dried, you can now start assembling your crispy seaweed rolls. Grab a sheet and lay it flat on your work surface. In the center, spread a generous amount of the tasty filling. Be sure to leave a bit of space at the edges so you can roll it up neatly.
Gently, but firmly, start rolling the seaweed sheet from one side to the other, tucking in the edges as you go. Roll it up tightly, creating a neat little cylinder.
Repeat this process with the remaining seaweed sheets and filling, creating a batch of rolled-up delights.
Once all your seaweed rolls are assembled, it's time to fry them up to crispy perfection. Heat some oil in a pan and carefully add the rolls, cooking them until they're golden brown on all sides.
Drain them on a paper towel-lined plate, and get ready to enjoy your homemade crispy seaweed rolls!
Step 4. Roll Seaweed Sheets Tightly

Grab a sheet and lay it flat on your work surface. Run your fingers along the edges to smooth it out.
Now, take that delicious filling you prepared earlier and spread it evenly across the center, leaving a bit of space at the top and bottom.
Get ready to roll it up tightly! Start by folding the bottom edge over the filling, then roll it up snugly. Be sure to keep it tight as you go, tucking in the sides as you roll.
Roll it all the way up until you reach the top edge. Wet the edge with a bit of water to help it seal. Press down firmly to secure the roll.
Awesome! You've just created a perfectly rolled seaweed sheet, ready to be sliced and fried into those crispy, mouthwatering seaweed rolls.
Wasn't that easy? Now let's move on to the final steps!
Step 5. Fry Seaweed Rolls in Oil
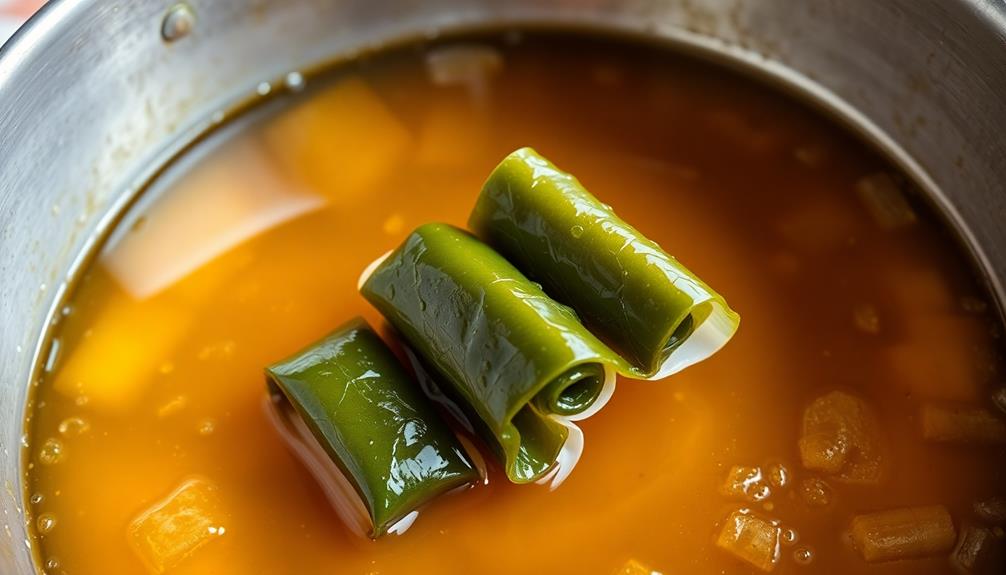
Heat up some oil in a large skillet or wok over medium-high heat.
Once the oil is nice and hot, gently add your tightly rolled seaweed rolls. Fry them until they're golden brown and crispy, about 2-3 minutes per side.
Be sure to flip them carefully so they don't unravel!
Now, you might be wondering, "How do I know when they're done?" Well, just keep an eye on them – when they turn a beautiful golden color and the edges start to get crispy, they're ready!
Drain the fried seaweed rolls on a paper towel-lined plate to soak up any excess oil.
Serve these crispy, flavorful rolls as a tasty snack or appetizer.
They're perfect for sharing with family and friends. Dip them in a sweet and savory sauce, like gochujang or soy sauce, for an even more delectable experience.
Enjoy the satisfying crunch and the delicious, umami-packed taste of these homemade Korean gimmari!
Final Thoughts

Ultimately, the delight of these crispy seaweed rolls lies in their ability to please both the palate and the eye.
You'll be amazed at how the perfectly fried and seasoned gimmari come together to create a truly captivating snack. The vibrant green hue of the seaweed provides an eye-catching contrast to the golden-brown crunch, while the blend of savory, salty, and umami flavors tantalizes your taste buds.
Whether served as an appetizer at a family gathering or enjoyed as a quick, satisfying snack, these seaweed rolls are sure to be a crowd-pleaser.
Their portability and flavor also make them an excellent option for lunchboxes or on-the-go snacking. With just a few simple ingredients and a bit of frying know-how, you can bring the flavors of Korea right to your own kitchen.
Frequently Asked Questions
What Is the Best Way to Store Leftover Gimmari?
To store leftover gimmari, place them in an airtight container in the fridge. They'll stay fresh for 3-4 days. For longer storage, freeze the gimmari in a single layer on a baking sheet, then transfer to a freezer-safe bag.
Can I Substitute Other Types of Seaweed for This Recipe?
You can substitute other types of seaweed for this recipe, but the texture and flavor may vary. Experiment with different varieties to find the one that suits your taste preferences best.
How Long Do Gimmari Typically Last Before They Become Stale?
Gimmari, or Korean seaweed rolls, typically have a shelf life of 3-5 days when stored properly in an airtight container. However, their crispiness may start to diminish after the first day, so it's best to enjoy them as soon as possible.
Is It Possible to Freeze Gimmari for Later Use?
You can absolutely freeze gimmari for later use. Just be sure to wrap them tightly in plastic or foil to prevent freezer burn. When you're ready to enjoy, simply thaw and reheat them for a crisp, flavorful snack.
What Are Some Creative Ways to Serve Gimmari Besides Snacking?
You can use gimmari in various creative ways beyond snacking. Try adding it to fried rice, tossing it in salads, or sprinkling it over soups for a crunchy topping. Get creative and enjoy this versatile ingredient in new and exciting dishes!