Prepping low-FODMAP meals for busy weeks is a game-changer for your digestive health. Start by chopping veggies, roasting them with olive oil and seasonings, then portioning into containers. Cook proteins like chicken, and pair with roasted veggies and quinoa for balanced meals. Label containers with contents and dates to easily grab-and-go. Organize your fridge for quick access, rotating older meals to minimize waste. Exploring new low-FODMAP recipes keeps things interesting, and creating a weekly meal prep routine leads to sustainable healthy habits. Want to dive deeper into the benefits of low-FODMAP meal prepping? Let's continue exploring.
Key Takeaways
- Prepare low-FODMAP meals in advance to manage digestive issues effectively and ensure availability of easy-to-digest options during busy weeks.
- Divide roasted vegetables, proteins, and low-FODMAP ingredients into individual containers for convenient grab-and-go access throughout the week.
- Label meal prep containers with contents and preparation dates, and organize them in the fridge for easy identification and rotation.
- Explore new low-FODMAP recipes and ingredients to add variety to your meal prep, supporting long-term adherence to a healthy eating plan.
- Allocate specific time each week for meal prepping and involve family members to make the process more efficient and enjoyable.

Instant Pot Duo 7-in-1 Electric Pressure Cooker, Slow Cooker, Rice, Steamer, Sauté, Yogurt Maker, Warmer & Sterilizer, Includes App With Over 800 Recipes, Stainless Steel, 6 Quart
- 7-in-1 Cooking Functions: Pressure, slow, sauté, steam, rice, yogurt, warm
- Smart One-Touch Programs: 13 customizable cooking options
- Safe Steam Release: Easy-Release switch for safety and convenience
As an affiliate, we earn on qualifying purchases.
History
The low-FODMAP diet was first introduced in the early 2000s by researchers at Monash University in Australia. They discovered that certain carbohydrates, known as FODMAPs, can trigger digestive issues for many people.
FODMAP stands for Fermentable, Oligosaccharides, Disaccharides, Monosaccharides, and Polyols – a mouthful, we know! This diet became popular as a way to identify and eliminate problem foods, helping those with irritable bowel syndrome (IBS) and other digestive conditions find relief.
Over the years, the low-FODMAP approach has evolved, with more research and resources available to guide people through the elimination and reintroduction phases.
Today, meal prepping on a low-FODMAP diet is a practical strategy for managing symptoms and sticking to a healthy eating plan, even on your busiest weeks. With a little planning and the right recipes, you can enjoy delicious, FODMAP-friendly meals throughout the week. To make meal prepping even easier, consider utilizing lowFODMAP dining tips such as choosing simple, whole ingredients and incorporating a variety of herbs and spices for flavor. Additionally, using a slow cooker or Instant Pot can save time and effort in the kitchen while still allowing you to enjoy flavorful, low-FODMAP meals. With a little creativity and organization, meal prepping on a low-FODMAP diet can become a sustainable and enjoyable part of your routine. When it comes to meal prepping, don’t forget about incorporating lowfodmap breakfast options into your routine. Some popular choices include overnight oats made with lactose-free milk, a veggie-packed frittata, or even a chia seed pudding with fresh berries. By prepping these ahead of time, you can ensure that you have a satisfying and gut-friendly breakfast ready to go each morning. This not only saves time during busy mornings but also sets a healthy tone for the rest of the day.
Recipe
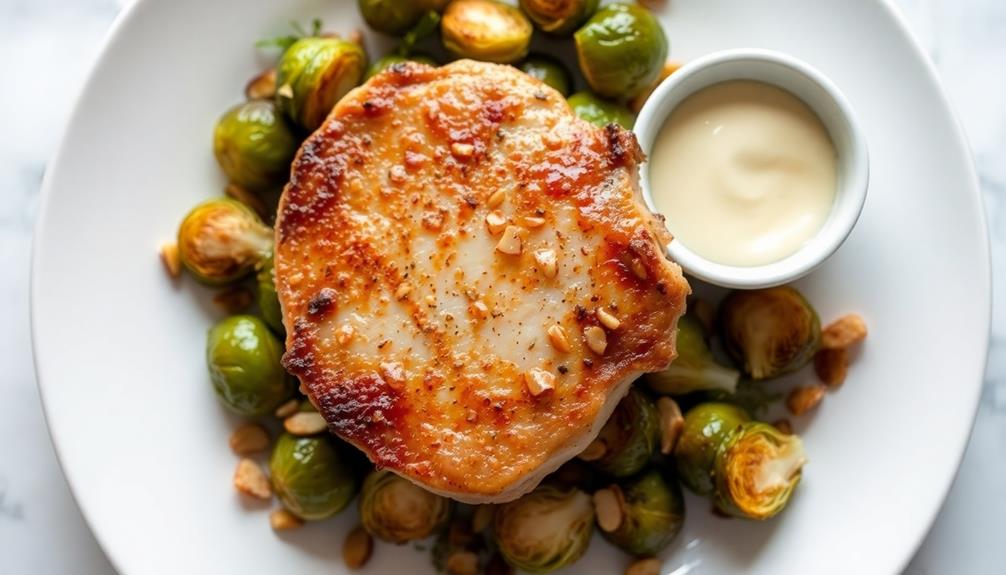
Meal prepping on a low-FODMAP diet can be a game-changer for managing digestive issues. This recipe for a delicious and gut-friendly meal is perfect for planning ahead and ensuring you have nourishing options throughout the week.
Low-FODMAP diets focus on limiting certain carbohydrates that can trigger symptoms in individuals with conditions like irritable bowel syndrome (IBS). By carefully selecting ingredients that are low in FODMAPs, this recipe provides a satisfying and easily digestible meal. In addition to helping manage IBS symptoms, low-FODMAP diets can be beneficial for those with other digestive disorders such as small intestinal bacterial overgrowth (SIBO). This recipe demonstrates that delicious and nutritious meals can still be enjoyed while following a low-FODMAP diet. For those looking to satisfy their sweet tooth, there are also plenty of lowfodmap baking options available, allowing individuals to enjoy their favorite treats without triggering discomfort.
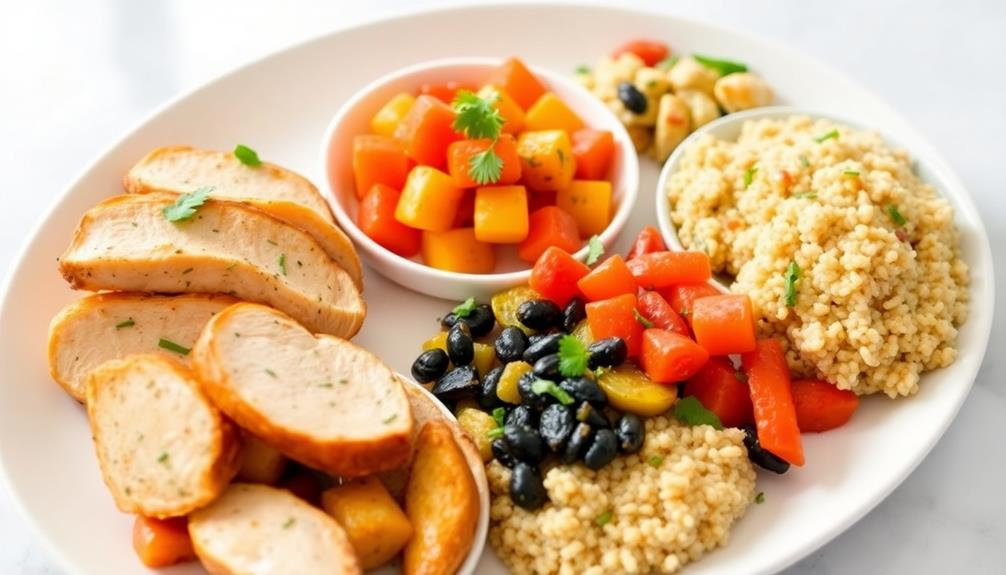
- 1 lb boneless, skinless chicken breasts
- 1 cup quinoa, rinsed
- 1 cup low-FODMAP vegetables (such as bell peppers, spinach, and zucchini)
- 2 tbsp olive oil
- 1 tsp dried oregano
- 1 tsp garlic-infused olive oil (or garlic-free seasoning)
- Salt and pepper to taste
In a large pot, bring 2 cups of water to a boil. Add the quinoa, cover, and simmer for 15-20 minutes, or until the quinoa is fluffy and the water is absorbed.
While the quinoa is cooking, heat the olive oil in a large skillet over medium-high heat. Add the chicken and cook for 6-8 minutes per side, or until cooked through. Remove the chicken from the skillet and let it rest for a few minutes before slicing or shredding.
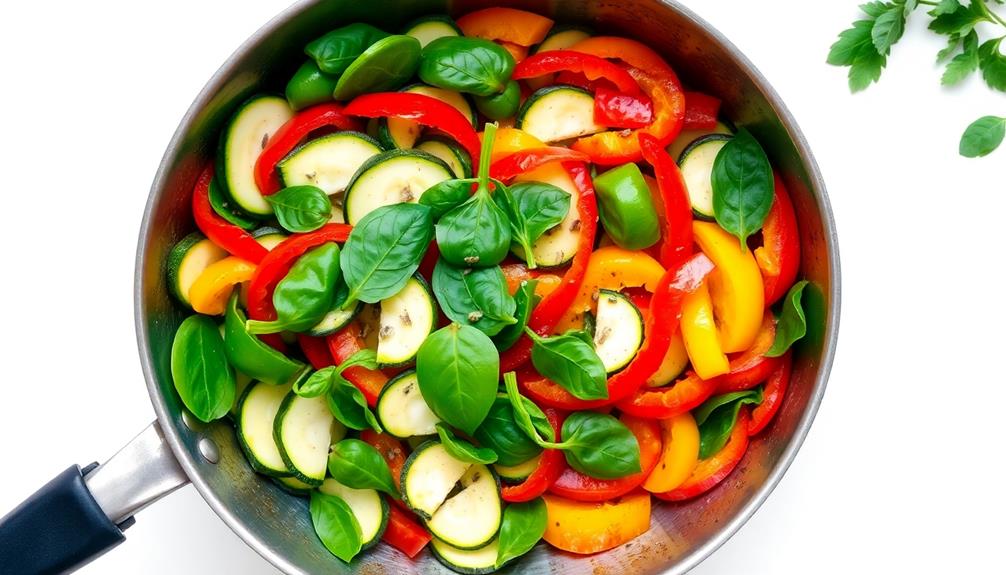
In the same skillet, sauté the low-FODMAP vegetables until tender-crisp, about 5 minutes. Season the vegetables with the oregano, garlic-infused oil (or garlic-free seasoning), salt, and pepper.
To assemble the meal, divide the quinoa, chicken, and vegetables evenly among your meal prep containers. This recipe is perfect for making a batch and enjoying it throughout the week.
Remember to store the containers in the refrigerator and reheat gently before serving.
Cooking Steps
First, chop the vegetables you'll be roasting into bite-sized pieces.
Next, toss the chopped veggies with a bit of oil and your favorite low-FODMAP seasonings.
Then, spread them out on a baking sheet and roast in the oven until tender and lightly browned.
Once cooled, store the roasted vegetables in the fridge until you're ready to pack them into your meal prep containers.
Step 1. Chop Vegetables for Roasting
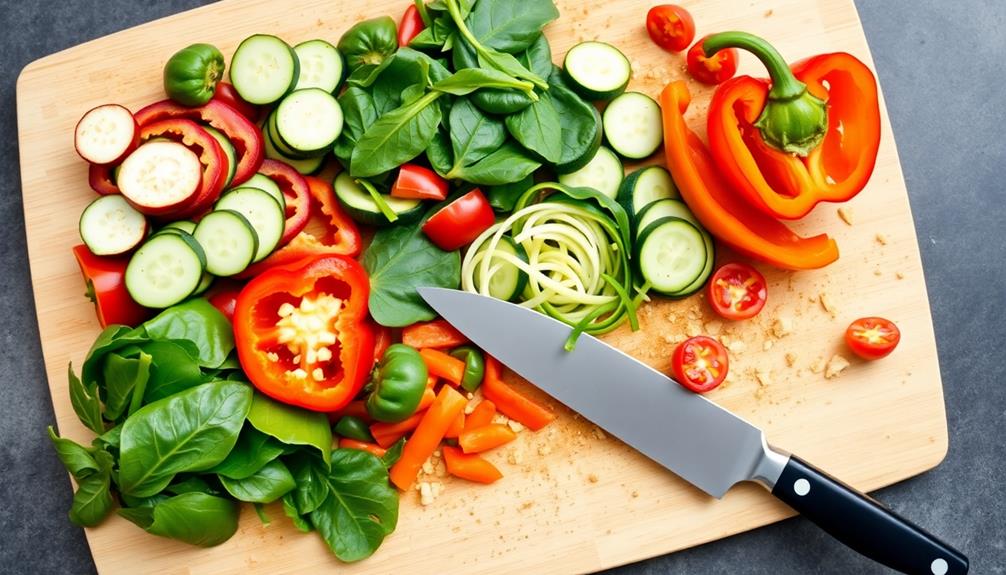
Frequently, chop the vegetables you plan to roast into even, bite-sized pieces. This ensures they'll cook evenly and you won't end up with some bits that are charred while others are undercooked. Aim for 1-inch cubes or wedges, adjusting the size based on the vegetable. Harder veggies like carrots, potatoes, and winter squash can handle larger pieces, while softer ones like zucchini should be smaller.
Place the chopped vegetables on a large baking sheet, leaving space between them so they can roast rather than steam. Drizzle with olive oil, season generously with salt and pepper, and toss to coat.
Pop the sheet into a hot oven, 400°F (200°C), and let the magic happen! Roast for 20-30 minutes, flipping halfway, until the veggies are tender and lightly browned. This simple method yields delicious, caramelized low-FODMAP veggies that you can meal prep ahead of time.
Step 2. Toss Vegetables With Oil and Seasoning
After chopping the vegetables, toss them with a drizzle of olive oil. You'll want just enough to lightly coat the pieces, about 1-2 tablespoons per pan.
Sprinkle on your favorite low-FODMAP seasonings next. Dried herbs like rosemary, thyme, or oregano work great. You can also try garlic-infused olive oil or spices like paprika, cumin, or chili powder. Give everything a good toss to evenly distribute the oil and spices.
Spread the seasoned veggies out in a single layer on a baking sheet. This ensures they'll roast evenly instead of steaming.
Pop them in the oven at 400°F and set a timer for 20-25 minutes. Keep an eye on them and give the pan a shake halfway through. The vegetables are done when they're tender and lightly browned on the edges.
Let them cool slightly before storing in airtight containers for easy meal prep. Roasted veggies make a fantastic side or can be added to salads, grain bowls, and more throughout the week.
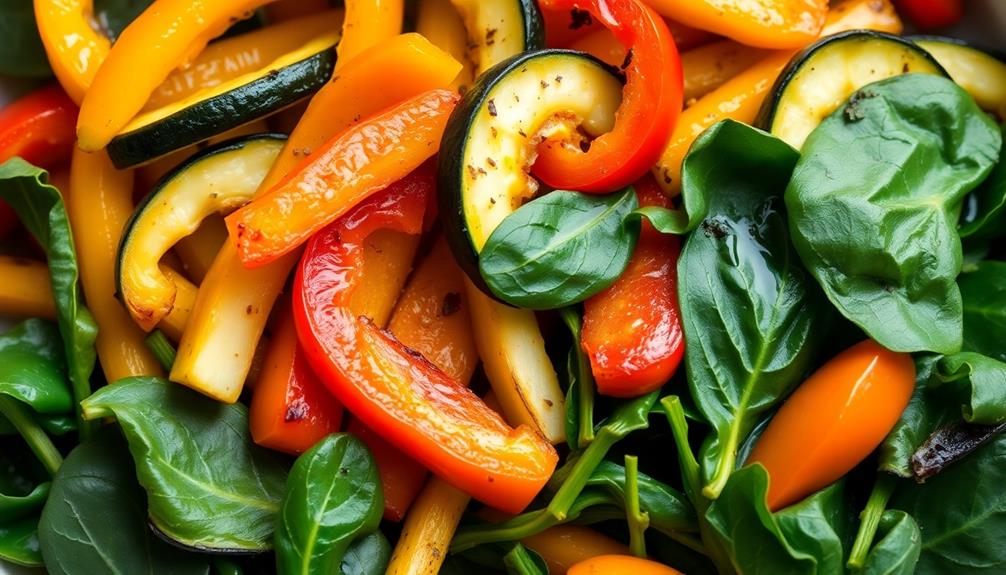
Step 3. Roast Vegetables in Oven

With the vegetables seasoned and ready, it's time to roast them in the oven. Preheat your oven to 400°F (200°C) and line a large baking sheet with parchment paper.
Arrange the prepared vegetables in a single layer, making sure they've some space between them. This will help them roast evenly and prevent steaming.
Slide the baking sheet into the preheated oven and set a timer for 20-25 minutes. Check on the vegetables halfway through and give them a gentle toss to ensure even browning.
You'll know they're done when they're tender and lightly caramelized around the edges. Be careful when removing the hot baking sheet from the oven.
Once the vegetables are perfectly roasted, you can let them cool slightly before portioning them out for your meal prep containers.
Roasting is a great way to bring out the natural sweetness and depth of flavor in your low-FODMAP veggies. With a bit of planning, you can have delicious, nutrient-dense roasted veggies ready to go for your busy week ahead.
Step 4. Refrigerate Roasted Vegetables
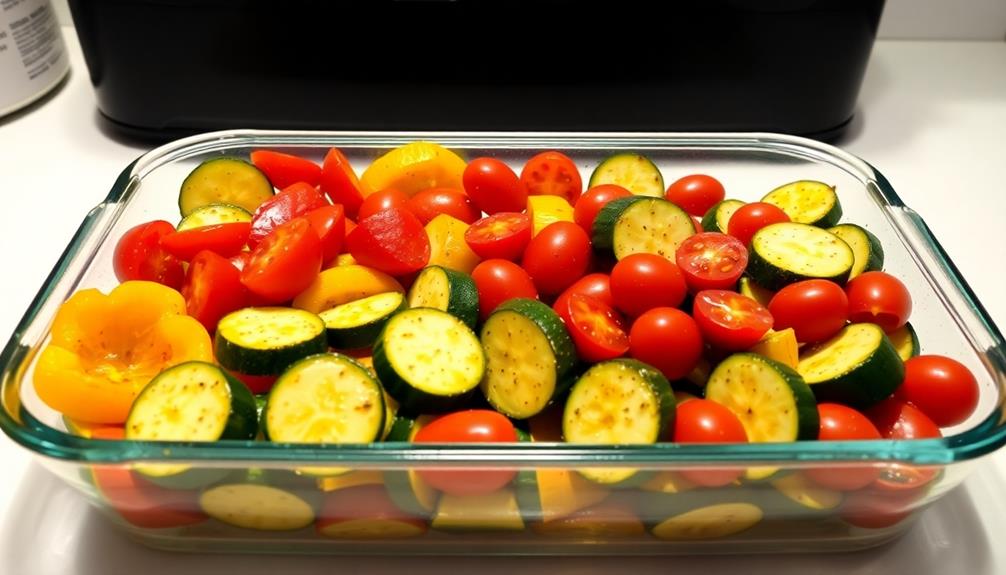
Once the roasted vegetables have cooled slightly, it's time to prepare them for storage. Start by transferring the veggies to an airtight container or a resealable bag. This will help lock in freshness and prevent them from drying out in the fridge.
Be sure to label the container with the contents and the date so you can quickly identify what's inside and when you prepared it.
When storing, arrange the vegetables in a single layer if possible. This allows the cold air to circulate more efficiently and helps the veggies retain their texture.
If you need to stack them, try to keep the layers thin to maintain that crisp, just-roasted quality. Finally, pop the container in the fridge and enjoy your prepped veggies throughout the week!
They'll stay fresh for up to 4-5 days, making meal prep a breeze.
Step 5. Pack Roasted Vegetables
How do you pack the roasted vegetables for storage? After roasting, let the veggies cool completely.
Then, divide them into single-serving portions in airtight containers or resealable bags. This makes it easy to grab and reheat a serving later. When packing, aim to leave a bit of space between the pieces so they don't stick together. This helps them retain their texture when reheated.
For the best results, pack the veggies within 2-3 hours of roasting. Store the containers in the fridge for up to 4 days.
You can also freeze roasted veggies for longer storage. Just be sure to label the containers with the contents and date. When you're ready to enjoy them, simply reheat the frozen veggies in the oven or microwave.
The pre-portioned packs make meal assembly a breeze on busy days. With a little prep work, you've got convenient, low-FODMAP veggie servings ready to go!
Final Thoughts
Finalizing your low-FODMAP meal prep can be the difference between feeling your best or struggling with digestive issues. It's the last step, but it's crucial for ensuring your meals are ready to go all week long.
Take some time to carefully portion out your roasted veggies, proteins, and any other low-FODMAP ingredients into individual containers. This way, you can simply grab and go when you're short on time.
Don't forget to label each container with the contents and date. That way, you'll know exactly what's inside and when it was prepared.
Meal prepping takes some effort upfront, but it pays off big time when you have delicious, gut-friendly meals waiting for you.
With a little organization and planning, you can make low-FODMAP eating a breeze, even on your busiest weeks.
Frequently Asked Questions
How Long Do Low-Fodmap Meals Last in the Fridge?
Low-FODMAP meals typically last 3-4 days in the fridge. Be sure to store them properly in airtight containers and avoid leaving them out at room temperature for too long. Proper storage helps maintain freshness and prevents bacterial growth.
Can I Freeze Low-Fodmap Meals for Later Use?
Yes, you can freeze low-FODMAP meals for later use. Freezing them can extend their shelf life, allowing you to have pre-made meals on hand when needed. Just be sure to store them properly to maintain their quality.
What Are the Best Low-Fodmap Protein Sources?
The best low-FODMAP protein sources are lean meats like chicken, turkey, and beef, as well as fish, eggs, tofu, tempeh, and some dairy products like lactose-free yogurt. These options are easy to incorporate into your meals.
Can I Substitute Ingredients in Low-Fodmap Recipes?
You can substitute ingredients in low-FODMAP recipes, but you'll need to ensure the substitutes are also low-FODMAP. Check the FODMAP list and experiment to find suitable replacements that won't upset your digestion.
Are There Any Tips for Meal Prepping on a Budget?
Sure, there are plenty of budget-friendly tips for meal prepping. Buy in bulk, choose inexpensive proteins like chicken or beans, and fill your plate with hearty veggies. Get creative with seasoning to make simple dishes more flavorful.